While the smell of cardamom baklawa brings me back to so many childhood memories, date ma’amoul doesn’t tug at my heartstrings in the same way. I think this is probably because no one in my immediate family bakes it.
The kind of ma’amoul we would buy was mass-manufactured. You know, the kind where there’s nowhere near enough butter in the dough, and the flours didn’t have a chance to hydrate. So you end up with this gritty, dry exterior where every distinct grain of semolina tastes and feels like a grain of sand, and no amount of powdered sugar can fix it.
And the fillings. The fillings! The pistachios become hard little pebbles and the dates become a fibrous, gunky mess. Their sugary binder would stick to your teeth and you’d need a gallon of chai to choke them down.
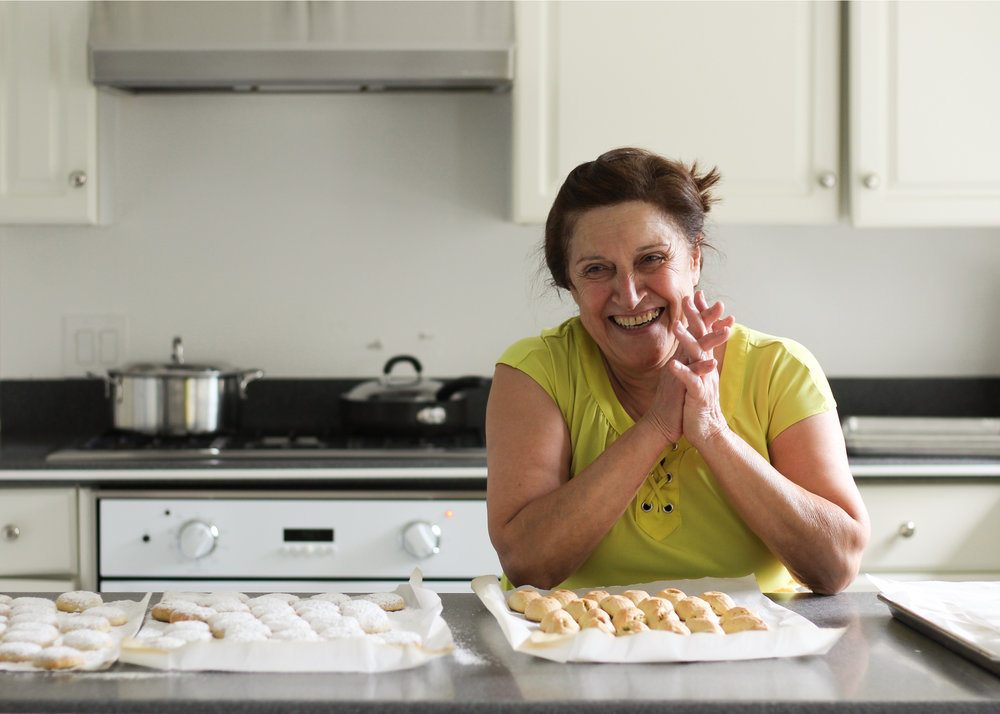
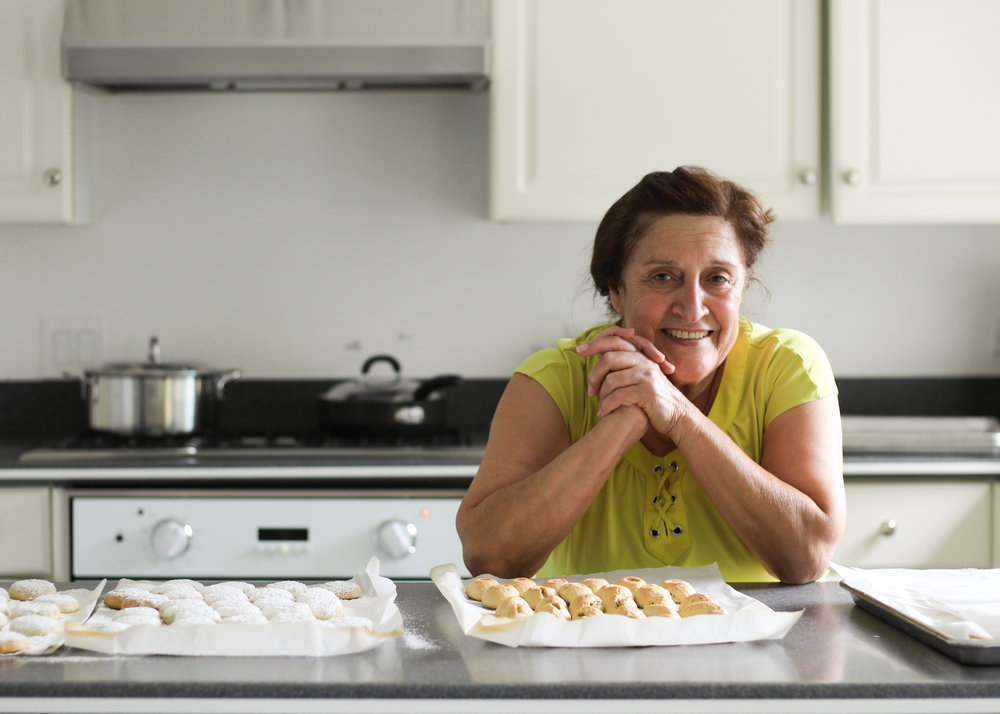
So a couple months ago, I decided that I should probably write up a post about ma’amoul, but I wasn’t super thrilled about it, since all of my experiences eating it were so mediocre. That is, until I ran into my auntie Geeto at a Persian restaurant last month. We set a date to bake ma’amoul together, and everything changed. Geeto understands the secret to a crisp, chewy, buttery ma’amoul, and she was kind enough to let me share her wisdom with you.
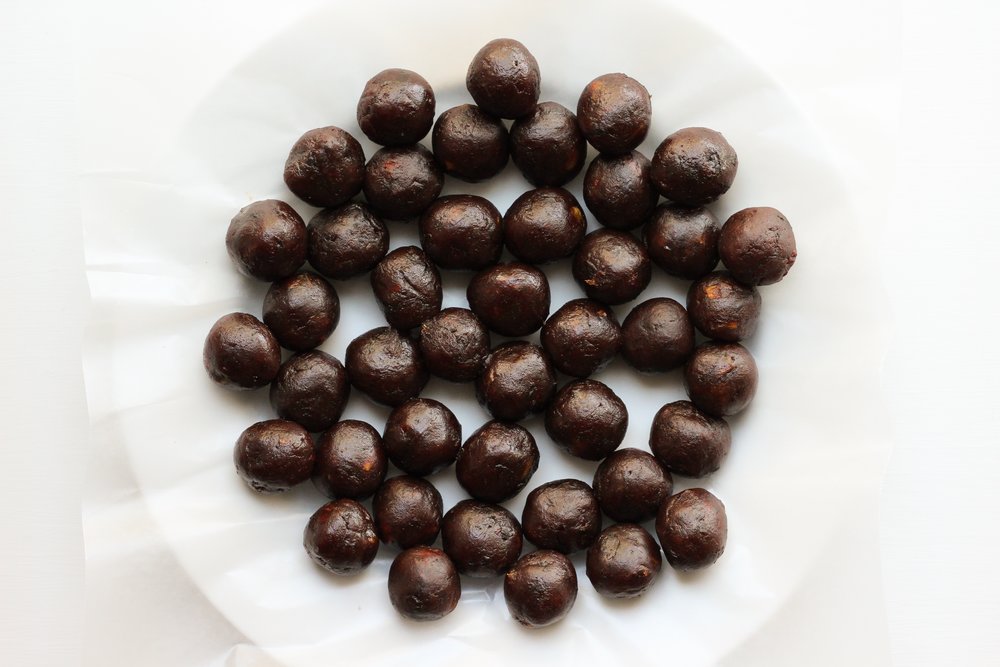
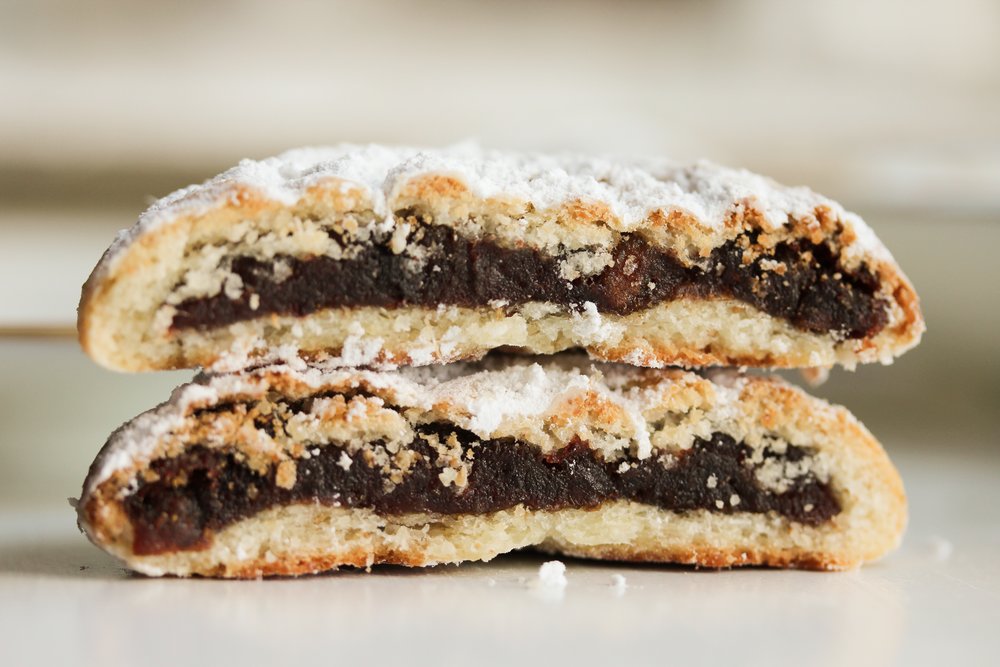
The way Geeto prepares her ma’amoul date filling is different than most recipes I’ve seen. Instead of puréeing them in a food processor, she roasts them with butter for a few minutes, until they become so soft, you just need a fork to mash them up. They caramelize slightly, and the little bit of butter gives them this delicious taffy-like consistency.
Even if you have to settle for stale dates that have been sitting on the supermarket shelf, getting old and crispy (but not crispy in a good way), Geeto’s roasting technique refreshes dates and makes them like new (and if you try this with very good quality dates, you’re really in for a treat). As a total bonus, when you prepare them in this way, you don’t need to add any sweetener, because the roasting process highlights the dates’ natural sweetness.
But let’s backtrack a little bit, because the very first thing Geeto taught me is the importance of dough hydration. Semolina and farina are much coarser grains than all purpose flour, so you’ve got to give them time to soak up all the liquids. This means that you should first let the flours hydrate a bit overnight in a clarified butter and simple syrup dry soak, which gives everything a nice head start.
The next day, get ready for an emotional whirlwind. You’ll add half of the milk and mix it together, and it will seem like the perfect amount of liquid to bind everything together. You may even think you don’t need to add the rest of it and pat yourself on the back. But then you’ll let it sit for 20 minutes and everything will change. After it’s had a chance to soak, you’ll notice that the dough has lost its squishy consistency, and it will pull apart like cotton, rather than melted cheese. You’ll then add the rest of the milk, mix it together, and it’ll suddenly seem like way too much moisture, and you’ll worry that the cookies will never hold their shape. But after 20 minutes go by, everything will come together into a soft, flexible dough that pulls apart like slightly warmed mozzarella. The final, rested dough dough will easily release from the ma’amoul press and still hold its pattern.
Geeto impressively does all this without measuring and without a recipe. To try Geeto’s technique, add about 1/4 cup of milk to the flours (after soaking in simple syrup and butter overnight) knead the dough together, and continue to knead (resting occasionally), adding 1 or 2 tablespoons of milk at a time, until the dough becomes the perfect consistency. This will take about 30 to 45 minutes, but it yields nice results if you know what consistency you’re looking for.
In order to turn this into a step-by-step recipe, I’ve streamlined this technique and tested exactly how much liquid should be added for the perfect consistency. Feel free to stick to my recipe below, or try your hand at Geeto’s strategy if you have a little extra time and want to make ma’amoul like a real pro.
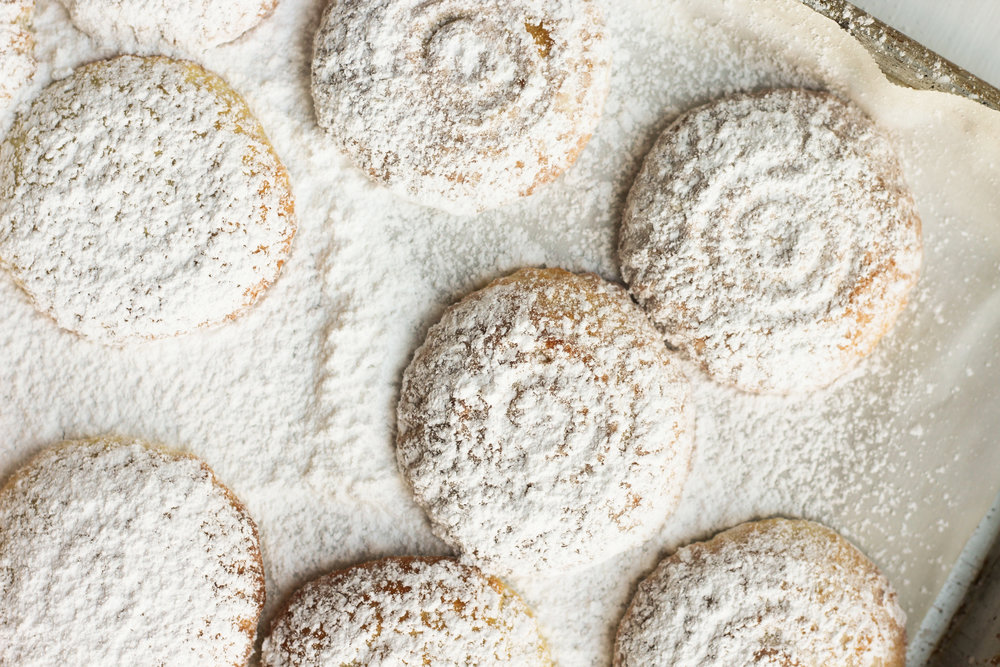
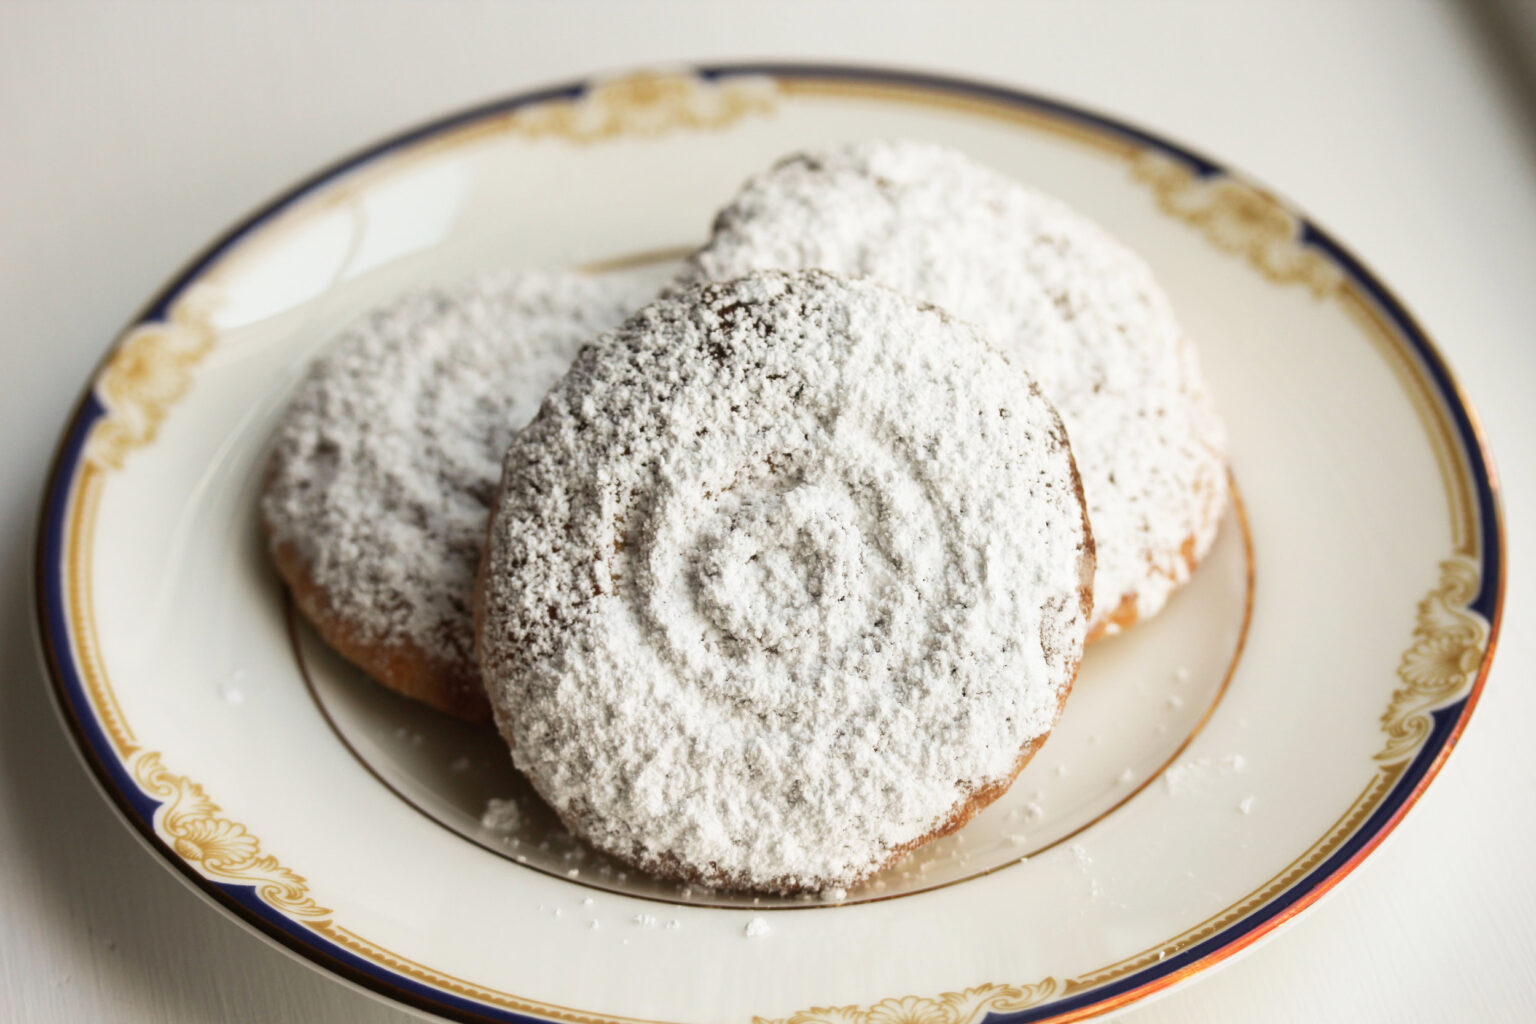
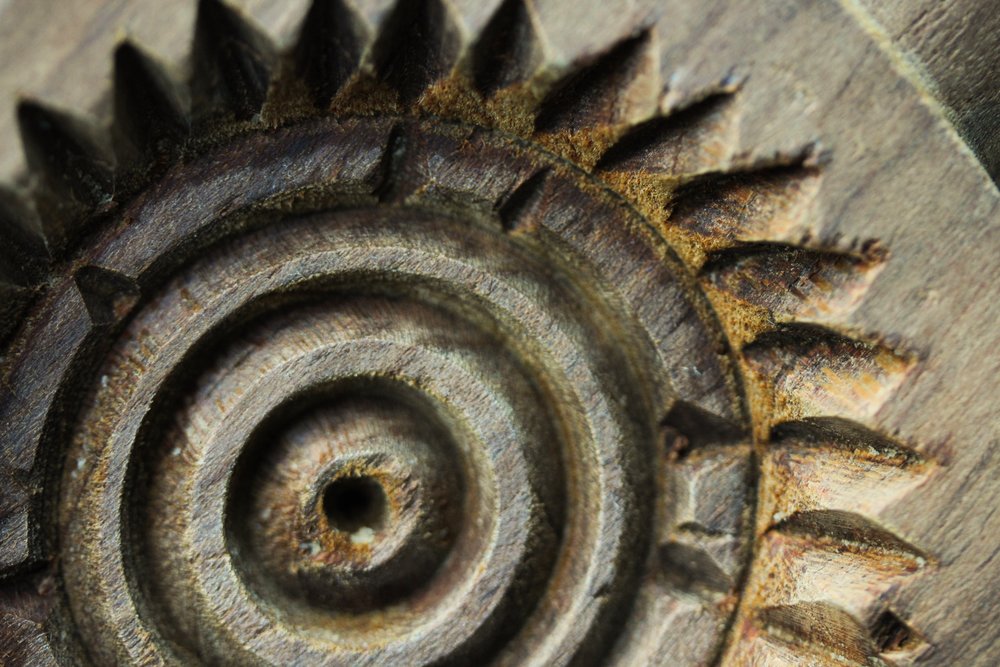
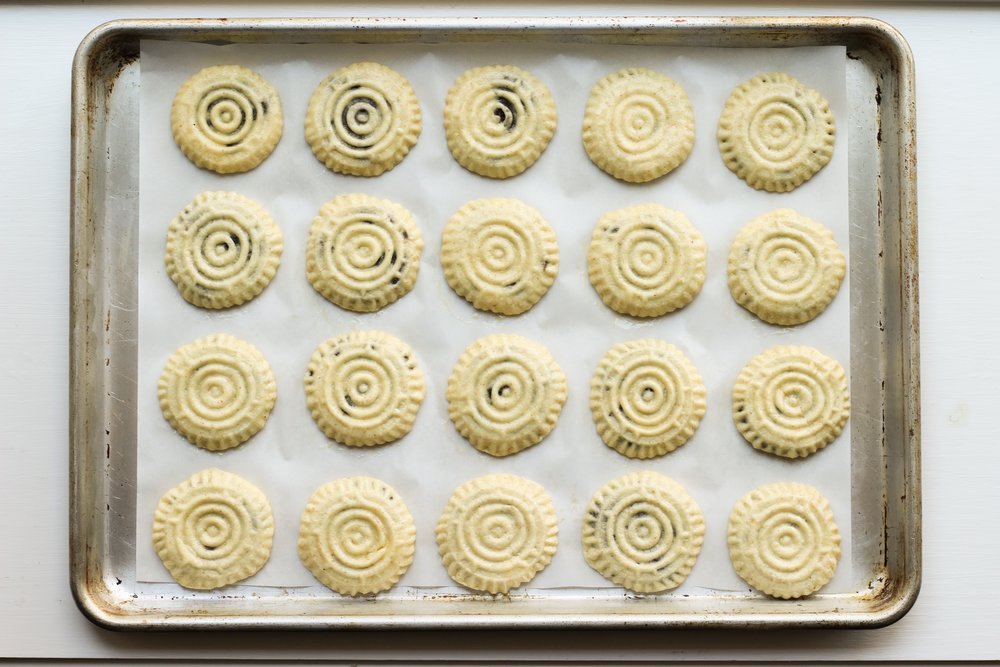
The one tricky thing about making this recipe is finding a ma’amoul press, which yields an elegant, professional-looking cookie. They’re hard to find in brick-and-mortar stores, although Middle Eastern markets often carry them. But if you’re willing to wait a couple days, you can easily find them online. There is a huge variety of ma’amoul press shapes and sizes, each corresponding to a different kind of filling, and date presses tend to be flat and circular, like the ones pictured here.
But I hate to ask you to buy special equipment or ingredients when it’s not absolutely necessary, so I’ve got a few suggestions for makeshift ma’amoul presses. Keep in mind that they might not look as polished as the ones made with a real press, but they’ll still be tasty and pretty.
My favorite makeshift ma’amoul press is a 3/4 measuring cup, which works well to form a uniform circle. Individual plastic yogurt containers (the short, squat ones) and small plastic cups also work. Just be sure not to fill the container all the way, but press the filled dough into the bottom and flatten it out as best you can. Once you have your flat cookies, use the back of a fork to make a design on the surface. You can also shape them by hand, which is actually quite traditional. When there’s a will, there’s a way!


date ma’amoul

- Prep Time: 2 hours
- Total Time: 2 days
- Yield: approximately 40 to 45 cookies
Ingredients
prepping the flours (day 1):
- 1/4 cup + 2 tablespoons water
- 1/4 cup + 2 tablespoons sugar
- 2 cups farina
- 1 cup semolina
- 1/4 teaspoon salt
- 1/2 cup + 2 tablespoons melted clarified butter or ghee *
the filling (day 2):
- 4 cups chopped dates (about 1 pound 5 ounces)
- 2 tablespoons butter, cut into small pieces
- 1 tablespoon water (or 2 tablespoons if your dates look dry)
the dough:
- 3/4 cups 2% or whole milk
- The farina/semolina mixture (above)
- 1 1/2 teaspoons yeast
- Additional milk as needed
baking the cookies:
- Ma’amoul dough (above)
- Date Balls (above)
- Ma’amoul press**
- Powdered sugar for dusting
Instructions
- Prep the flours (day 1): Make the simple syrup: Heat the water and sugar in a saucepan until the sugar dissolves. Let the syrup cool to warm room temperature before adding it to the dough.
- Combine the farina, semolina, and salt in a large bowl. Make a well in the center of the flours and pour in the melted, clarified butter. Mix the butters and flours together by rubbing them between your fingers until they are very well combined.
- Gradually add the cooled simple syrup to the flour-butter mixture, about 2 tablespoons at a time, using a fork to mix everything together between additions. Rub the crumbles between your fingers to break any lumps apart.
- Once you’ve worked out most of the lumps, cover and let the dough sit at room temperature overnight.
- Prep the filling (day 2): Preheat the oven to 400° F.
- Spread the dates out over the bottom of a casserole dish. Dot the dates with bits of butter. Sprinkle 1 or 2 tablespoons of water over the dates.
- Cook for about 10 to 15 minutes, until the dates soften significantly (you can see the cut-sides caramelize slightly).
- Use the back of a fork to mash them into a smooth paste.
- Chill this paste until it solidifies enough to handle and roll the paste into about 40 to 45 balls. ***
- Make the dough: Warm the milk to about 100° F.
- Uncover the farina/semolina mixture. Crumble the lumps apart between your fingers until the crumbs have a very fine texture. Add the yeast to the crumbs.
- Make a well in the center of the crumbs and add about 1/2 cup of the milk. Use your hands to combine by squeezing the mixture through your fingers. Once it’s evenly distributed, cover it and let it sit for about 20 minutes.
- Once 20 minutes have passed, add the rest of the milk, **** mix together with your hands, and let it rest for 20 more minutes.
- Add 1 or 2 tablespoons of additional milk if the dough looks a little dry.
- Fill and bake the cookies: Preheat the oven to 450° F.
- Roll the dough up into the same number of dough balls as date balls.
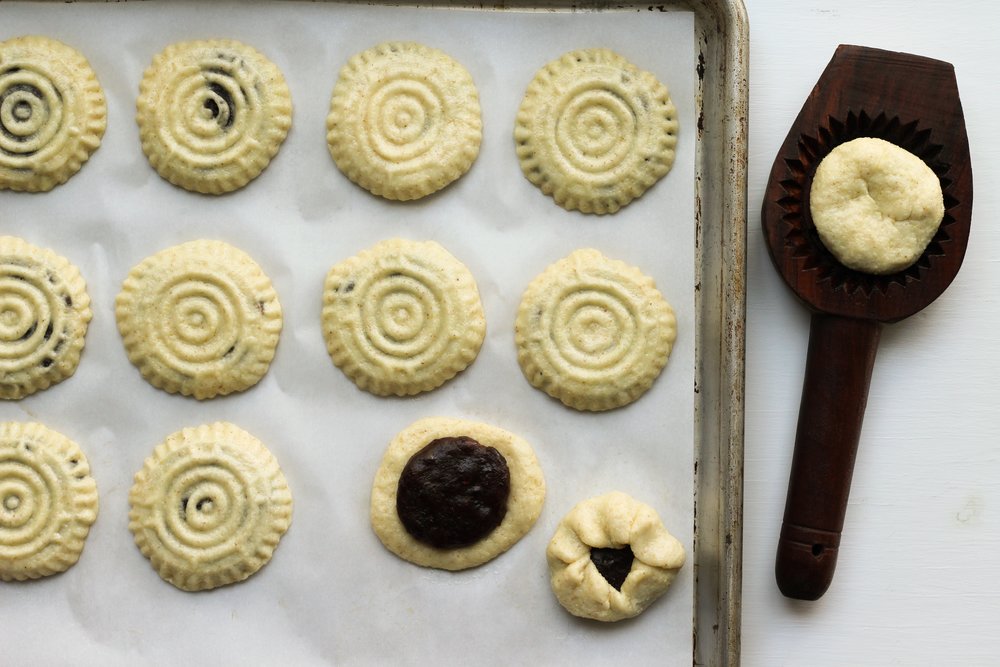
- Squish a date ball so that it’s slightly flattened into a disc. Flatten a dough ball into a disc that’s about 1.5 times the width of the date ball. Place the flattened date paste in the center and wrap the dough around it (or just see photos).
- Spray the ma’amoul press with a tiny bit of oil (and continue to do this between cookies if they stick).
- Place the filled ball in the ma’amoul press and carefully flatten it out further, using the heel of your hand. Make sure you press hard enough that the dough works its way into the corners of the press.
- Release the ma’amoul from the press by whacking it against the edge of a sturdy bowl, and letting the cookie it fall into your hand, or use the release button if it’s a newer press. Place the ma’amoul on a parchment lined baking sheet, about 1/2 inch apart from each other.
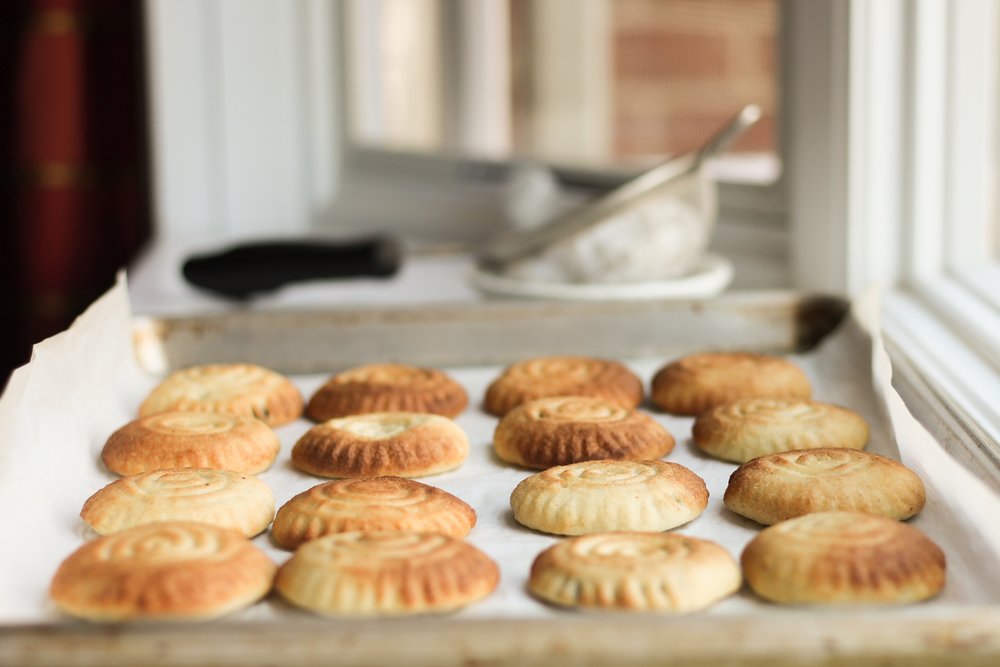
- Bake the ma’amoul for about 10 to 15 minutes, until they’re light golden brown.
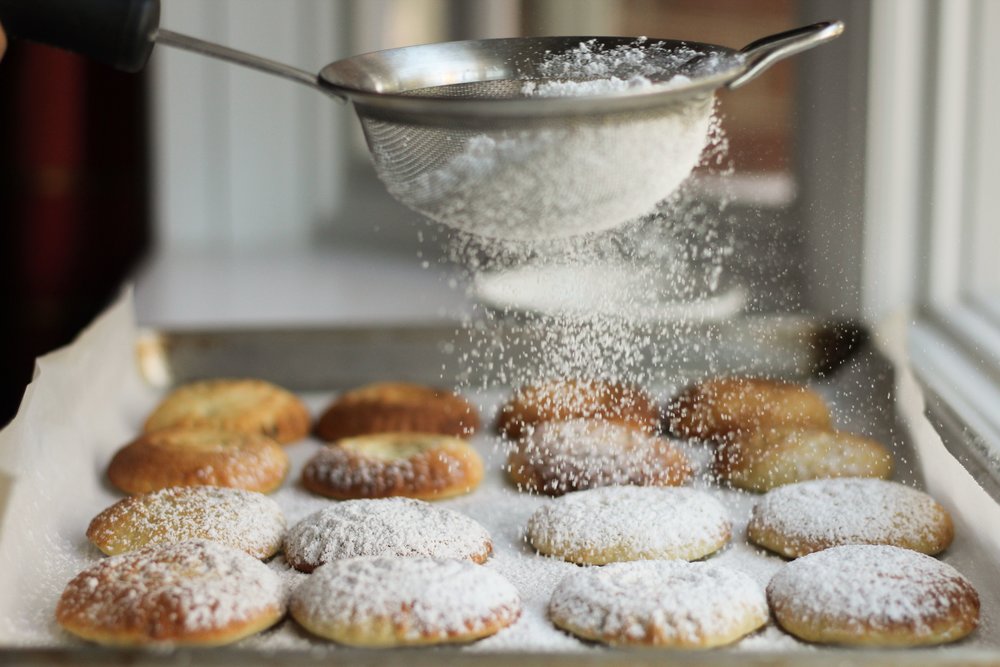
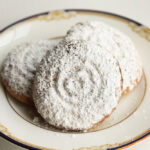
- Let them cool completely on the parchment, and then give them a generous dusting of powdered sugar.
- Store in between sheets of wax paper in a sealed container. They’re best the day you make them, but they can be kept at room temperature for 5 days, or frozen for months.
(If video does not appear below, please disable ad block)
Notes
* If you’re clarifying your own butter, start with 6 ounces (1 1/2 sticks) regular unsalted butter. Melt the butter over medium heat. Once it has completely melted, reduce the heat to low and continue to simmer for about 5 minutes, until the butter solids have risen to the top and the bubbling has started to get a little quieter. To filter, skim the solids from the top of the butter and then pour the melted butter into a liquid measuring cup, slowing down at the end and leaving the sunk solids at the bottom of the pot. Let the butter cool to warm room temperature before adding it to the flours. Or watch the video after the recipe.
** If you’re using a plastic press with a release button, you should have no trouble. Likewise if you’re using a well-seasoned wooden mold. But if your wooden mold has not been used (or has not been used in a long time, or—heaven forbid—has been in the dishwasher), make sure you season it first. Drizzle it with oil all over the mold part, use your fingers to rub in, repeat, and let it sit for at least 5 minutes before using.
*** The size of the balls will depend on the size press you’re using. A good rule of thumb is that the date paste should take up about 1/3 of the press’ cavity, while the dough should take up about 2/3 of the mold. Don’t overstuff the molds, and err on the side of less.
**** Assuming you measure perfectly and you use the right flours, this should be the perfect amount of milk to add. But if you’re unsure of your measuring, check out the dough’s consistency at this point and decide whether you want to add all of the rest of the milk. If it looks a little on the wet side or if you’re unsure, add half the remaining milk, wait 20 minutes, and then decide whether you want to add the rest. You can add the rest of the milk as gradually as you’d like, as long as you give it more time to soak.