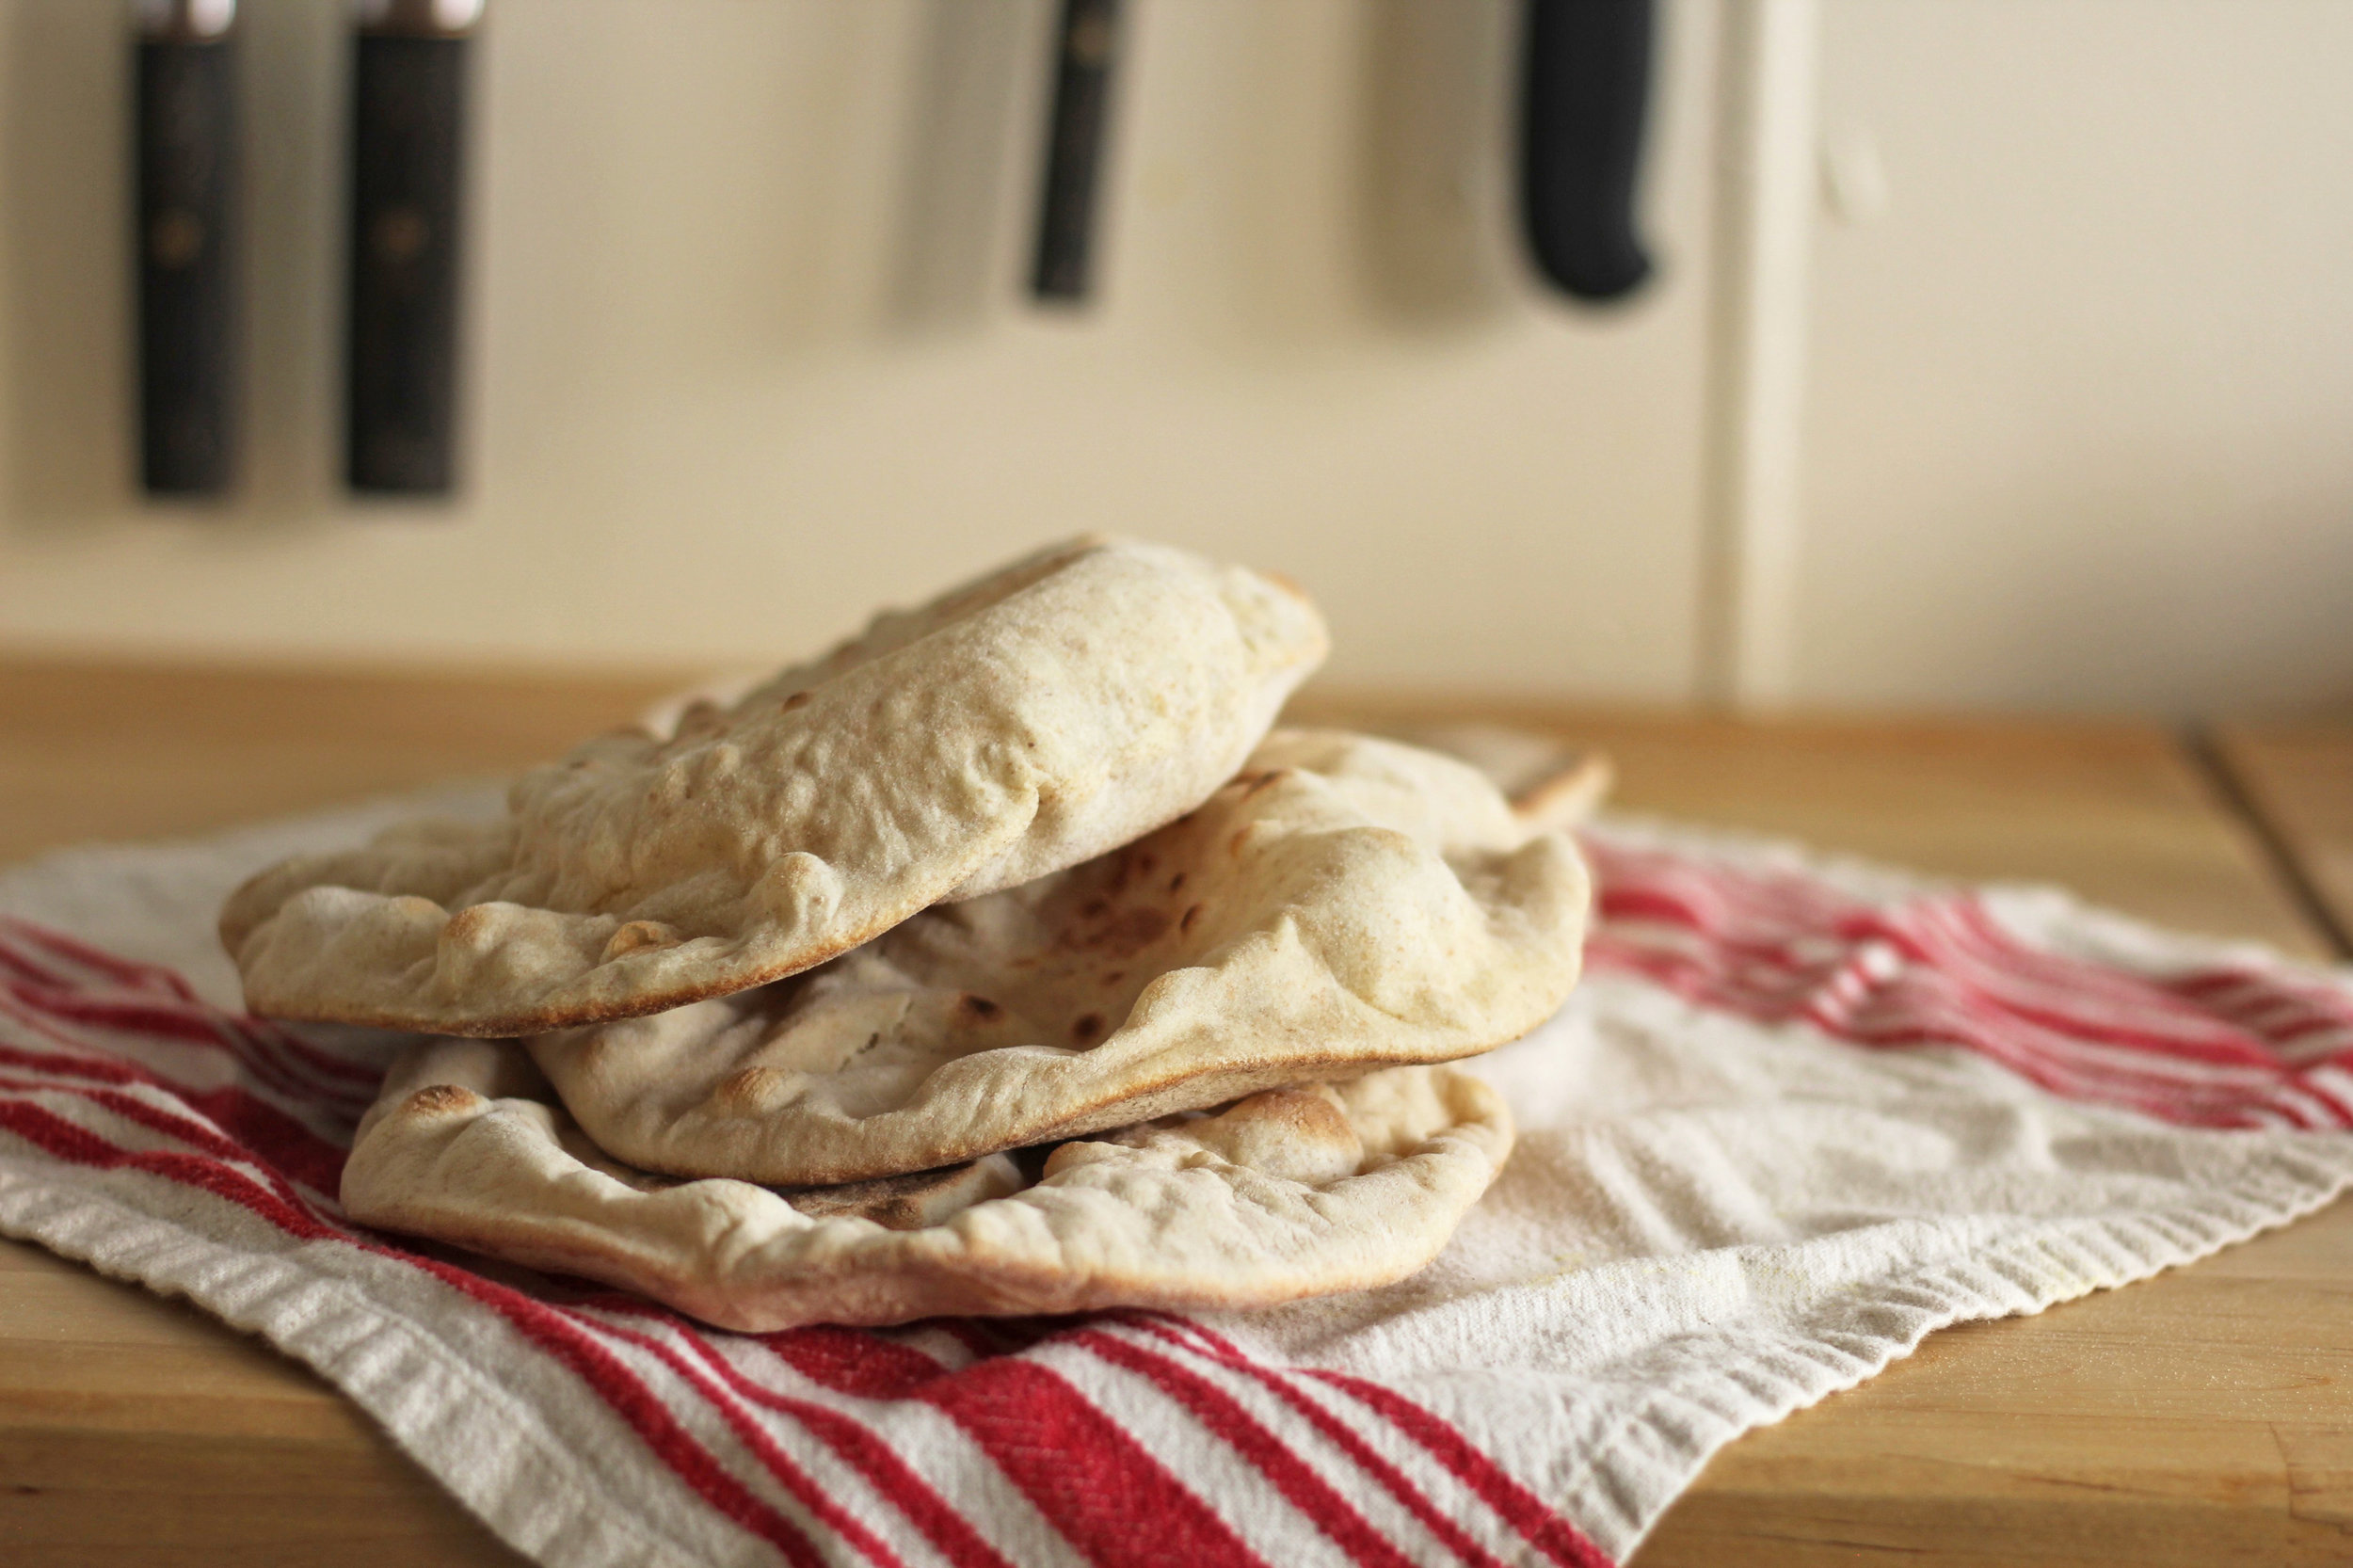
If you’d like to make pita pockets but your dough never puffs up in the oven, we’re going to change that once and for all.
Making pita with actual pockets comes down to just a few things: the pizza stone method (which doesn’t require an actual pizza stone—a sheet pan will do), the right dough texture, and rolling it out to the exact right thickness before baking.
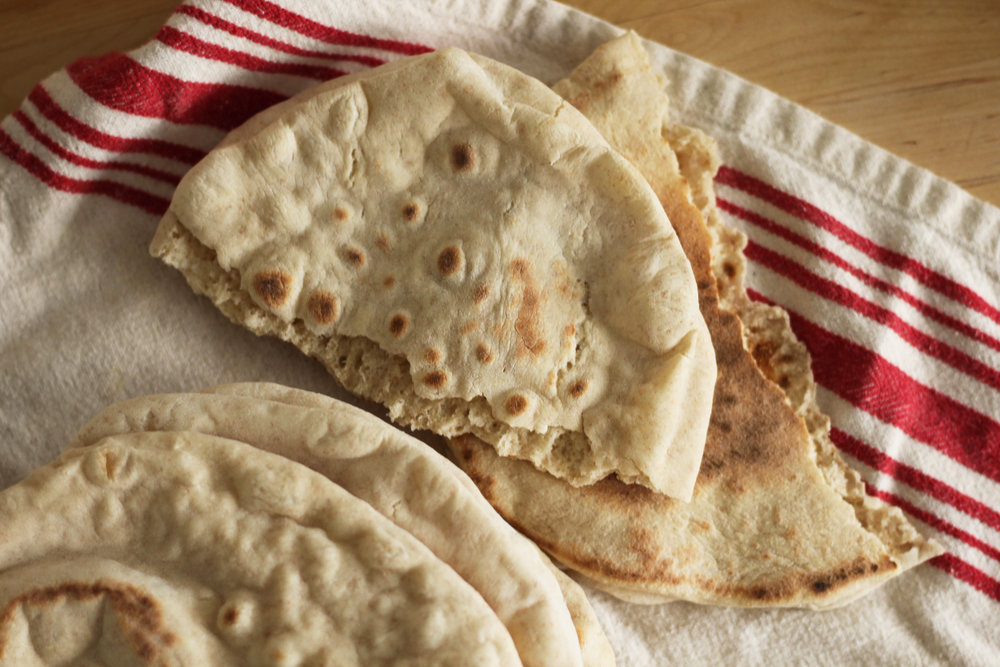
Nail those three things and your dough will inflate like a balloon, then settle into hollow centers, perfect for stuffing with shawarma, falafel, or gyros.
How to make your pita pockets pocket
Here’s how to get pita that pockets every time:
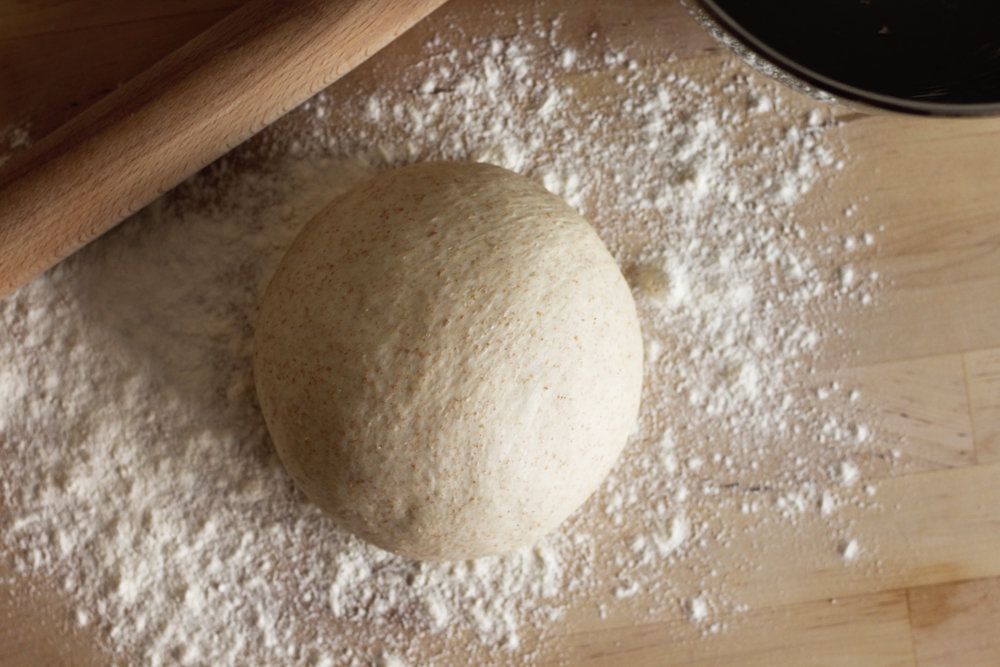
1. Pita dough texture
Moisture:
Steam is what ultimately makes pita puff, so dough needs enough water to generate steam. This recipe calls for 1 1/2 cups, but depending on your flour and measuring method, you may need to adjust slightly. If the dough feels dry, add water 1-2 teaspoons at a time, and if it feels too wet, add flour 1-2 tablespoons at a time.
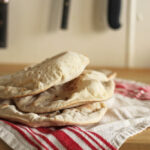
You’re aiming for a dough that’s tacky but not sticky. It should hold together in a soft, moist ball—not hard as a rock, nor pooling in the bottom of the bowl. See the photos above for a visual reference.
Gluten formation:
So we’ve generated steam, but now we need a structure that can contain that steam, and that’s where gluten formation comes into play. If your dough isn’t kneaded enough (or if it is over-kneaded), it won’t be elastic enough to trap the steam. Instead, it’ll just vent out into random places. Use the windowpane test to make sure it’s got enough gluten development before baking.
Think of it like gum: right after you pop some in your mouth, it’s too squashy to blow a bubble. But after a few minutes of chewing, it becomes stretchy and strong enough to trap air and form one big balloon. That’s exactly what your dough needs to do too.
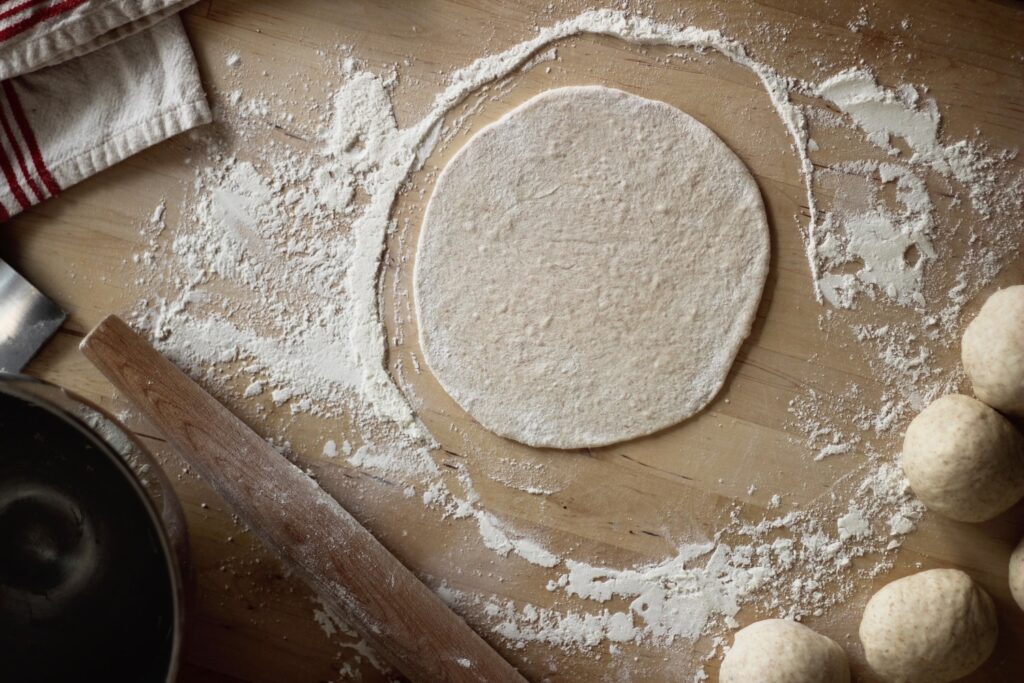
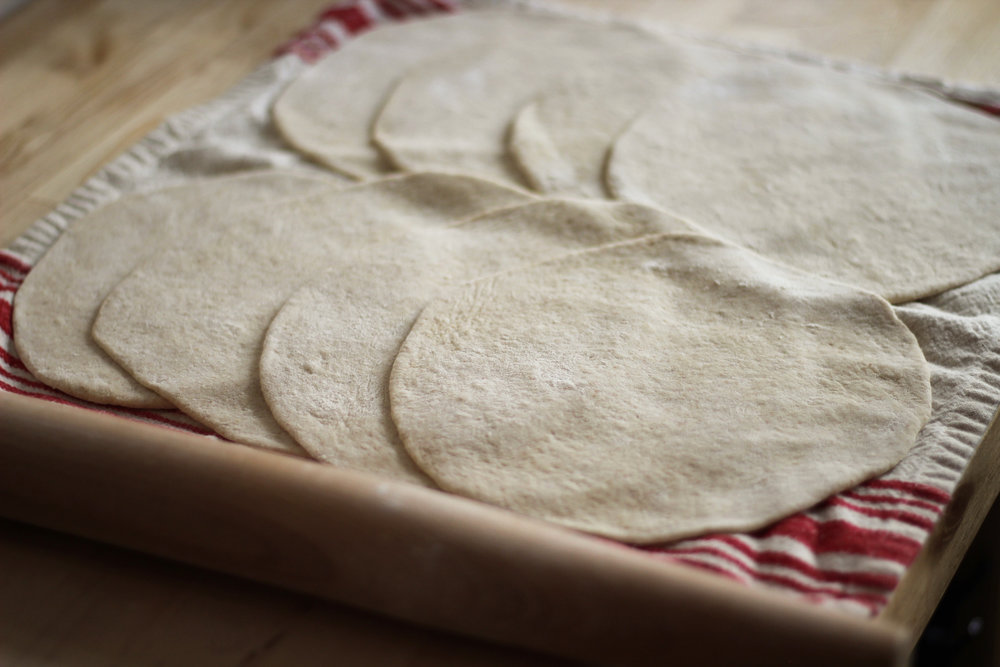
2. Rolling thickness: thinner than you’d think (1/8 inch or 3mm)
Most pita recipes suggest rolling the dough to 1/4 inch [6 mm] thick. But that’s actually too thick if you want proper pockets. At that thickness, your bread will get get fluffy rather than puffy. On the flip side, roll them too thinly and you’ll end up with something closer to lawash.
Instead, you should aim for 1/8 inch [3 mm]. And that’s not just a guess—I actually got out a ruler while developing this recipe just to make sure. I even tested it this recipe at 1/4 inch to make sure, and here’s the photographic evidence that 1/4 inch pita bread is indeed cute and fluffy, but definitely not pocketed.
At 1/8 inch, the dough is thin enough to begin generating steam immediately, but thick enough that it will remain elastic long enough to expand before it starts to set and bake. It’s also thin enough that it won’t collapse under its own weight.
3. Baking surface: preheat it like you mean it
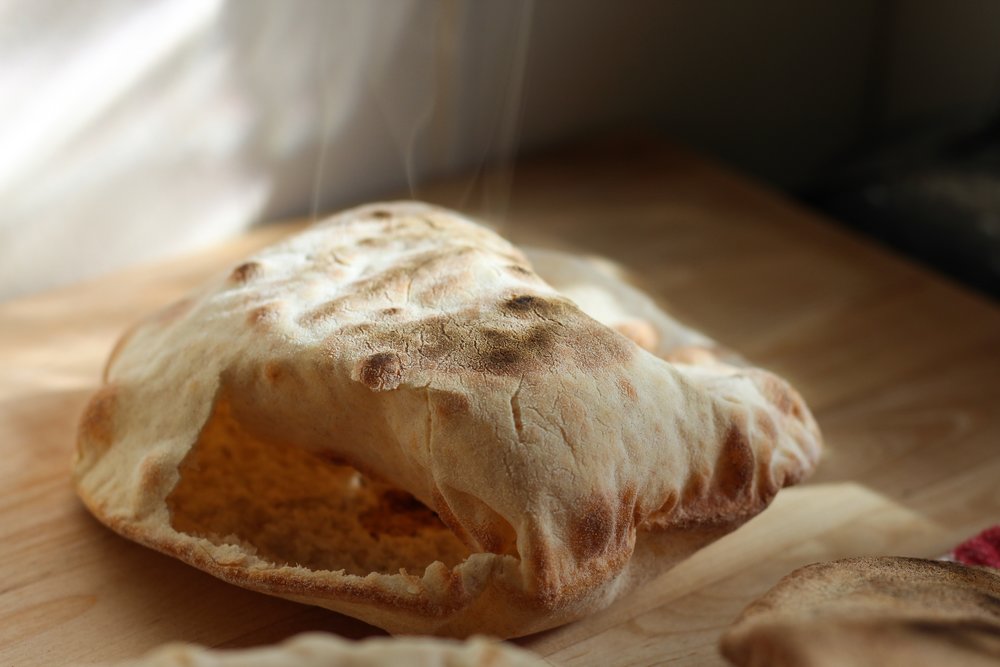
For the dramatic ballooning effect (like that slightly over-baked one above, which allowed me to get a photo of one frozen mid-puff), you need high, direct heat from a thoroughly preheated surface.
A pizza stone is ideal. Place it on the oven floor and let it preheat fully. Don’t rush this part. The direct blazing-hot contact will start to heat the bread immediately, generating steam before the bread has a chance to set or dry out.
No pizza stone? A preheated cast iron pan or an overturned sheet pan will do the trick too. Just make sure that whatever you use is seriously hot when the dough hits it.
In the first 1-2 minutes of baking, you’ll notice bubbles developing, then the bubbles will start to join together and it will expand into a full pocket. After about 4 minutes total, the bread will be fully puffed up and lightly golden, yet still soft enough to fold.
But remember, even when things go “wrong,” you’ve still got flatbread! Follow the recipe, continue experimenting, and your pita will pocket in no time.
PrintPita (that actually pockets)

- Prep Time: 40 minutes
- Total Time: 3 hours
- Yield: 8 pitas
Ingredients
- 2 tsp [7 g] active dry yeast
- 1 tsp [5 g] sugar
- 1 1/2 cups [350 g] lukewarm water
- 3 1/4 cups [425 g] white flour
- 2/3 cup [85 g] whole wheat flour*
- 1 1/2 tsp [10 g] fine sea salt
- 1 Tbsp [15 g] olive oil
Instructions
- Place the active dry yeast, sugar, and water in the bowl of a stand mixer or large mixing bowl. Let it sit until the water looks a little foamy on top (about 5-10 minutes).
- Add the white flour, wheat flour, salt, and olive oil to the bowl with the foamy water.
- If using a stand mixer, use the hook attachment to mix on low until it comes together into a shaggy dough (otherwise stir and then knead by hand). Increase speed to medium. The dough should begin to smooth out and look a lot like store-bought pizza dough, but just a little stickier. If the dough is too wet, add a little more flour to compensate (about 2 Tbsp at a time) and if it is too dry, add a little more water (about 2 tsp at a time).
- Knead until the dough ball passes the window pane test. Kneading should take about 5-15 minutes by machine with a dough hook, or 10-20 minutes by hand. Pay more attention to the dough’s consistency than the time you’ve spent kneading.
- Place the dough in a bowl, cover it, and let it rise at room temperature for about 1 hour and 15 minutes. It will rise noticeably. If it’s a little chilly in your kitchen (below 67° F), you might need to let it rise for about 15 minutes longer.
- Place a pizza stone (or upside-down sheet pan) on the oven floor, move the oven racks up and out of the way, so you can very easily access the pizza stone, and pre-heat the oven to 500° F [260° C] (or its hottest setting).
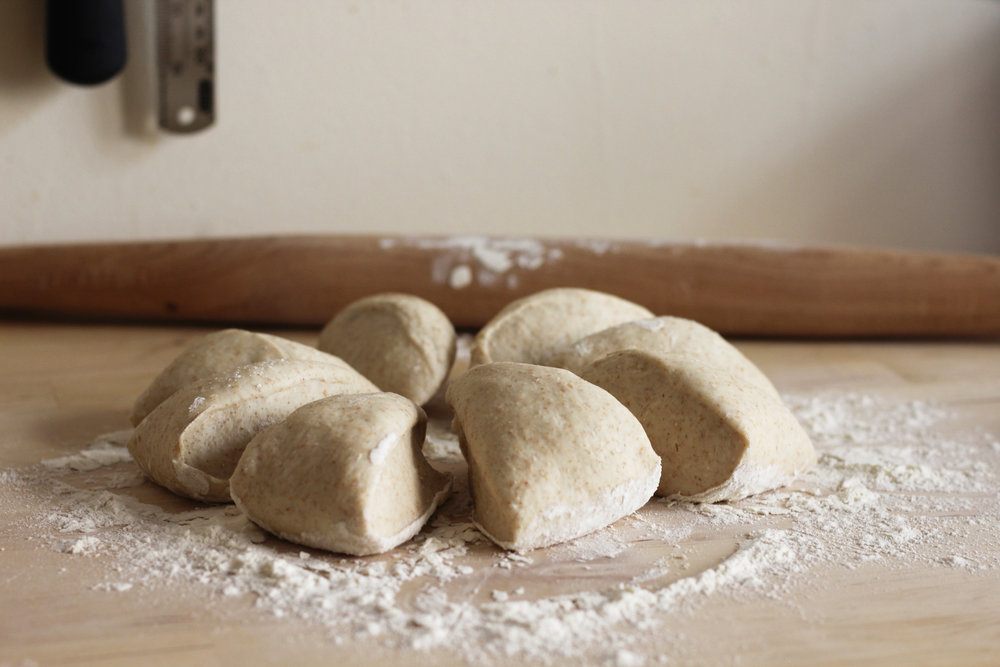
- Lightly flour a clean work surface, divide the dough into 8 equal pieces, and shape each chunk into a round ball with a smooth surface.
- Roll out each dough ball into a circle, about 7 or 8 inches [18-20 cm] in diameter, dusting the surface with more flour as needed. They should be 1/8 inch [3mm] thick, which is very thin, but not paper-thin (see photos above the recipe). By the time you are done rolling the last disc, the first one will be ready to bake. They can be held at room temperature for about 20 minutes.
- The oven will be ready to bake once it has reached 500° F [260° C] and stayed there for about 5 to 10 minutes. This gives the pizza stone a chance to get really hot.
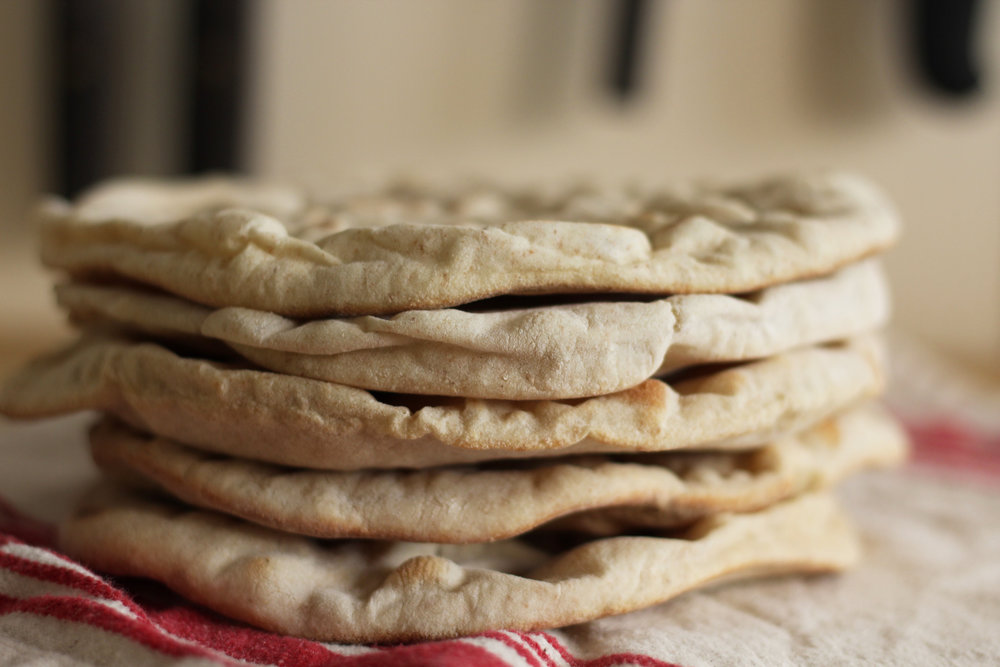
- Throw 2 to 3 of the rolled-out discs onto the baking stone. Make sure they lay flat and are not touching. Bake for about 4 minutes. They’ll puff up and slightly brown. Remove and cool (they’ll start to deflate at room temperature but will maintain their pockets). Repeat until all pitas are baked.
Notes
* If you don’t have whole wheat flour, you can just sub more all purpose flour. I’ve made it many times both ways.
2025 update: This was one of the very first recipes I ever wrote (originally published 12 July 2017 as “pita bread”), and while the ingredient ratios and method have always worked perfectly, the original post and recipe were a little chatty.
I’ve streamlined the instructions to make them easier to follow, added a substitution for whole wheat flour if you don’t have any on hand, and organized the tips up top so you can quickly see what really matters if you want your pita pockets to actually pocket.
If you’ve stuck with this recipe over the years, it has not actually changed, but should now be much easier to follow. Happy baking!
I would very much like to try this recipe. Does it freeze well? How should I keep leftovers so that they remain soft and fresh on the second day? Many thanks!
Hi there! Yes absolutely—it freezes beautifully. I highly recommend freezing whatever you don’t plan to eat on the first day, as all bread begins to stale after about 16-24 hours. The freezer will preserve its freshness wonderfully.
Just made this recipe and I can’t believe I successfully made pita bread. I did not change one thing and followed instructions without any modifications. Thanks for the amazing recipe!
This makes me so, so happy!! 😀
This is my go-to pita recipe. It works perfectly every time!
Ah that makes me so happy! Nothing like getting the pita to pocket reliably, yay!
Thanks for the helpful tips: the water amount in the dough and the thickness. However, I’m still confused about the ounces and the grams. Check the converted unit website, there are couple different results. Could you help me know 1 cup water =235 or 240cc ? 15 ounces flour =? grams in this recipe? Thank you.
Hi Lucy! Let me go ahead and update the recipe to include metric. I recipe develop exclusively in metric these days, but this recipe is from early on, back when I was still figuring out my process for recipe developing. Wishing you luck in all your pita endeavors! <3
Oh these are lovely! I left my pita recipe at my Mom’s house in another city during this COVID quarantine. So I found yours while searching on the web. I’ve never successfully gotten the full pocket before. I think I have a new pita recipe. By the way, I also made your Persian love pop tarts and vegetarian shepherd’s pie. Both are fantastic!
Aw that’s all so wonderful to hear! I hope you’re staying safe and cooking/baking more fun things this week. Good on you for not going out and getting that pita recipe. It’s so tough to stay put—but we’re all in this together and have just gotta keep encouraging each other. Stay safe and healthy! <3
Thank you! You stay safe and healthy as well! Weird times.
Thank you for the great directions. Puffy and soft! I was getting burned tortillas before I checked your site. I should’ve known it would be good……after years of searching for a crunchy spicy sweet pecan recipe during the holidays, I happened upon yours and it was the answer! People beg me for them because they are not soft like store bought versions.
Aw I’m so glad you’re enjoying! It’s so hard to get that perfect pita texture/pocket. Many recipes don’t specify an accurate dough thickness, and it’s hard to get right without that detail. Really glad I could help!!
Hello, Kathryn, do these freeze well? I doubt I would be able to finish eight loaves when they are still fresh.
Hi there! I’m so sorry, just saw your comments this morning—yes absolutely feel free to freeze them! (I can absolutely finish eating eight loaves of pita in a day, but understand that others may not share that superpower hahaha)