I’m not a very outdoorsy person. I spend most days writing my dissertation and putting together blog posts. Occasionally I take my laptop over to the beach, but the glare makes it hard to be productive and I usually end up going home after about an hour to get some work done. But for someone who doesn’t spend a lot of time outdoors, I do spend a lot of time looking at other people’s beautiful, outdoorsy lives on Instagram. And this week, I noticed a wonderful thing: it’s just about fig season again! Friends in warmer climates have been posting beautiful photos of everything from bright green kadotas—the sort of plantain of the fig family—to black mission figs, which are so sweet you don’t need to do anything to them to enjoy.
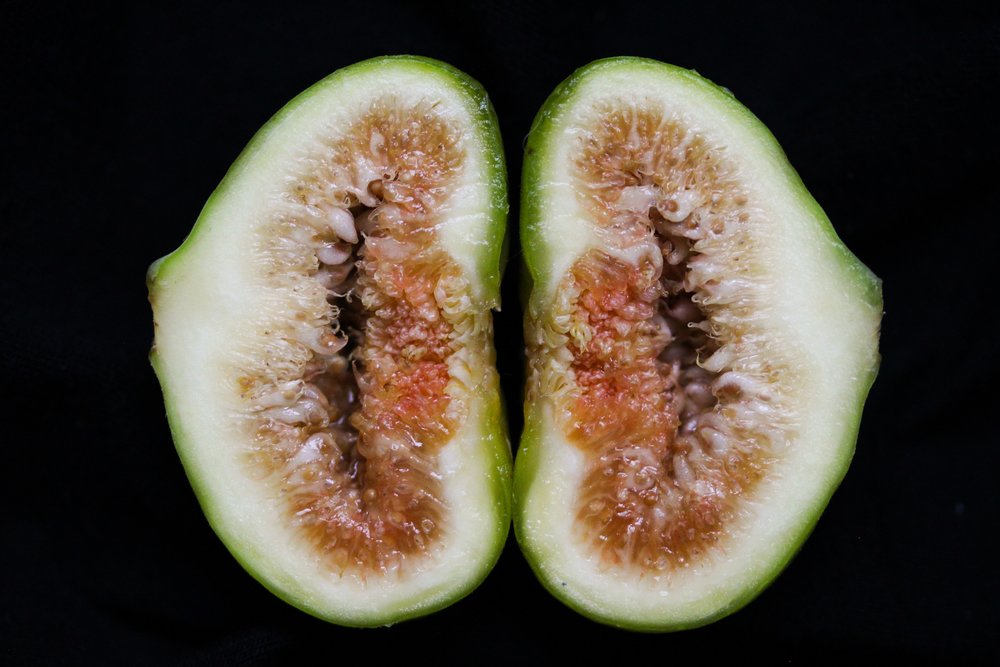
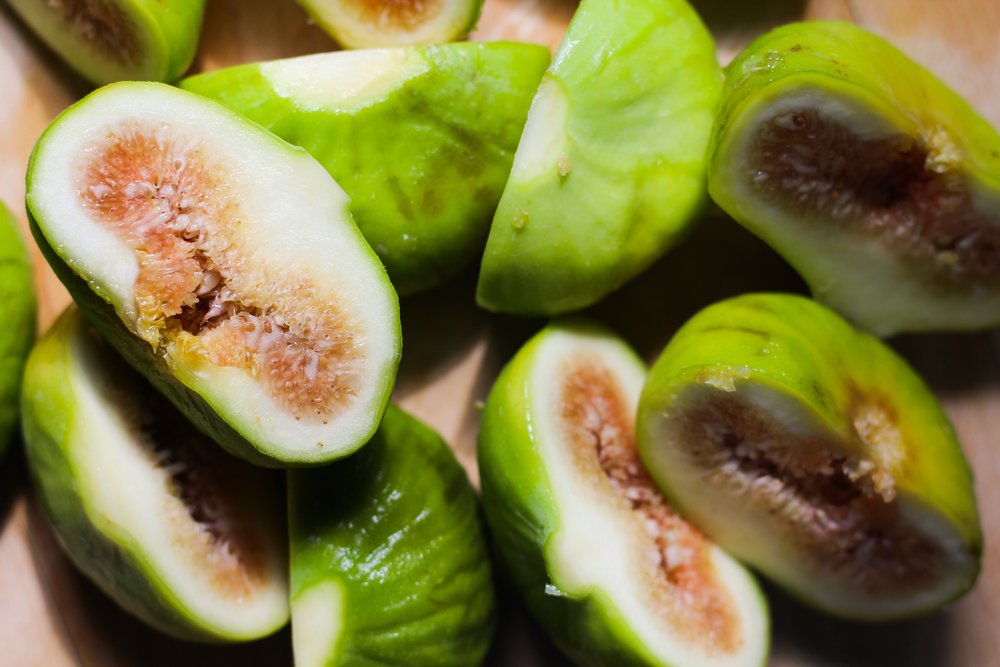
My all-time favorite way to enjoy figs is cut in half and served with a cheese tray. But if you have to cook with them (maybe you have your own fig tree and you’re tired of eating them raw—lucky you!), this lamb shank braise is the way to go. My grandmother has a fig tree in her backyard in Arizona, which is where I got this beautiful homegrown haul. The figs on her tree (which I’ve never been able to identify, not for lack of trying but for lack of understanding nature) are most similar to kadota figs. They have a wonderfully subtle flavor and not too much sugar, so they’re at their prime when braised with something syrupy. You can use sweeter table figs in this recipe, but if you do, you might want to hold back one or two tablespoons of the pomegranate molasses if you’re worried about making this dish too sweet.
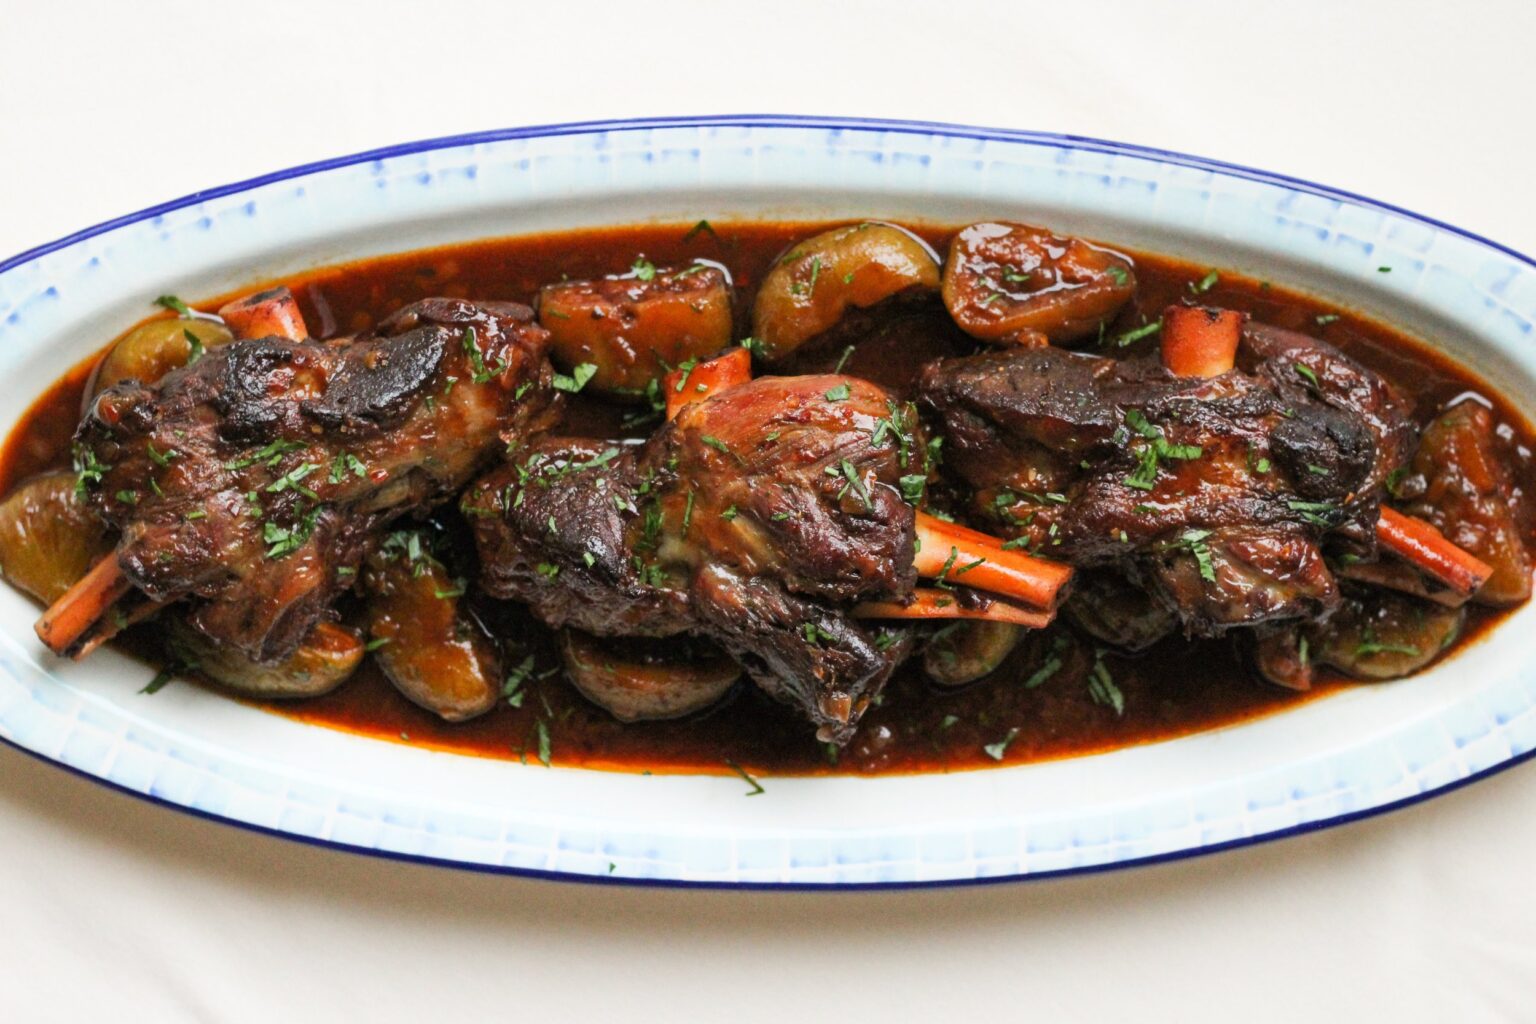
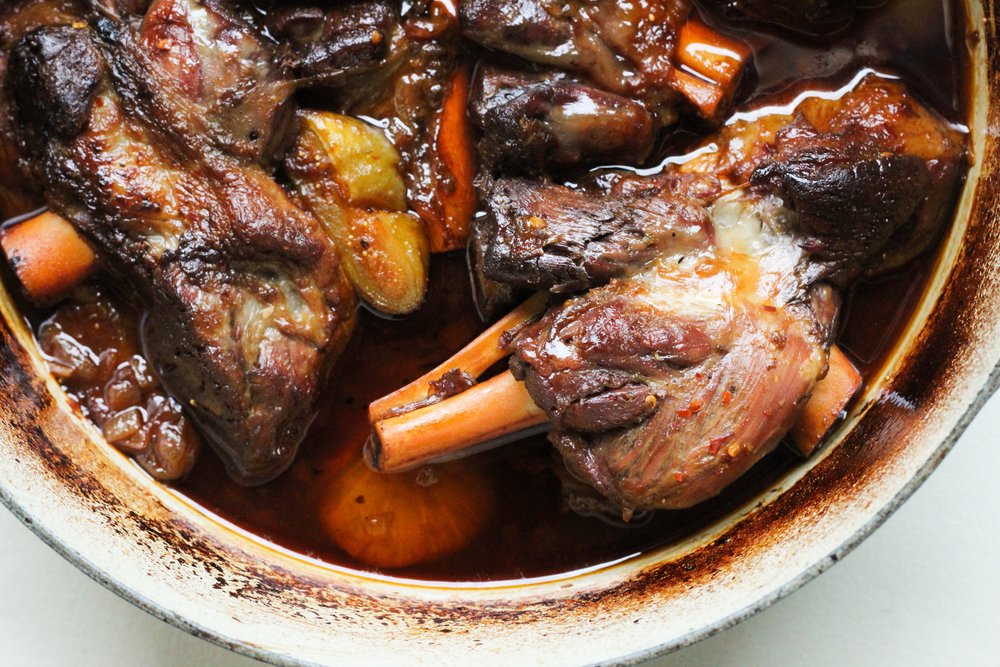
Since figs are one of those foods that taste like they would be fussy, but absolutely aren’t, you simply nest them between and on top of the lamb shanks, and let them become syrupy, delicate, and soft as the lamb shanks tenderize and mellow. The pomegranate molasses sweetens everything, and after carefully skimming away most of the fat, proceeds to enrobe everything in a tangy Middle Eastern barbecue sauce. This recipe was strongly influenced by Deb Perelman‘s sweet and sour brisket from the Smitten Kitchen Cookbook. She includes a lot more red wine vinegar than I’ve ever seen in a braise, and it turns out to be just the thing. After all those hours of cooking and mellowing, a little brightness goes a very long way to transforming a drab braise into a pièce de résistance. Since pomegranate molasses is already quite tangy, I don’t use quite as much red wine vinegar in my recipe (and if you have a particularly acidic pomegranate molasses, you can cut back even further).
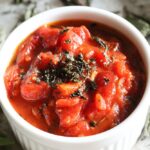
pomegranate fig lamb shanks


- Prep Time: 30 minutes
- Total Time: 3 hours
- Yield: 6 servings
Ingredients
- 4 1/2 to 5 pounds lamb shanks (about 3 to 4 shanks), preferably split at the shank end, as pictured *
- 1/2 teaspoon kosher salt for browning the lamb
- 3/4 cup diced onion
- 1/4 cup tomato paste
- 1 1/4 cup stock (either beef, vegetable, or chicken)
- 1/4 cup pomegranate molasses (or more to taste) **
- 1/4 teaspoon crushed red pepper
- 2 tablespoons red wine vinegar
- 1/2 to 1 teaspoon table-salt for the braising liquid (or to taste—first check how much salt is in your stock)
- 6 fresh figs, halved ***
- optional: 1 teaspoon minced parsley for garnish
Instructions
- Preheat the oven to 350° F.
- Sprinkle the first 1/2 teaspoon of kosher salt on both sides of the lamb shanks.
- Heat a large stockpot or dutch oven over high heat for a couple minutes. Once the pan is hot, add the lamb shanks with the fat-side facing the pan. Let the shanks sit undisturbed for 3 to 5 minutes, until they develop a nice brown color on one side. Flip them and let the other side brown for another 3 to 5 minutes. Work in batches if you need to, and avoid crowding the pan.
- Once all of the lamb pieces are fully seared, reduce heat to low. Remove the shanks to a plate, pour off all but 1 tablespoon of the rendered fat, and immediately add the onions. Cook for about 5 minutes, stirring constantly. They will brown immediately, and then soften as they continue to cook.
- After 5 minutes, add 1/4 cup tomato paste to the onions and cook for no longer than 1 minute, stirring constantly.
- Deglaze the pan with the 1 1/4 cups stock, scraping up the brown bits from the bottom of the pan.
- Turn the heat up to medium and add the pomegranate molasses, crushed red pepper, red wine vinegar, and second amount of salt.
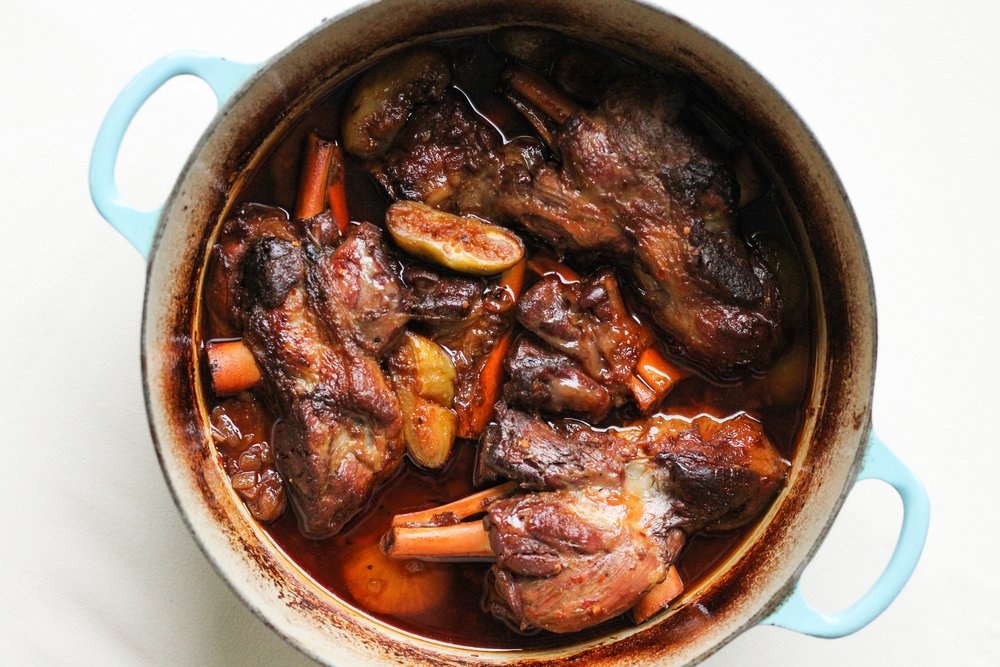
- Add the seared lamb shanks to the braising liquid and try to get everything to fit as snugly as possible.
- Nest the fig halves in the gaps between and on top of the lamb shanks, wherever you can fit them.
- Cover and move to the oven for about 2 1/2 hours, until the meat is very tender and pulls apart easily with a fork. It will get tough before getting tender.
- Once it’s done, remove the lamb shanks and figs to a serving platter (keep it warm in the oven, if necessary) and skim the fat from the sauce with a fat separator or a spoon. **** Alternatively, you could refrigerate the whole thing overnight and then just scrape up the solidified fat. It will not diminish in flavor or quality (if anything it will be even tastier the next day).
- Reheat the sauce in the microwave if necessary, and spoon the sauce over the lamb shanks and figs. Garnish with parsley and serve.
Notes
* If the shanks are not split, and/or if you don’t have a wide dutch oven, it’ll be harder to fit them together in one even layer—you want to make sure that each piece of meat is submerged almost halfway in the sauce. If you can’t get the lamb shanks to fit in one layer, the skinny ends can stick pretty far out of the braising liquid.
** Different brands of pomegranate molasses vary in sweetness and acidity. If yours is particularly tangy and sweet, use 1/4 cup. If it is on the mellower side, try as much as 1/4 cup + 2 tablespoons.
*** If it’s not fig season, feel free to omit them, adding an extra 2 tablespoons of stock to the liquid.
**** To use the spoon method, move the sauce to a bowl so that it’s easier to work with. Place the spoon so that it is almost parallel to the sauce’s surface, like a little raft at sea. Keeping it parallel to the surface, slowly let the spoon sink slightly into the liquid, allowing the fat to rush into the spoon’s bowl. Be careful not to dip to low or on too much of an angle, or else you’ll remove a lot of the sauce with the fat. Remove and repeat until you’ve skimmed most of the fat (it takes about 5 minutes).