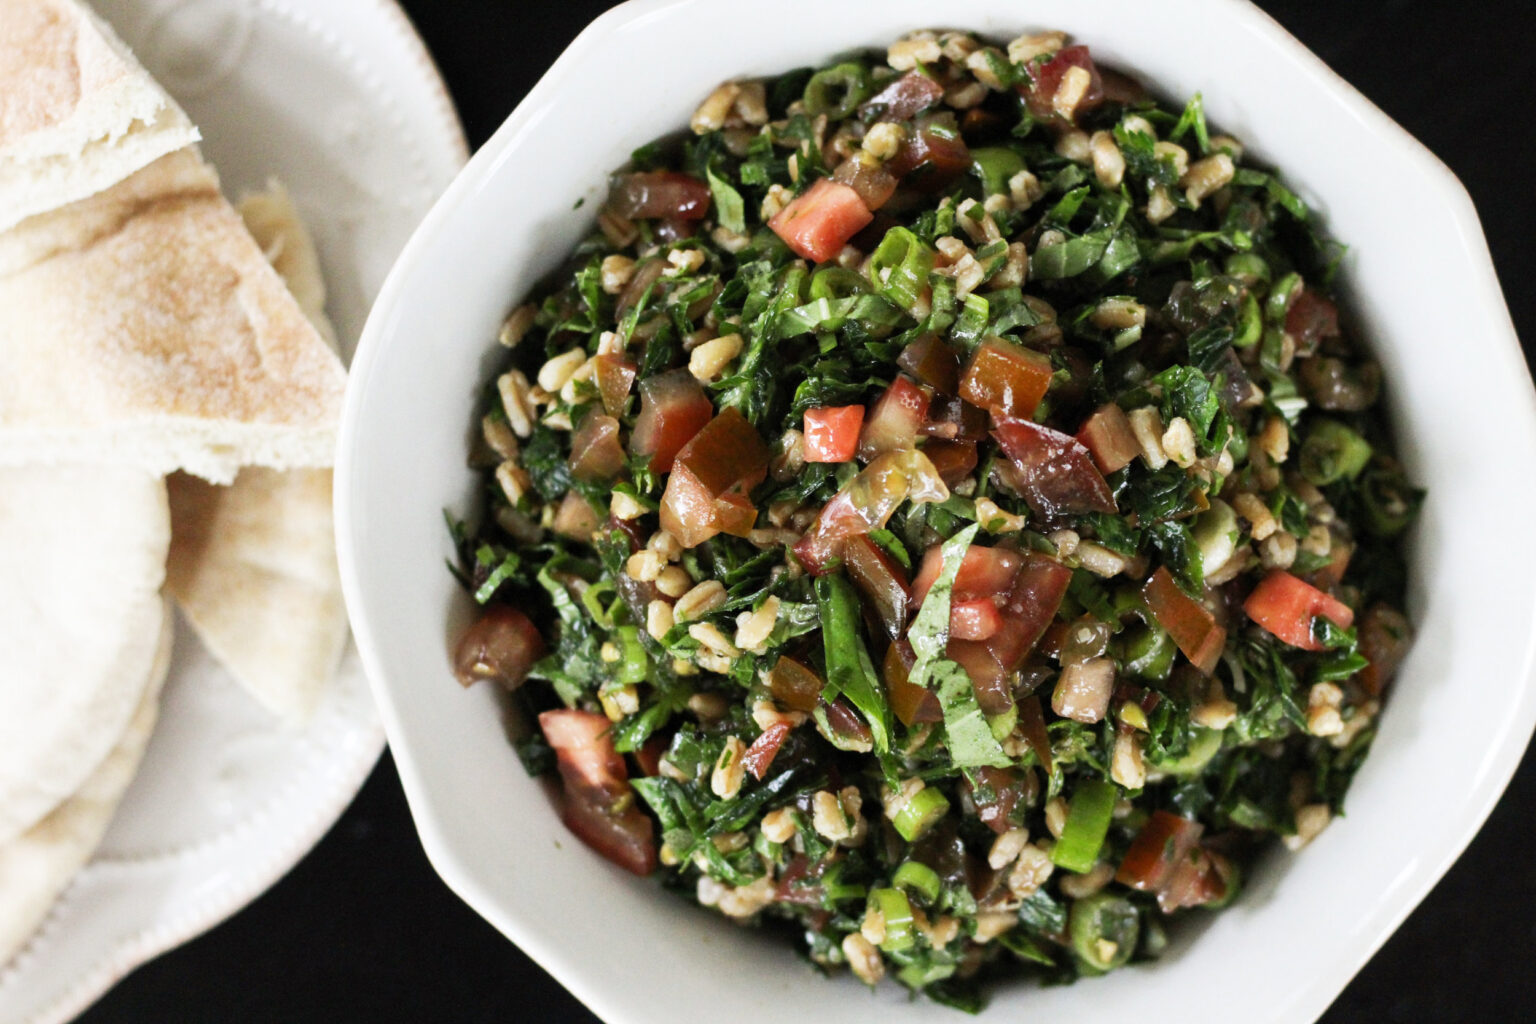
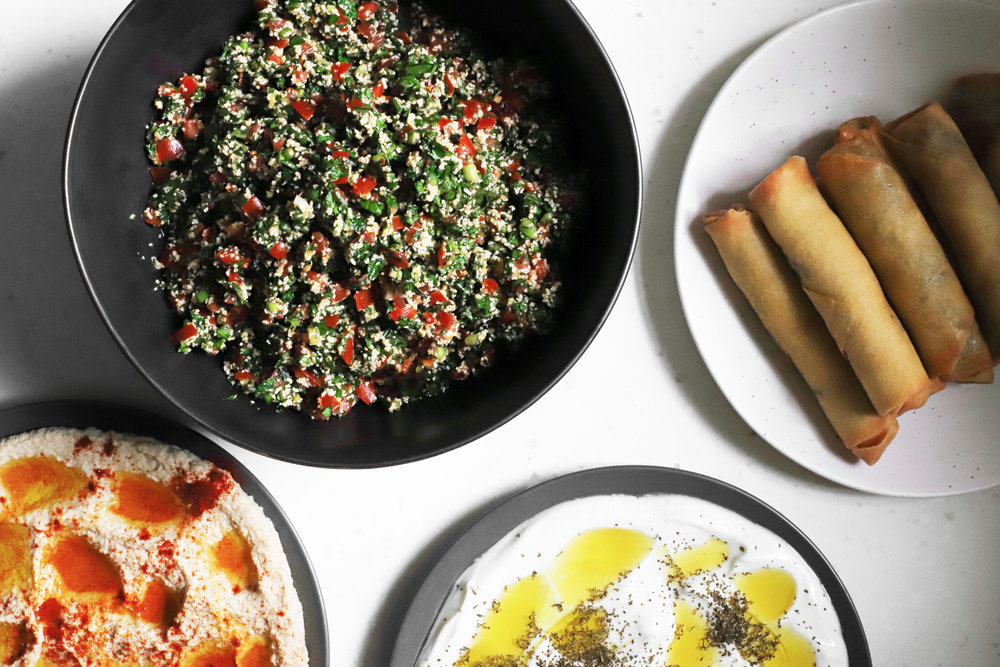
My grandmother grew up eating this classic tabbouleh on her family’s farm in Syria, and I usually make it the same way she and my mother taught me. But sometimes tabbouleh inspires me to improvise. And in the words of Wynton Marsalis, “improvisation isn’t a matter of just making any old thing up.” It’s important to understand the bare bones of tabbouleh, and to learn more about the tradition, so that you can thoughtfully and respectfully create something new.
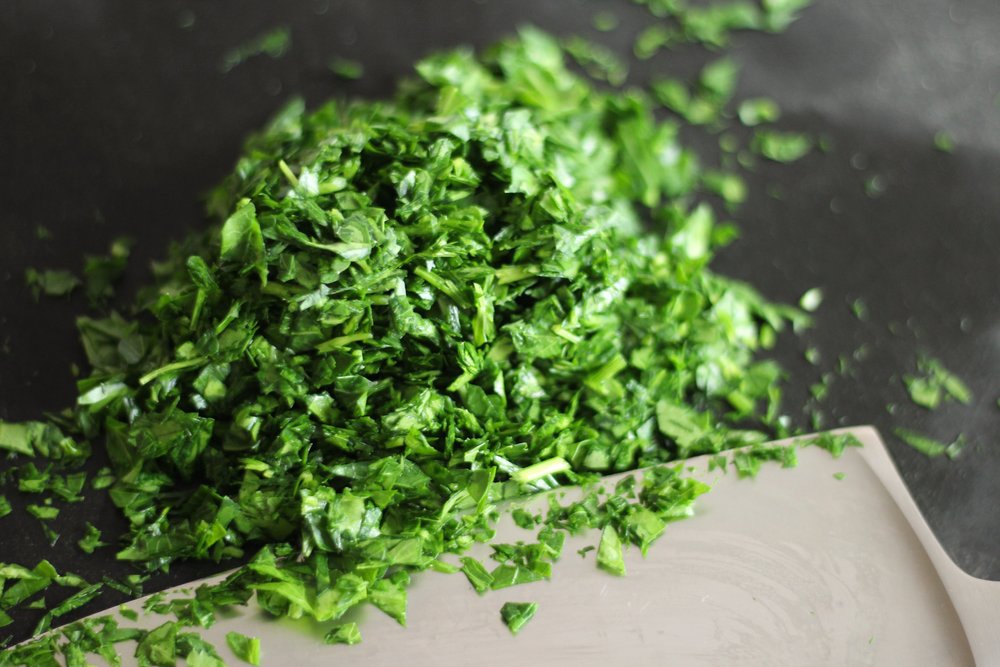
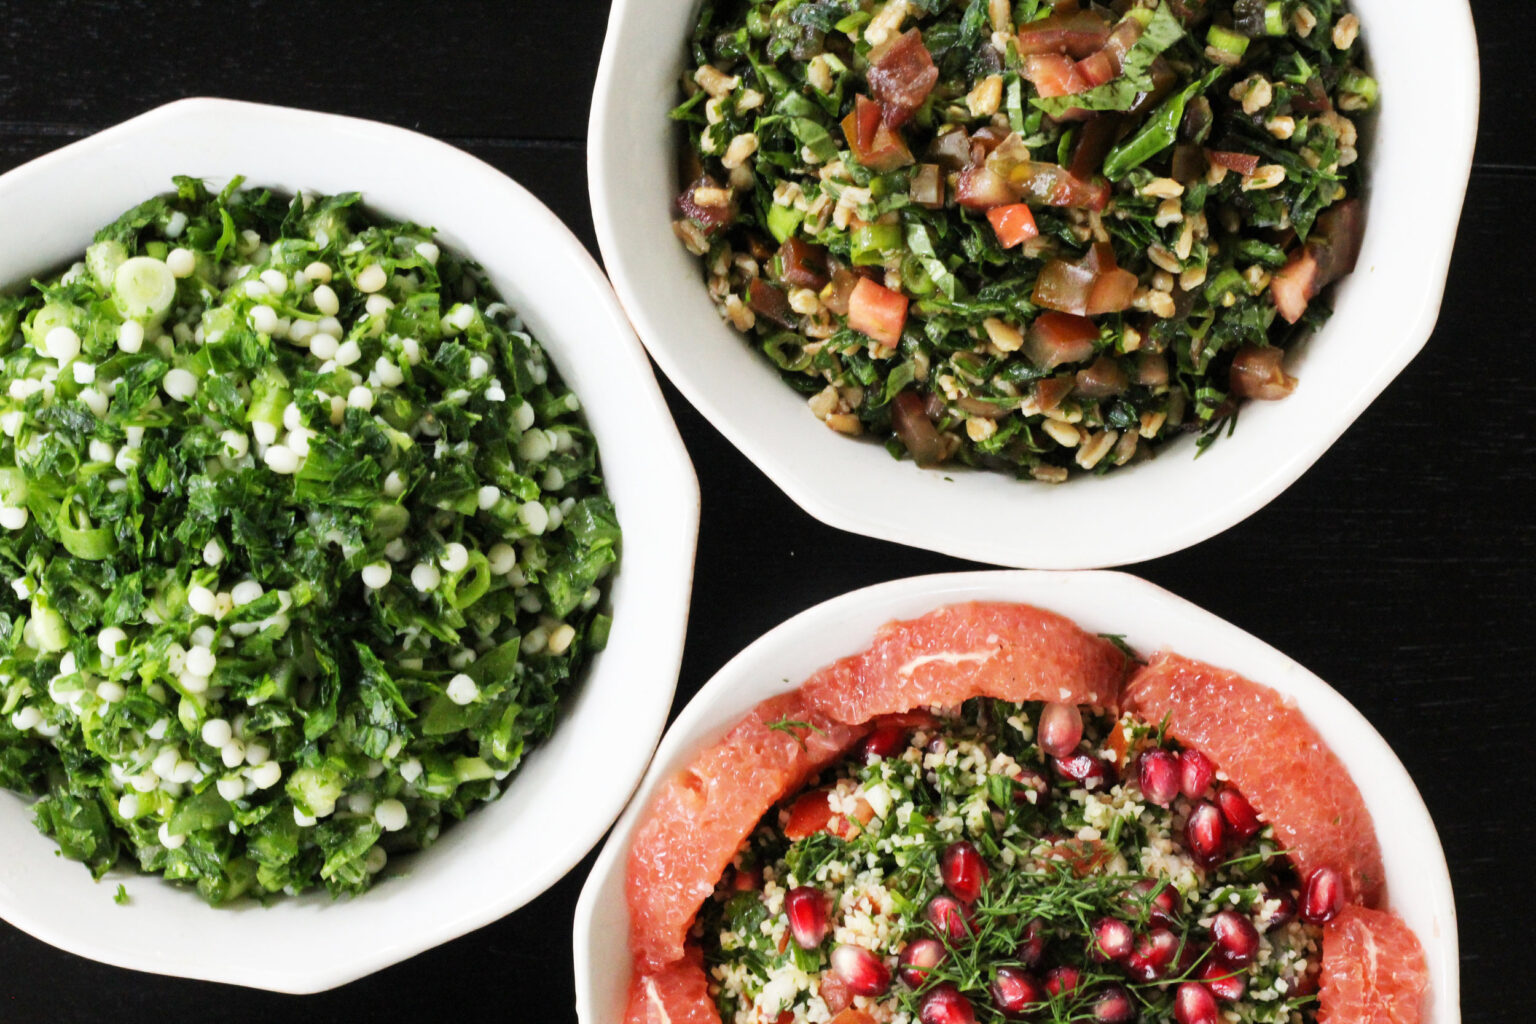
Most importantly, tabbouleh must be diced very finely. This means that you should dry your herbs until they don’t have a single drop of water left clinging to them (a salad spinner works best), and use a very sharp knife. If there’s an ingredient you really want to include, which can’t easily be minced (take grapefruit supremes, for instance, which I use in my ruby fennel tabbouleh), I recommend dicing them large and forming a border around the tabbouleh. There should never be large diced veggies floating around in the tabbouleh itself.
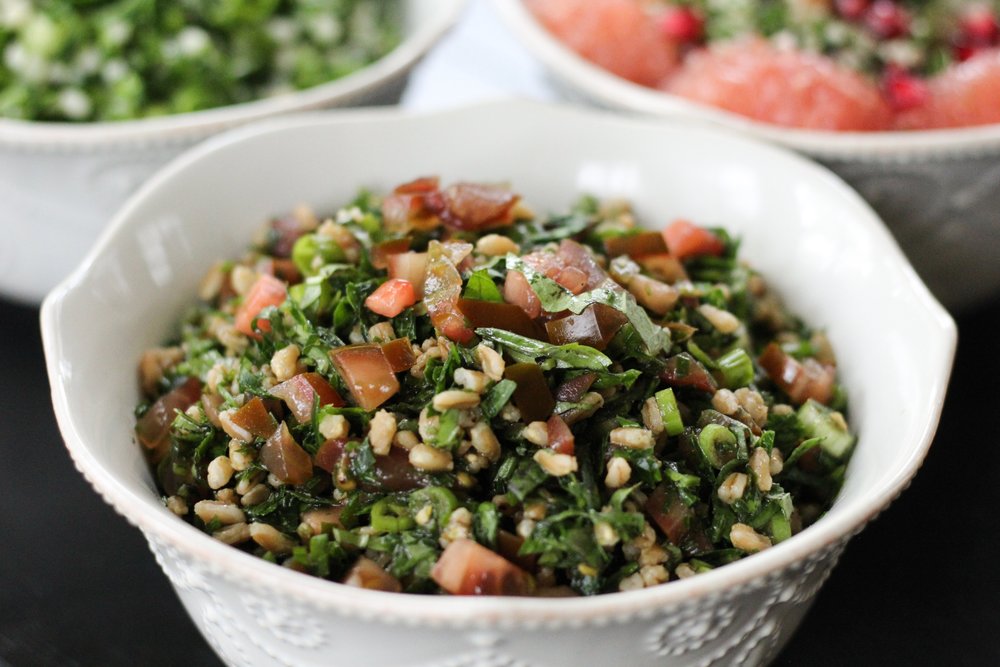
Tabbouleh also must include a few necessary ingredients, but I like to think of these ingredients as categories instead of specific foods. A tabbouleh must have a grain, parsley, one or two supporting herbs, some kind of onion, tomato (though this is sometimes omitted), olive oil, acid (usually citrus), salt, and pepper. Sometimes tabbouleh includes another finely minced fruit or veggie, but this is totally optional.
The proportions of these ingredients are also really important. The most important ratio is parsley to bulgur, but there’s no real consensus, except that good tabbouleh doesn’t use too much bulgur. How to define “too much” is really debatable, and I tend to use a lot more bulgur than Anissa Helou or Yotam Ottolenghi, but still a lot less bulgur than many restaurants. The key is to avoid thinking of parsley as a seasoning for the grains—just remember that it’s a core component of the salad, if not the most important ingredient.
I’ve come up with my own tabbouleh formula, but there are many different schools of thought and cultural traditions, and this is just one way to think about it. So use the guide below to come up with your own tabbouleh creation, or feel free to check out some of my tabbouleh varieties.


my tabbouleh formula
1/2 cup grain, cooked or soaked
1 cup minced parsley
1/4 to 1/2 cup minced supporting herbs
1/4 to 1/2 cup minced onion
1 cup minced tomato
1/2 cup minced fruits or veggies
2 tablespoons extra virgin olive oil
1 1/2 tablespoons to 1/2 cup acid, to taste
Salt and pepper to taste
ingredient inspiration
grains: burghul/bulgur, quinoa, farro, fine or pearl couscous, cauliflower “rice,” wheat berries, barley
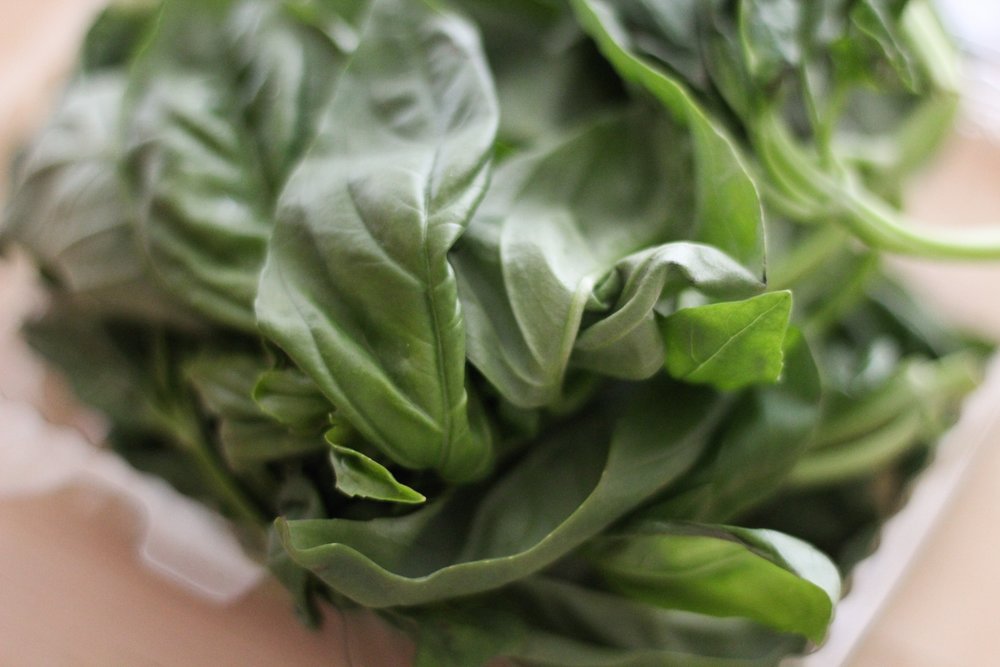
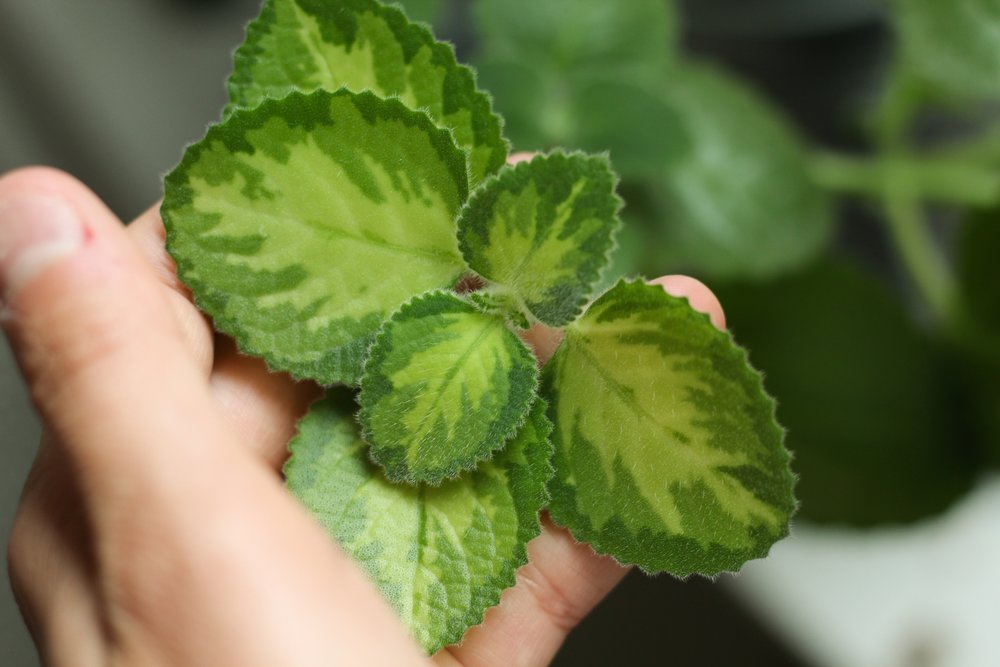
supporting herbs: mint, thyme, cilantro, basil, dill, fennel fronds, oregano
acids: lemon juice, balsamic vinegar, red wine vinegar, lime juice
extra fruits and veggies: tomatoes, tomatillos, fennel, cucumbers, grapefruit, hot peppers, bell peppers, zucchini, artichokes, pomegranate seeds
onions: red onion, green onion, white onion