
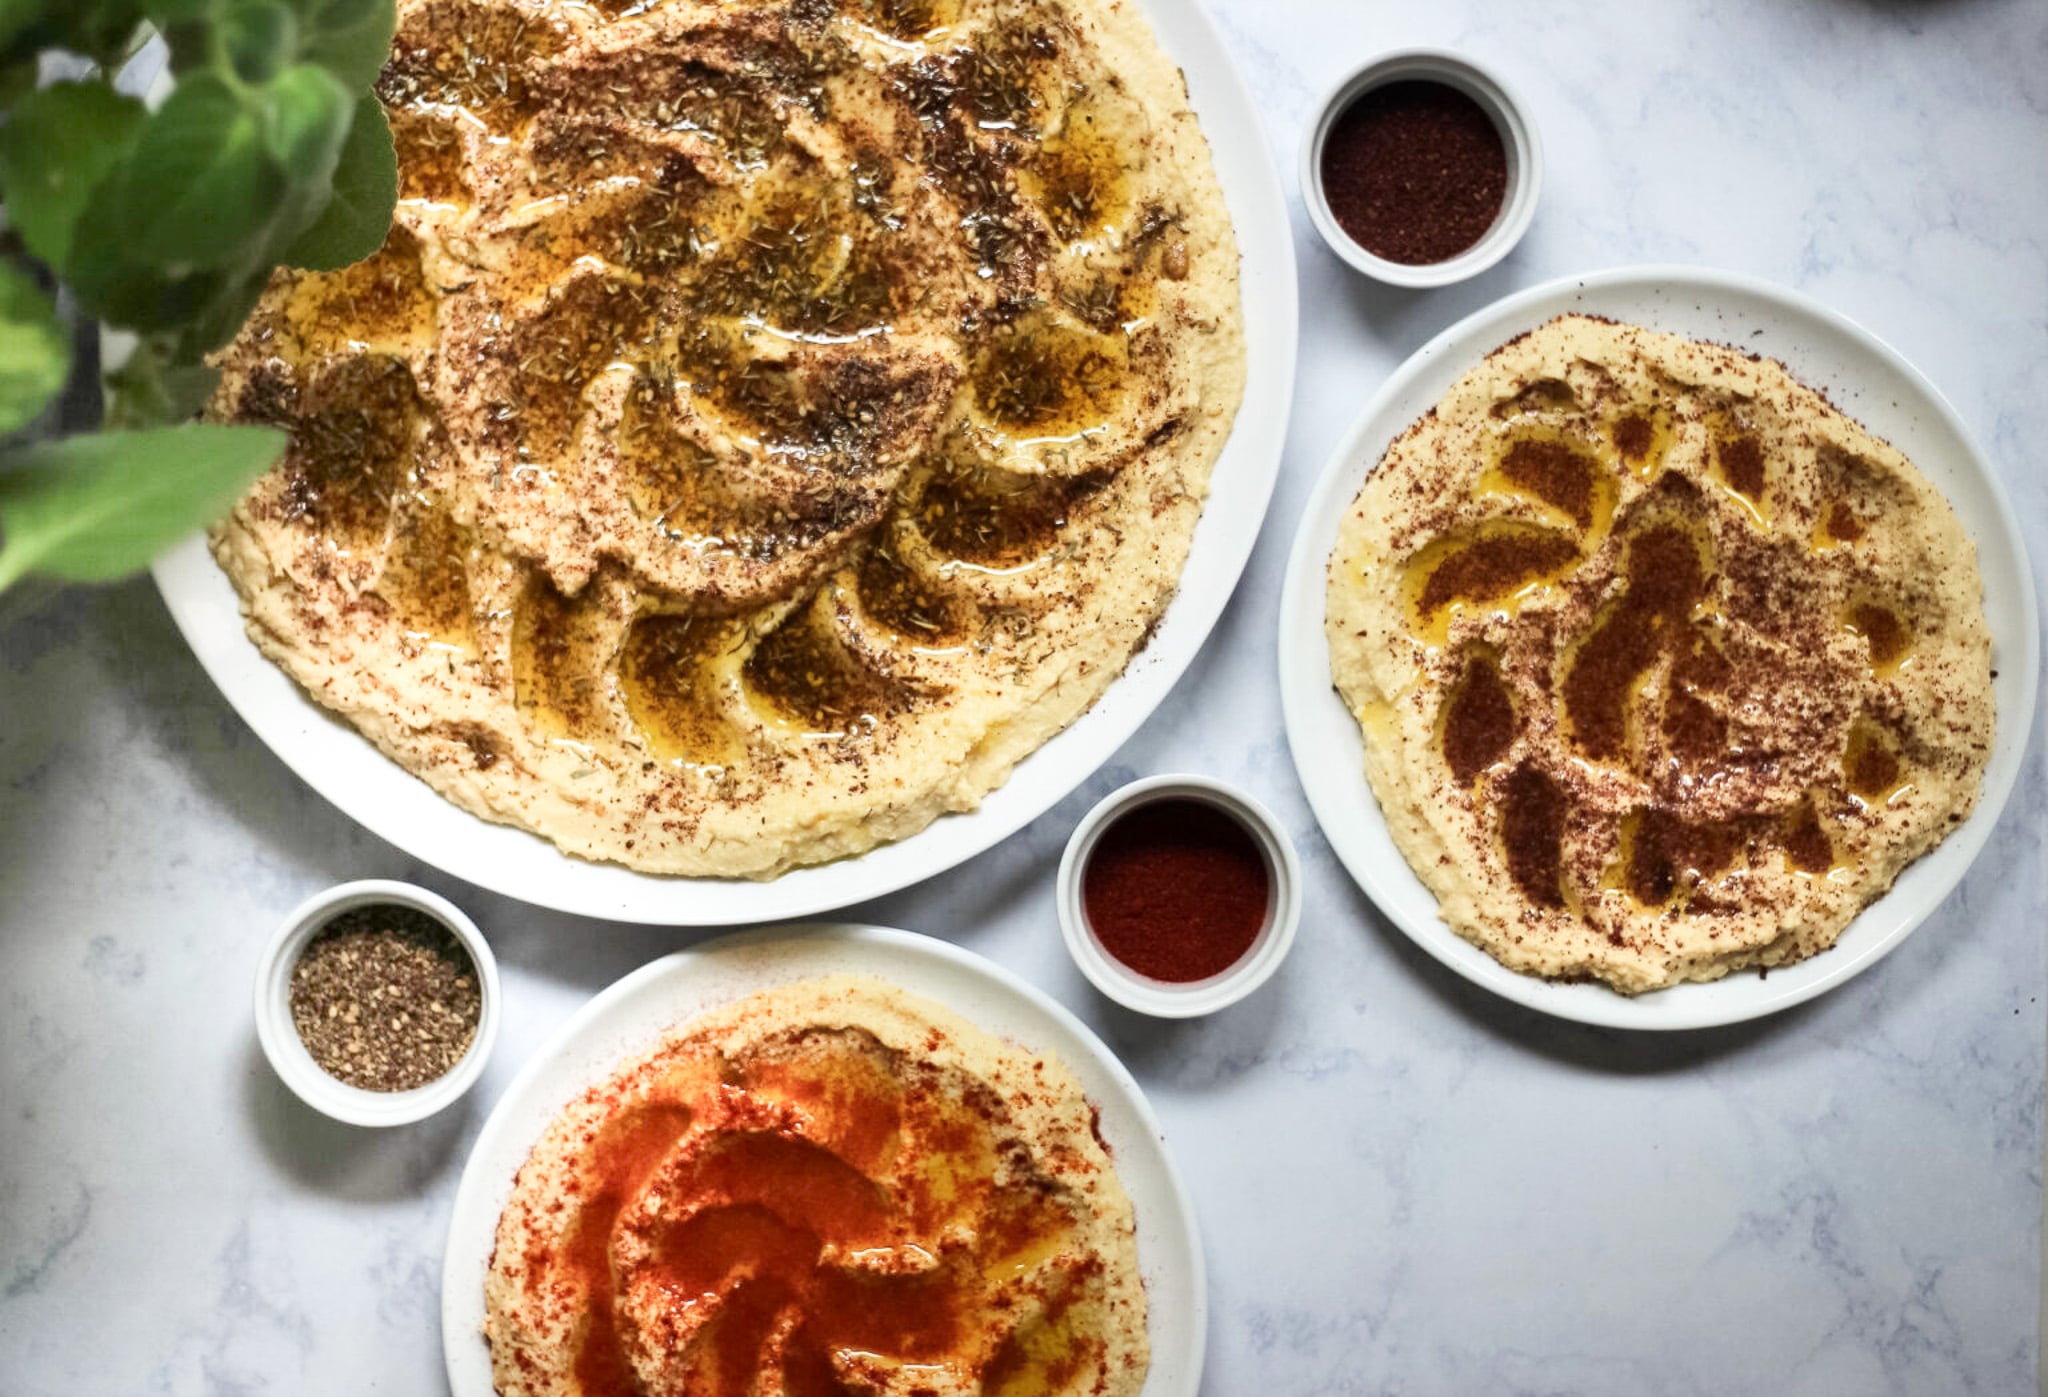
Why is it so hard to make hummus that’s as good as the one your favorite restaurant makes? Well, it’s not actually hard or time-consuming. You just need to know one secret: you’ve got to include a lot more lemon than you’d think.
Adding enough lemon juice solves a couple problems:
- Texture: Most recipes for hummus set up dense, cakey, clumpy, heavy, gritty, and bland—a dreadful combination. You can hold a drab bowl of hummus upside down and that brick of ground-up chickpeas will stay in the bowl like a Dairy Queen blizzard. That’s not what you want. Adding enough lemon juice solves that problem and gets us a smooth and creamy bowl.
- Flavor: Using a nice dose of lemon juice turns hummus into a super flavorful, tangy sauce. Instead of a bland bowl of mush, we’ve got something bright and sunny that makes everything from kebabs to avocado toast 100x more flavorful.
A few notes on this lemony hummus:
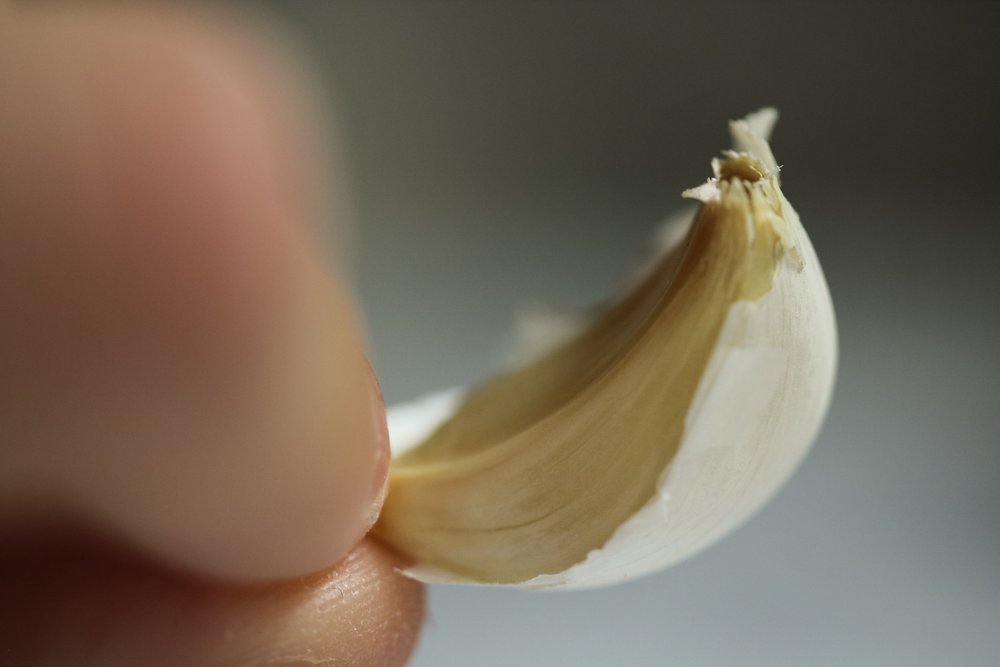
- Garlic. If you’re the kind of person who adds like 5 extra cloves for every 1 clove, I know you’re probably not going to listen to this suggestion, and that’s okay. But remember that raw garlic goes a long, long way. You can probably push it to like 3 or 4 cloves if you want to be breathing garlic, but I don’t recommend adding more than that. (You can always use a garlic press to add more at the end if you’re not happy with the amount).
- Dried vs canned chickpeas: This recipe uses canned chickpeas. If you want to make hummus from dried chickpeas instead of canned, I’ve got a great recipe here. It’s not quite as lemony as this one, but pretty darn zesty.
- Tahini: Since we’re using a lot of lemon juice, it’s really important to also use the full amount of tahini. Without the tahini, our lemony hummus would turn out super watery. Tahini binds with moisture to create a creamy texture.
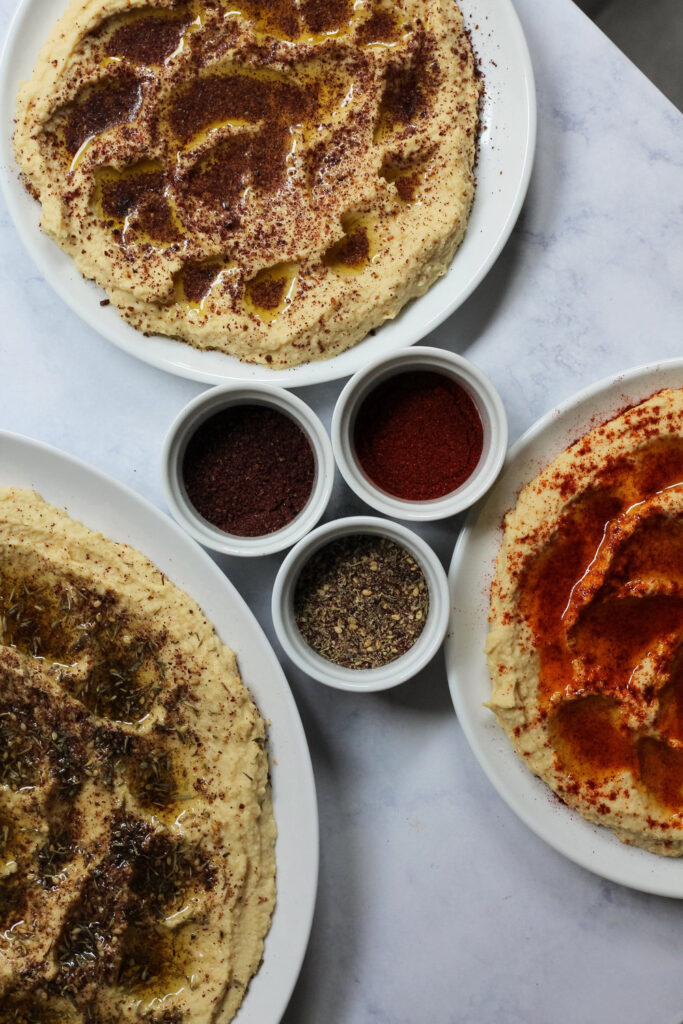
How to top it:
I’ve actually got a whole blog post about this with lots of great ideas. A few of my favorites:
- Grilled corn, black pepper, and basil
- Sesame fava beans
- Jerusalem salad
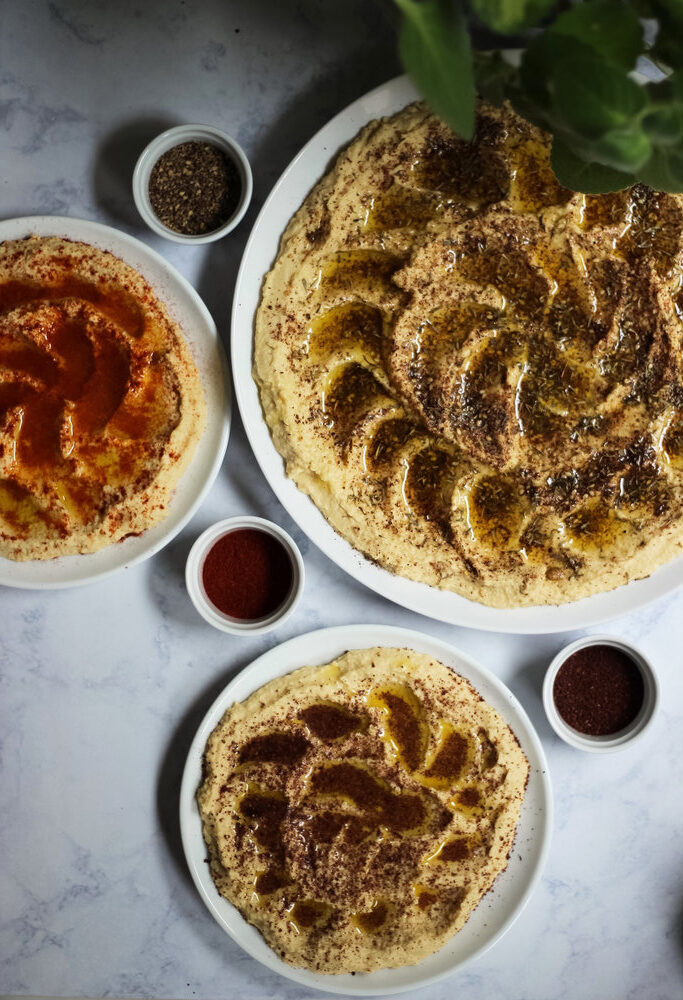
- Or simply use some spices! Pictured below: za’atar, paprika, and sumac (if you’re a total sour-food fanatic).
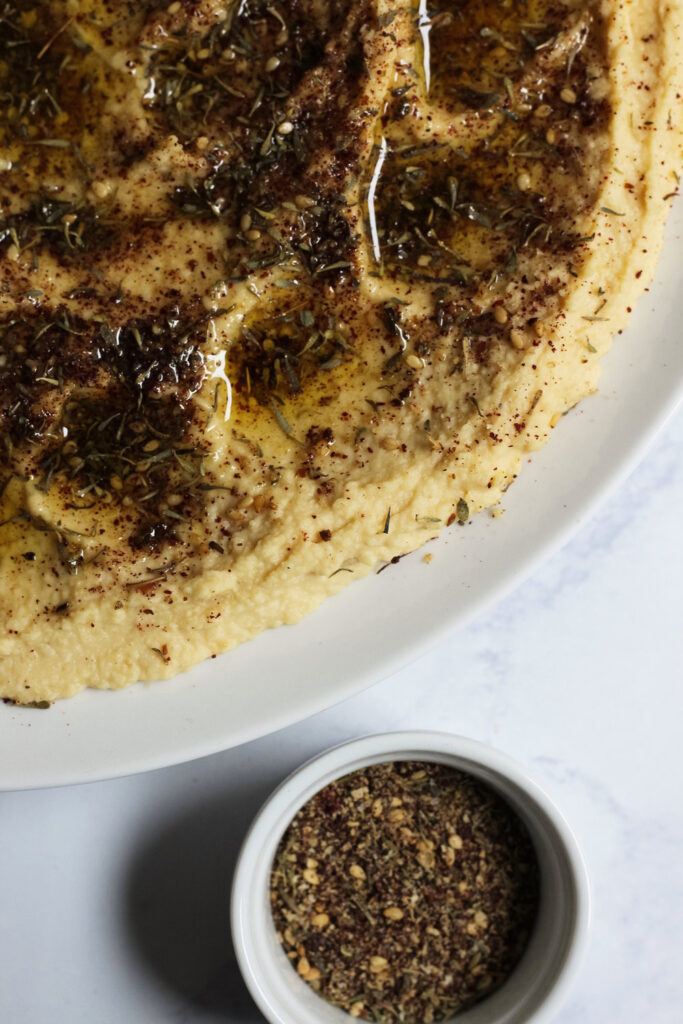
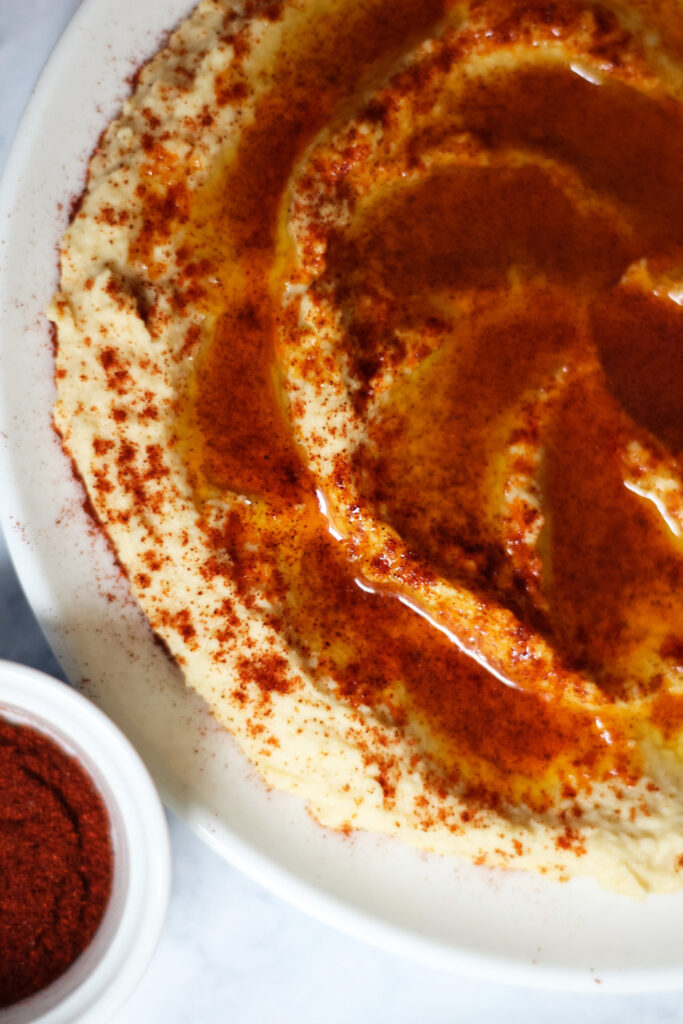
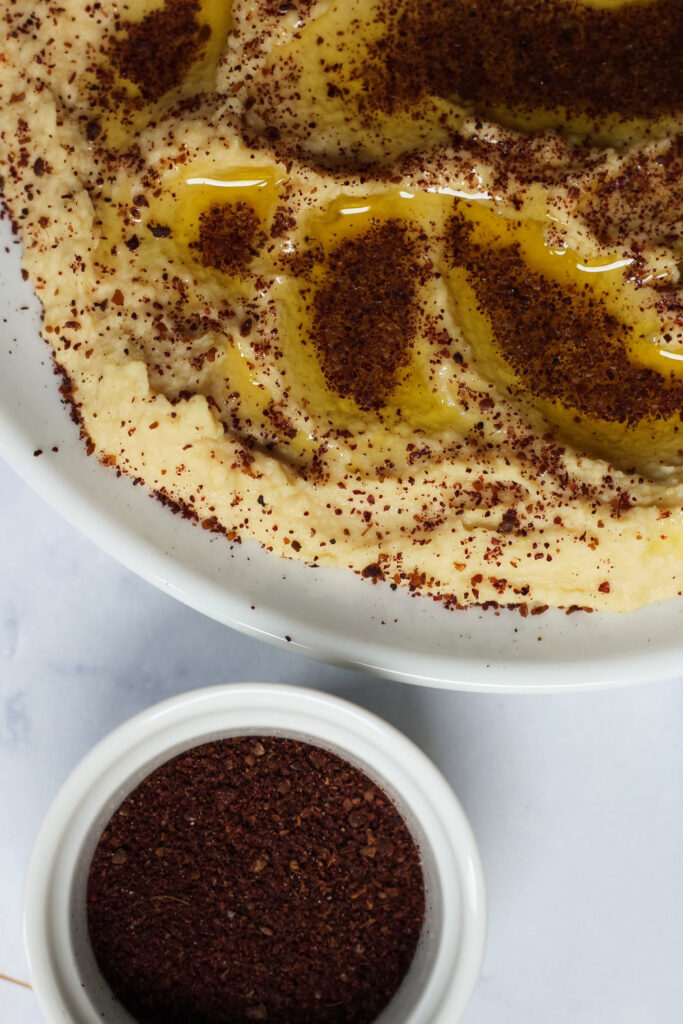
How to plate it:
I love the way my Assyrian mom and grandmother taught me to plate hummus. It’s both beautiful and functional. Instead of serving it in a deep bowl, we serve ours on a deep plate or shallow bowl. Serving it in a deep bowl means that you won’t get a good bite of toppings and/or spices with each bite. A deep plate means that every bite will be equally flavorful.
Don’t forget to also add lots of dimples across the surface so that there’s somewhere for the olive oil to go. Every bowl my family has ever made has been styled this way. Right after the recipe instructions, there’s a video that shows how to get the swirly pattern from these photos.
PrintLemony Hummus

- Prep Time: 15 minutes
- Total Time: 15 minutes
- Yield: 2 large plates of hummus
Ingredients
- 1 or 2 medium cloves of garlic
- Two 15.5-ounce cans* chickpeas, drained and rinsed
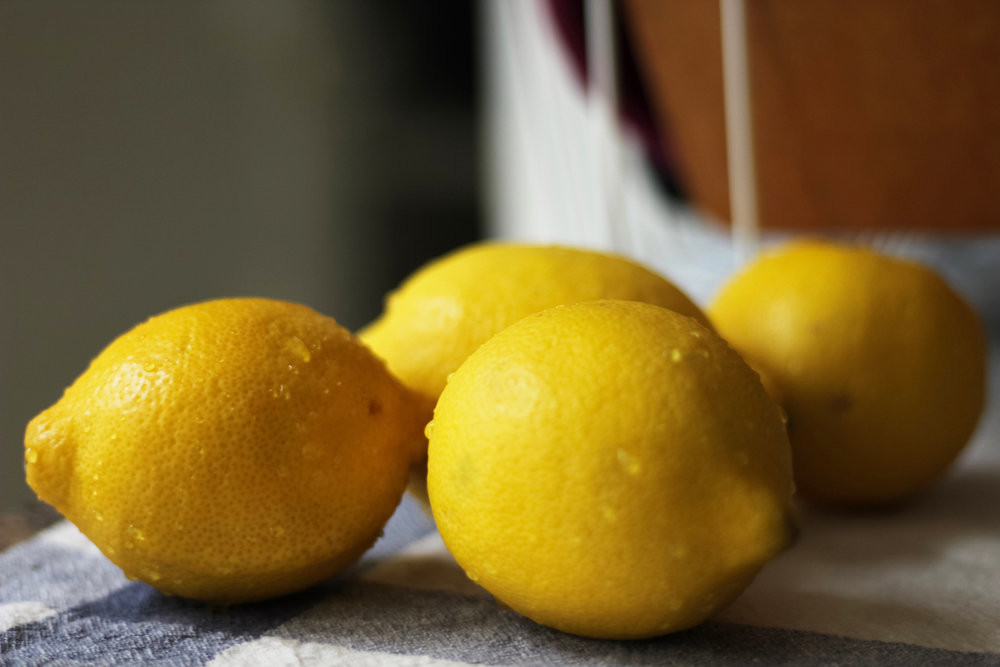
- 1/2 cup fresh lemon juice (from about 2 to 3 lemons)
- 2 tablespoons water
- 1/2 cup tahini
- Salt to taste
- Extra virgin olive oil for drizzling
- Spices or herbs for topping (for instance, sumac, za’atar, paprika, cayenne pepper)
- For serving: pita bread (either store-bought or homemade), or whatever else you’d like to use for dipping (carrots, cucumbers, etc.)
Instructions
- Chop the garlic in a food processor fitted with the blade attachment.
- Add the chickpeas, lemon juice, and water and continue to process for a minute or two, until it smooths out.
- Add the tahini and process until thick and creamy.
- Taste and adjust the seasoning, depending on how well the canned chickpeas have already been seasoned.
- Spread half of the hummus in a thin, even layer on a plate (about 1/2 – 3/4 inch thick). Drag the back of a spoon across the surface, dipping the spoon into the hummus to create little pockets as you go. Moving in a spiral over the surface works well (see the video below).
- Use the rest of the hummus for another plate, or keep it in the refrigerator or freezer for another time.
- Drizzle with extra virgin olive oil and dust with herbs or spices.
Notes
* If you’d prefer to use dried chickpeas, check out my other hummus recipe for instructions.
Video note: If you don’t see the video for this post after scrolling up, please disable ad block and try reloading the page.
Sept 18, 2026 update: This recipe (originally published February 23, 2017) used to call for 1/2 cup + 2 Tbsp lemon juice, but I’ve found that swapping 2 Tbsp of it for water makes it more of a crowd-pleaser. I still love it with the full amount of lemon, especially if you’re going to use the hummus as more of a sauce for kebabs and other foods that need a lot of acidity.
I also updated this post to include more useful info before the recipe and streamlined the recipe. It was the second recipe I ever wrote, before I became a professional recipe developer (and wrote 500 more, here and in my cookbooks)… so it was time for a small update. That’s also why it already has 2 reviews, even though it was just published yesterday.
I have been trying for years to get my homemade hummus to taste like “store-bought” . I was always adding more oil and salt but it was never right. Tried this recipe today and FINALLY it tastes how i want it. Never thought copious amounts of lemon juice would be the answer. Thanks!
aw that makes me so happy! I’m glad you’re enjoying it!
Even though I am Assyrian, when my husband is making hummus and asks me questions about the recipe, I ALWAYS direct him to this. Anything by Cardamom & Tea is perfection.
You made my day, thanks so much Meghan ❤️
I just made this recipe and it turned out great. I saved the water from the can; I am wondering if you have ever developed any aquafaba recipes. I would be very interested to try one if you posted one!
I’m so glad you’re enjoying it! I haven’t done a ton of experimenting with aquafaba, but I’ve found that it works really well in most chocolate mousse recipes in place of whipped egg whites.
I’ll just say I am completely and utterly in love with this presentation!
Thanks Makos!! I learned it from my mom and grandmother 🙂
Do you ever use dried chickpeas for this, or do you prefer the canned ones?
Great question! In the past, I have made hummus with dried chickpeas, but I usually make hummus as a convenience food, so I usually opt for canned for that reason. I find that there’s not too much difference between the two–you can make a great hummus with either dried or canned. But if you’re using dried chickpeas, make sure you cook them with baking soda to make the hummus extra-delicious. That’ll make them fall apart and soften, so the hummus will turn out super smooth.