I developed this recipe because every edible cookie dough recipe I found uses a flour heat-treating method warned against by experts and the FDA. My edible cookie dough recipe uses a roux of hot butter and flour instead of using the microwave, oven, or dry-roasting in a pan.
As Dr. Yaohua Feng (a food safety researcher) pointed out in this article, ovens and microwaves lack the precision to ensure flour reaches an even, safe temperature to kill pathogens like E. coli and Salmonella. My roux method hits 300°F (more on that soon), evenly cooks the flour suspended in a hot liquid, and uses a centuries-old cooking technique. [July 6, 2026 edit:] I recently wrote an article about it for the Washington Post where I reached out to food scientists about the safety of this method.
I’d usually include a “jump to the recipe” link here, but it’s actually important that you read the whole post for this one so that you can decide for yourself.

Is this edible cookie dough actually safer than others?
I’m a recipe developer and cookbook author, not a food scientist. I can’t promise my recipe eliminates all risk. But here’s why I believe it’s a meaningful improvement, so you can make your own decision:
1. 300°F
Submerging flour in hot fat surrounds every flour particle with heat, rather than just hoping and praying that conduction heat will make its way evenly through a dry pile of flour.
In my kitchen testing, the roux’s temperature spends 5 minutes climbing from 200°F [93°C] to 300°F [149°C]— almost double the 160°F [71°C] threshold the FDA cites for killing pathogens. Stirring continuously means no part of the flour sits cold while the rest overheats.
2. Tradition
The method in this recipe is how cooks have been preparing flour for centuries. Béchamel, gravy, traditional halva, and stovetop mac and cheese all rely on the same basic technique of cooking flour in fat or fat-and-liquid before serving.
“Traditional” doesn’t necessarily equal “safe.” But I’m just saying: this isn’t just some weird method of cooking flour that I invented (like, say, zapping dry flour in a microwave). It’s one people have been using for a very long time.
Does this recipe actually taste good?
Ah okay, finally something I can speak to with authority and zero caveats: Does this cookie dough actually taste good? Yes. Yes it does. It has a nuttier flavor and slightly more rustic texture than regular cookie dough, but it is very good.
I know, you’re probably reading “mac and cheese” and “béchamel sauce” and thinking “how on earth could a roux make good cookie dough?!” The answer: a roux has 2 of the main ingredients in cookie dough: flour and butter. We’re just bringing the usual ingredients together a bit unconventionally.
Here are a few unique features of this recipe:
- The milk solids in the butter start to brown by the end of the process, but this gives it a flavor very similar to brown butter cookie dough.
- The flour also begins to lightly toast, which creates a different texture and flavor. The flavor is not an issue—it adds a nice nutty note to the dough. However, the texture is something to grapple with: on its own, it is slightly on the gritty side. But adding milk gives it a fluffier, doughier consistency. We’re going to add much more milk that we would if we were making a regular recipe for cookie dough. But this helps it stay soft in the fridge and gives it a doughy consistency that’s not too crumbly.
Also, to point out the obvious: do not bake this dough. It tastes like cookie dough, but structurally, it is very different and may not bake normally.May 25 2026 update: I finally tried baking it and it was actually weirdly good! If you like a chocolate chip cookie that is not exactly soft and not exactly crunchy but entirely chewy, you might actually like baking this dough. It’s slightly weird though and besides the point.
Is this recipe safe for me?
I haven’t had this method independently lab-tested. Of course, neither have the top 10 google results for edible cookie dough, which are all using methods that experts explicitly warn against (at least, at the time of this blog post’s publication).
So if you’re going to make edible cookie dough from ingredients you have in your pantry no matter what the FDA says, I do recommend using this method. But I can’t promise it is risk-free.
That being said, if you’re cooking for someone immunocompromised, pregnant, young, or elderly, the safest option is still flour that’s been commercially heat-treated and labeled as such (or just not eating cookie dough at all).
PrintEdible Cookie Dough (a better method)


- Yield: about 1 lb cookie dough
Ingredients
- 1 stick unsalted butter [115g]
- 1 cup [130g] flour
- 1/3 cup [65g] granulated sugar
- 1/3 cup [65g] packed brown sugar
- 4 Tbsp [60g] milk (divided)
- 1 tsp [5g] vanilla
- 1/2 tsp salt
- 1/2 cup [80g] chocolate chips
Instructions
- Make sure you have all your ingredients ready and measured before you start.
- Melt the butter in a small saucepan over medium-low heat, keeping a close eye on it and gradually reducing the heat. It will start out very loud and after a few minutes will suddenly get a bit quieter.
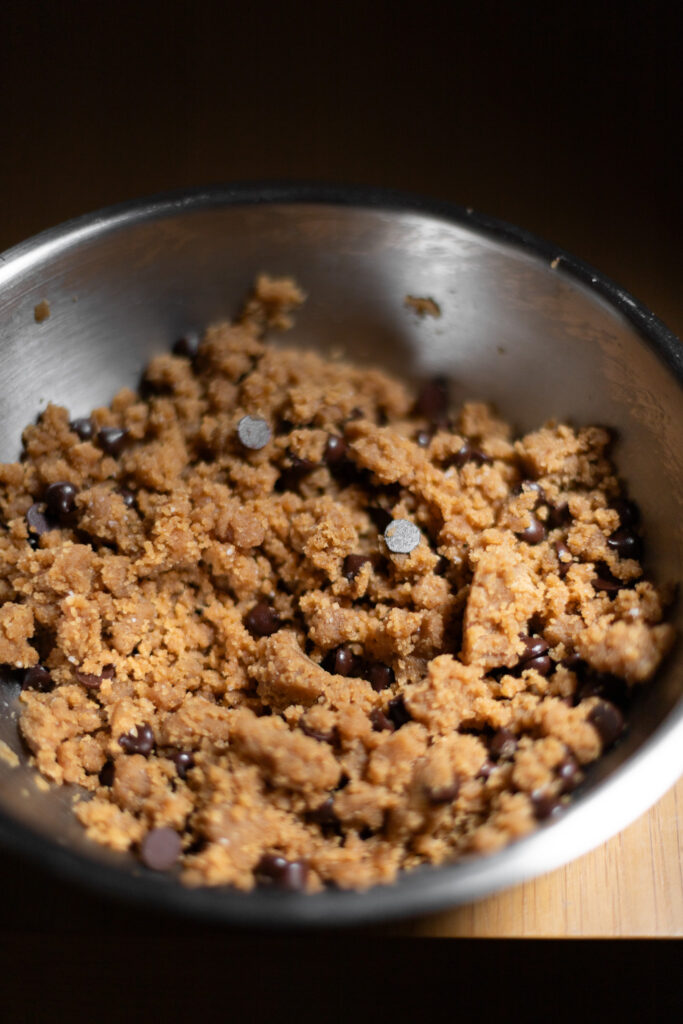
- Add the flour as soon as the butter becomes slightly quieter. Stir constantly for about 5 minutes over low heat, until it reaches 300°F [149°C] and you start to see a few golden brown flecks appearing in the mix.
- Immediately remove from heat, add the sugars directly to the hot butter/flour, and stir together. Immediately stir in 3 Tbsp of the milk, the vanilla, and the salt.
- Remove to a bowl and let cool in the refrigerator for just 30-60 minutes (set a timer). It will take less time in a steel bowl and more time in a glass container.
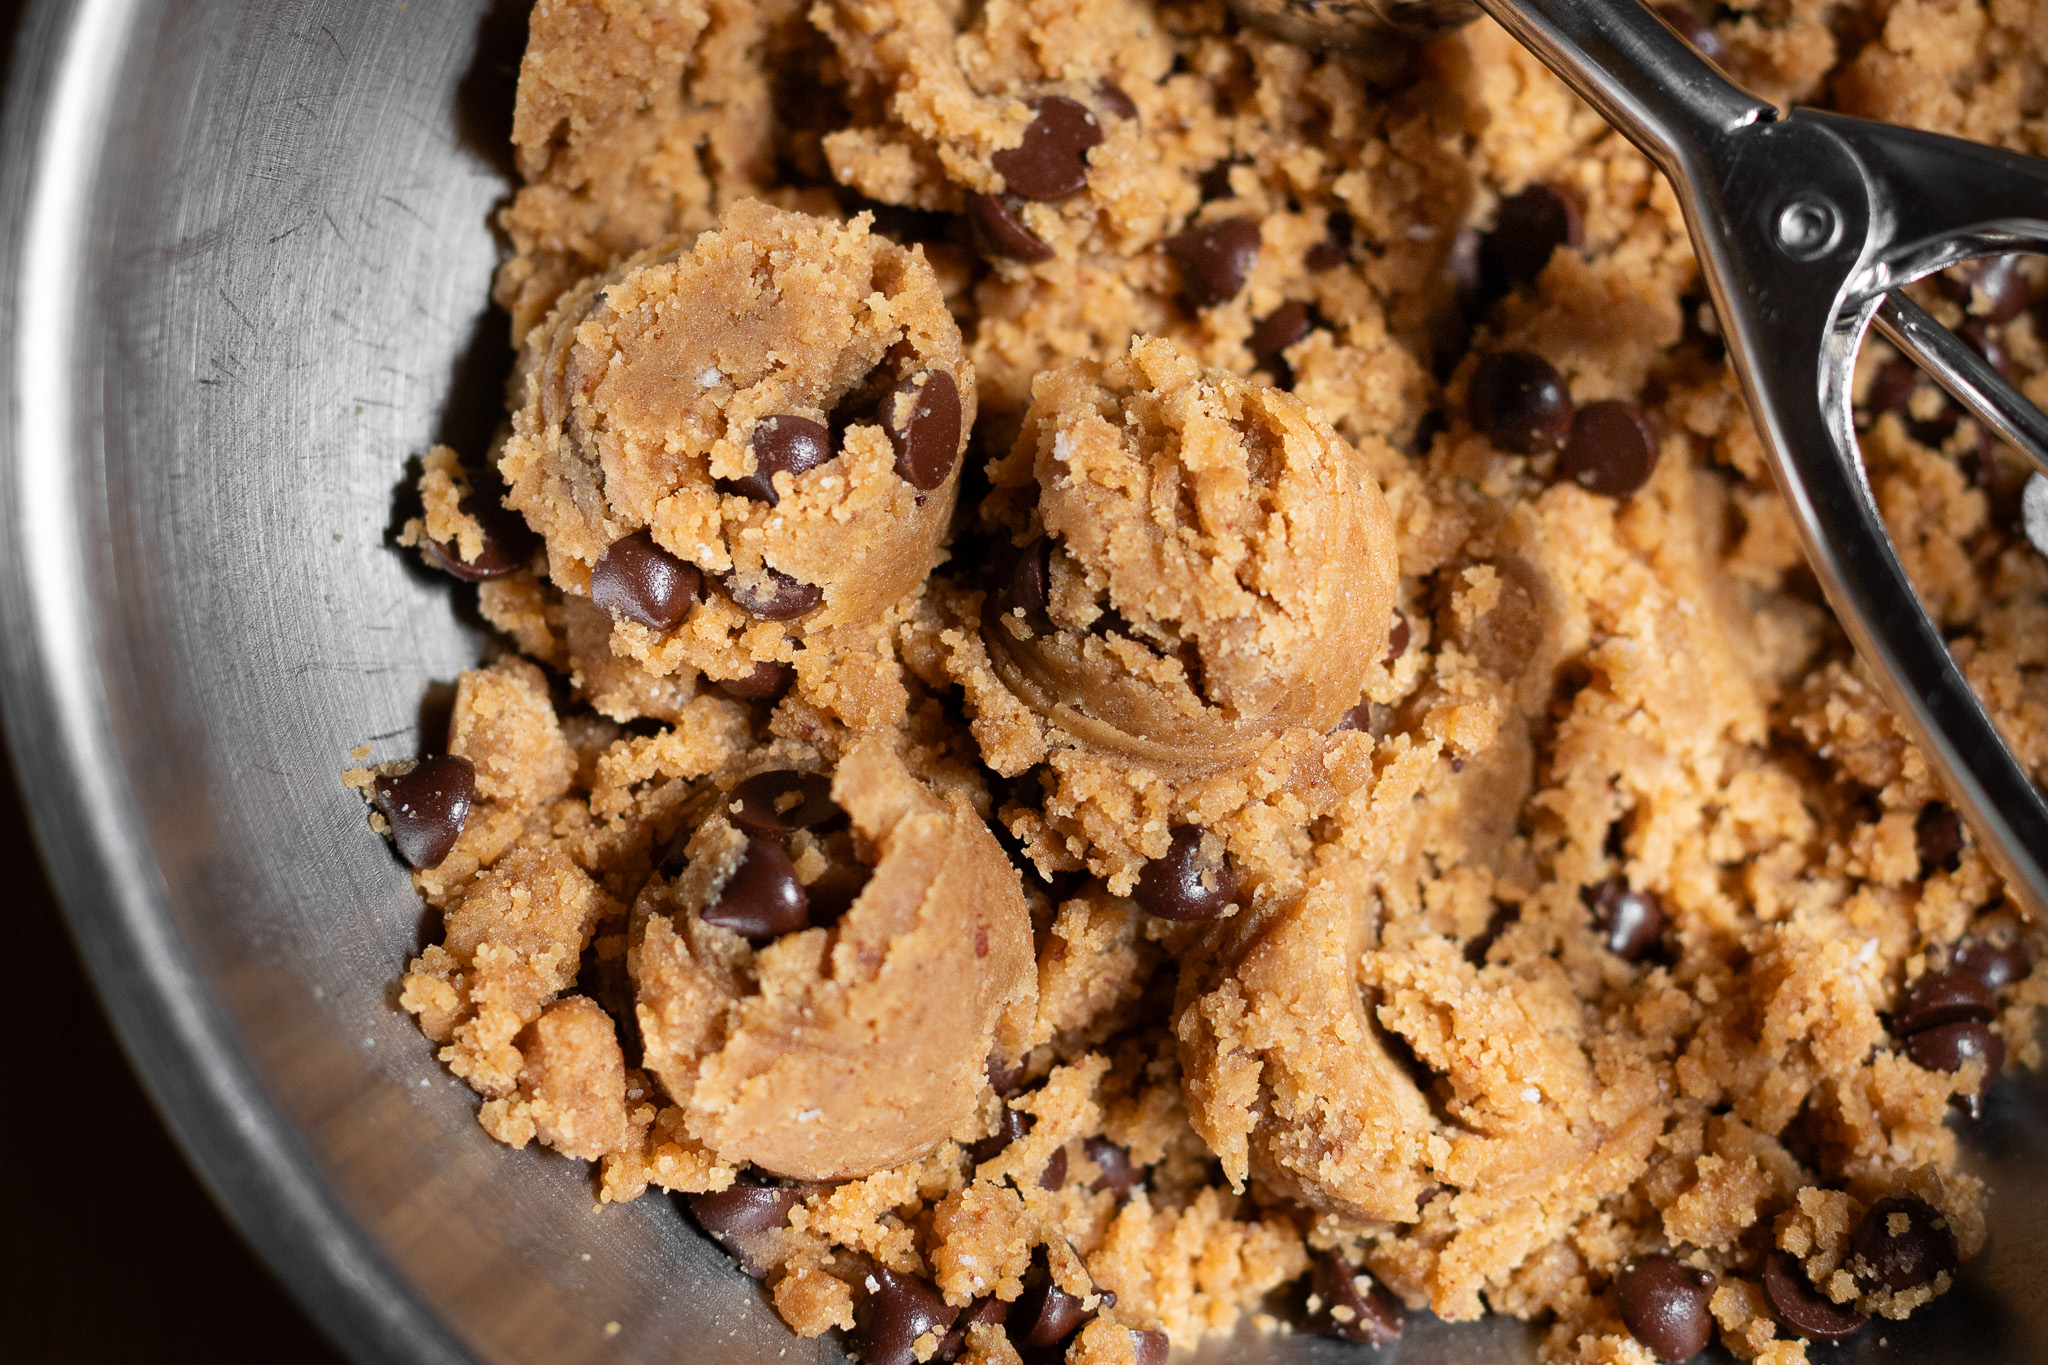
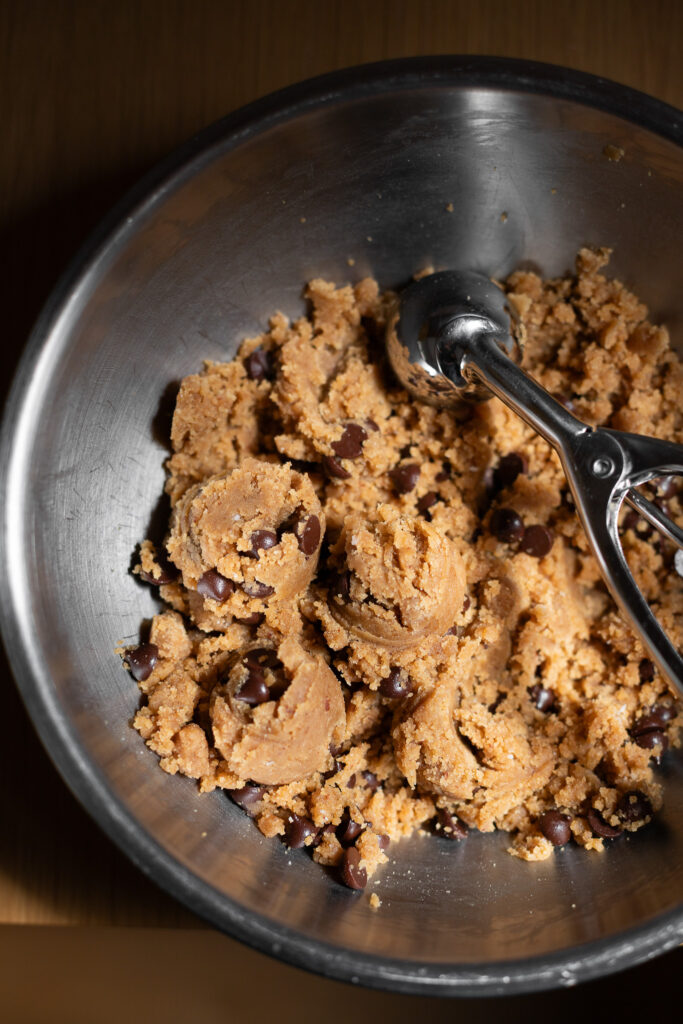
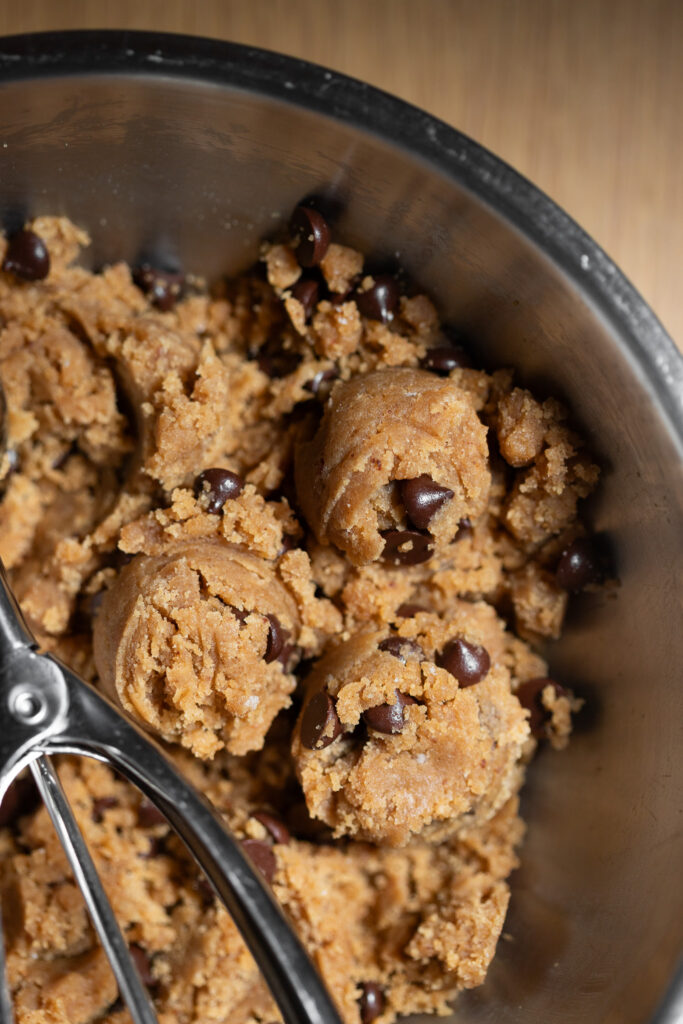
- Once it’s cool enough not to melt chocolate, check to see if it looks too dry and crumbly. Stir in the remaining tablespoon of milk if needed, breaking up any clumps. If it’s still too dry, you can add more milk, but do so very gradually one teaspoon at a time, stirring between each addition. Stir in the chocolate chips.
Notes
Store in the refrigerator for up to 3 days or the freezer for up to 3 months. For both fridge and freezer storage, I recommend scooping into balls or crumbles while it is still malleable (right after adding the chocolate chips), freezing on a sheet pan, and then transferring to a plastic bag or jar. You can eat it straight from the freezer—it does not freeze up rock solid (thanks to all the sugar and fat).
Video note: If you don’t see the video for this post after scrolling up, please disable ad block and try reloading the page.
made this twice already. so freaking good. thank you for sharing this recipe!!!!!
Yay!! I am so, so glad you enjoyed it! 😀