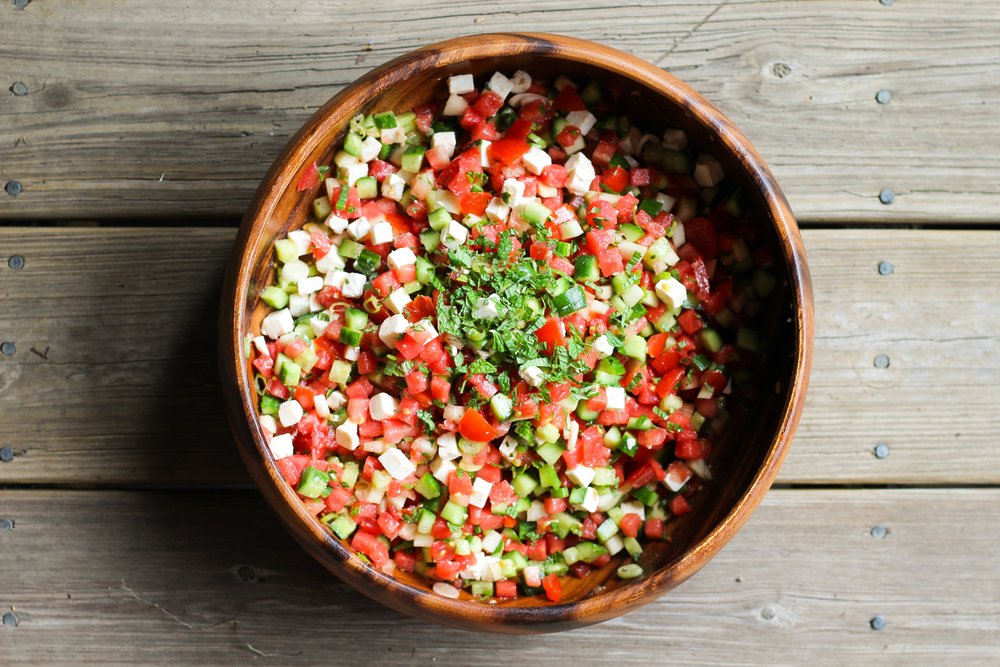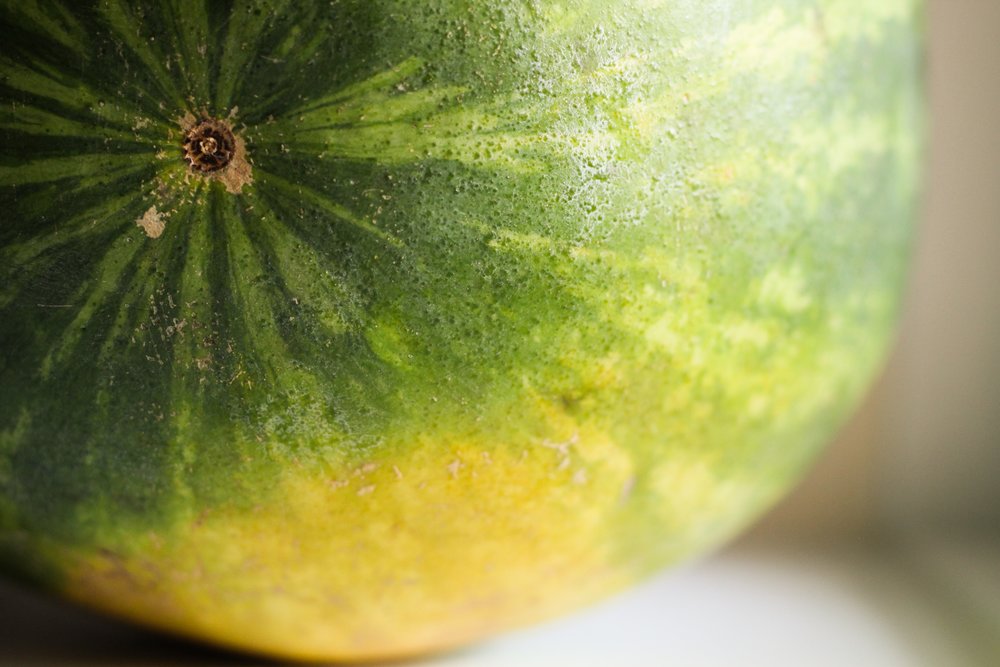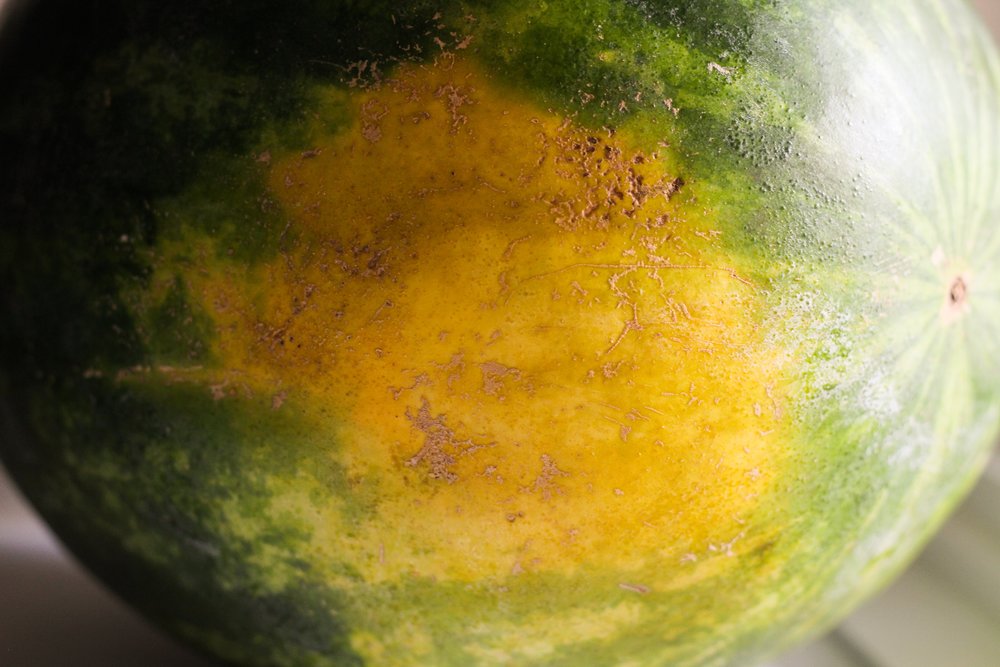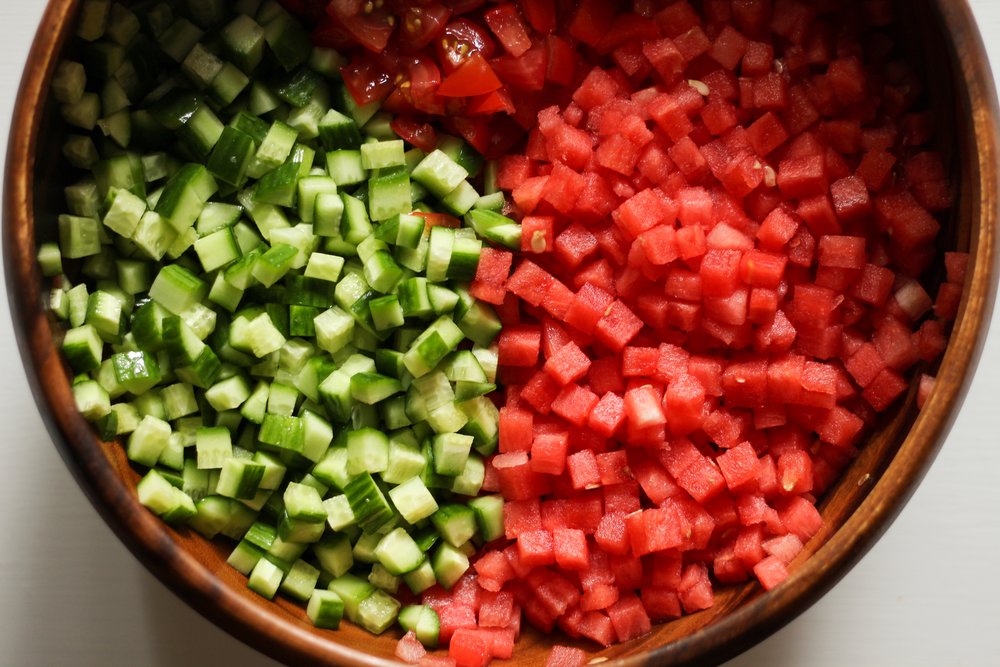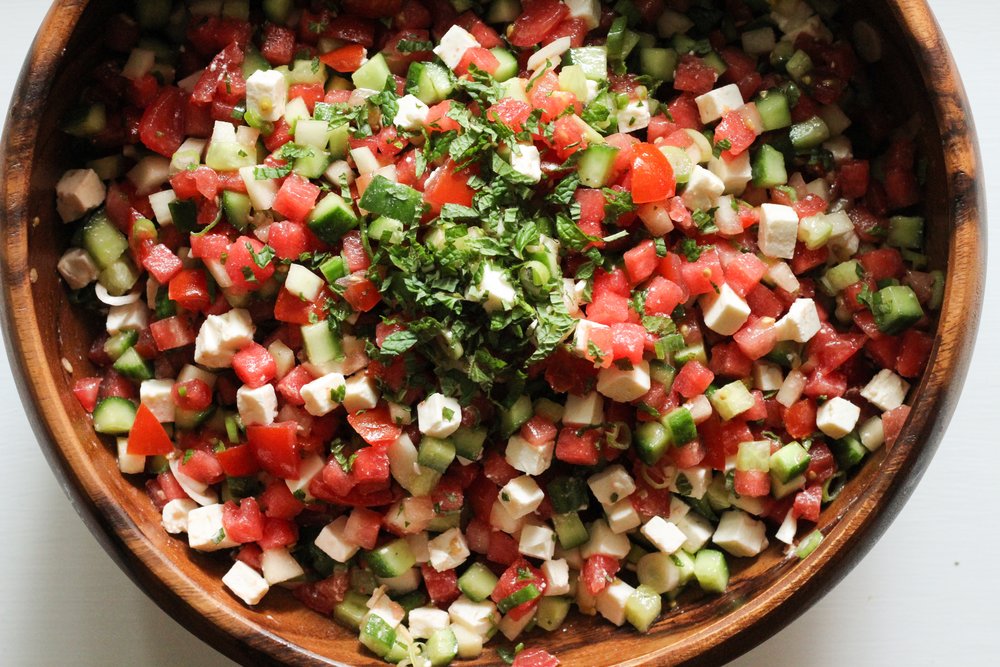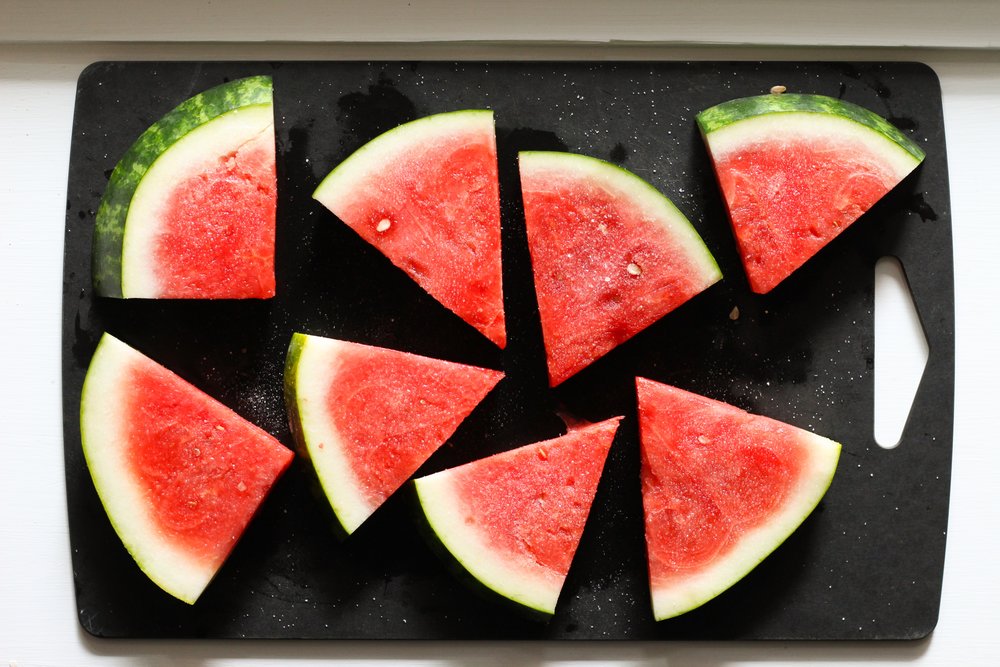
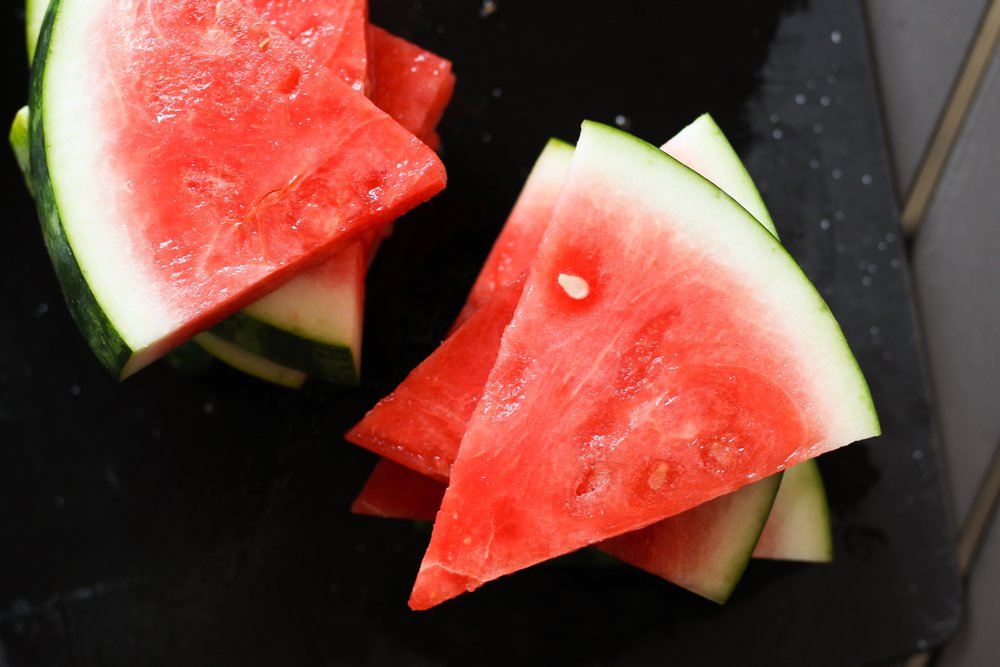
On Wednesday, I posted a recipe for watermelon Jerusalem salad, which uses an entire quart of diced watermelon. But even after making a big watermelon-heavy salad, you’re still probably going to have a lot of watermelon left over. You can certainly eat the rest as plain old wedges, but I’ve put together this bonus post for those of you who are feeling a little jaded.
Agua fresca and grilled watermelon slices require very few additional ingredients, so they’re perfect for using up leftover watermelon. Even though each recipe is made up almost entirely of watermelon, they couldn’t be more different. Agua fresca brings out the refreshing, juicy, crisp flavor of watermelon, while grilled watermelon brings out its deeper, caramelized side, making it taste a little more like cantaloupe.
grilled watermelon
Grilled watermelon hardly needs a recipe. You just lightly sweeten and salt a few wedges, throw them on the hottest grill possible, and cook them for as short a time as possible. Your goal isn’t to cook the watermelon through, but to char and caramelize the outsides, so the key is to let the grill preheat until the grates have become extremely hot before adding the watermelon. All the rotating 90 degrees nonsense is just to get the perfect grill marks for your Instagram feed, but even if you skip all the rotating, they’ll still taste just as delicious.
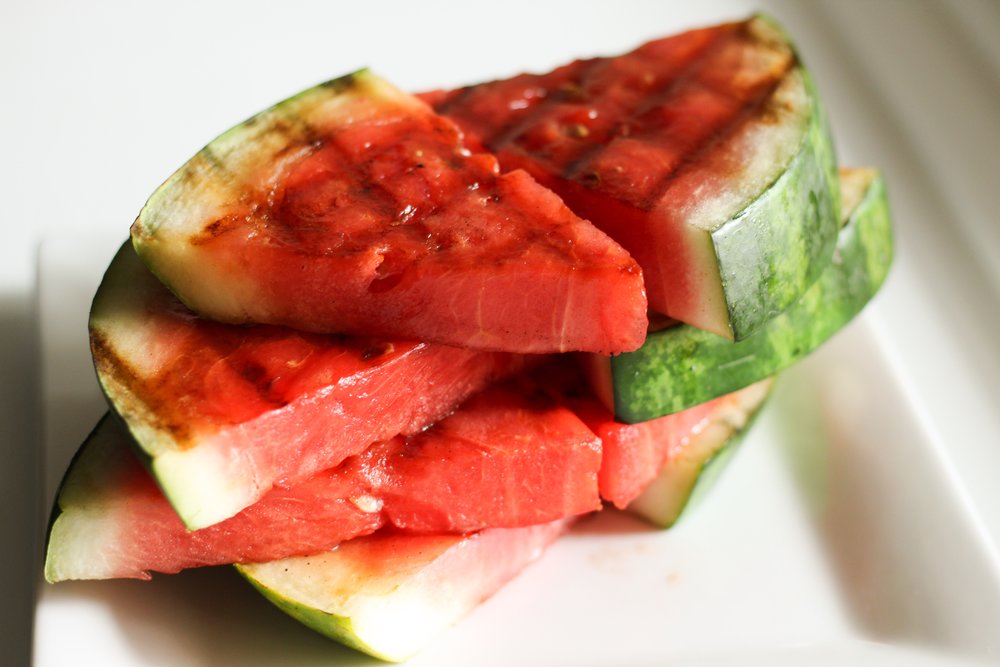

grilled watermelon slices


Ingredients
- watermelon wedges
- sugar
- salt
- olive oil
Instructions
- Sprinkle about 1/4 teaspoon of sugar and a few shakes of salt evenly over each watermelon wedge. Let them sit while you pre-heat the grill.
- Oil the grill grates and preheat the grill over the highest possible heat. Close the grill while it preheats and wait for the grates to get very hot (about 15 to 20 minutes).
- Once the grill is extremely hot, place the watermelon slices on it. Let them cook for 1 minute, undisturbed, and then check to see how they’re doing. If they look like they are in danger of burning or becoming mushy, flip them after 1 minute. Otherwise, simply rotate them about 90 degrees to give them a cross-hatched look. Cook them for another minute after rotating and then flip them.
- Cook the other side in the same way. The watermelon should not be on the grill longer than 5 minutes total.
- Serve immediately with a little more salt.
Agua Fresca
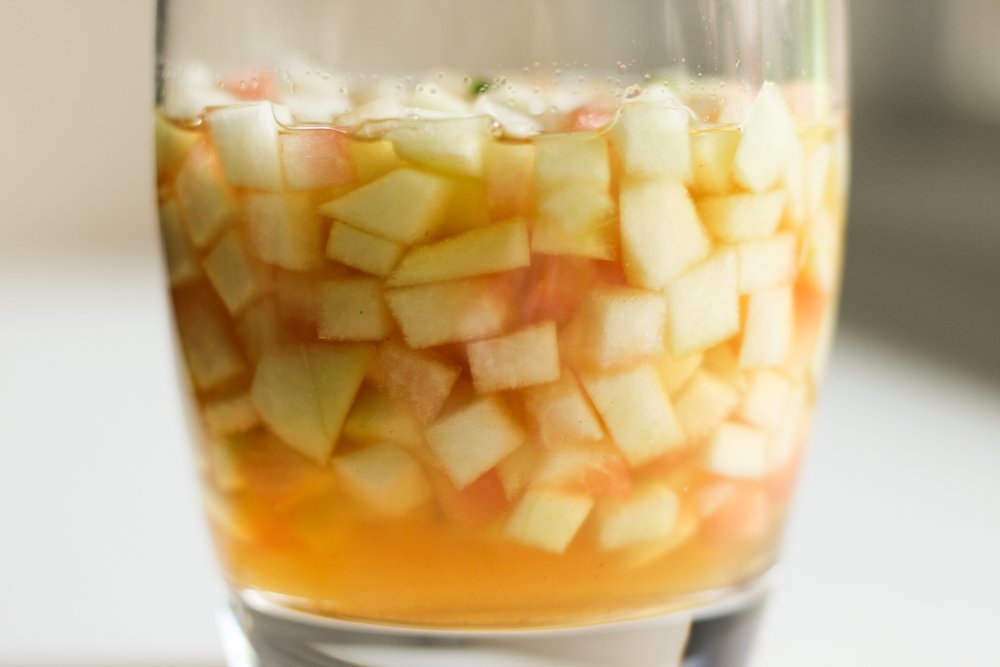
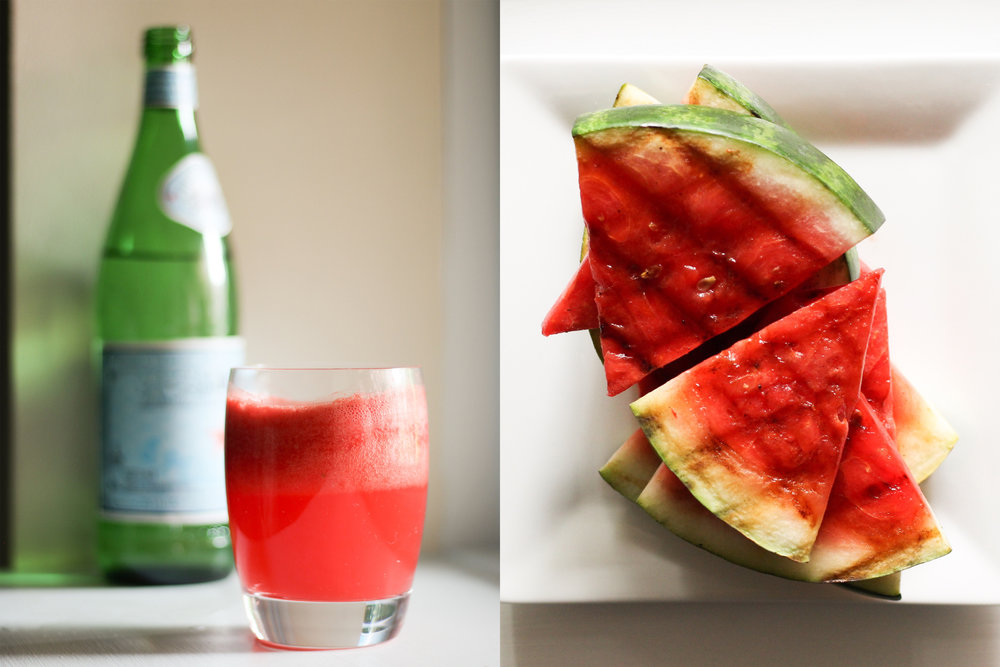
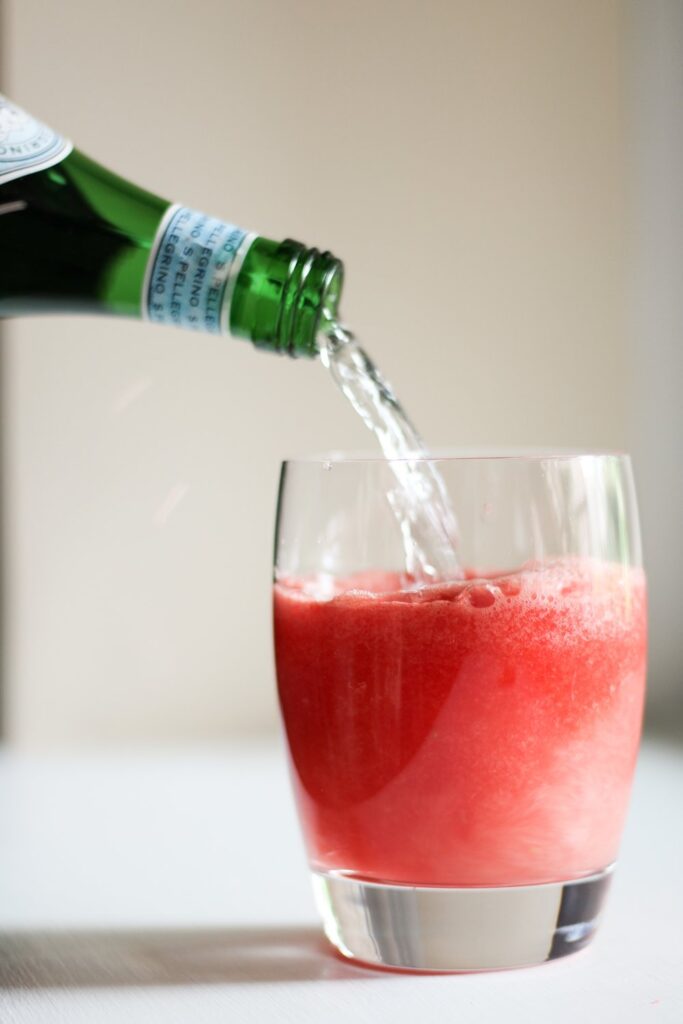
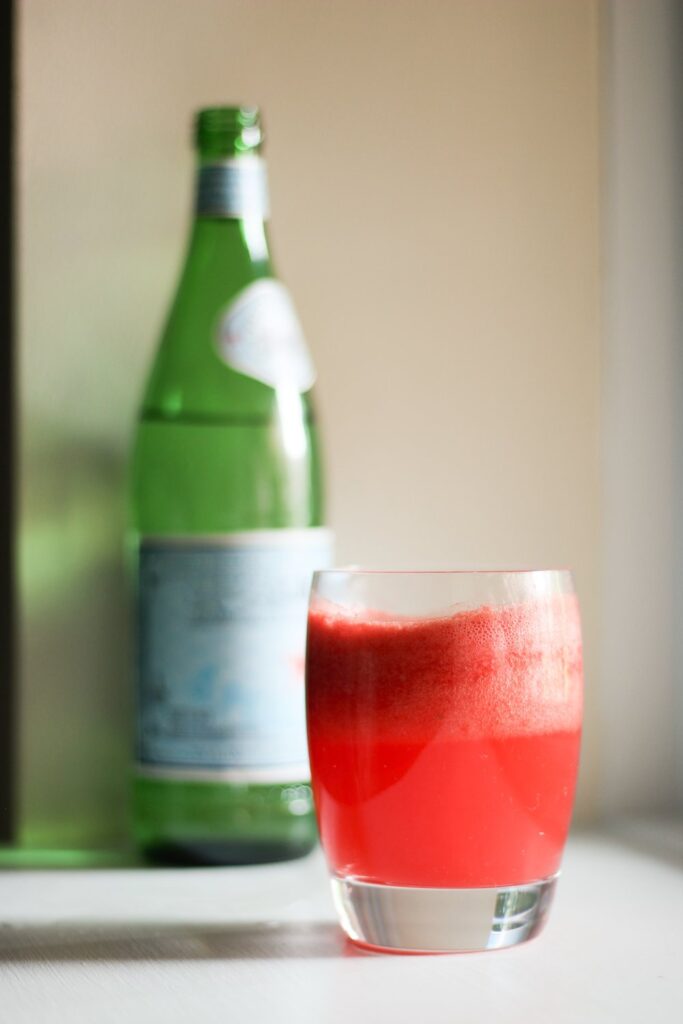
Watermelon agua fresca is my absolute favorite way to use up leftover watermelon. While it’s not a Middle Eastern drink (agua fresca means fresh water in Spanish, and includes a huge assortment of lightly flavored, refreshing drinks), watermelon is a fruit that very regularly shows up in Middle Eastern cuisine, and we’re certainly no stranger to refreshing drinks.
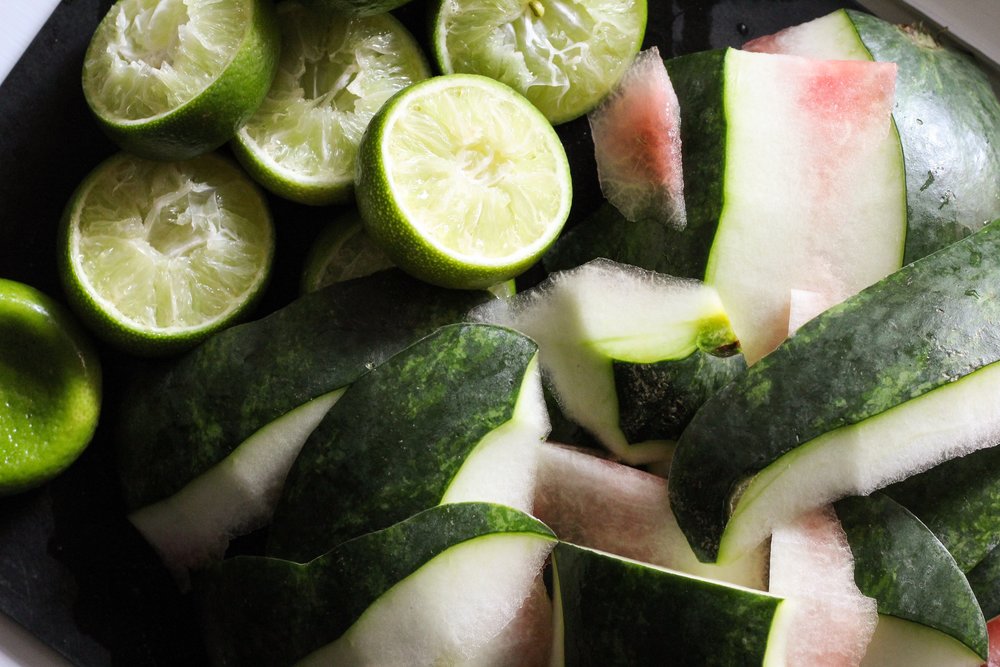
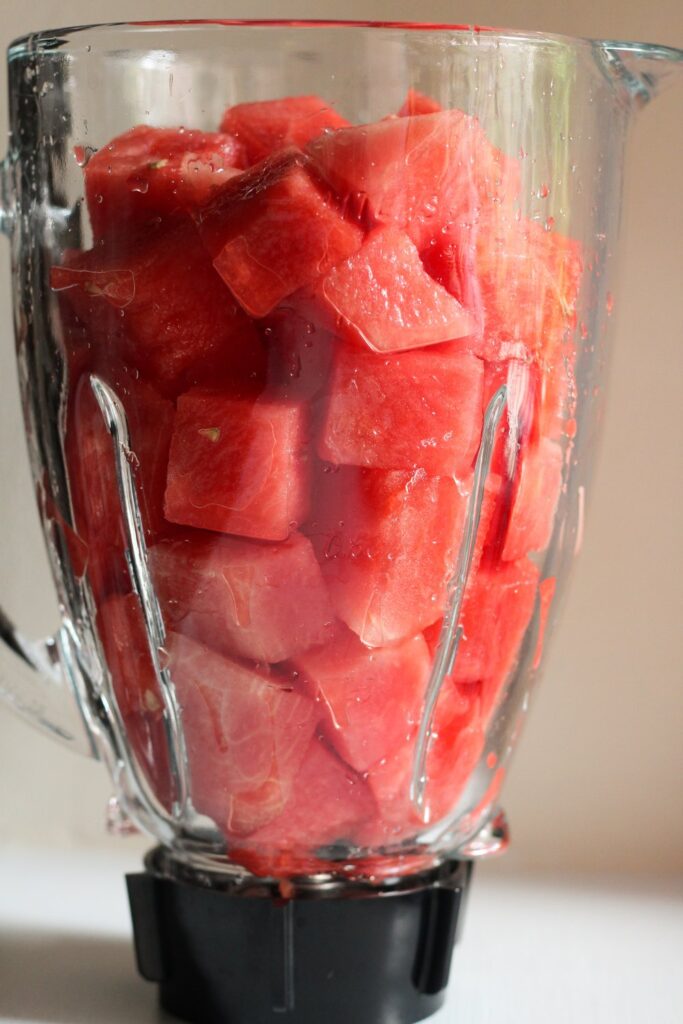
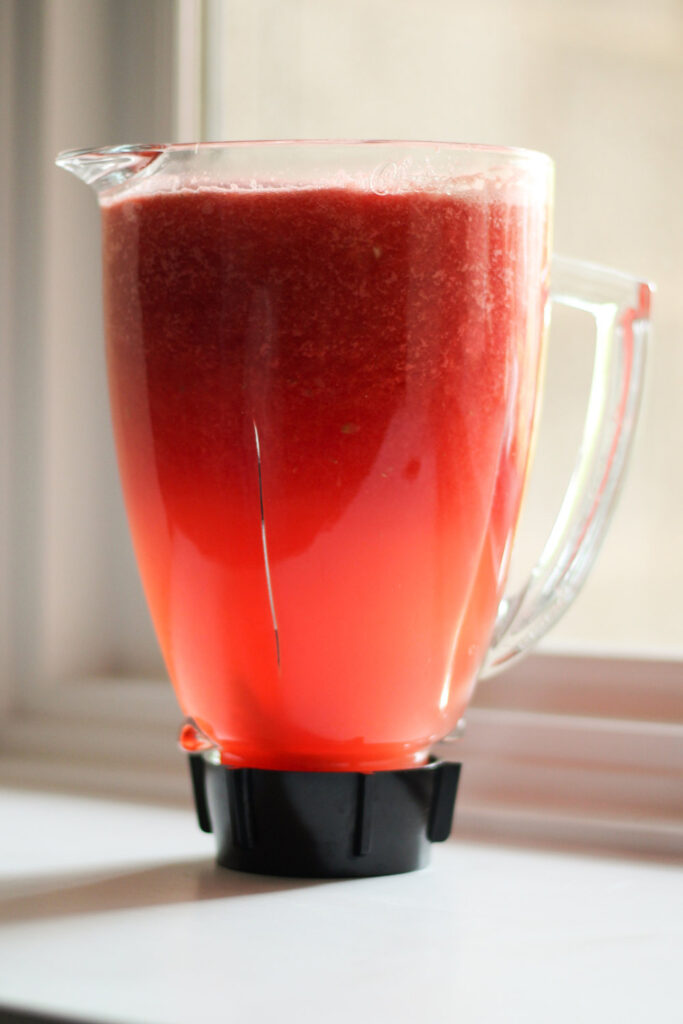
Depending on how I’m feeling, I occasionally add a little more or less sugar than the recipe below, sometimes leaving it out altogether. If you plan to leave out the sugar, I recommend adding a tiny bit more lime juice, to taste. I normally make unfiltered agua fresca, because I love the way the seltzer and pulp whip together into a foam, sort of like a root beer float. But if you prefer a flat café au lait to a frothy cappuccino, you might want to filter the watermelon juice before adding seltzer, which will cut down on the frothiness. To do this, you can use a cheesecloth placed over a mesh strainer. You’ll lose a lot of fiber by filtering it (and besides, the foam is the best part!), but to each their own.
watermelon agua fresca

More agua fresca: Chicano Eats’ ponche de granada, A Cozy Kitchen’s cucumber strawberry agua fresca, Christianne Winthrop’s pineapple mint agua fresca.
- Total Time: 5 minutes
- Yield: 4 servings
Ingredients
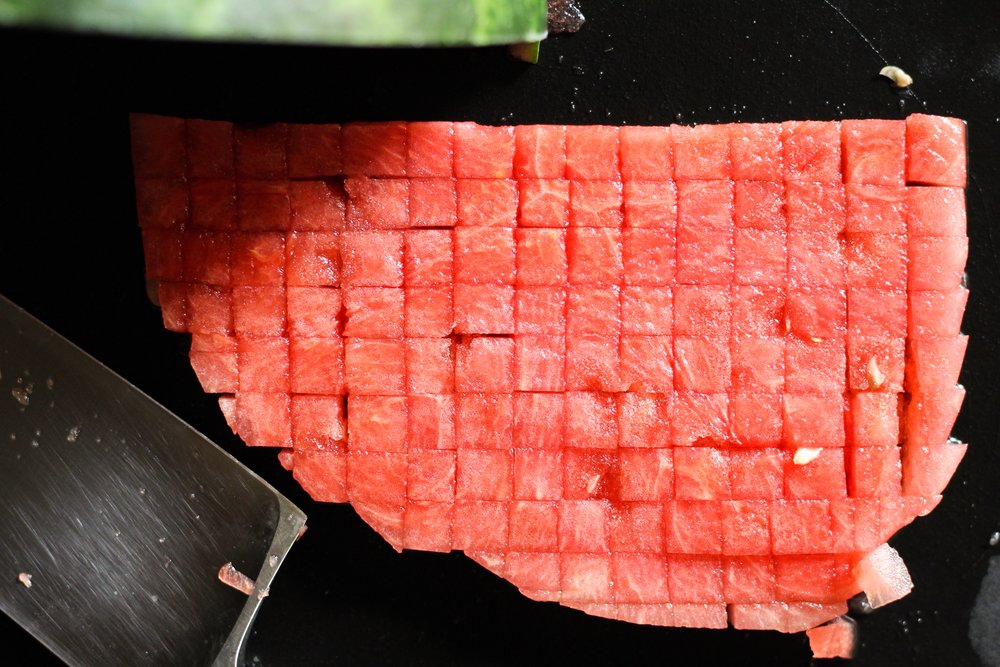
1 quart watermelon purée (from about 1 1/2 quarts of cubed watermelon)
1/4 cup lime juice
1 tablespoon sugar (or to taste)
Pinch of salt
3 cups seltzer (or to taste)
Instructions
- Blend the watermelon purée, lime juice, sugar, and salt.
- Fill a glass about halfway with the watermelon juice. Top off with seltzer to taste, stir, and enjoy.