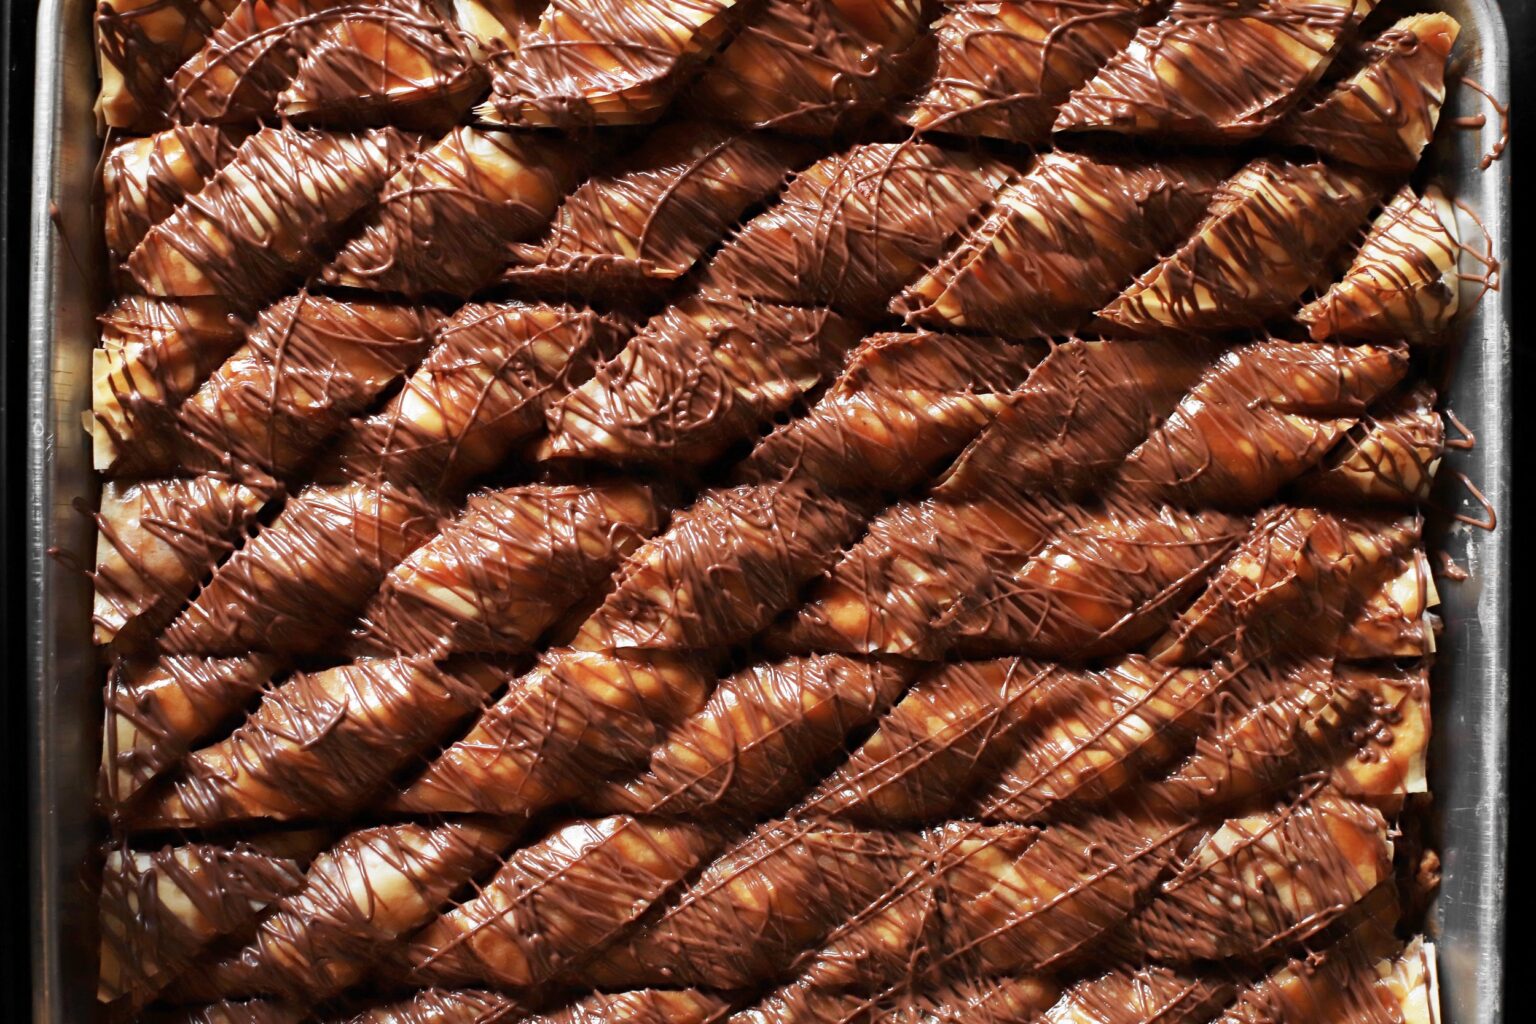
Sure, you can stick with classic hummus toppings like a drizzle of olive oil and a sprinkle of za’atar and call it a day. And honestly, that’s great. But if you’ve got a few vegetables kicking around, it takes almost no effort to turn hummus into something that feels a little more special.
My go-to move is to treat one or two vegetables like a quick little salad. Toss them with a pinch of salt, a splash of lemon juice or vinegar, and maybe a drizzle of olive oil. That brightness and crunch are the perfect contrast to creamy hummus and it makes things feel a lot more intentional.
I’ve got a recipe at the end of this post for basic hummus, which includes instructions for mixing-and-matching with whatever you’ve got on hand. I’ve also included a list of my favorite toppings for mixing-and-matching, 4 seasonal combinations you can try, and instructions for my favorite way to plate hummus.
Hummus toppings for mixing-and-matching
Produce

fresh or slow-roasted tomatoes
blanched green beans
grilled zucchini or corn
leafy herbs (parsley, cilantro, mint, dill, chives)
bell pepper chunks
minced hot peppers
grilled eggplant
diced cucumbers
boiled halved new potatoes
pickled or roasted okra
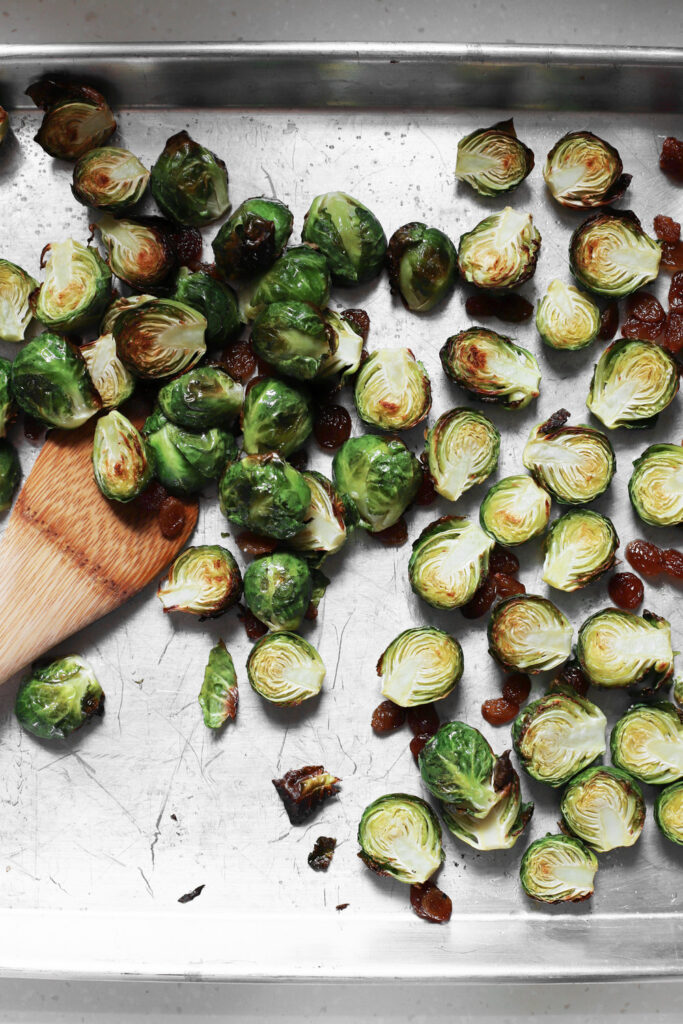
sautéed or roasted brussels sprouts
thinly sliced raw or sautéed fennel or leeks
roasted or steamed squash/pumpkin
sautéed mushrooms or sweet potatoes
raw/shredded or sautéed carrots or parsnips
roasted cauliflower or broccoli
fava beans
sliced radishes
blanched peas/snap peas/snow peas
sautéed asparagus
Other fun toppings
Sesame seeds
Pistachios
Toasted slivered almonds
Raisins sautéed in butter for 1 to 2 minutes
Pepitas
Walnuts
Hazelnuts
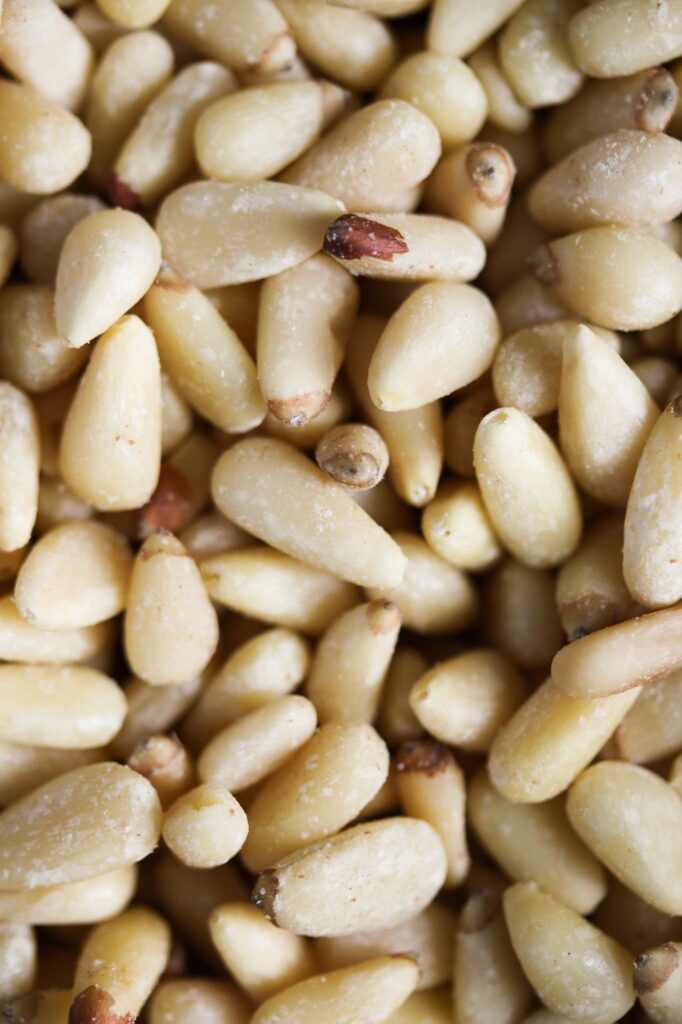
Toasted pine nuts
Fresh and dried herbs
Any of your favorite spices, like za’atar, baharat, paprika, black pepper, or sumac
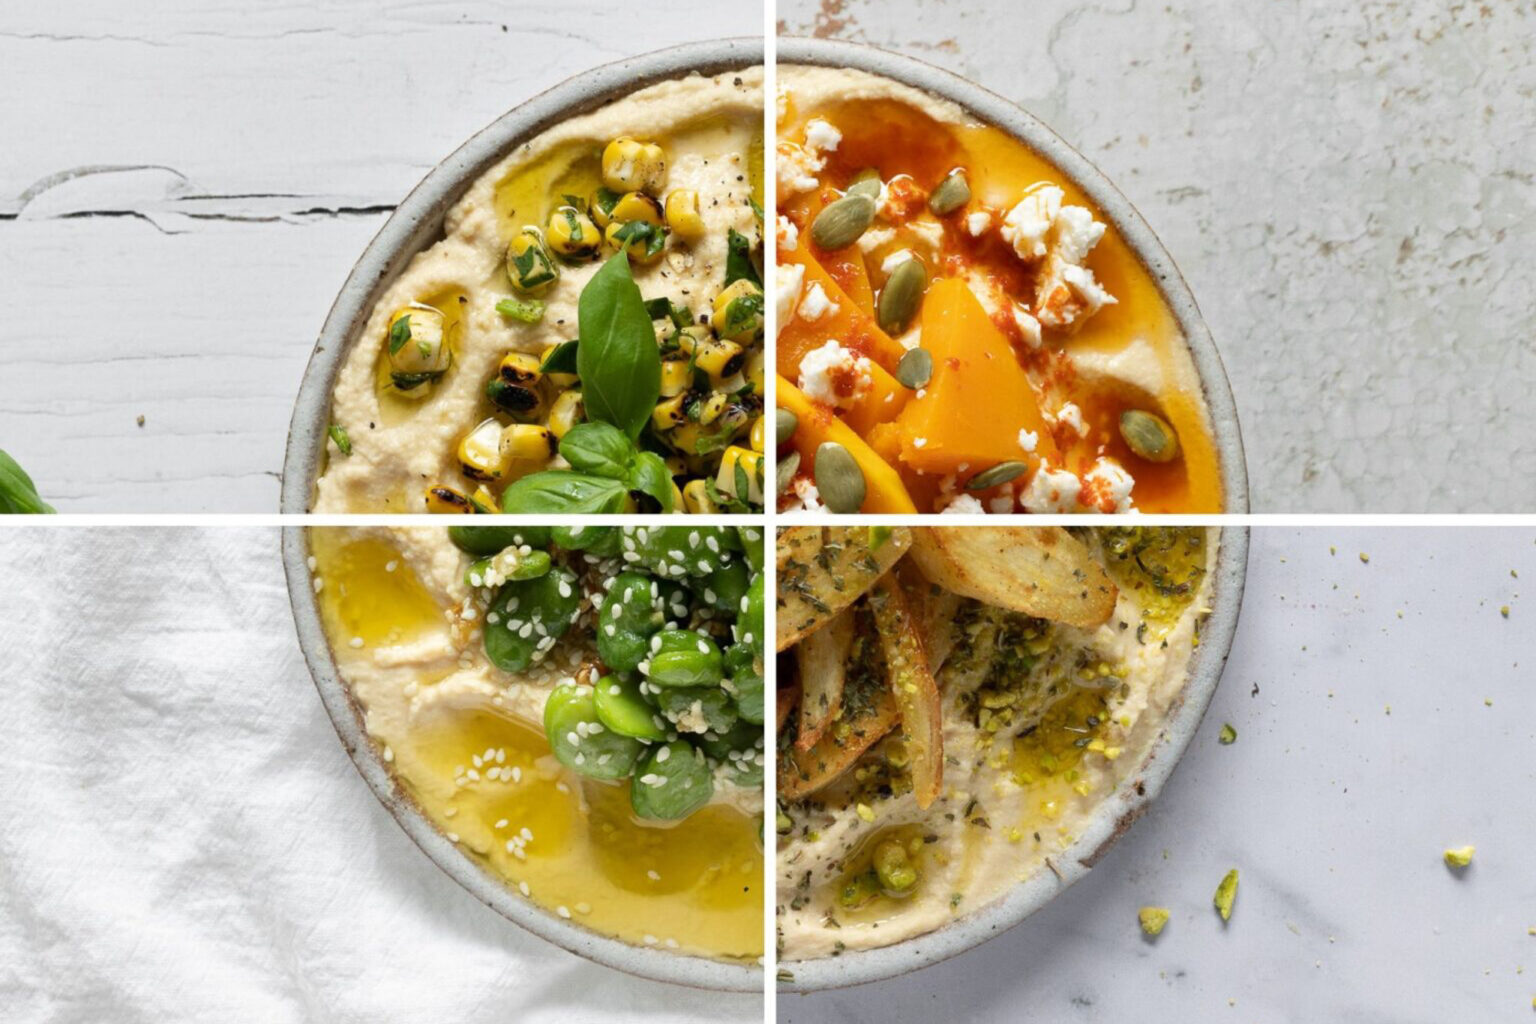
4 seasonal combinations
Each of these is served over hummus topped with olive oil and sea salt.

Summer hummus:
grilled corn
basil
cilantro
a tiny bit of red wine vinegar
black pepper

Fall hummus:
Steamed kabocha squash
a tiny bit of red wine vinegar
harissa
pepitas
feta

Winter hummus:
butter-sautéed parsnips
pistachios
dried mint
lemon juice

Spring hummus:
fava beans
garlic
sesame seeds
olive oil or butter
(prepared like this)
Tips for plating hummus with ✨style✨


I’m Assyrian, so I grew up eating hummus before it became standard fare in all 50 states. And my family has a very unique way of plating it with lots of little indentations across the surface. Those indentations are perfect pockets for olive oil and other toppings, and they’re super easy to make.
How to get that signature look: Start out with a plate or very shallow bowl (definitely not a deep bowl, or you won’t get enough surface area). Once you’ve smoothed it out into one even layer, use the back of your spoon to create little dips across the surface, rotating the plate as you go.
At this point, you could simply drizzle with olive oil, za’atar or paprika, and a little sea salt and call it a day. Or you could add a few classic (or not so classic) hummus toppings. See the video in the recipe below, and enjoy!
PrintHummus Toppings (4 ways + build-your-own)


For my 4 seasonal suggestions and all topping ideas, see the notes above this recipe.
- Yield: 2 small or 1 large plate
Ingredients
For the hummus:
- 1 garlic clove, or 1½ tsp garlic powder
- 3 or 4 ice cubes * [80 g]
- Two 15 oz [425 g] cans chickpeas, rinsed and drained
- ⅓ cup [80 g] fresh lemon juice
- ⅓ cup [85 g] tahini
- Salt
For the toppings/for serving:
- 1½ cups seasonal produce
- ½ to 1 tsp red wine vinegar or fresh lemon juice
- Extra-virgin olive oil, for drizzling
- Extra toppings
- Pita and/or crudités, for serving
Instructions
- Put the garlic in the bowl of a food processor fitted with the blade attachment. Pulse until it’s finely chopped.
- Add the ice cubes to the food processor, followed by the chickpeas and lemon juice. Blend until the ice cubes break into small pieces and melt completely and the chickpeas smooth out.
- Add the tahini, season with salt, and continue blending until completely combined.
- Prep your vegetables, season with salt, and toss in a little vinegar or lemon juice.
- Spread the hummus evenly on one large or two small plates, dip the back of a spoon across the surface to create little dimples, top with oil, the prepped produce, and extra toppings, and serve with pita and/or crudités.
(If video does not appear below, please disable ad block)
Notes
* If you don’t have any ice cubes on hand, you can use 1/3 cup [80 g] of water instead.

Psst… by the way, I wrote a whole cookbook of adaptable recipes like this one. It’s called A Dish for All Seasons!
Check it out for adaptable base recipes + ideas for seasonal (and evergreen!) variations