• Skip to primary navigation
  • Skip to main content
  • Skip to primary sidebar
  • Skip to footer
Cardamom and Tea
  • Blog
  • Recipes
  • About
  • Cookbooks
    • Piecemeal
    • A Dish for All Seasons (my first cookbook)

Fruit Tart (with any fruit)

July 21, 2025 by Kathryn Pauline Leave a Comment

fruit tart with tropical fruit

This fruit tart is endlessly adaptable, deceptively simple, and always looks like a showstopper. Here are the highlights:

  • Use whatever fruit you love! I’ll share some favorite combinations.
  • Chose your crust: one option is fun and the other option is easy.
  • Skip the thermometer entirely thanks to a fail-proof custard.

It’s the kind of dessert that feels like a project but comes together with delightful ease.

Jump to my recipe for a fruit tart with vanilla custard + options to customize. Or read on for some other fun ideas. And if you’re looking for evenmore, my cookbook, A Dish for All Seasons has many more fruit tart options, including ganaches, curds, candied citrus peels, and more.

Ingredients you can use in this fruit tart:

The recipe at the end of this post is endlessly adaptable. Here are some flavorings for the custard + plenty of fruit ideas to make it your own.
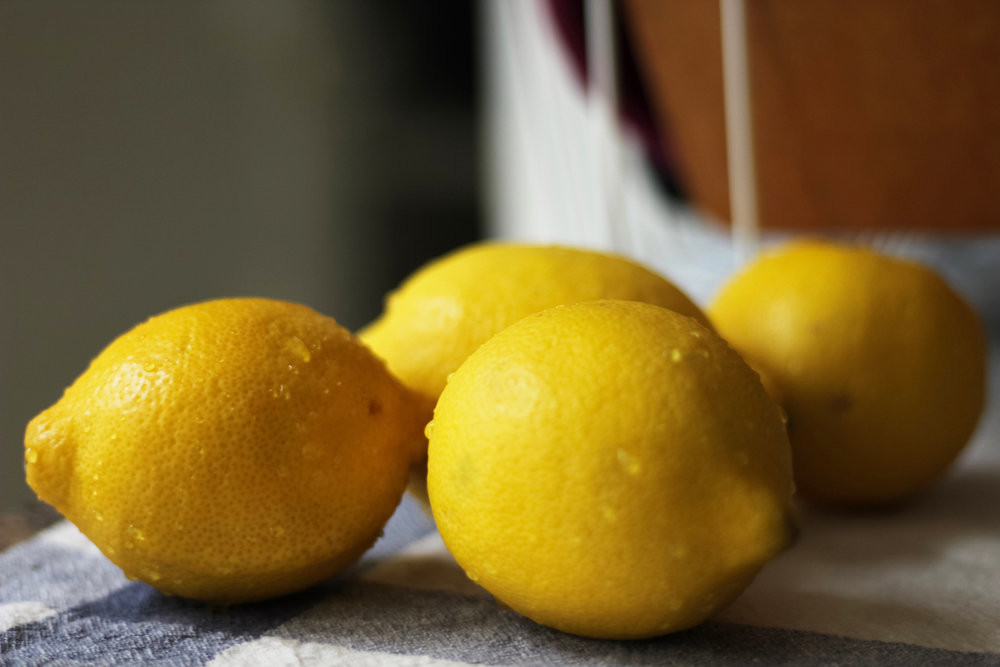
Fresh fruit

What fresh fruits work in a fruit tart? Just about anything, so long as it’s not too crunchy or watery. Any of the following work beautifully:

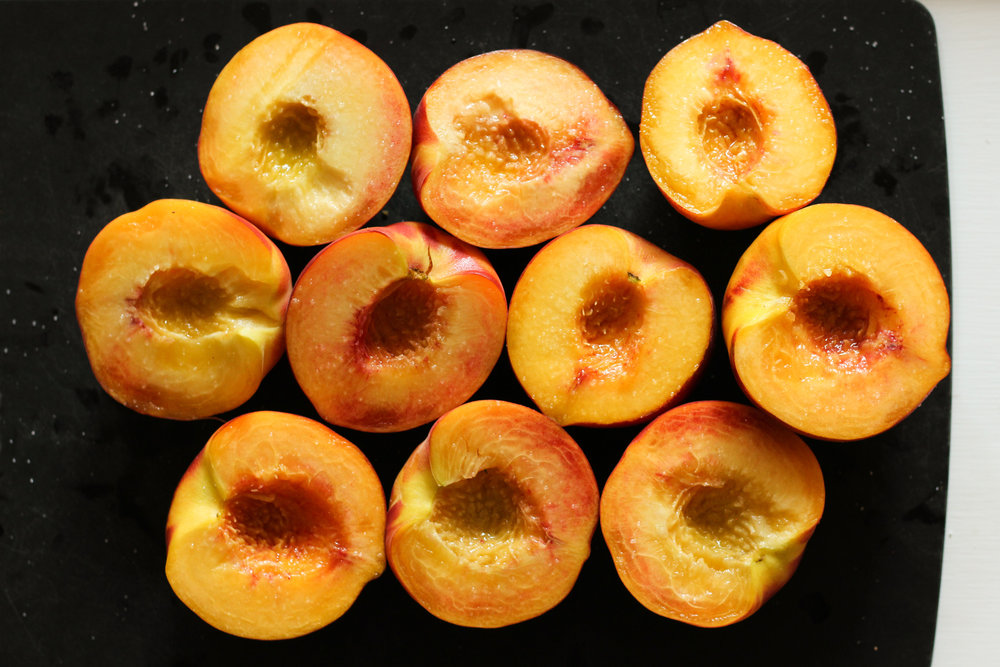
Stone fruit: sliced peaches, nectarines, apricots, etc.

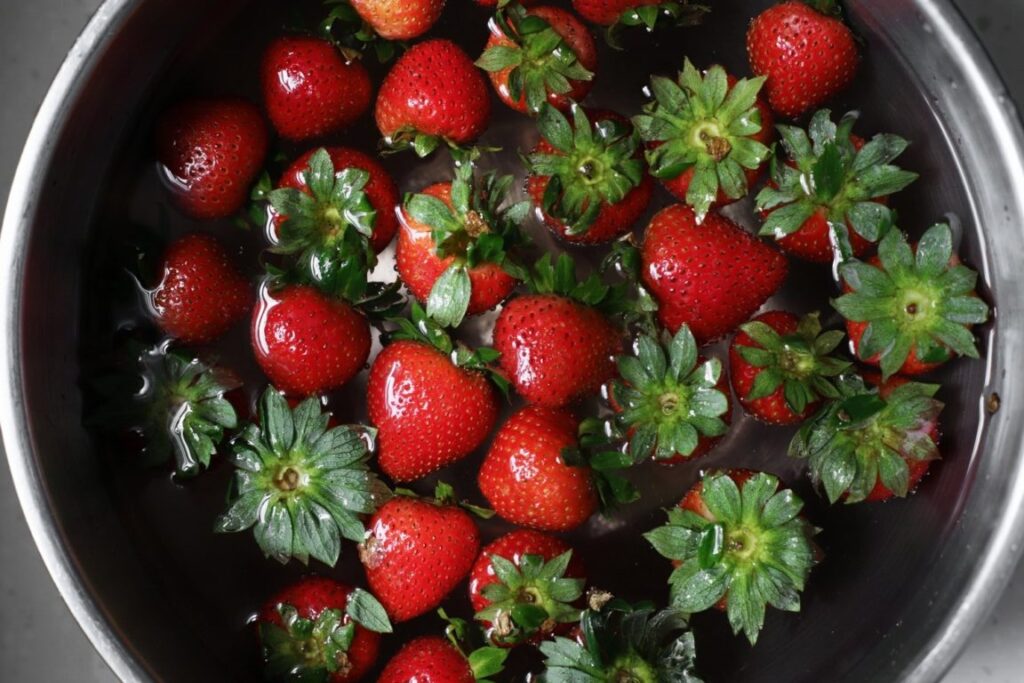
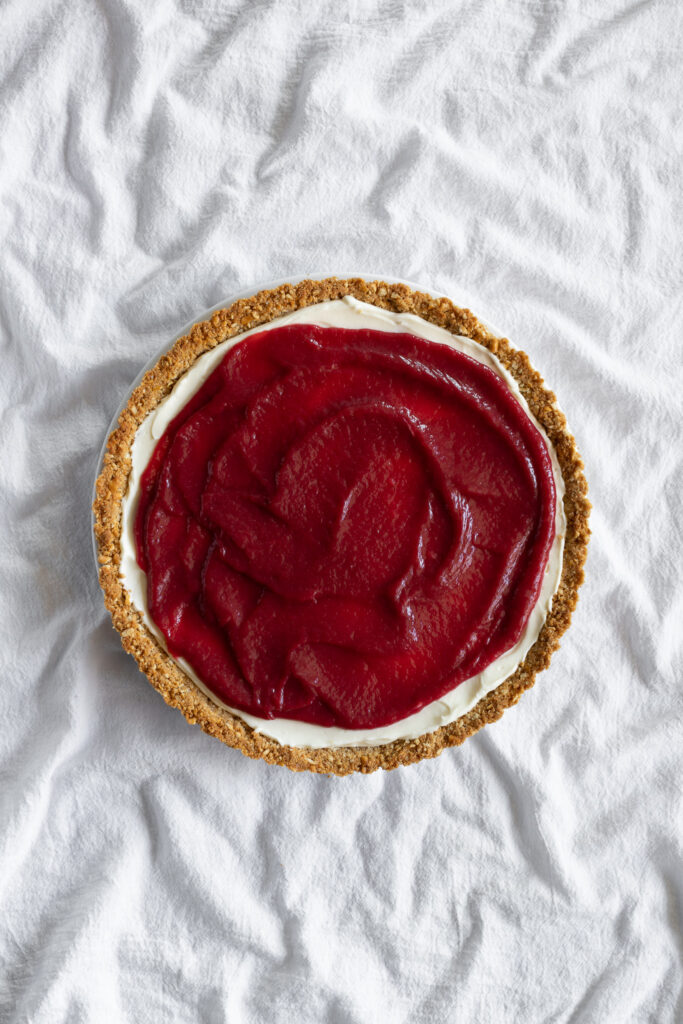
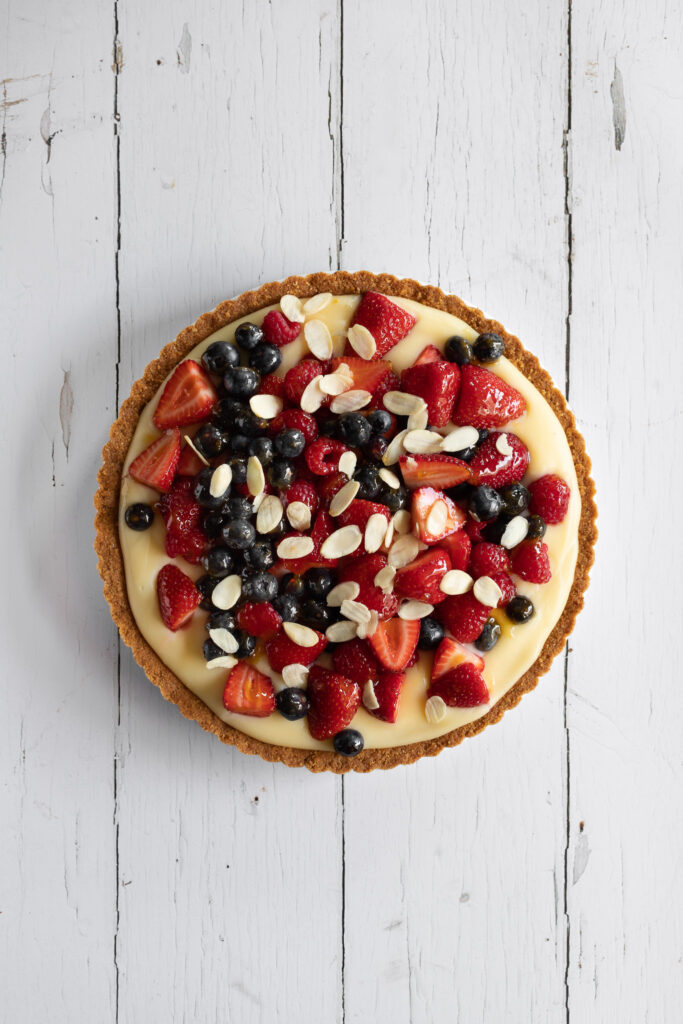
Berries and cherries: strawberries, raspberries, blueberries, pitted cherries, etc.

pears

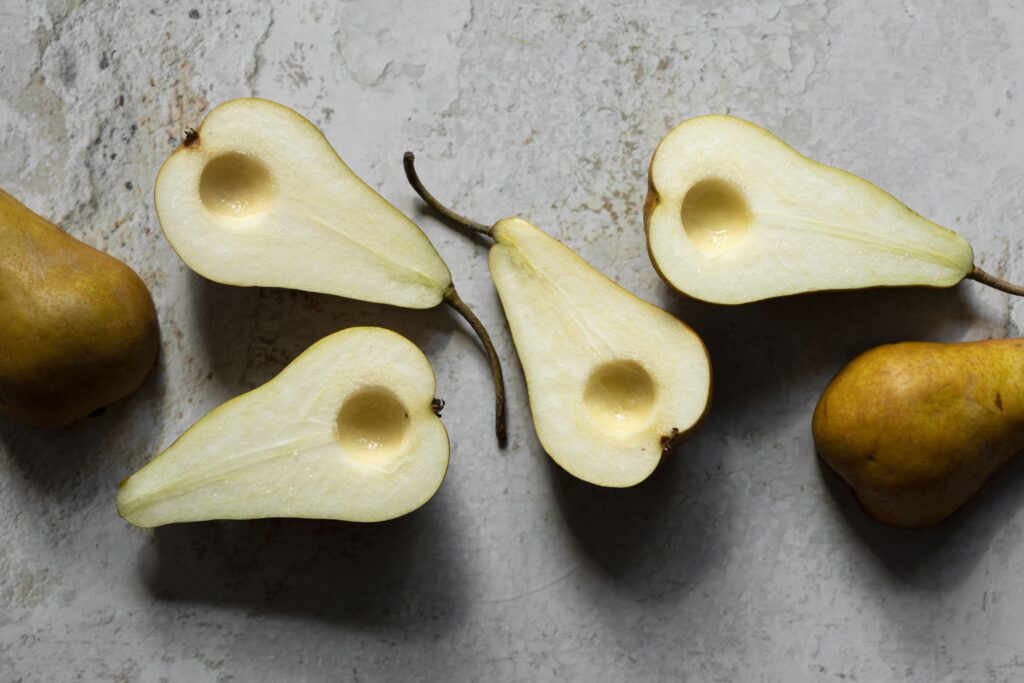
Wintery fruits: sliced pears or persimmons

figs

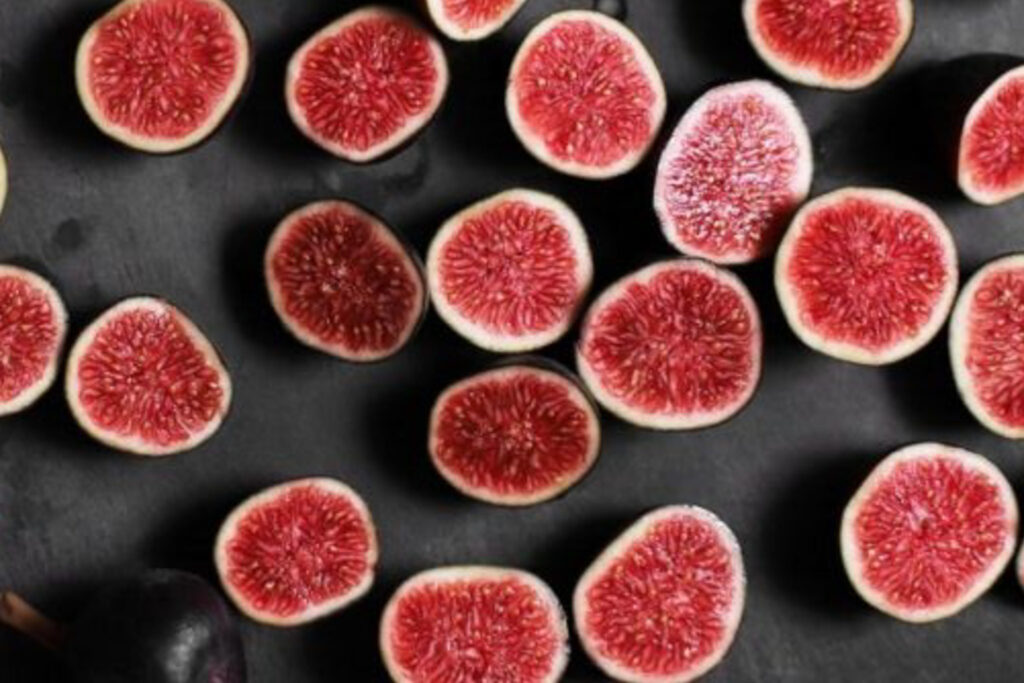
Mediterranean fruit: halved figs, grapes, or mulberries

bananas

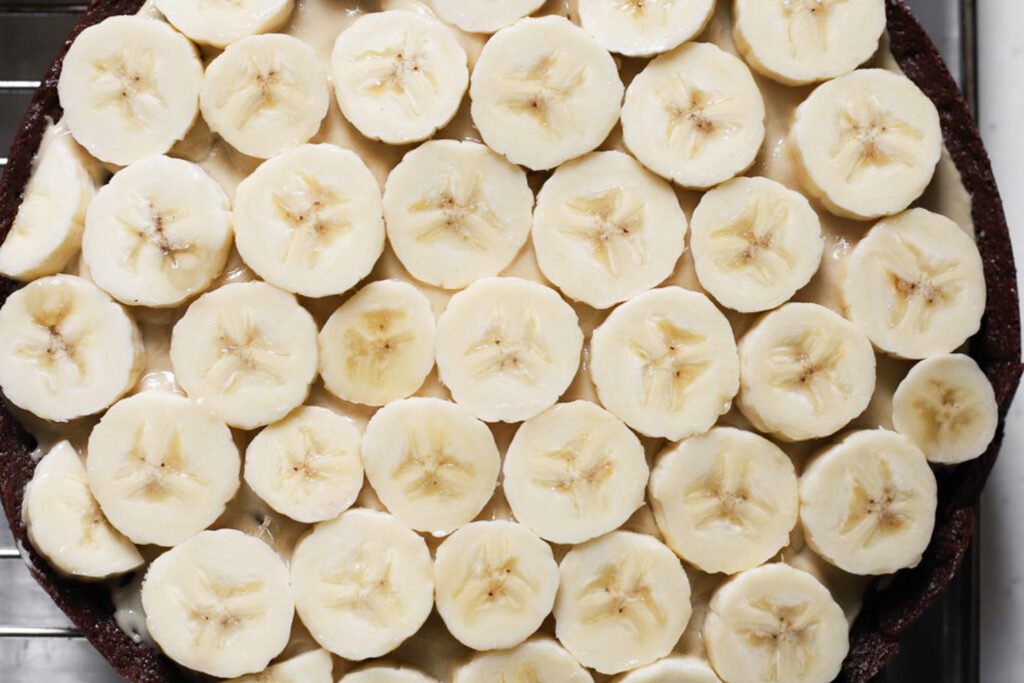
Tropical fruit: sliced bananas, mangos, kiwis, or dragonfruit

passion fruit

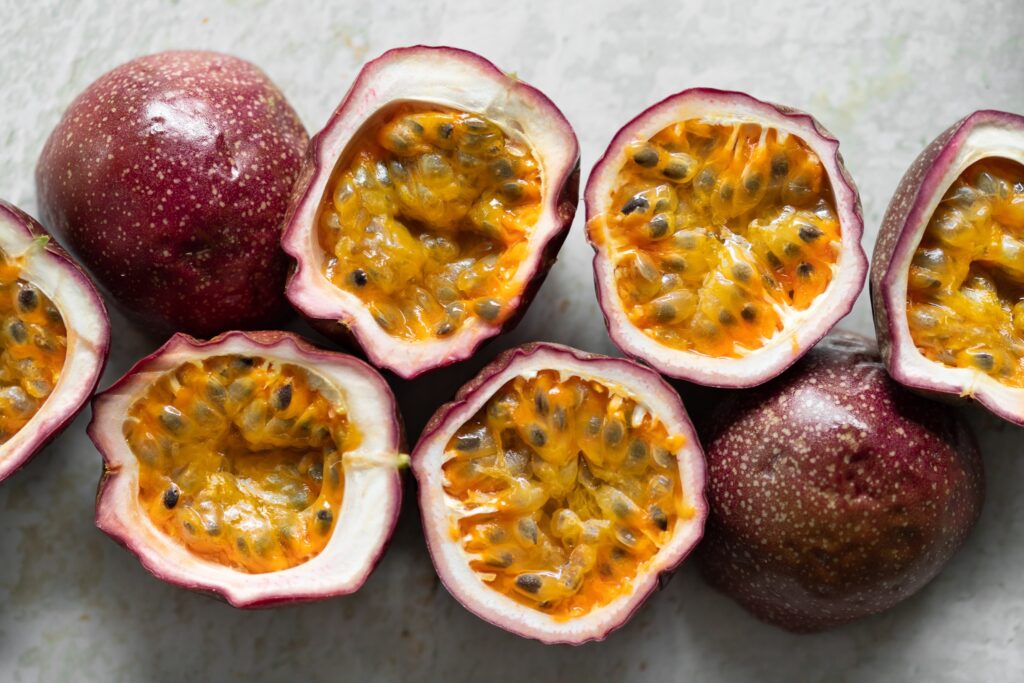
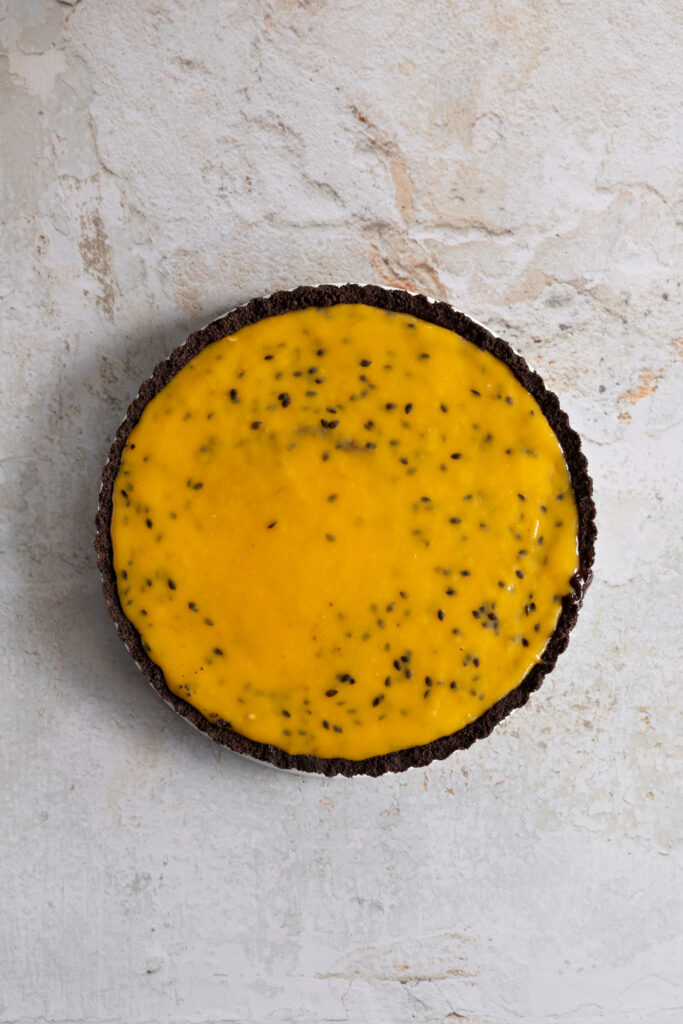
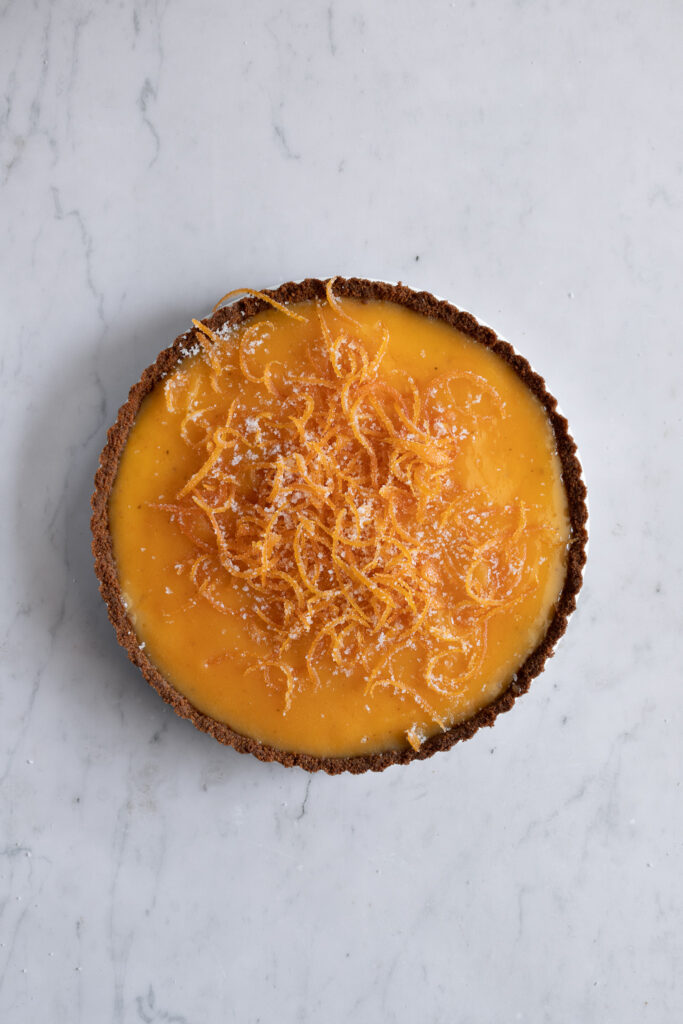
Used in moderation: passion fruit curd or pomegranate arils

Flavorings

While you can always go with classic vanilla, choose one of the following to spice things up:

lemons
choose 1:
  • 2 tsp vanilla extract
  • 1 tsp orange blossom water
  • ½ to 1 tsp rose water
  • 1 to 1½ tsp almond extract
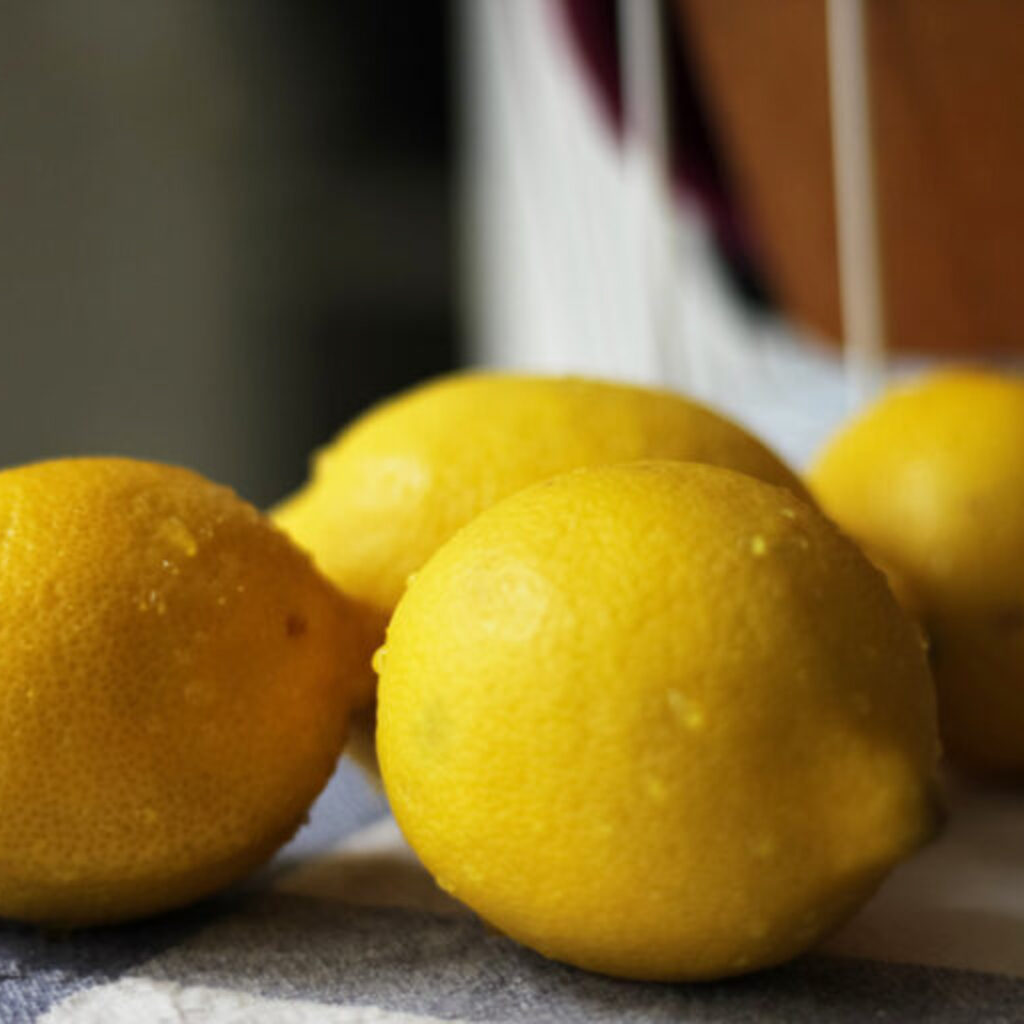
  • 2 tsp lemon or lime zest

Fruit tart combinations I love

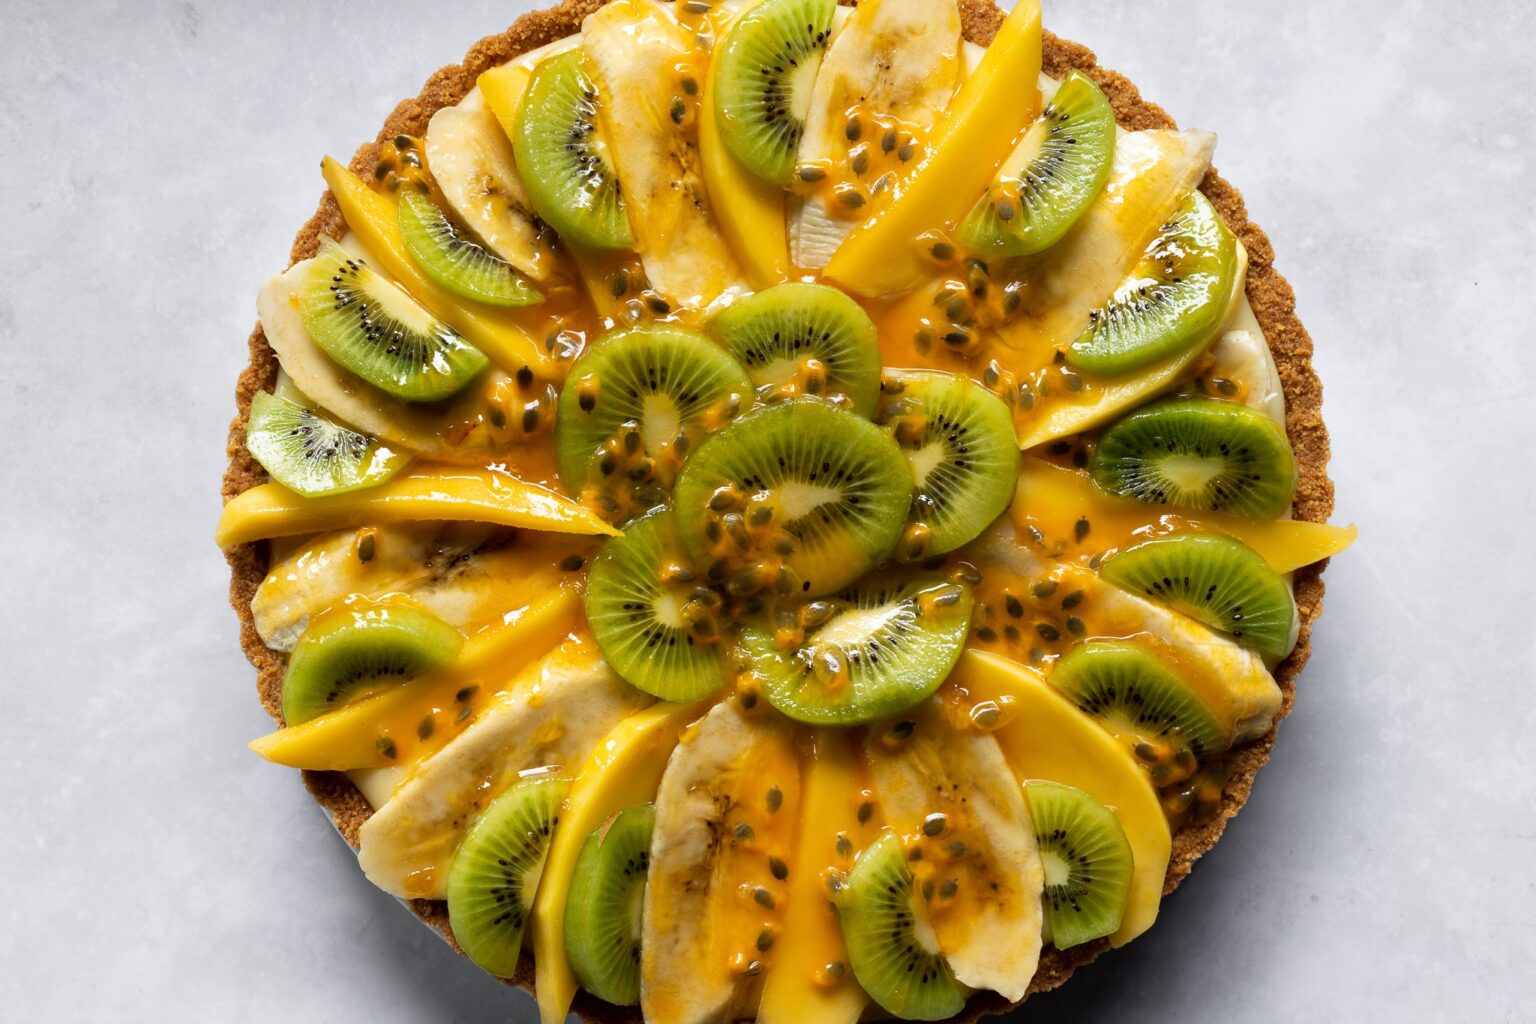
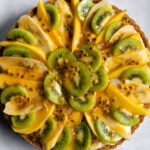
Whether you’re meticulously arranging kiwi and mango slices or piling on an absolute mountain of berries, you can’t go wrong. Here are my favorites:

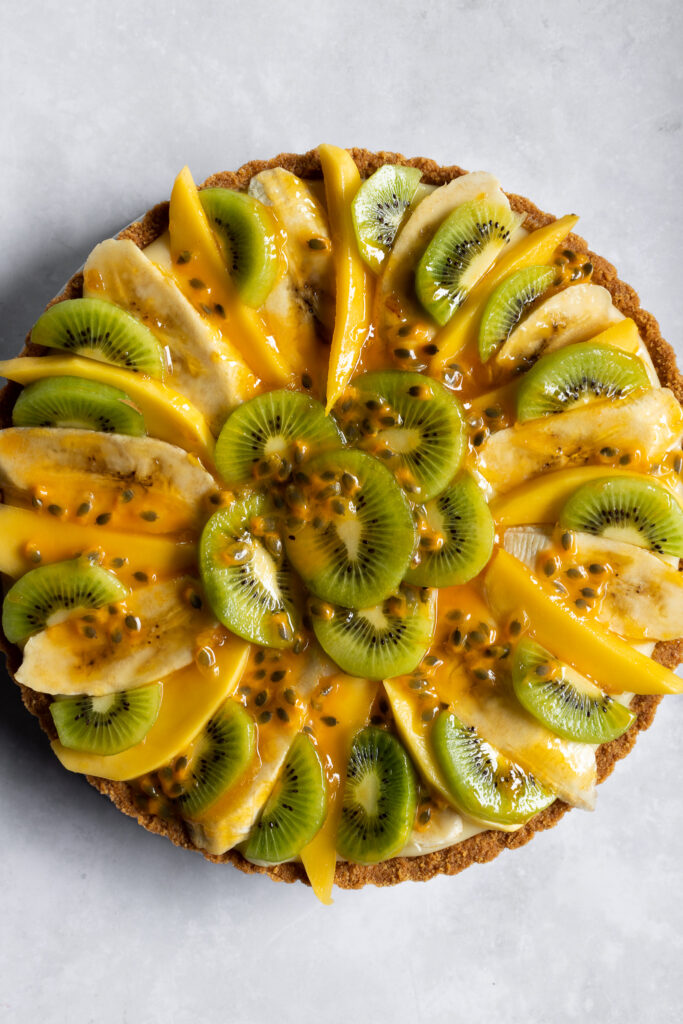
Tropical tart: Mango slices, banana slices, and kiwi slices layered together and topped with a drizzle of passion fruit pulp, with lemon zest custard.

Berry almond: Strawberries, blueberries, and raspberries, topped with sliced almonds, with almond-extract-flavored custard.

Autumn rainbow: Pomegranate arils, persimmons, kiwis, blueberries, and figs with orange blossom-flavored custard.

Banana pudding: Caramelized bananas with vanilla custard.
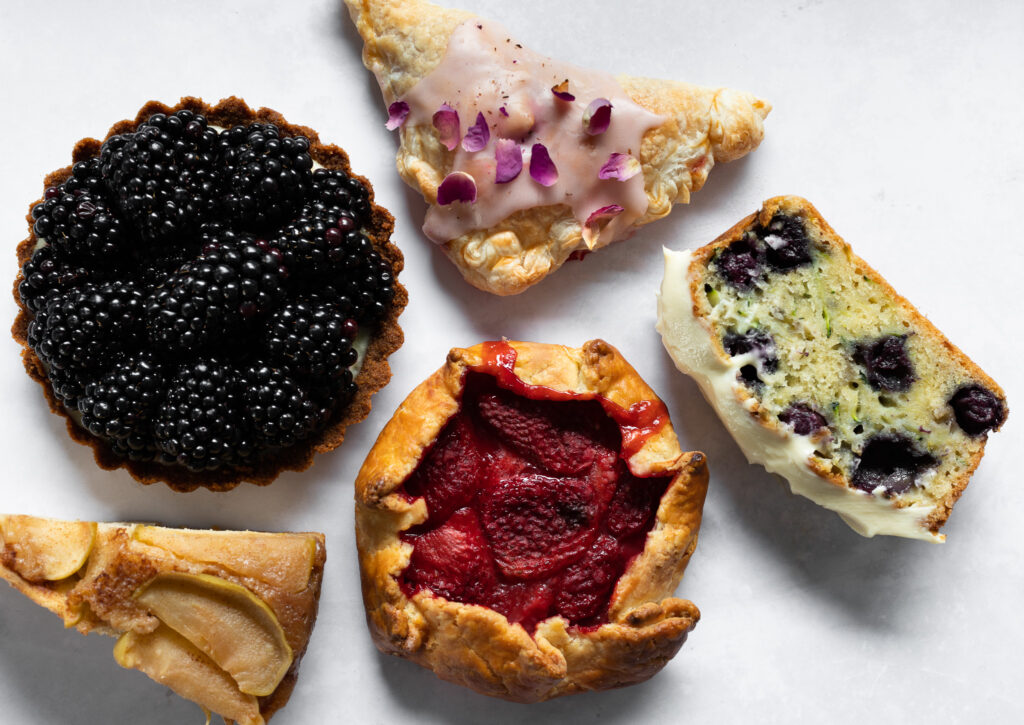
an assortment of single-serve baked goods

mini fruit tarts

Oh and don’t forget—you can make any of these with little mini fruit tart shells (like the blackberry one above!).

Each recipe will yield six 4¾ in [12 cm] fruit tarts. The graham cracker crust itself bakes for about the same amount of time in mini form (but keep an eye on them in the last 2 minutes of baking, and pull them early if you need to, especially if your tart shells are smaller than 4¾ in [12 cm]).

Print

Fruit Tart (with any fruit + video)

fruit tart with tropical fruit
Print Recipe

5 Stars 4 Stars 3 Stars 2 Stars 1 Star

No reviews

Ingredients

For the tart shell*:

  • 21 or 22 honey graham crackers or digestive biscuits (10½ oz [300 g])
  • ½ cup [115 g] unsalted butter, melted
  • 2 Tbsp honey
  • 2 Tbsp granulated sugar
  • ¼ tsp salt

For the custard:

  • 2 cups [480 g] milk
  • ½ cup [100 g] granulated sugar
  • Flavorings (e.g.,  ½ tsp almond extract or 1 tsp vanilla extract)
  • ¼ tsp salt
  • 2 large eggs
  • 3 Tbsp [30 g] cornstarch

For the topping:

  • About 4 cups [500 g] fruit (e.g., bananas, kiwis, mango, and passion fruit; or strawberries, raspberries, and blueberries)
  • 3 Tbsp [60 g] apricot jam

Instructions

To make the tart shell*:

  1. Preheat the oven to 350°F [180°C].
  2. Place the graham crackers or digestive biscuits in a food processor and process until they’re the texture of dry sand. Add the butter, honey, sugar, and salt and blend until it’s the texture of wet sand. Dump the mixture into a 10 in [25 cm] tart pan. Use your fingers and the back of a measuring cup to tightly pack the mixture into an even layer across the bottom and sides. Start by packing the bottom with the cup, and then use your fingers to pack the sides tightly (one hand on top and one hand on the side to create even pressure).
  3. Bake the shell for about 12 minutes. It’s done once it begins to brown a bit more and smells nutty.

To make the custard:

  1. Combine the milk, sugar, flavorings, and salt in a small saucepan.
  2. Place over medium heat and let it come almost up to a simmer. While the milk heats, whisk together the eggs and cornstarch in a medium mixing bowl until completely lump-free. Once the milk mixture is barely simmering, slowly dribble about half of it into the egg mixture while whisking constantly. Add the egg mixture to the remaining milk mixture in the saucepan and immediately whisk together. Bring to a simmer, whisking constantly. Once bubbles break the surface and it thickens significantly, remove from heat.

To fill the fruit tart:

  1. Immediately pour the filling into the tart shell and smooth out the surface. Wait about 2 minutes for the surface to cool slightly, and then top with produce (push down slightly so they sink in a little).
  2. Microwave the apricot jam for 30 to 60 seconds (just until runny) and brush over the surface of the fruit. Chill the tart for at least 1 hour.
  3. If your pan has a removable bottom, remove the collar just before serving (if not, simply serve out of the pan). Leftovers will keep in the refrigerator for a day or two, but the tart is best served a few hours after it is assembled.

Notes

* For an even easier alternative, buy a pre-baked tart shell or a pre-rolled pie crust (and bake according to the package instructions—do not par-bake, but fully bake it). Then just make the custard and fruit topping.

Video note: If you don’t see the video for this post after scrolling up, please disable ad block and try reloading the page.

find us on instagram and let us know what you made!

Psst… by the way, I wrote a whole cookbook of adaptable recipes like this one. It’s called A Dish for All Seasons!

Check it out for adaptable base recipes + ideas for seasonal (and evergreen!) variations.

Filed Under: breakfast, every recipe, sweets, vegetarian Tagged With: apricot, banana, berries, curds, fall, mango, passionfruit, raspberry, spring, strawberry, summer, winter

Dandelion Greens

July 18, 2025 by Kathryn Pauline Leave a Comment

If you’ve ever picked up a bunch of dandelion greens and then wondered what on earth to do with them, you are not alone! These slightly wild-tasting greens can be delicious, but only if you know how to deal with their natural bitterness. This recipe has you covered.

Skip to the recipe if you want to hit the ground running, or read on for a bit more about dandelion greens: What are they? Why are they bitter? And how can you make them less bitter?

What are dandelion greens?

Dandelion greens are the leafy tops of the dandelion plant. You can find them at farmers markets, natural grocery stores, or even foraged (if you’re 100% confident they’re pesticide free and if you know how to safely identify them). They’re long, slender, and deeply green, with a flavor that’s earthy, peppery, and quite bitter.

But cooked the right way? They mellow into something bold and vibrant without being too harsh.

Why dandelion greens are naturally bitter (and how to fix it)

Dandelion greens have a bunch of bitter compounds. No matter what you do, they will always be a little bitter, so if you’re a super-taster, they might always taste a little bitter to you. But in this recipe, we’re aiming for semi-sweet-chocolate-levels of bitterness, not baking-chocolate-bitter. Here’s what we can to do cut the bitterness down as much as possible:

1. Start with young, tender greens

Larger, more mature greens tend to be more bitter than smaller, less mature ones. So the first step in getting less bitter greens is to search out smaller, younger, more tender greens in the first place. With more delicate greens, you’re already off to a great start.

2. Blanch them

Always, always, always blanch them first. A quick boil softens the greens and washes away some of those bitter compounds we talked about earlier. That’s because many of them are water-soluble. After blanching, the greens will be less bitter, but now a bit on the bland side. That’s okay though, because we’re going to take it one step further…

3. Add flavor back in after blanching

After blanching, we’re going to combine them with onions that have been sautéed in a generous amount of olive oil. These flavors will balance out what was lost in blanching and give them some fat and flavor to balance out that bitterness.

4. Lemon juice, for the win!

While acidity does not strictly “cancel out” bitterness, it does go a long way in balancing it. It’s the reason even if you don’t love ultra-dark chocolate, you might still love it when it’s paired with raspberry or passion fruit. So we’re gonna add a generous amount of lemon juice to this recipe.

How to prep dandelion greens

  • Wash them thoroughly. They can be gritty, so soak and rinse a few times, sort of like you’re prepping parsley.
  • The tender parts of the stems cook down nicely, so there’s no need to remove them. But do remove any especially thick or tough stems.
  • Chop them roughly into 2-3 inch lengths so they cook evenly.

A little family history

A few years after my mom and her family immigrated to Chicago from Baghdad, they moved to a bigger apartment in Andersonville on Balmoral Avenue. She was still a little kid at the time, and even though the new place had more space, there were still twelve people packed into their two-flat.

Every week, my grandfather would take her down to the produce market on Randolph, where he’d pass as a restaurant owner to score good deals on produce. They’d come home with giant grates of lettuce, tomatoes, and greens, and the whole family would divvy everything up.

There was often too much to go around. One week, after coming home with more tomatoes than they could possibly eat, my mom and uncle Al packed them into paper bags and went door-to-door selling them to the neighbors. And on weeks when they ended up with extra dandelion greens, they’d make a huge batch of yarcah, which just means “greens” in Assyrian.

I hope you enjoy this yarcah recipe as much as my family has over the years. It comes from my grandmother, Romy, and I took most of these photos in her kitchen and yard.

Print

Dandelion Greens (less bitter)

Print Recipe

5 Stars 4 Stars 3 Stars 2 Stars 1 Star

No reviews

  • Yield: 4 servings

Ingredients

  • 1/4 cup extra virgin olive oil
  • 1 cup medium diced onion (from about half a medium onion)
  • Between 1/3 to 1/2 cup lemon juice (from about 2 lemons), to taste *
  • Salt to taste
  • 1 pound roughly chopped dandelion greens, with the tough ends of the stems trimmed (from about 2 bunches)

Instructions

  1. Bring 3 quarts of salted water to a boil in a large stockpot.
  2. While you’re waiting for the water to boil, heat the olive oil over medium-low heat in a frying pan and add the onion.
  3. Cook the diced onion until it softens, turns translucent, and turns very slightly golden around the edges, about 8 to 10 minutes. Once it’s done, and add the lemon juice, heat until it starts to simmer, and immediately remove from heat.
  4. Boil the chopped dandelion greens for 5 to 8 minutes, depending on your preference for doneness. **
  5. Drain the greens over a sink, and wring them out by pressing them against the colander with a wooden spoon.
  6. Combine the cooked greens with the lemon juice and onion mixture.
  7. Season with salt, to taste.

Notes

* I use the full 1/2 cup of lemon juice because I like more acidic greens, but if you want a mellower flavor, you can add closer to 1/3 cup. You can always add a little more later, but it’s hard to take lemon juice away.

** The dandelion greens pictured here were cooked for 8 minutes, which yields a deeply green, slightly toothsome finished product. If you like brighter, even more al dente greens and don’t mind a little more bitterness, cook them closer to 5 minutes (or even less). If you have very tender, small dandelion greens, you may need to cook them even less.

find us on instagram and let us know what you made!

This recipe was originally posted on 26 March 2017. I updated the recipe very slightly to streamline it and reposted it in 2025, but it is largely the same. I also added more useful information about dandelion greens, why this recipe works, and how to make them less bitter.

Filed Under: dairy free, dinner, every recipe, family recipes, gluten free, lunch, side dishes, vegan, vegetarian Tagged With: greens, lemon

  • « Go to Previous Page
  • Page 1
  • Interim pages omitted …
  • Page 33
  • Page 34
  • Page 35
  • Page 36
  • Page 37
  • Interim pages omitted …
  • Page 183
  • Go to Next Page »

Primary Sidebar

Kathryn Pauline smiling

Welcome! I’m Kathryn Pauline, cookbook author, recipe developer, and photographer.

Footer

read our privacy policy

© 2017 - 2026 Kathryn Pauline