You’ll find stuffed grape leaves in just about every country across the Mediterranean and the Middle East. I grew up with the Assyrian version. But growing up in the Chicago suburbs also meant a steady rotation of Greek restaurants, so Greek-stye dolmades hold a special spot in my heart as well.
If grape leaves intimidate you a little, read on for reasons why this (naturally vegan!) dolmades recipe is my fave + a few tips. Dolmades may seem fussy, but once you get to know them, you’ll realize that they’re friendlier than they look.
Otherwise, jump to the recipe if you’re ready to hit the ground running.


Why I love this dolmades recipe
My recipe yields a traditional version of Greek dolmades, with a few subtle shifts to highlight all of the things I love about the classic.
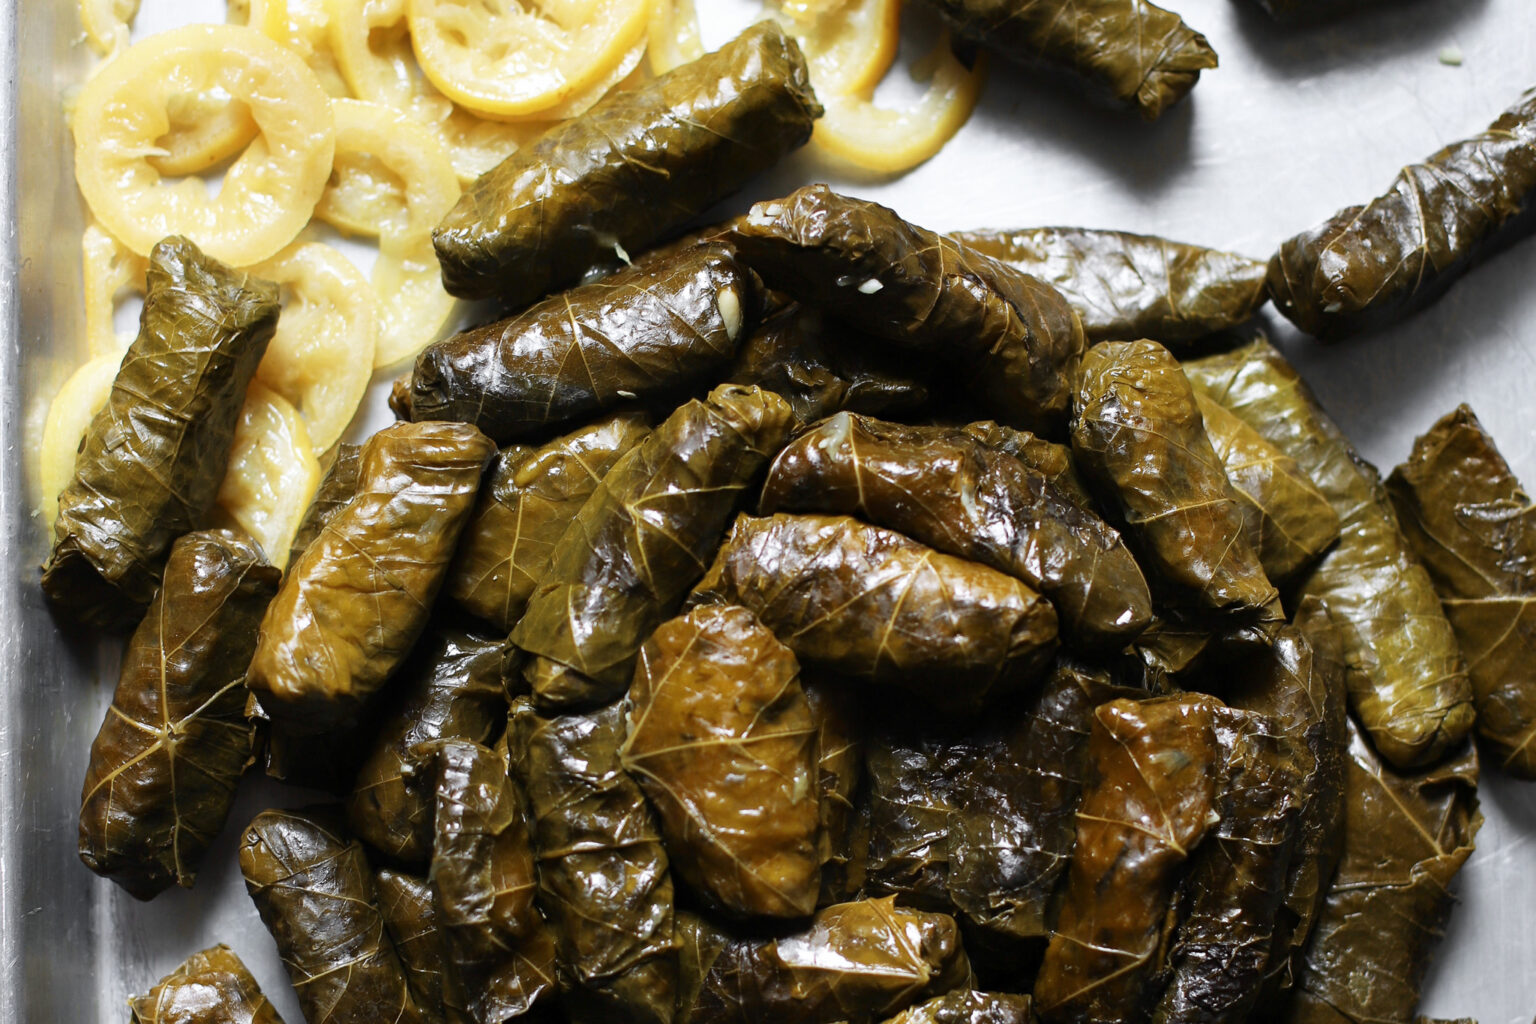
- For one, I don’t hold back on the lemon. We’re talking lemon slices layered across the bottom of the pot and a generous pour of lemon juice in the simmering broth. If you really want to take the lemonyness to the next level, serve it with avgolemono sauce. It makes everything taste like someone’s beloved yiayia made it.
- I’ve also amped up the herbs. Parsley, dill, and mint take center stage. They are far from bland.
- These dolmades are vegan (by nature!).
- Besides the fact that this recipe tastes great, it’s also perfect for first-timers. I walk you through every step of the process.


Tips for making dolmades (and stuffed grape leaves in general)
I’ve been making all kinds of stuffed grape leaves for years, and these are my top tips. Following these practices separates an okay batch from an exceptional one:
1) If you start with jarred grape leaves, blanch them.
This is perhaps the most important thing to know for making truly good grape leaves. It’s the step that separates mediocre, mass-produced stuff from the kind made at home (i.e., the best kind!).
A quick 3-minute simmer softens the leaves and rinses the brine and oil off of them. Just rinsing under the tap won’t cut it. If you skip this step, the leaves will give the entire pot a harsh, acrid edge.
2) Turn it into a make-ahead situation.
If the whole process of stuffing grape leaves intimidates you, break it up into a couple days. You can prep the grape leaves and make the vegan filling the day before (just keep them in the refrigerator, stored separately). The day of, all that’s left is rolling, stacking, and simmering your way to a pot of dolmades.
3) Use the correct side of the leaf (the filling goes on the dull, veiny side).
Place the filling on the dull, veiny side of the leaf so that the smooth side faces out. This gives you that glossy, classic dolmades look once you roll them up.
4) Don’t over- or under-stuff.
Yes, over-stuffing can cause your rolls to burst. But under-stuffing leaves you with deflated little sacks of grape leaf. Aim for a small log of filling that you can wrap a big snugly (not tightly). As with so many things in life, balance is the way to go.
5) Pack the pot snugly.
It’s time to play dolmades tetris! And that’s because if you leave big gaps around the individual dolmades, they will bob around as they simmer and will come unraveled. You want a snug fit to prevent this. Don’t press them together to make them fit tightly, but also don’t leave big gaps between them. Topping the whole thing with an upside-down heatproof plate also helps ensure that they don’t come unwrapped while cooking.
6) Salt carefully
If your grape leaves are particularly salty, you might need to cut back a bit on the salt in the filling and simmering liquid. And if yours are under-salted (perhaps you’re using fresh grape leaves), you might want to add a bit more salt. It all depends!


How to roll up grape leaves

1. Place the filling in the center of the leaf.
2. Fold up the bottom.
3. Fold in the sides.
4. Tuck in the jagged edges on the loose part of the leaf.
5. Roll away from yourself.
If you prefer, here it is in GIF form (thanks mom for modeling!). And the recipe card has a video of this too.

1. Place the filling in the center of the leaf.
2. Fold up the bottom.
3. Fold in the sides.
4. Tuck in the jagged edges on the loose part of the leaf.
5. Roll away from yourself.
Greek Dolmades


Ingredients
- ¼ cup extra virgin olive oil, divided in half
- 1 medium onion, chopped
- salt, to taste
- ⅔ cup [85 g] pine nuts
- ½ cup [20 g] chopped parsley leaves
- ¾ cup [20 g] chopped fresh mint leaves
- ½ cup [20 g] chopped dill fronds
- 2 Tbsp crumbled dried mint*
- 1½ tsp black pepper
- 2 cups [400 g] uncooked medium grain rice, soaked for 30 minutes and rinsed
- 1 large clove garlic, crushed through a press
- 2½ cups [590 g] vegetable stock or water
- ½ cup [120 g] lemon juice
- 1 lemon, sliced thinly into about 10 rounds
- 70–90 grape leaves [350 g], prepped for rolling**
Instructions
- Heat a skillet over medium heat for a couple minutes, then add 2 tablespoons olive oil, followed by the onion and salt to taste (about ¼ teaspoon). Cook for 7-8 minutes, stirring occasionally, until they’ve softened and become translucent. Add the pine nuts, and continue to cook for 5 more minutes, stirring frequently. Remove the onions and pine nuts to a large mixing bowl.
- To the large mixing bowl, add the parsley, fresh mint, dill, dried mint, black pepper, strained medium grain rice, garlic, salt to taste (about 1 teaspoon), and the other 2 tablespoons olive oil. Mix together until it’s very evenly distributed.
- Combine the stock and lemon juice, and season to taste (this will depend on how salty your stock is. Also taste the grape leaves to see how salty they are—you may not need any salt, and should use water instead of stock if the leaves are very salty).
- Line the bottom of a 3 1/2 to 4 quart dutch oven with the lemon slices.
- Roll*** the grape leaves snugly, but careful not to wrap them too tightly. Build the pot into even layers, and make sure the whole thing is snug.
- Microwave the liquid until it’s hot (or heat it on the stove, but in either case, do not let it boil), then pour it over the grape leaves. It should come just up to the tops. Set over medium-high heat, cover with an upside-down heat-proof plate, and allow it about 5 to 10 minutes to come to a full simmer. Once it’s simmering, reduce the heat to medium, cover with a lid, and continue to cook over medium heat for 5 minutes. After those 5 minutes, the whole thing will be heated through, and you should gradually reduce heat to low while you cook covered for another 30 minutes (35 minutes total). As it cooks, bubbles should break the surface at a bare simmer.
- Once the dolmades are done cooking, remove from heat and let it sit covered for 30 minutes to coast and cool slightly. Once it’s rested, remove the lid, remove the plate with tongs, and enjoy.
Notes
* If you do not have dried mint, you can omit it and add more fresh mint and/or extra dill or parsley.
**To prep the leaves, start by blanching jarred grape leaves in simmering water for 3 minutes. Trim the stems and stack them with the dull, veiny side-up for easy rolling later on.
*** To roll: 1) Place the filling in the center of the leaf. 2) Fold up the bottom. 3) Fold in the sides. 4) Tuck in the jagged edges on the loose part of the leaf. 5) Roll away from yourself.