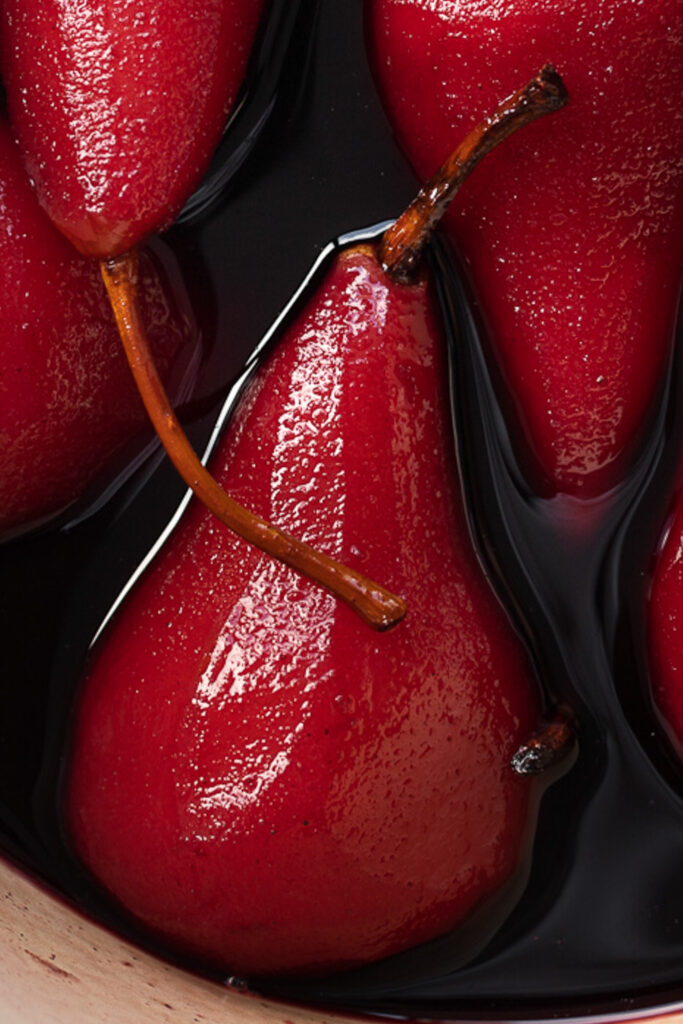
There’s a reason so many cuisines have their own version of stuffed vegetables. They’re cozy, flavorful, and often very flexible. These stuffed onions are inspired by a traditional Iraqi dish, where onions are filled with meat and rice or bulgur and simmered in a lemony tomato broth. There are spices, lots of fresh herbs, and I’ve also included my grandmother’s favorite Assyrian-American dolma shortcut: using a jar of salsa to add a ton of flavor without a ton of ingredients.
If you’ve got questions about how to stuff onions, read on for some tips and tricks. Or jump to the recipe if you’re ready to hit the ground running.


How to prepare onions for stuffing
This is my guide to preparing onions for stuffing. I learned this technique from my grandmother and it’s by far the easiest way I’ve found. Just make sure you carefully hold the knife, always pointed away from your hands.
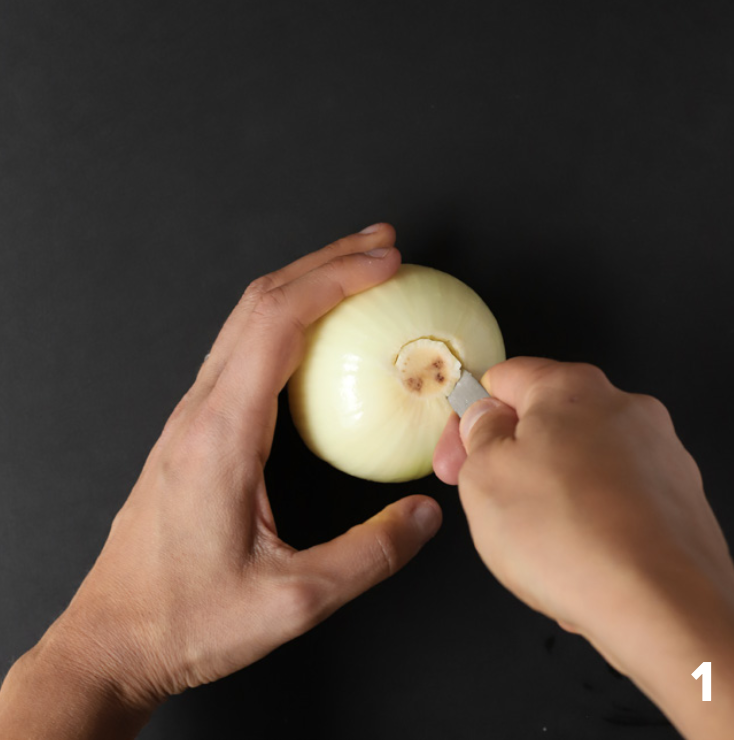
Peel the onion. Carve out the root (place your carving knife at a 45 degree angle, and carefully rotate the onion to carve out a small cone. Do not cut toward your hand.

Discard the root.

Cut straight down one side of the onion, with the tip of the knife starting at the very center.

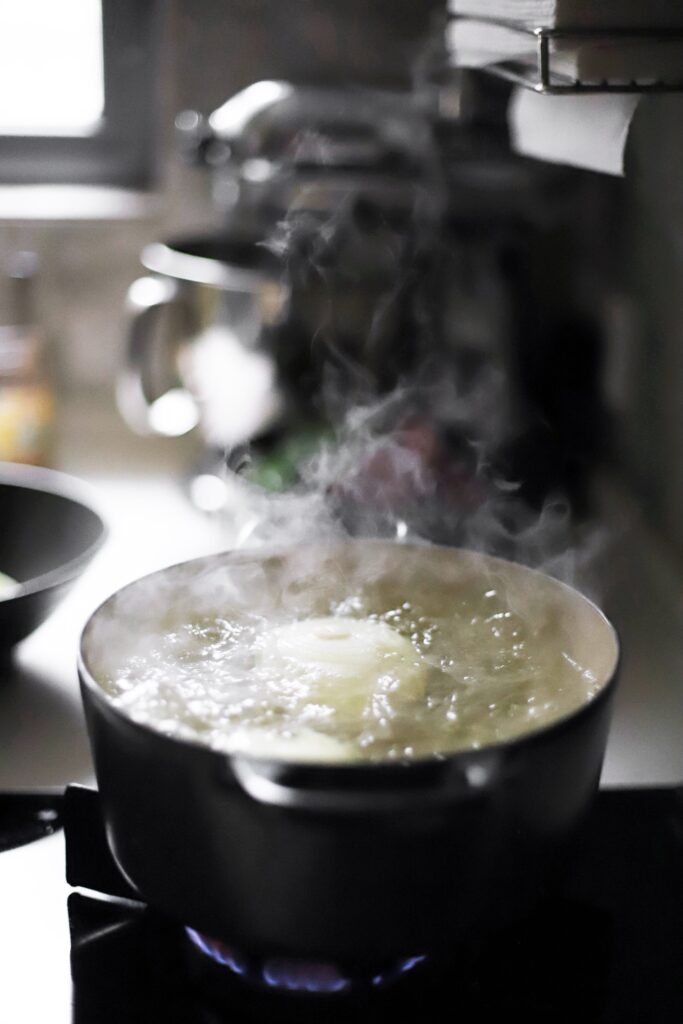
Boil the onion, and use tongs and a wooden spoon to encourage the layers to separate and peel away (sort of like it’s taking off a jacket). As soon as a layer can peel away without breaking, remove it from the boiling water to a plate. The larger outer layers can be split into 2 pieces (sometimes even 3) to make multiple rolls.


More tips for stuffed onions success
1. Prep your onions with care.
Now that you know how to prep your onions, this part should be easy. Just make sure you cook the onions just until the outer layer releases easily from the bulb. Any longer and they will start to get mushy and hard to work with, and any shorter and the layers will crack as you try to extract them. If a layer resists, just give it another minute or so before trying again.
2. Don’t under- or over-stuff.
Balance is key. Over-stuffed onions might burst open while they cook or might turn out very dense and unappetizing. Under-stuffed ones can feel sort of limp and deflated. Aim for a small log of filling that snugly fills the onion layer without really packing it in.
3. Build the pot snugly.
This is another lesson in the difference between snug versus over-stuffed. You don’t want huge gaps between the stuffed onions when you go to build the pot. They should all nest together snugly, but you shouldn’t press them down to tightly pack the pot. Just make sure that you’re not leaving large gaps.
4. Season intentionally.
Some salsas have a lot of salt, while some have very little, and same goes for tomato juices, so season your filling and simmering liquid to taste.
5. Make it a make-ahead situation (if you want).
Feel free to prep the onions and filling the day before. Just store them separately in the fridge. The next day, all that’s left is assembling and simmering. This is a great option if you’re a bit intimidated by the process of onion-stuffing.


Stuffed Onions

Ingredients
- 5 large onions
- 12 oz [340 g] ground beef or lamb
- ⅓ cup [65 g] medium bulgur or medium-grain rice, uncooked and rinsed
- ½ cup [20 g] chopped cilantro leaves
- ½ cup [20 g] chopped parsley leaves
- 2 large garlic cloves, crushed through a press or minced
- ½ tsp ground cumin
- ½ tsp ground coriander
- 1 tsp paprika
- ¼ tsp cinnamon
- 16 oz [450 g] can spicy salsa, divided in half
- 4 Tbsp [57 g] melted unsalted butter, divided in half
- Salt to taste
- ¾ cup [180 g] tomato juice
- 2 Tbsp lemon juice
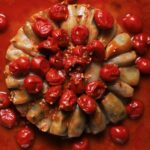
- 1 pint [340 g] cherry tomatoes
Instructions
- Prep the onions for stuffing (see instructions and photos below**):
- Combine the ground meat, bulgur, cilantro, parsley, garlic, cumin, coriander, paprika, cinnamon, ½ the salsa, and ½ the melted butter. Use your hands to mix together until completely combined. Season to taste.
- Combine the other ½ of the salsa, the other ½ of the butter, the tomato juice, and lemon juice, and season to taste. Heat the liquid through in the microwave.
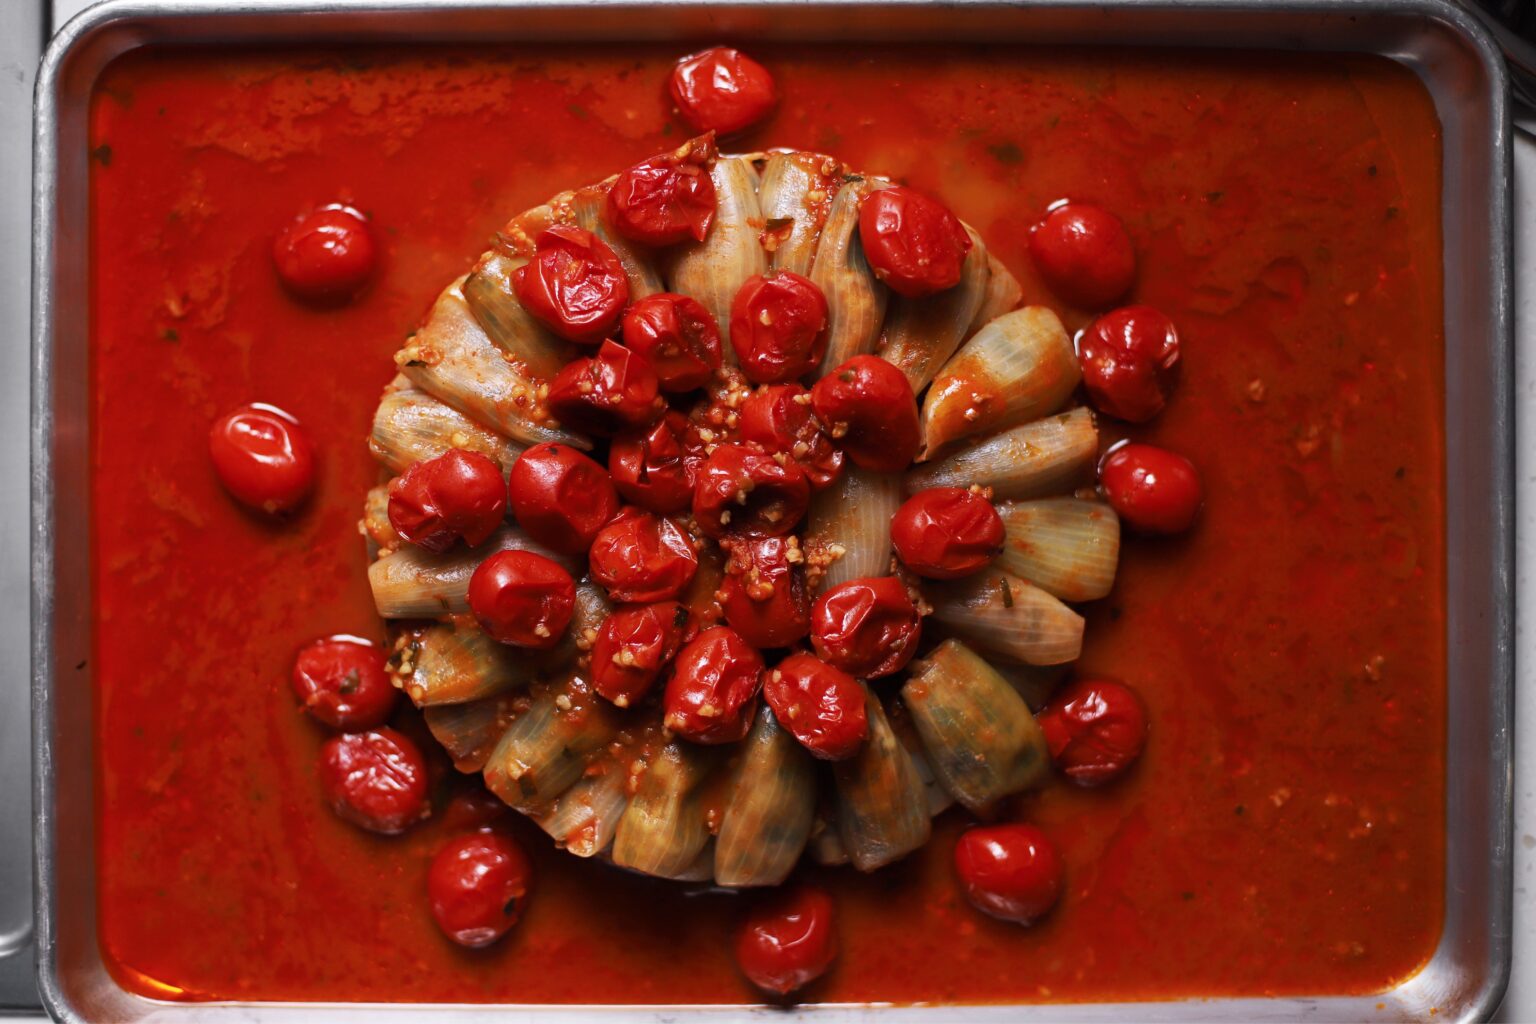
- Lightly oil the bottom of a 3½- to 4-quart dutch oven or stock pot. Evenly cover the bottom of the pot with whole cherry tomatoes.
- Stuff the onions with the meat-bulgur mixture, and nest them snugly together in the pot.
- Top the stuffed onions with the liquid, and set over medium-high heat. Cover with an upside-down heat-proof plate, and allow it about 5-10 minutes to come to a full simmer. Once it’s simmering, reduce the heat to medium, and cook for another 5 minutes covered with a lid. By this time, the whole thing will be heated through, and you should gradually reduce heat to low while you cook covered for another 40 minutes. During the 40 minutes, bubbles should break the surface at a bare simmer.
- Once the onions are done cooking, remove from heat and let it sit covered for 30 minutes to coast and cool slightly. Once it’s rested, remove the plate with tongs and enjoy.
Notes
**Instructions for prepping onions for stuffing:

- Peel the onion. Carve out the root (place your carving knife at a 45 degree angle, and carefully rotate the onion to carve out a small cone. Do not cut toward your hand.
- Discard the root.
- Cut straight down one side of the onion, with the tip of the knife starting at the very center.
- Boil the onion, and use tongs and a wooden spoon to encourage the layers to separate and peel away (sort of like it’s taking off a jacket). As soon as a layer can peel away without breaking, remove it from the boiling water to a plate. The larger outer layers can be split into 2 pieces (sometimes even 3) to make multiple rolls.