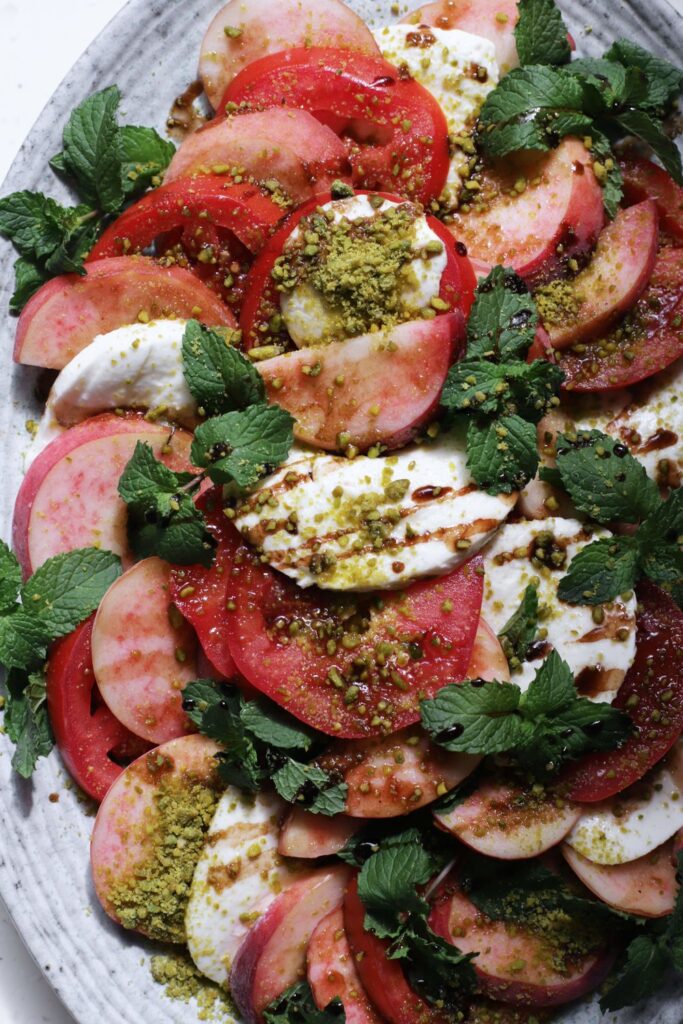
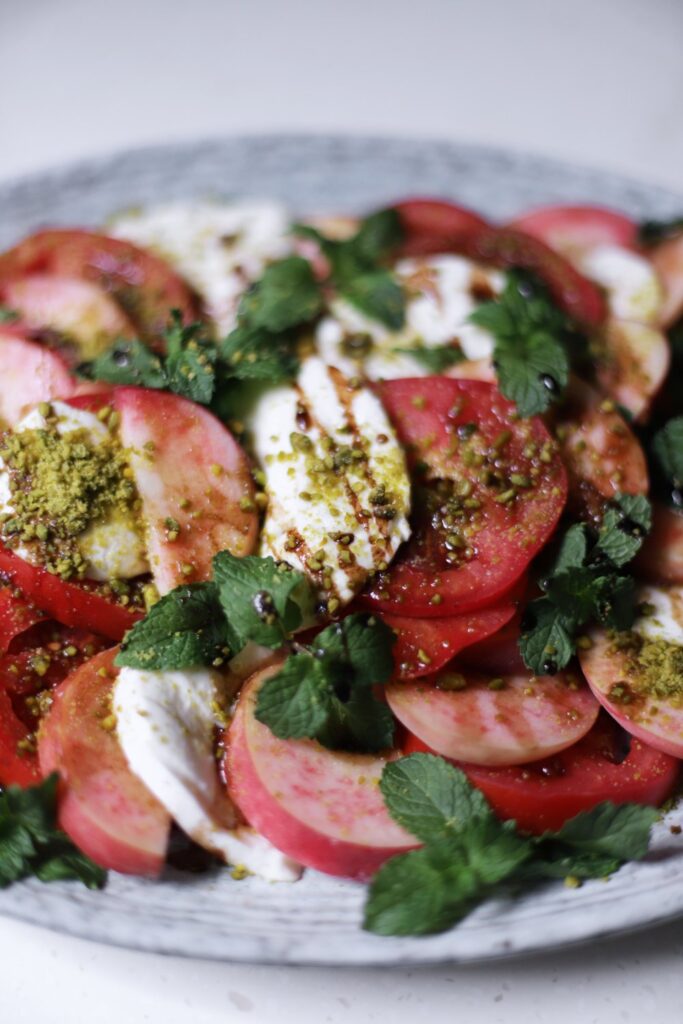
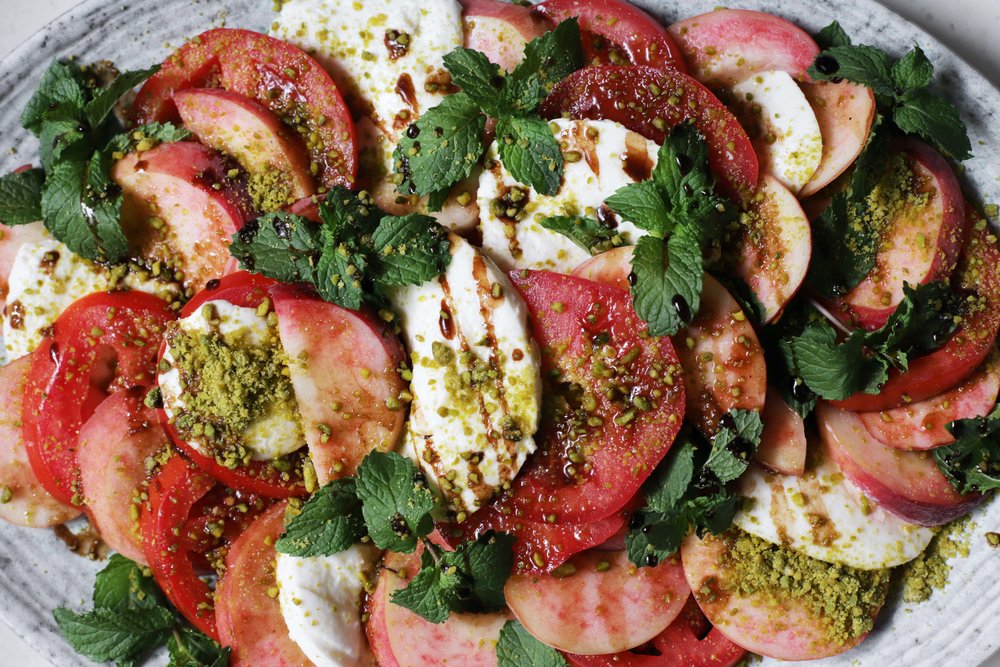
This peach caprese brings together ripe peaches, juicy tomatoes, and fresh herbs. It’s inspired by the many peachy salads making the rounds this summer, but it adds a few twists: You can use either pomegranate molasses or balsamic reduction for a little bit of sweetness and tanginess. Chopped pistachios add a lot of crunch. And those herbs can be any combination of basil and/or mint.
Read on to decide whether this is the peach caprese for you, or jump to the recipe if you’re ready to go.
Reasons to love this peach caprese:
1. Fresh summer ingredients with minimal prep
This recipe comes together in a flash and is my favorite way to make use of summer produce when it’s at its peak. But it’s also a great way to dress up out-of-season so-so peaches and tomatoes (as long as they’re good enough quality).
2. No cooking required
Perfect for the dog days of summer!
3. Sweet, tangy, creamy, crunchy
Every bite has a lot going for it. The sweet peachy flavors highlight the tomatoes’ natural sweetness. The pistachio contrasts beautifully with all the soft, creamy textures. The herbs bring a ton of excitement.
4. It’s pretty darn adaptable
This peach caprese lends itself well to incorporating in other fun ingredients. Swap out the mozzarella for buratta or another creamy, fresh cheese. Add a few cucumber or watermelon slices in place of the peaches or tomatoes. Use whatever sweet/tart drizzle you’d like. Use cilantro instead of basil or mint. Take it in whatever direction sounds good to you!
5. It’s impressive but easy
It’s the perfect thing to make for guests—easy yet impressive! You can plate everything ahead, refrigerate, and then dress it right before serving.
Peach Caprese


- Prep Time: 15 minutes
- Total Time: 15 minutes
- Yield: 6 servings
Ingredients
- Two 120g balls of mozzarella (240g/8.5oz total)
- 3 peaches
- 2 medium tomatoes
- Salt, to taste
- A few sprigs of mint and/or basil
- Pomegranate molasses or balsamic glaze
- Ground pistachios
Instructions
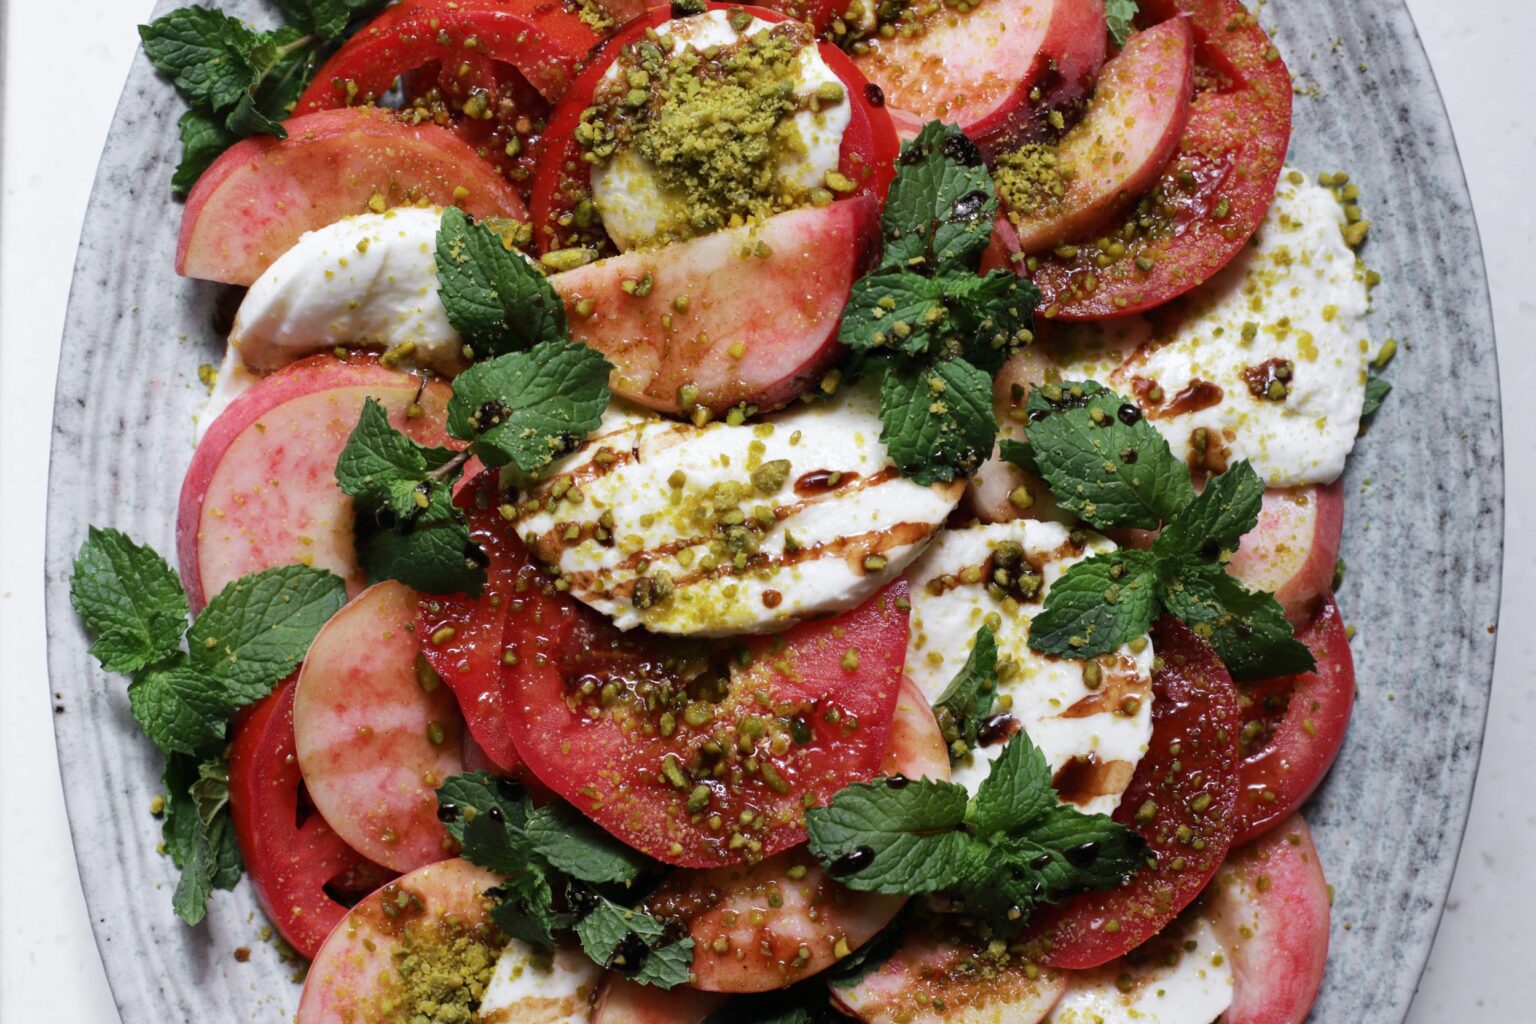
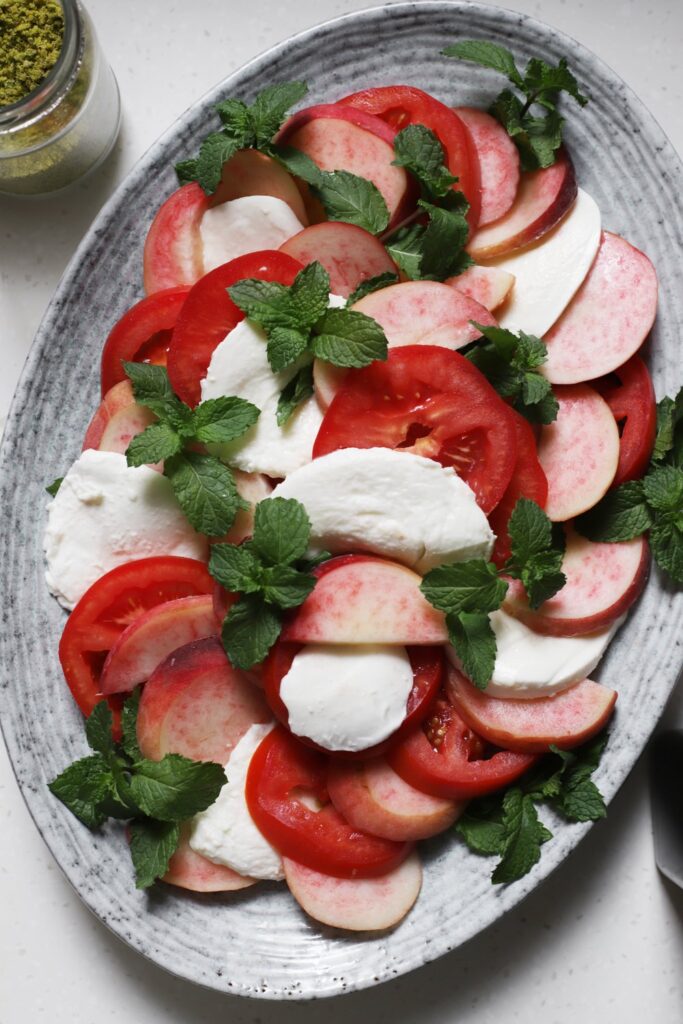
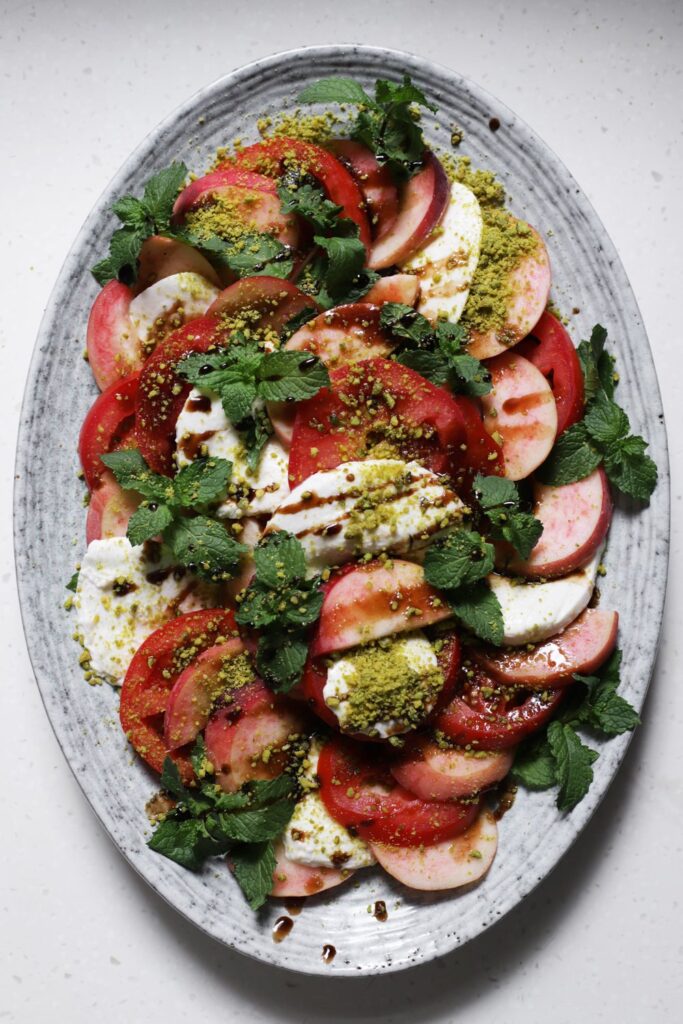
- Slice the mozzarella, peaches, and tomatoes, and arrange on a plate. Season with salt, to taste.
- Sprinkle with the basil or mint leaves and any small tender attached stems (discard any large woody stems).
- Season with a pinch of salt. Drizzle with pomegranate molasses or balsamic glaze, and top with ground pistachios.
Notes
To make ahead: You can slice everything and arrange the mozzarella, peaches, and tomatoes on a plate ahead of time, but hold off on the salt, mint, pomegranate molasses, and pistachios until the last minute. An undressed plate can keep like this for up to 6 hours to serve to guests, but even the dressed leftovers will keep super well for a couple days (just maybe not for guests).
2025 note: I originally published this recipe 8 August 2019, but I recently reworked it slightly to make it more adaptable. Now you can use either balsamic reduction or pomegranate molasses and basil or mint. It works great either way, with any combination of these ingredients.