My husband, Simon, and I spent many years in grad school in central New Jersey, the heart of pizza land USA. And the stars aligned, because the default food for grad school events everywhere is pizza, and Jersey pizza is fantastic. But in my husband’s program in particular, a lot of the grad students were vegan, and instead of ordering something else, like falafel and hummus, everyone decided to stick to the tried and true pizza order, simply asking for a few pies without the cheese. I remember Simon coming home after grad events, and ranting and raving on behalf of the vegan students (who, by the way, seemed totally happy to have something to eat, and also, by the way, Simon is not vegan and rarely actually had to eat the vegan pizza himself), complaining that these vegan pizzas were not actually pizza, but flavorless, soggy pieces of bread with a steaming heap of tomato sauce and limp vegetables piled on top.
So I totally get how “vegan cheeseless pizza” might sound pretty lame, but there’s a way to do it well, and Middle Eastern cuisine holds the key. Instead of piling a million water-heavy toppings on top of a mellow tomato sauce, we really go for it, and spread on a thin layer of the most concentrated, flavorful sauces and ingredients we have. For manakish za’atar, for instance, you make a zesty pesto out of dried herbs and spices, packing a ton of flavor into each bite without turning the dough into mush.
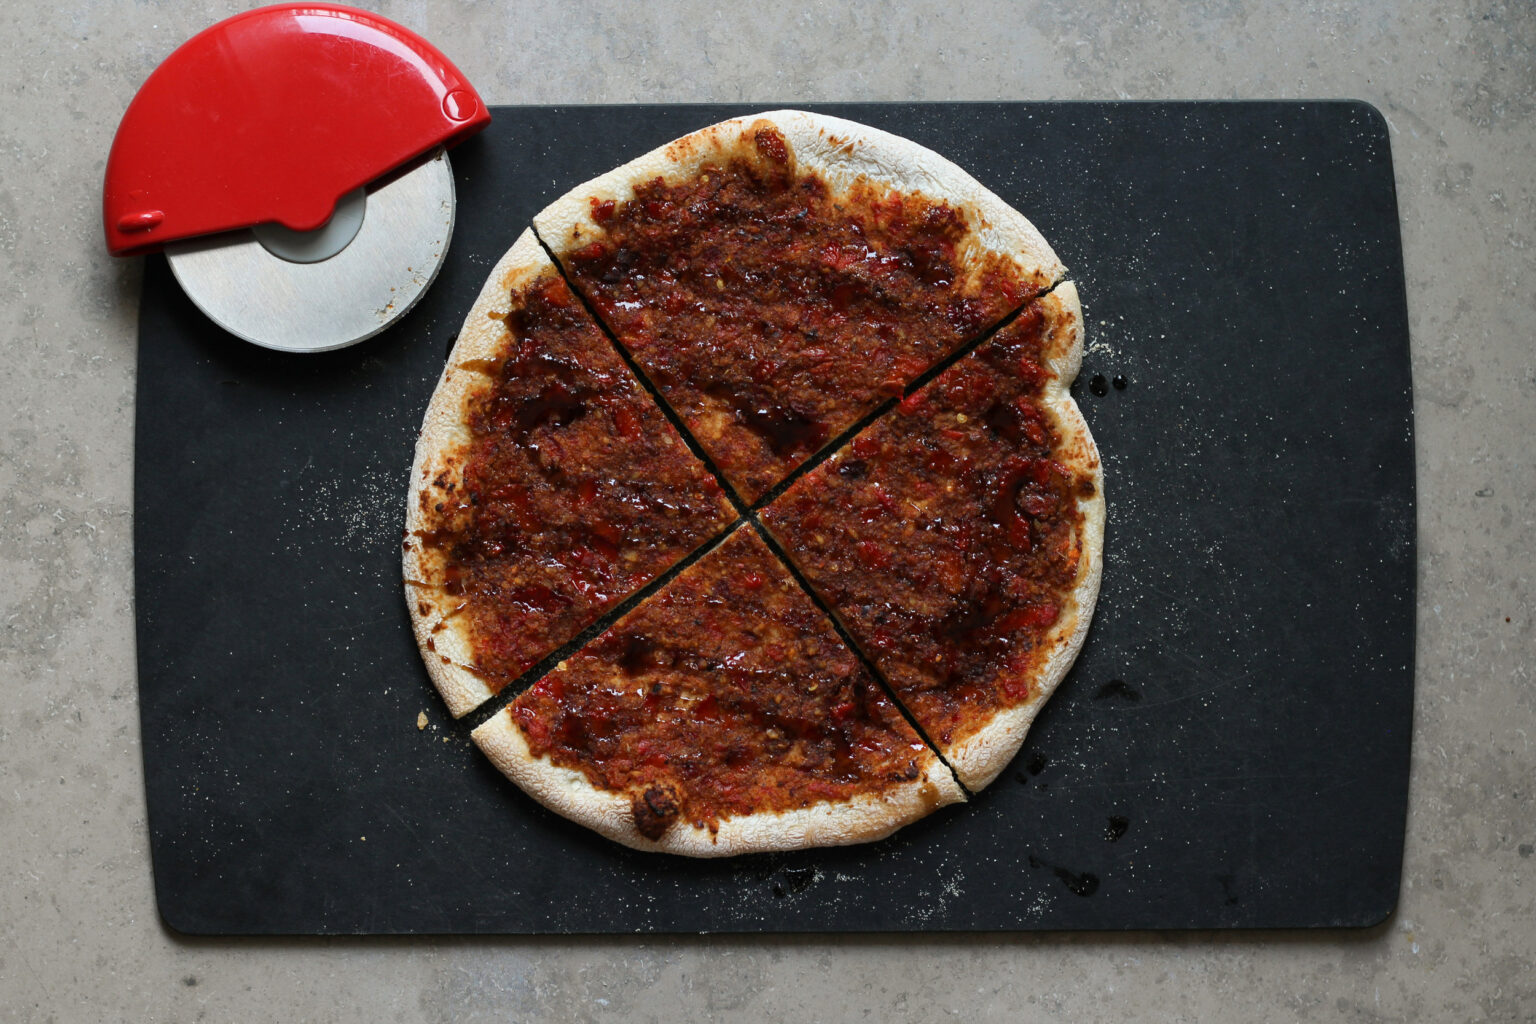
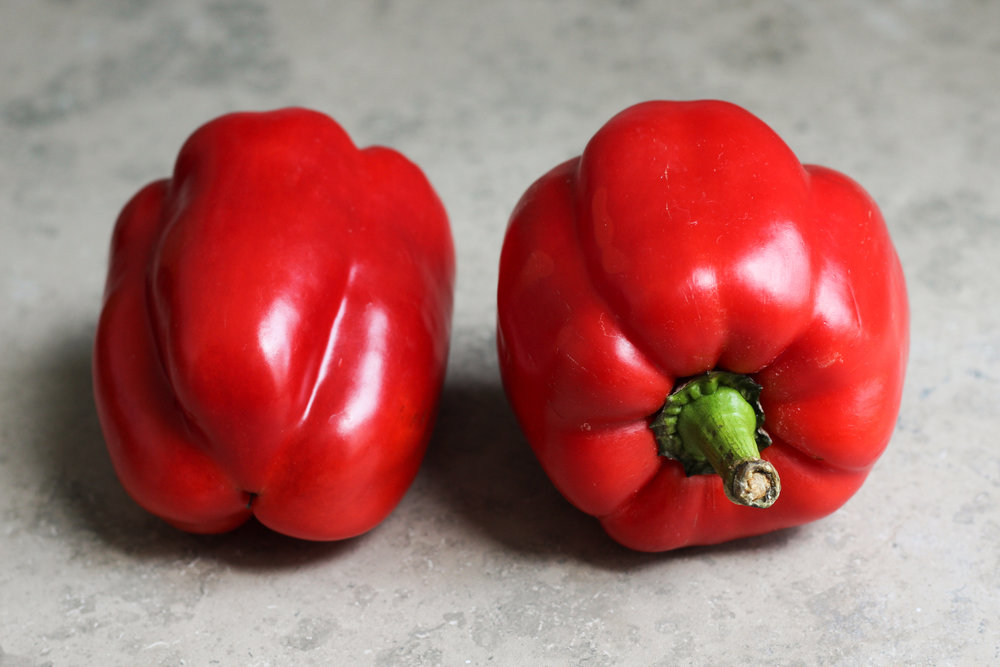
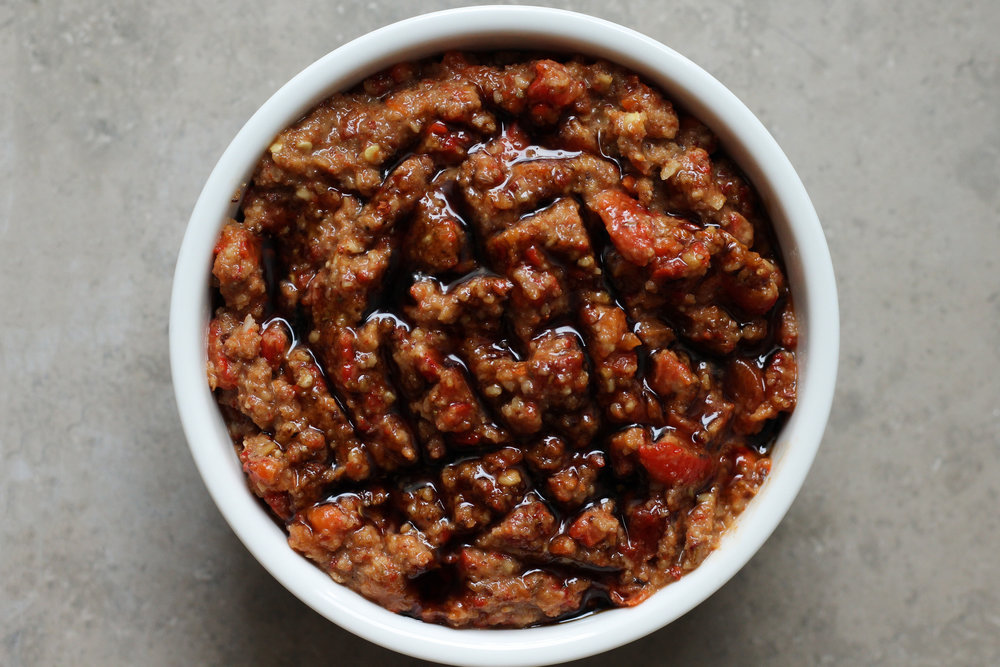
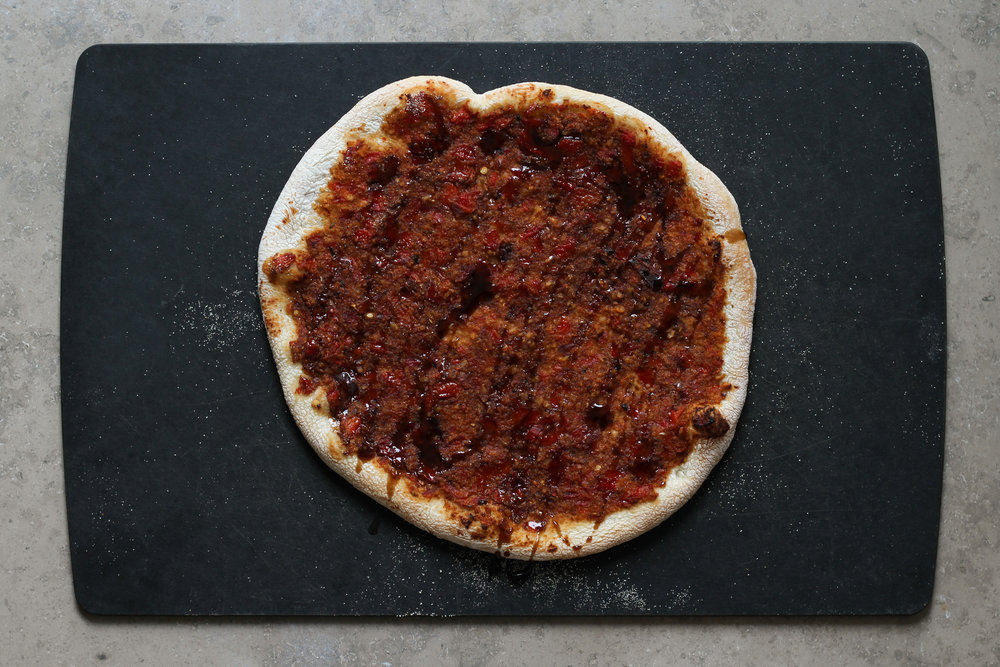
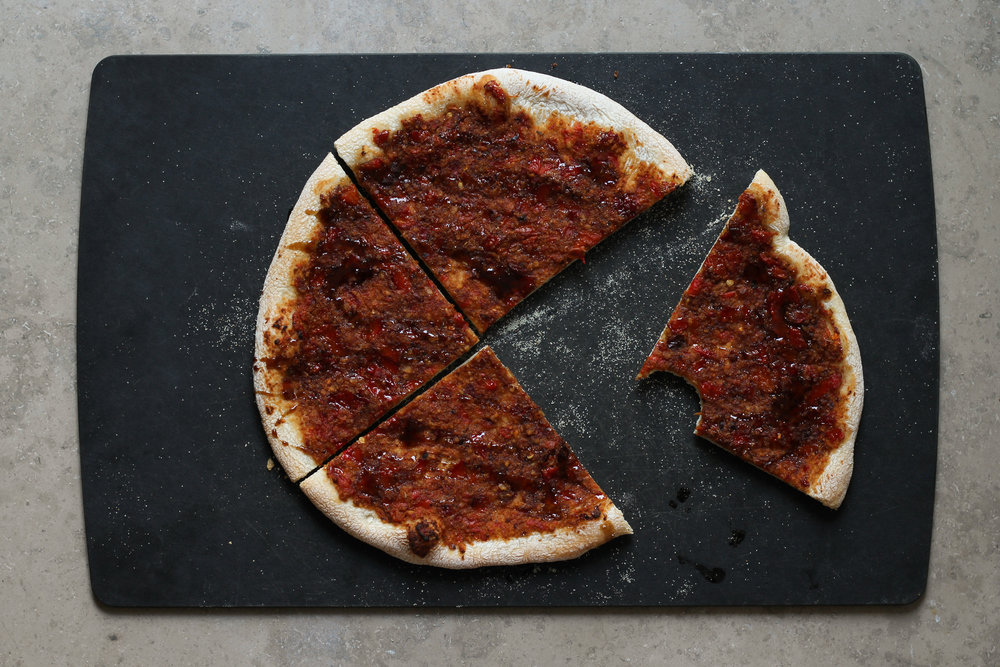
It’s the same idea with manakish muhammara. You take red peppers, char them, let them self-steam, and then discard all of the excess liquid. Then you blend them with some toasted bread crumbs, walnuts, spices, super tangy pomegranate molasses, and a few other odds and ends. This gets spread thinly on flattened pizza dough, and baked at a high temperature until the crust gets nice and chewy and everything starts to caramelize. Then you top it with just a little more pomegranate molasses for extra sweet and sour flavor (I mean, you don’t have to, but I always do). Adding cheese to this would actually detract from what it’s got going for it. So when it comes to manakish muhammara, vegan is the way to go. In terms of turning this into a complete vegan meal, it goes great with lentil carrot salad, or really anything with lots of veggies and beans or legumes.
manakish muhammara | sweet and sour red pepper pizza

- Prep Time: 1 hour
- Total Time: between 1 hour and 12 hours, depending on how intense you are about the dough
- Yield: 4 small pizzas
Ingredients
For the dough:
note: feel free to use about 1 1/2 pounds store-bought pizza dough instead
1 1/2 teaspoons active dry yeast
1/2 teaspoon sugar
1 1/2 cups room temperature water, divided into 1 1/4 cups and 1/4 cup
17 ounces (3 cups) all purpose flour
3/4 teaspoon salt
For the pizzas:
1 batch pizza dough
1 batch muhammara *
Instructions
- Make the dough: Proof the active dry yeast with the sugar and 1 1/4 cups of the water until the water looks a little foamy on top (about 5-10 minutes).
- Add the flour and salt to a bowl (the bowl of a stand mixer, if you plan to knead by machine).
- Add the water/yeast/sugar mixture and stir until the dough starts to come together into a dry, shaggy mess.
- Gradually add a little of the remaining 1/4 cup of water about 1 tablespoon at a time, until the whole thing comes into a dough ball. Do not use all of the water, unless you need it (you will most likely just use half of the 1/4 cup). The dough ball should not be too sticky or dry (somewhere in between is best). It should look a tiny bit firmer than store-bought pizza dough.
- Knead until the dough ball passes the window pane test. It should come together into an elastic ball that has a smooth surface. Kneading should take about 5-15 minutes by machine with a dough hook, or 10-20 minutes by hand. Pay more attention to the dough’s consistency than the time you’ve spent kneading.
- Place the dough in a bowl, cover it, and let it sit at room temperature for 20 minutes, and then in the refrigerator overnight. If you don’t have time to wait overnight, you can let it rise at room temperature for a total of 1 1/2 hours (resting it in the refrigerator will help it develop a better flavor and texture).
- Make the pizzas: Place a pizza stone (or sheet pan) on the oven floor, move the oven racks up and out of the way, so you can very easily access the pizza stone, and pre-heat the oven to 500° F (or its hottest setting).
- Divide the dough into 4 pieces on a floured counter. Shape each into a ball with a smooth surface.
- Roll out the first dough ball into a circle, about 1/8 inch thick. To keep the round shape, rotate the disc about 90 degrees after each time you roll it out, and be sure to re-flour the surface every so often.
- Sprinkle semolina or cornmeal on a pizza peel, lightweight cutting board, or the back of a sheet pan. Place the rolled out dough on the board. Top with about 1/4 of the muhammara and spread it thinly over the surface, leaving a crust border. Let it rest for about 5 to 10 minutes before it goes in the oven.
- Once the oven has preheated, use a quick motion to move the pie from the pizza peel onto the pizza stone. Cook for about 5-8 minutes, until the edges start to brown and the bread is cooked through. The dough should be crispy and chewy, like really good brick oven pizza.
- Repeat with the remaining pies.
Notes
* One average batch should work great, but the amount you end up with will depend on the size of the peppers you’re starting with, so feel free to make 1.5 or 2 batches of muhammara if you’re worried. It makes a delicious dip, and it freezes wonderfully. On the other hand, if you make one particularly small batch of muhammara and don’t have enough for all the dough, try topping the last pie with whatever you have around (you can make manakish za’atar if you’ve got it, or you could even turn the last piece into 2 pitas).