This is not a post for the kind of person with an orchard of citrus trees in their back yard, and a beautiful pantry full of mason jars with preserved fruits and vegetables in their kitchen (you know, the kind of person who goes on the air with The Splendid Table to ask what they should do with the buckets of grapefruits they’ve been burdened with). Marmalade is traditionally a means of putting up a surplus of oranges, and so most recipes for marmalade yield multiple half pint jars, which can be processed in boiling water and kept at room temperature. But when I make marmalade, I’m not looking for a way to preserve buckets of oranges; I just want a little half-pint jar that will last a few weeks in the refrigerator.
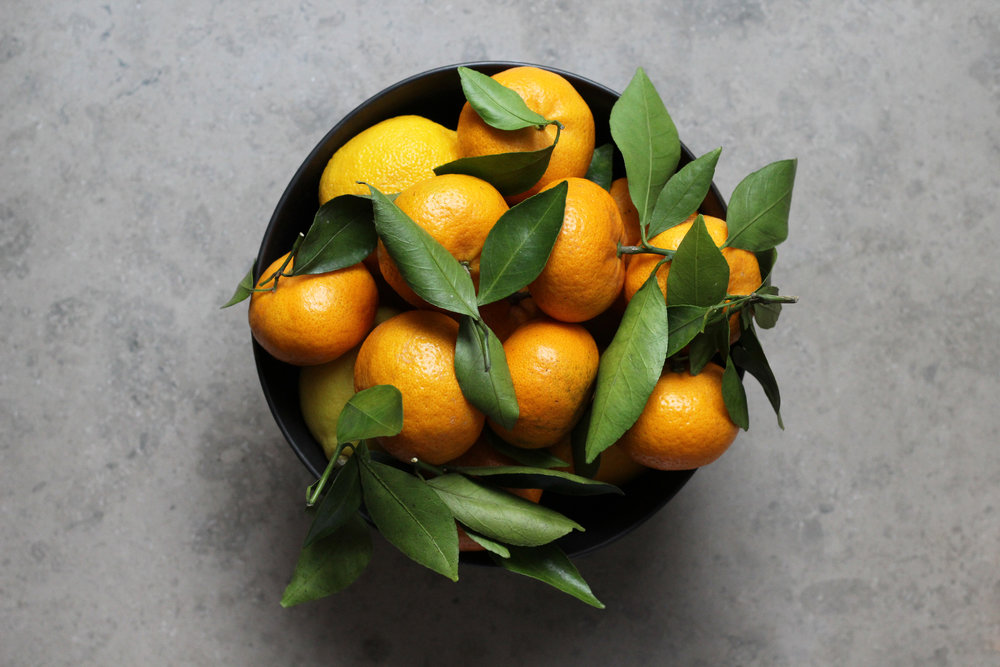
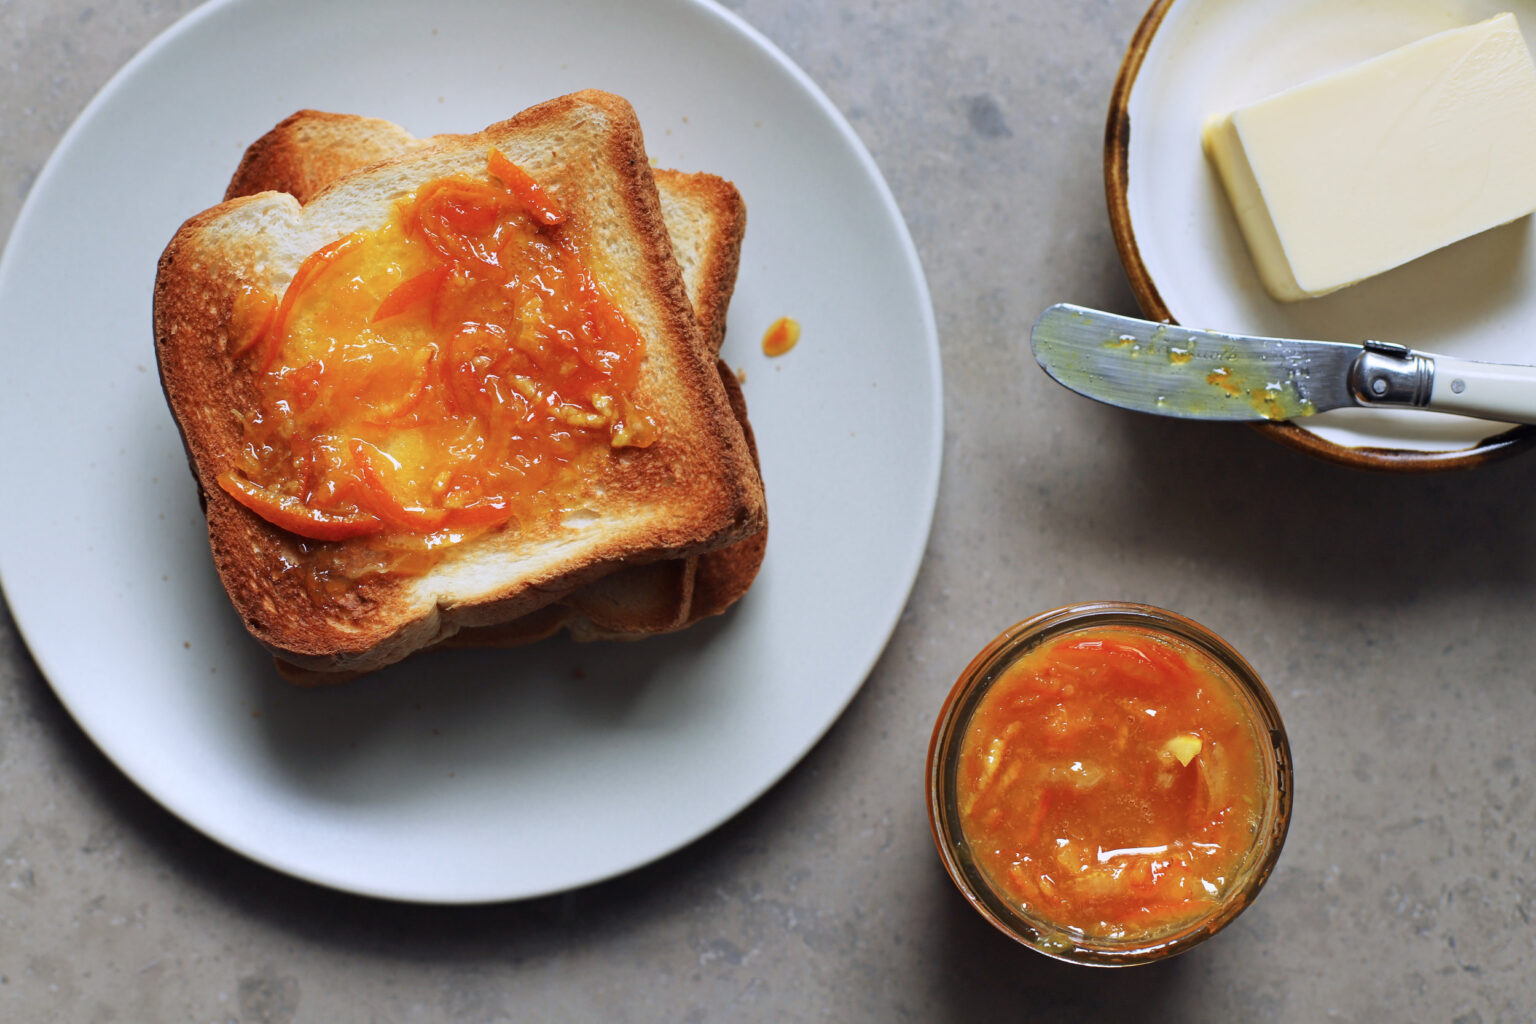
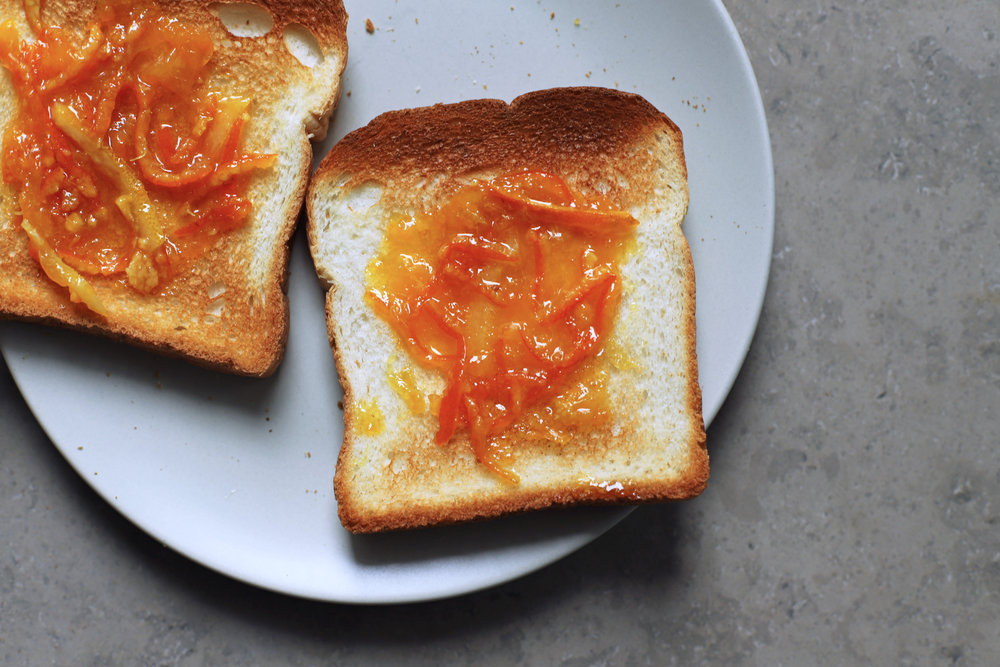
So the recipe below is for a small batch, but it’s not just any orange marmalade; it’s an orange blossom marmalade, and it’s made with clementines instead of naval oranges. Orange blossom water gives it an extra-special floral aroma, and clementines make for a less bitter marmalade, since they have a much thinner pith. This marmalade is totally dreamy, the way imaginary orange marmalade tasted on invisible toast when you were a little kid throwing tea parties.
Anissa Helou has a recipe for jam made from the petals of orange blossoms in her book of sweets, but I’ve never actually gotten my hands on orange blossoms themselves, so the distilled flavor of orange blossom water will have to do (I’m going to give her recipe a try next time I’m visiting my grandmother, who has an orange tree that doesn’t usually get a lot of fruit, but consistently blossoms once a year).
But before I get to the recipe, I should say a few words on jam making in general. The ideal setting temperature for most jams is 220° F. This means that enough water has evaporated, so that it will set up firmly. You’ll notice that I have you cook your marmalade just a couple degrees beyond 220, and that’s because you’re going to add more liquid back in when you add the orange blossom water. Why not add the orange blossom water at the beginning of the cooking process, and just cook it to the proper jam-setting temperature? Because a lot of the orange blossom aroma would be lost along the way. By cooking out a little extra liquid, and then adding it back in at the end, your jam will set correctly, and you’ll get lots of unbelievable orange blossom flavor.
If you don’t have a thermometer, you can test it the old fashioned way. Once your jam sets to your liking, continue to cook it for one or two more minutes before adding the orange blossom water, otherwise it will be too watery. This is a less surefire method, but it will work more or less.
If all this talk of temperature and setting freaks you out, but you still want some orange blossom marmalade, feel free to mix a tablespoon of orange blossom water into a jar of store-bought marmalade. One measly tablespoon won’t water it down too much (though it will be a little on the runny side), but it will add a ton of orange blossom flavor.

orange blossom marmalade


- Yield: 1 half-pint jar
Ingredients
- 180 grams clementines (2 large or 3 small clementines)
- 45 grams lemon (about 1/2 of 1 lemon)
- 180 grams orange or clementine juice (3/4 cup + 1 tablespoon)
- 165 grams sugar (3/4 cup)
- 1 pinch of salt
- 28 grams orange blossom water (2 tablespoons)
Instructions
- Scrub the clementines and lemon very well with a produce wash or vinegar, and rinse well with water.
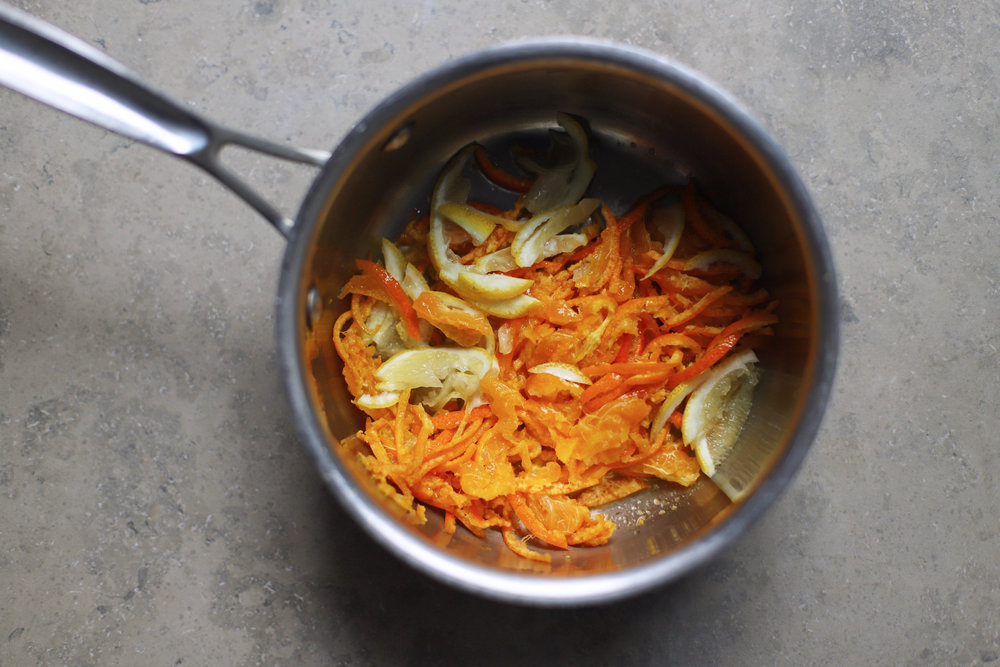
- Thinly slice the clementines and half lemon (peels and all) and place the slices (and any running juices) in a small saucepan, discarding any bits of stem or seed.
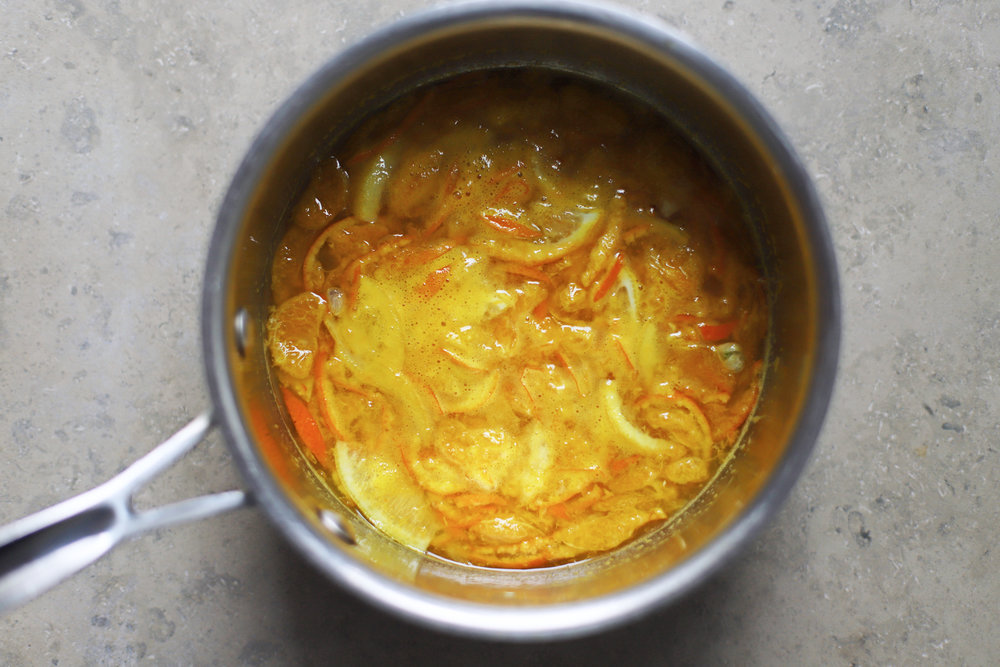
- Add the juice, sugar, and salt to the slices, place the saucepan over medium-high heat, and bring to a boil. Use an instant-read or candy thermometer to monitor the temperature. Remove the marmalade from heat when it reaches 223° F (about 10 minutes)*, and immediately stir in the orange blossom water.
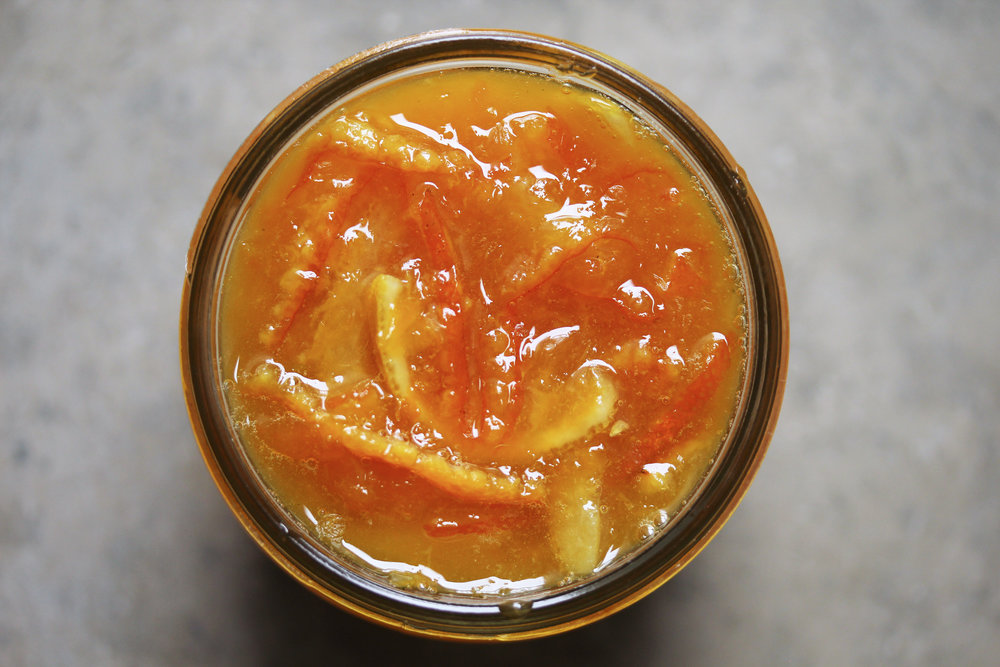
- Pour into a half-pint mason jar (or another storage container). Let it cool at room temperature for about 20 minutes, then cover it and let it chill in the fridge for an hour or two before serving. The marmalade should keep in the refrigerator for a few weeks.
Notes
* There’s a note above about how to test for doneness without a thermometer.