I’ve been posting so many breakfast things to my Instagram story this week. I’d like to say it’s because I’m really good at curating social media content to coordinate with my semi-weekly blog posts (hah!), but it’s really just that breakfast has been on my mind. Now that we have big south-east-facing bedroom windows, I’m actually becoming a morning person, and (since my life revolves around food) that means becoming a breakfast person.
But “morning person” is a relative term, and so for me, breakfast must be easy, which means that it needs to be something you can make ahead the night before, or something you can quickly throw together in the morning. And this rule especially applies when hosting friends for a morning brunch, which is why I put together this easy vegetarian breakfast meze. The prep time takes only thirty minutes the night before, and thirty minutes the morning of. And best of all, most of the things on the menu don’t even require real cooking, but it still looks like you tried.


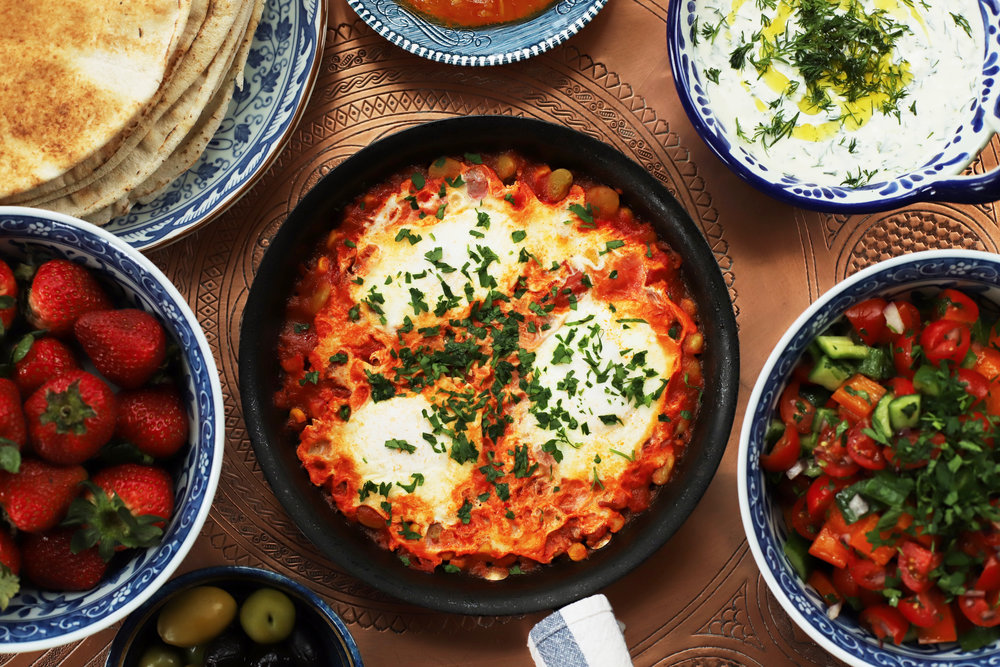
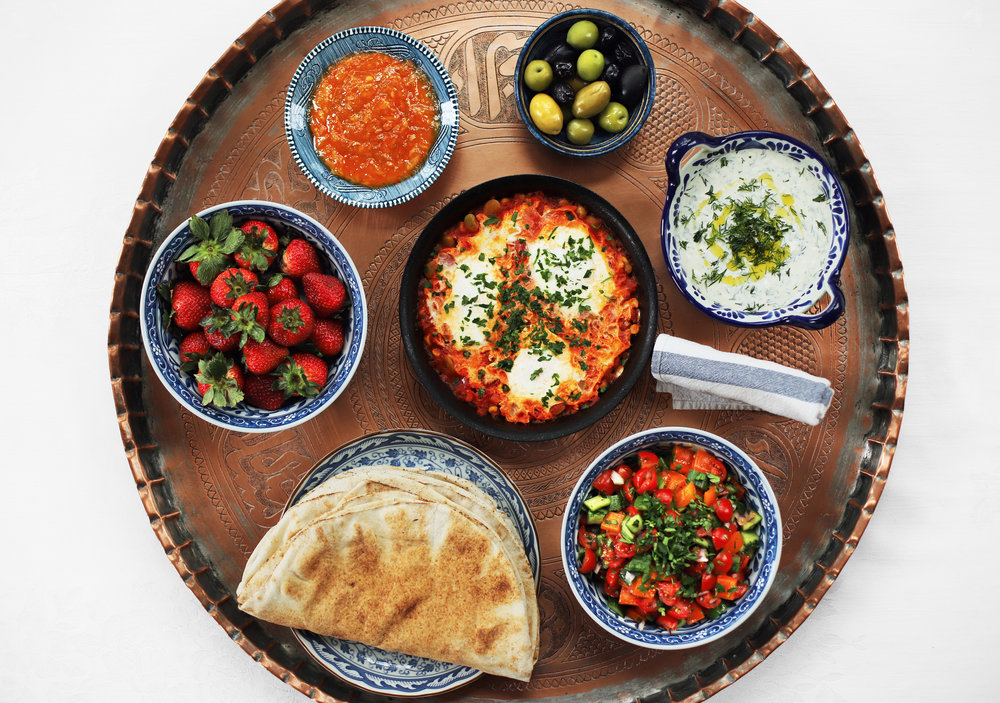
menu
shakshukotash *
pita bread and/or English muffins
jajik
orange blossom marmalade
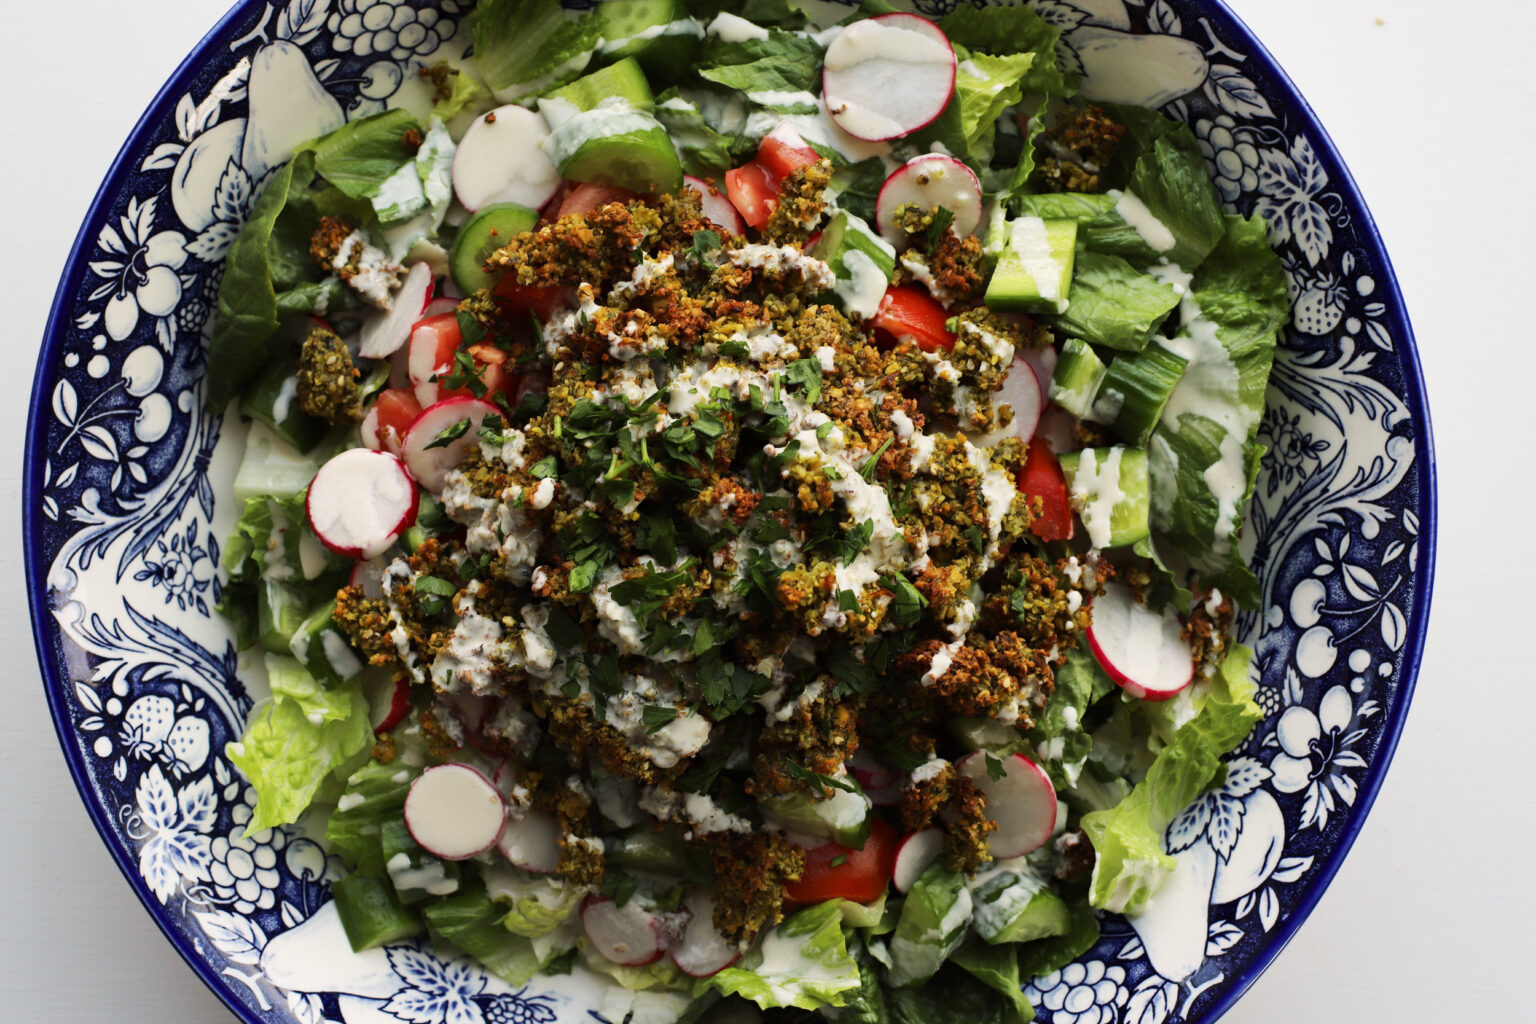
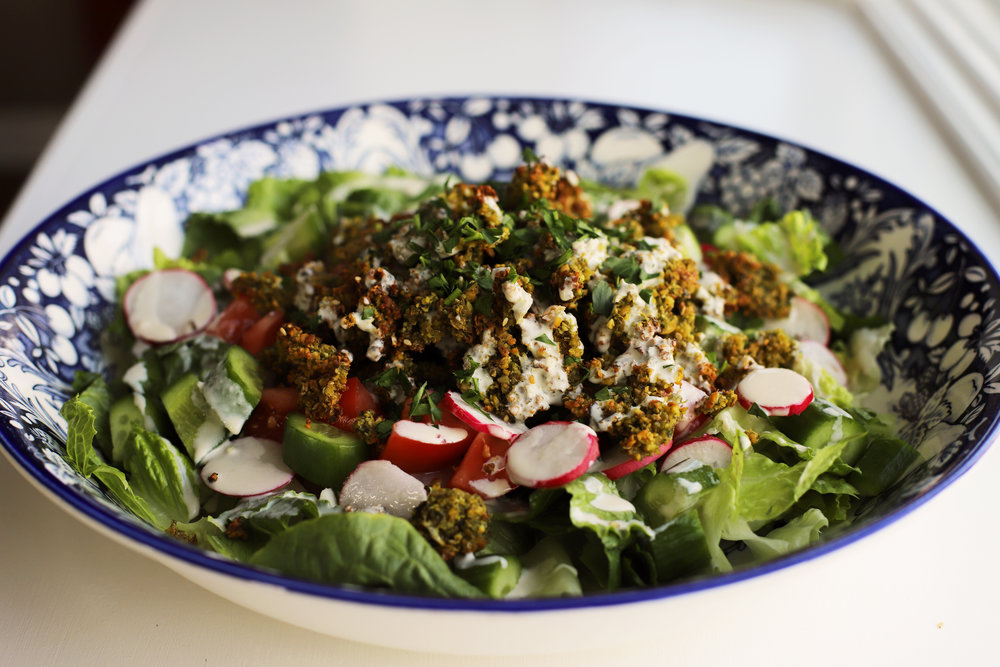
Jerusalem salad
olives
strawberries
* This shakshuka recipe makes 4 eggs, so multiply as necessary. With a large spread like this, estimate 1 egg per person for a medium breakfast, 2 eggs per person for a filling breakfast. If you’re making this menu for 4 people, just make a single batch of everything, and expect to have some leftovers of everything but the shakshuka. If you’re multiplying for a larger party of 6 to 8, make one batch of everything, but multiply the shakshuka by 3, and be sure to buy enough bread, olives, and strawberries.


Grocery list
pantry
salt and olive oil
pita bread and/or English muffins*
orange marmalade
orange blossom water
14.5 ounce can diced tomatoes (buy 2 cans if you’re doubling the shakshuka, 3 for tripling)
produce
olives (castelvetranos from the olive bar are always a crowd pleaser)*
strawberries, or your favorite fruit*
1 head garlic
1 bunch dill
5 Persian cucumbers
1 small yellow or orange bell pepper
5 roma tomatoes
1 small red onion
1 lemon
1 bunch parsley
dairy
1 stick butter
eggs (1 or 2 eggs per person)
8 ounces cream cheese
16 ounces small curd cottage cheese
frozen
1 lb bag frozen corn
1 lb bag frozen lima beans (or another shell bean, like soy or fava)
* Make sure you buy enough bread, olives, and strawberries for the number of guests.


schedule
The night before (25 minutes)
- Make jajik and plate it.
- Stir 1 tablespoon of orange blossom water into a jar of orange marmalade.
- Plate the olives.
- Wash the strawberries and place them in a bowl.
- Make the shakshukotash’s tomato sauce in a non-reactive (e.g., stainless steel) pot. Multiply the recipe as needed.
- Refrigerate everything overnight.
- Set the table.
The morning of (30 minutes)
- Cover the pita bread in foil and place in a 200°F oven for about 15 minutes, just to warm it through.
- Make the Jerusalem salad (If you don’t have time to wait around, don’t worry about letting it sit with the salt. Just use less salt, about 1/4 teaspoon).
- Get all the food on the table before you start cooking the eggs.
- Add 1 or 2 tablespoons of water to the shakshukotash sauce, bring it back up to a simmer, and poach the eggs in it. If you’re doubling the recipe, divide the sauce between 2 skillets to poach the eggs (if you’re tripling, use 3 skillets, or just 2 really wide ones). Serve immediately.