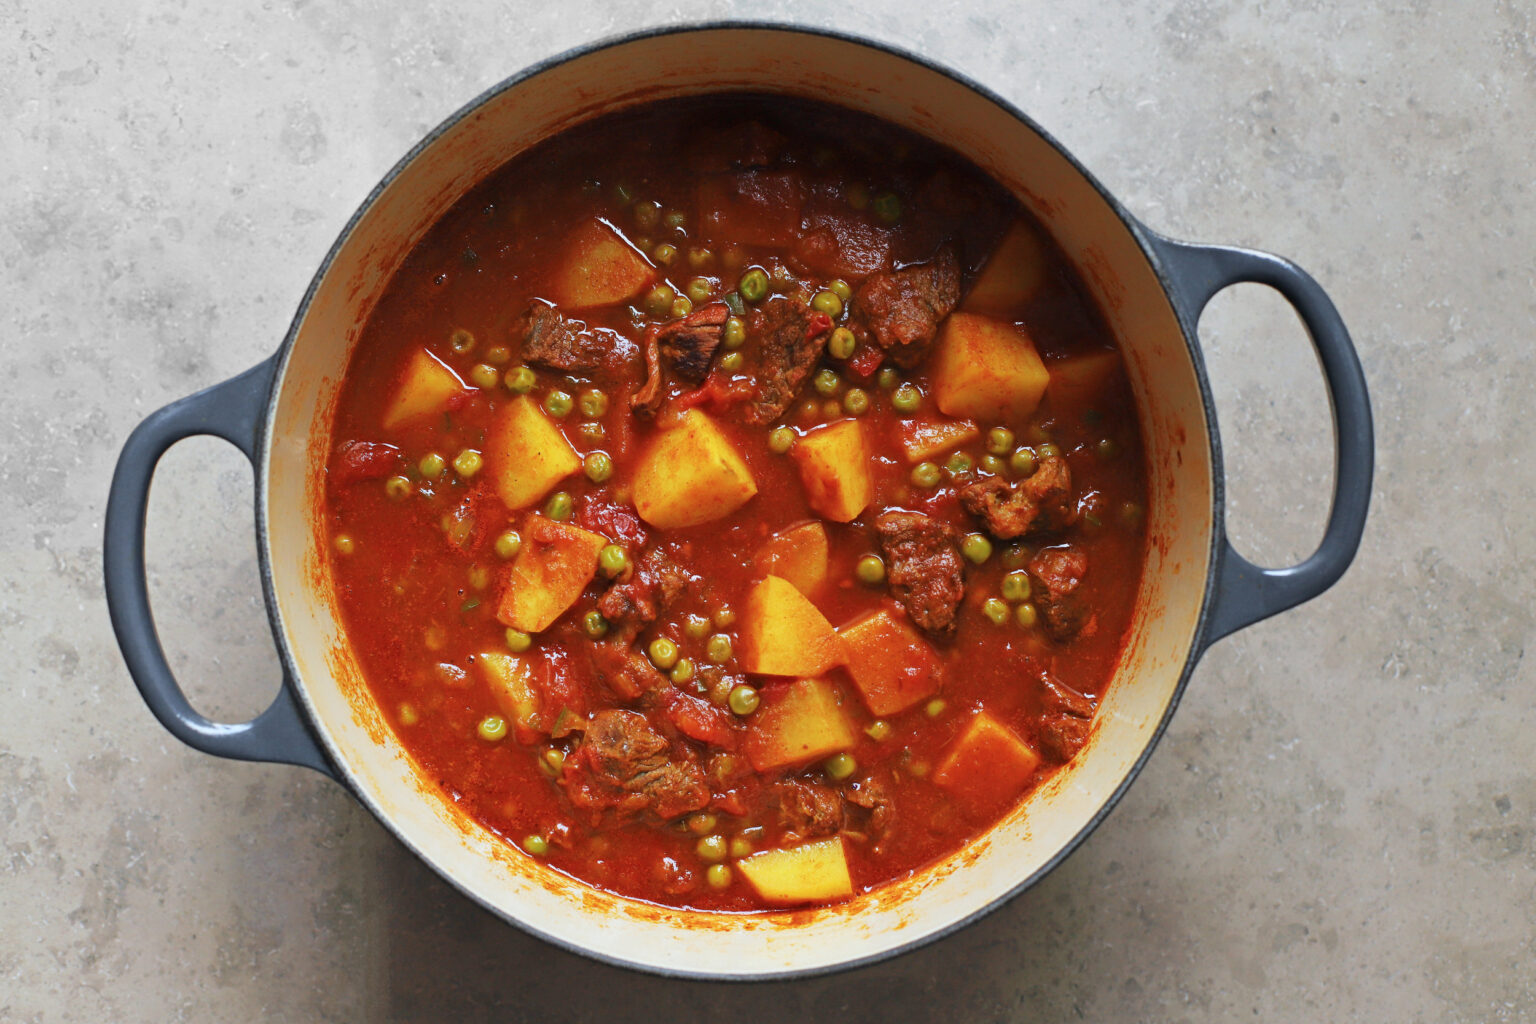
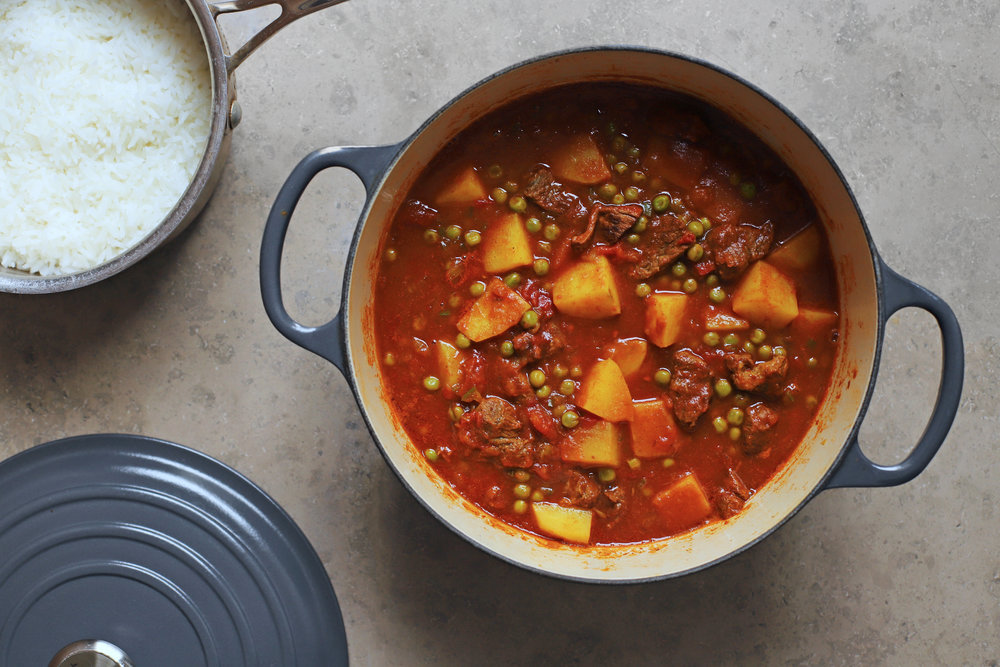
This Assyrian potato stew is a family favorite. It’s super easy to make, and has such a lovely texture. It’s a tiny bit spicy and very flavorful, which perfectly complements those wonderfully starchy potatoes.
There are a few things to keep in mind to make sure it turns out perfectly, but it’s pretty impossible to mess up. Feel free to get creative with your favorite veggies, or go with the traditional peas, potatoes, and hot pepper.

tips for making a great potato stew
- Add your ingredients in stages: Longer-cooking ingredients should be added at the beginning, and shorter-cooking ingredients should be added toward the end. While this is a potato stew, the potatoes actually don’t spend the longest cooking. If you added them with the beef, they would turn to complete mush by the time the beef is tender.
- Choose a slow-cooking cut of beef: You’ll generally find containers of beef labeled “stew meat” in most supermarkets. Feel free to use those, or use another cut of slow-cooking beef. Chuck works great here, as does round or shank.
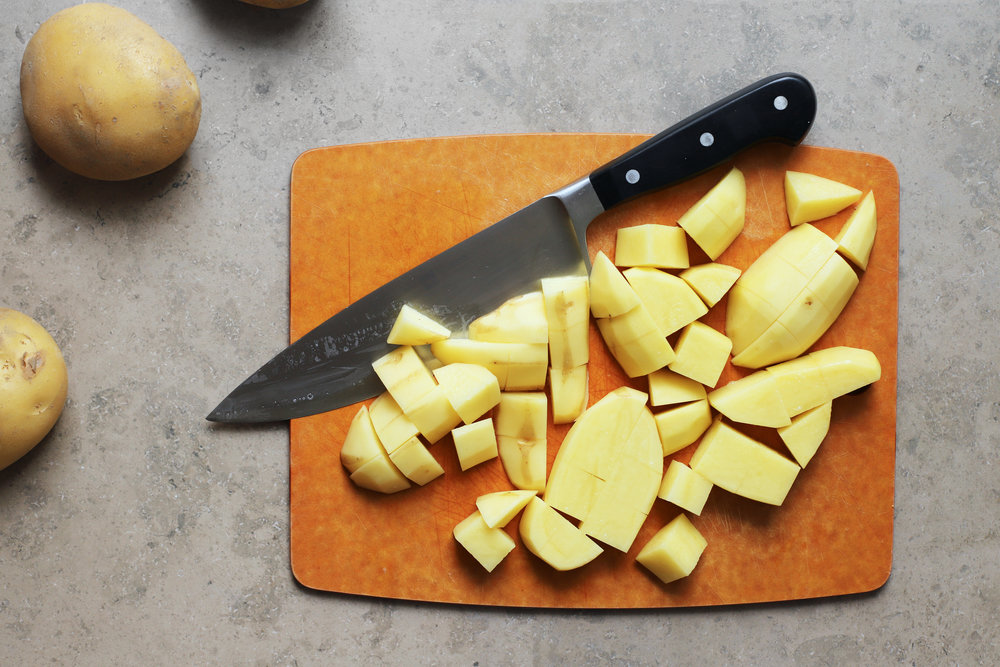
- Choose your potatoes wisely: You can use any potatoes here, but different potatoes will result in different textures. If you want super fluffy potatoes, which will fall apart a little and thicken the liquid they’re cooked in slightly, go for something like a russet. For potatoes that will hold their shape perfectly and will not readily fall apart, go for waxy potatoes like red potatoes. Or if you want the best of both words, go with something like a yukon gold.
- Use your favorite yellow curry powder, or blend your own: I’ve got a great recipe for home-blended yellow curry powder. But you can absolutely feel free to go with a pre-mixed store-bought version. Any blend will do, but ones with lots of fenugreek seeds work really well here.
shirw’it kirtopie | potato stew

- Prep Time: 20 minutes
- Total Time: 2 hours
- Yield: 5 to 6 servings
Ingredients
- Olive oil (not extra virgin olive oil, or use another neutral oil)
- 1 to 1 1/4 pounds stew meat (e.g., shank, chuck, etc.), cut into small bite-sized pieces
- Salt to taste
- 1 medium onion diced
- 2 tablespoons yellow curry powder
- 14.5 ounce can diced tomatoes
- 3/4 cup water (divided into 1/2 cup and 1/4 cup)
- 2 cups frozen peas
- 1/2 to 1 whole jalapeño, minced (depending on spice preference)
- 1 pound potatoes, cut into large chunks
- Cooked rice, for serving
Instructions
- Place a small stockpot or dutch oven over high heat for a couple minutes, and then add about 1 teaspoon of oil and swirl to coat. Add the beef, and let it sear for 2 minutes over high heat without stirring it, and then reduce the heat to medium and cook for about 8 minutes, stirring occasionally, until any juices have evaporated and the meat is nicely browned. Season with 1/2 teaspoon salt (or to taste) while it cooks.
- Remove the sirloin to a plate, and then reduce the heat to medium-low and add about 2 teaspoons of oil to the pan. Add the onions, season with 1/4 teaspoon salt (or to taste), and cook, stirring occasionally for 5 minutes, scraping up any bits on the bottom of the pan.
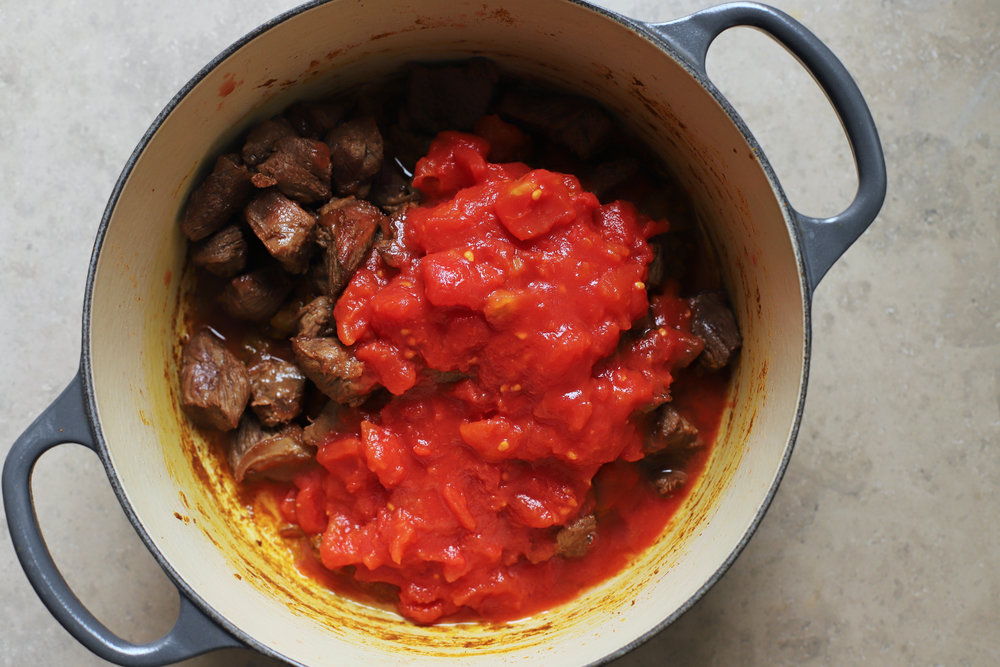
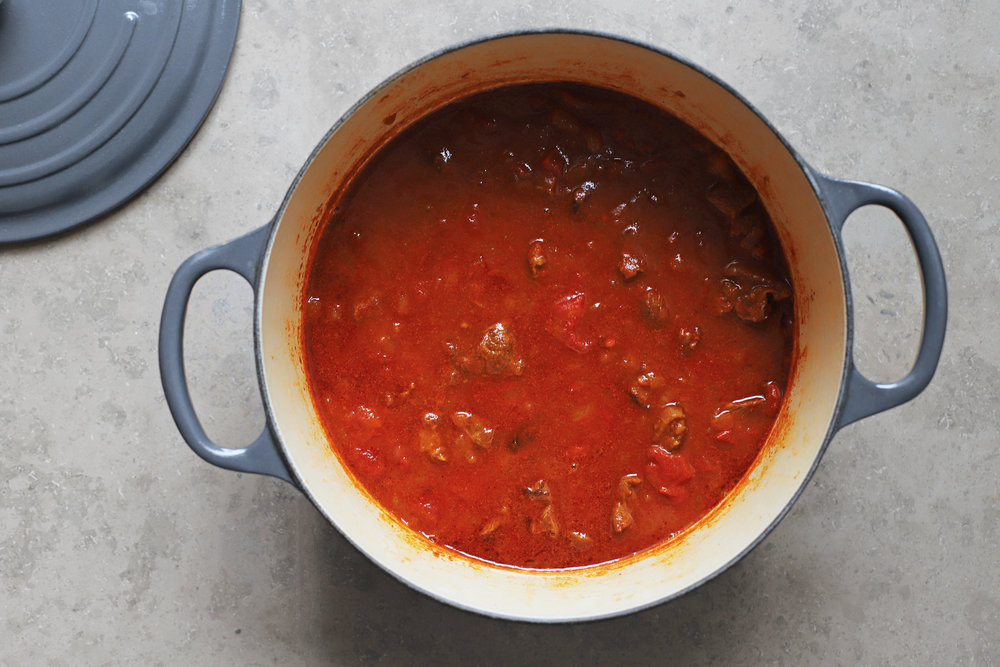
- Add the curry powder to the onions and stir around for 30 seconds to 1 minute. Stir in the tomatoes, 1/2 cup water, and the browned sirloin, season to taste, and bring to a simmer over medium-high heat (scrape the bottom of the pot for a minute or so while you’re waiting). Once it comes to a boil, cover, reduce heat to low, and continue to cook for about 45 to 90 minutes, until the beef is very tender (it will depend mostly on the size of the pieces).
- Once the beef is tender, add the peas, jalapeños, potatoes, and 1/4 cup water and bring back up to a boil. While you’re waiting for it to boil, taste it and adjust the seasoning. Once it reaches a boil, cover it, reduce heat to low, and cook for about 12 minutes, until the potatoes are tender. Serve over rice.