Here’s how to steam broccoli in the microwave easily, with no plastic, no special equipment, and no sogginess:
The problem: Throwing your broccoli in a bowl, shrink-wrapping the bejesus out of it, and hitting “START” can lead to shriveled, dried-out florets. On the other hand, adding water to the bowl does keep them from getting all raisin-ey in the microwave—but unfortunately water turns half of the florets totally soggy. Gross.
The solution: Just slice the broccoli stalk thinly (you know, the crunchy stem that the florets grow from), place those slices in the bottom of the bowl, top off with a bit of water, and throw the florets on top. The florets are kept aloft by those hearty stalk pieces, which in turn simmer away. The stalk needs a little extra tenderizing, so it’s a win-win!
To summarize the perks of this recipe:
- Plastic-free.
- Zero special equipment.
- Crisp broccoli, never soggy.
- Less wastage. The stalk bits are super enjoyable!
Jump to the recipe to hit the ground running, or read on for a bit more background on how to steam broccoli in the microwave.


Why I love this method of microwave-steaming broccoli
Here’s a breakdown of those 4 perks I listed in the intro:
1. It’s plastic-free:
In this BA piece, experts argue that it is important to avoid heating foods in plastic. I do tend to follow this advice in my own kitchen—but I do not have a PhD in public health, so I am not here to tell you what you should do with your plastic wrap.
But if you, like me, want to avoid heating your food in plastic, I’m here to tell you that as a culinary expert, there is absolutely a better way! All you need is a microwave-safe plate that completely covers your microwave-safe bowl. As long as your plate completely covers the bowl, it will trap enough steam inside to properly cook everything.
Note that if you have a particularly heavy bowl and plate situation, it might take an extra 30-60 seconds to cook through. And if you’re used to microwaving with plastic wrap, you may need to go a bit longer than usual. But it really does work.
2. Zero special equipment:
This is thanks to that broccoli stalk technique! I adapted this method from a decades-old episode of Good Eats, and have been cooking my broccoli this way since 2008. In 18 years, it has never failed me!
The one key is that your bowl must actually be bowl-shaped. Don’t use a deep plate or a rectangular storage container. You want the water to have very little surface area, so that none of the florets sink into it.
So do not rush out and buy one of those microwave steamers. In fact, if your serving dish is microwave-safe, you can even go ahead and skip the extra dishes, steaming the broccoli right in the dish you plan to serve in. Just pour off the excess liquid and serve!
3. Crisp broccoli, never soggy:
Thanks to that technique, our florets stay out of hot water.
4. Less wastage
If you’ve been throwing away the stalk pieces because it’s too annoying to have to cook them differently from florets, that ends today! This way of cooking them is definitively not annoying, and everything turns out crisp and green. If you like them even more tender, you can slice them even more thinly.

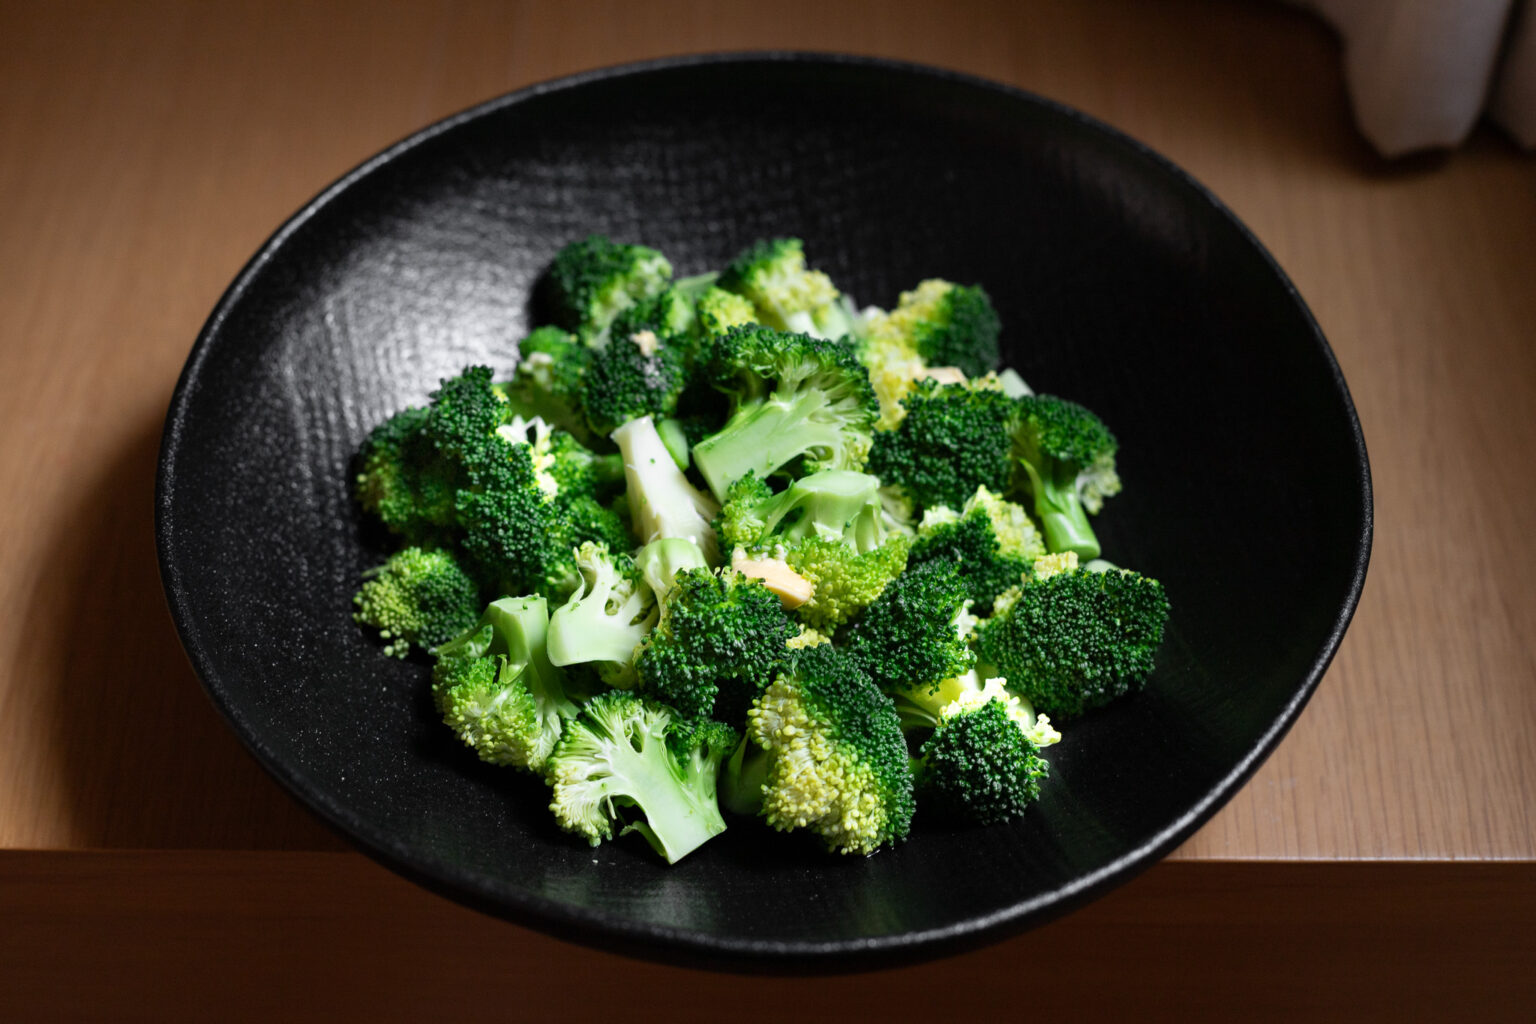
Note: these photos are actually from an older post about steaming broccoli! For that post, I developed a recipe that would work both ways, for either stovetop or microwave, and I took some photos from a microwaved batch and some from a stovetop batch. They all looked so identical, I now have no idea which photos are from which batch.
But feel free to watch the video in the recipe below if you want a step-by-step of how to steam broccoli in the microwave (as well as video-confirmation that it indeed turns out this bright green and perfect every time).
PrintMicrowave Steamed Broccoli


Ingredients
- 1 head of broccoli
- 1/4 cup water
- Salt
- Butter or olive oil (optional)
Instructions
- Slice the broccoli stem into 1/2-inch slices and trim the florets into bite-sized pieces.
- Find a microwave-safe bowl* that will fit all of the broccoli. Place the 1/4 cup of water in the bottom of the bowl, place the sliced stem pieces in the water, and place the florets on top. The florets should sit above the water/stems.
- Cover with a microwave-safe plate.
- Microwave for about 4 minutes (this will vary by microwave), until the broccoli is bright green and tender.
- Season to taste with salt and dot with butter or drizzle with olive oil.
Notes
* Make sure your bowl is the actual shape of a bowl, not a steep-sided rectangular storage container. We want the water to contact less of the broccoli.
Video note: If you don’t see the video for this post after scrolling up, please disable ad block and try reloading the page.


