When you have an ethnically-focused food blog, you’re always thinking about who you’re writing for. Am I writing for other people who share my heritage, or am I writing for everyone? Am I reminding someone of what they already love, or introducing someone to something they want to know more about? Am I connecting or explaining? Remembering or creating?


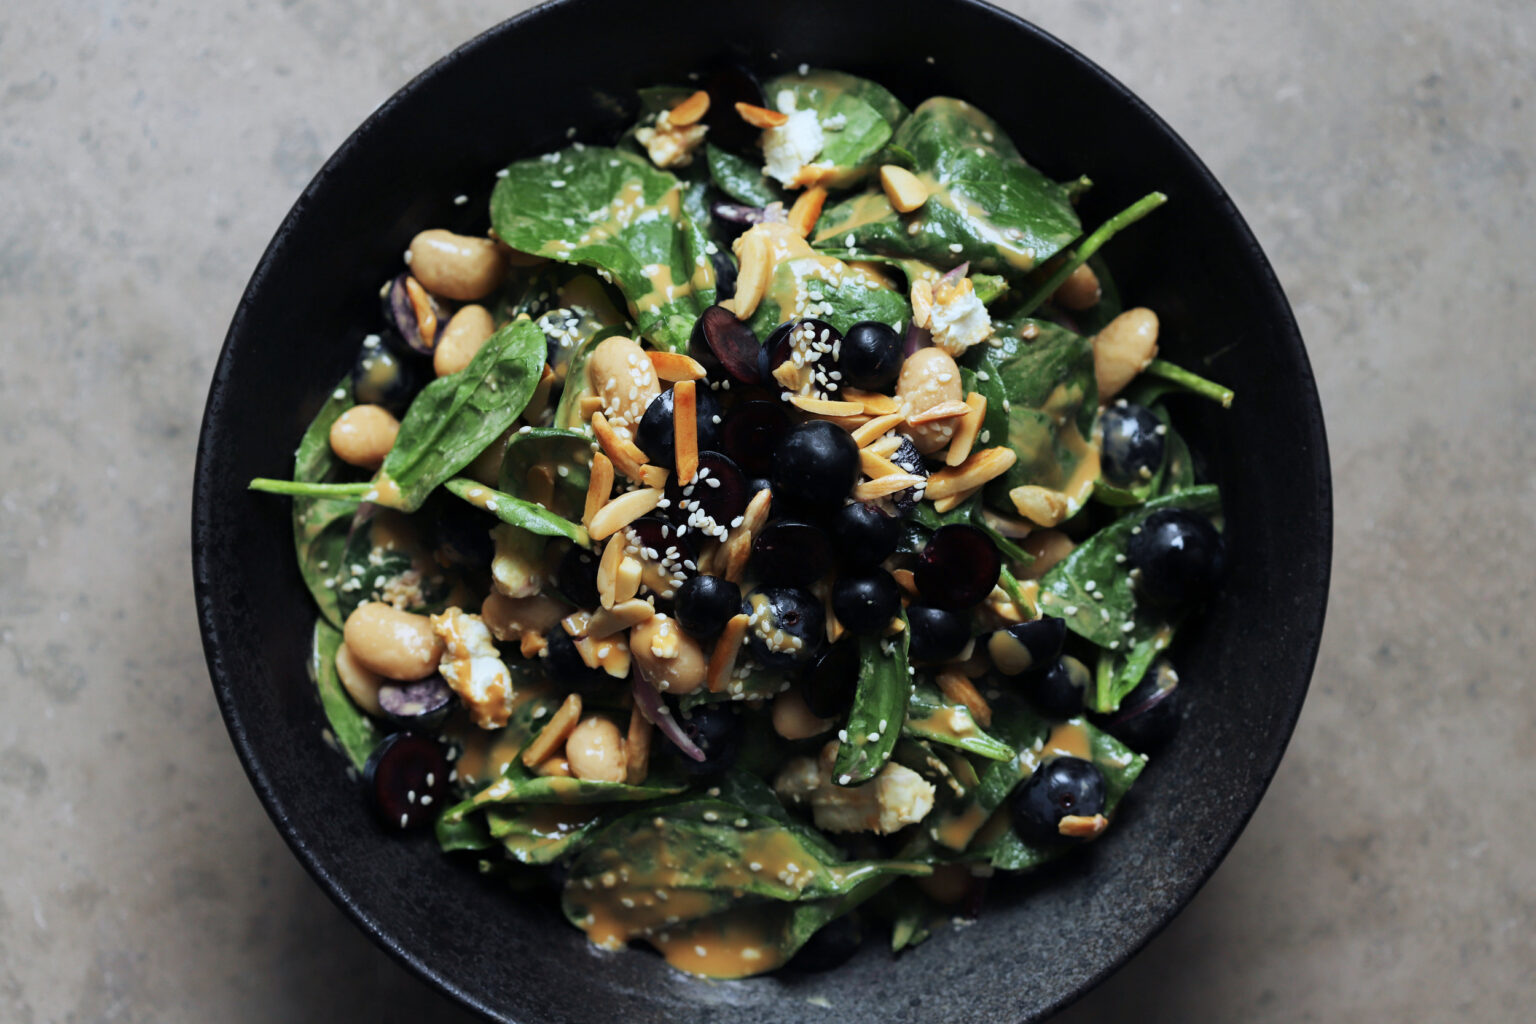
Of course the answer is usually both. But sometimes, I write a post with just my Assyrian friends, family, and readers in mind. This is one of those. If you’re not Assyrian, you should (as always!) feel welcome to read along and even try this recipe. And if you’re also Middle Eastern or North/East African, this might remind you of some of your favorites (like shish barak, mullah robe, or shakriyeh). But truth be told, dikhwa is one of those things that I think people only love if they grew up with it. It’s lamb and barley stewed in yogurt, done simply and perfectly, and served with love and community.


In my grandmother’s little Syrian village as well in the bustling Baghdad of my grandfather’s childhood, families would make dikhwa at home for dinner and holidays. But during my grandmother’s brief time in Beirut, dikhwa was a community event. At Christmas and Easter, the church served it to the entire congregation. The men set up three or four giant cast iron cauldrons outside and maintained the open fires, and the women prepared the dikhwa. The stew requires careful timing and frequent stirring, and it’s no wonder it was reserved for only the most special holidays.
Everyone makes dikhwa a little differently, but I’ve only been able to find one other recipe online from Julian of Assyrian Dishes, which is a wonderful variation if you prefer a more porridge-like dikhwa. My grandmother makes one that’s a bit more stew/soup-like. She makes a very sour homemade yogurt as the base of the stew, and combines it with par-cooked barley and lamb, which all simmer together for about an hour. The lamb falls off the bone and becomes incredibly tender, and the barley and yogurt carry its flavor. Some dikhwas are flavored with thyme or oregano, but my family keeps it simple with just the key ingredients. Make a big pot for your dottu today, and get ready for some tears, light criticism, and unforgettable stories.

dikhwa


- Prep Time: 30 minutes
- Total Time: 24 hours (if using store-bought yogurt, 3 hours)
- Yield: 8 to 10 servings
Ingredients
- 900g (about 2lbs) lamb shoulder and/or stew meat, trimmed of fat, bones left in, cut into small pieces
- water
- salt
- 385g (2 cups) pearled barley
- 1 egg, beaten
- 3 to 4 quarts unstrained homemade yogurt, made with whole milk *
Instructions
- Place the lamb in a large stockpot or dutch oven. Cover with about 1 quart (900g) water and add about 1/2 teaspoon salt (or more to taste).
- Bring to a boil, and then reduce heat to low and simmer covered for about 1 hour and 15 minutes, just until the lamb is cooked through and somewhat tender (not yet falling apart).
- While the lamb is cooking, boil the barley. Place the pearled barley in a large saucepan with about 1.5 quarts (1350g) water and about 1/2 teaspoon salt. Bring to a boil, and then reduce heat to low and simmer covered for about 40 minutes, until it’s tender but al dente.
- Once the lamb is done, rinse and strain it, and rinse out the pot. Rinse the barley once it’s done too.
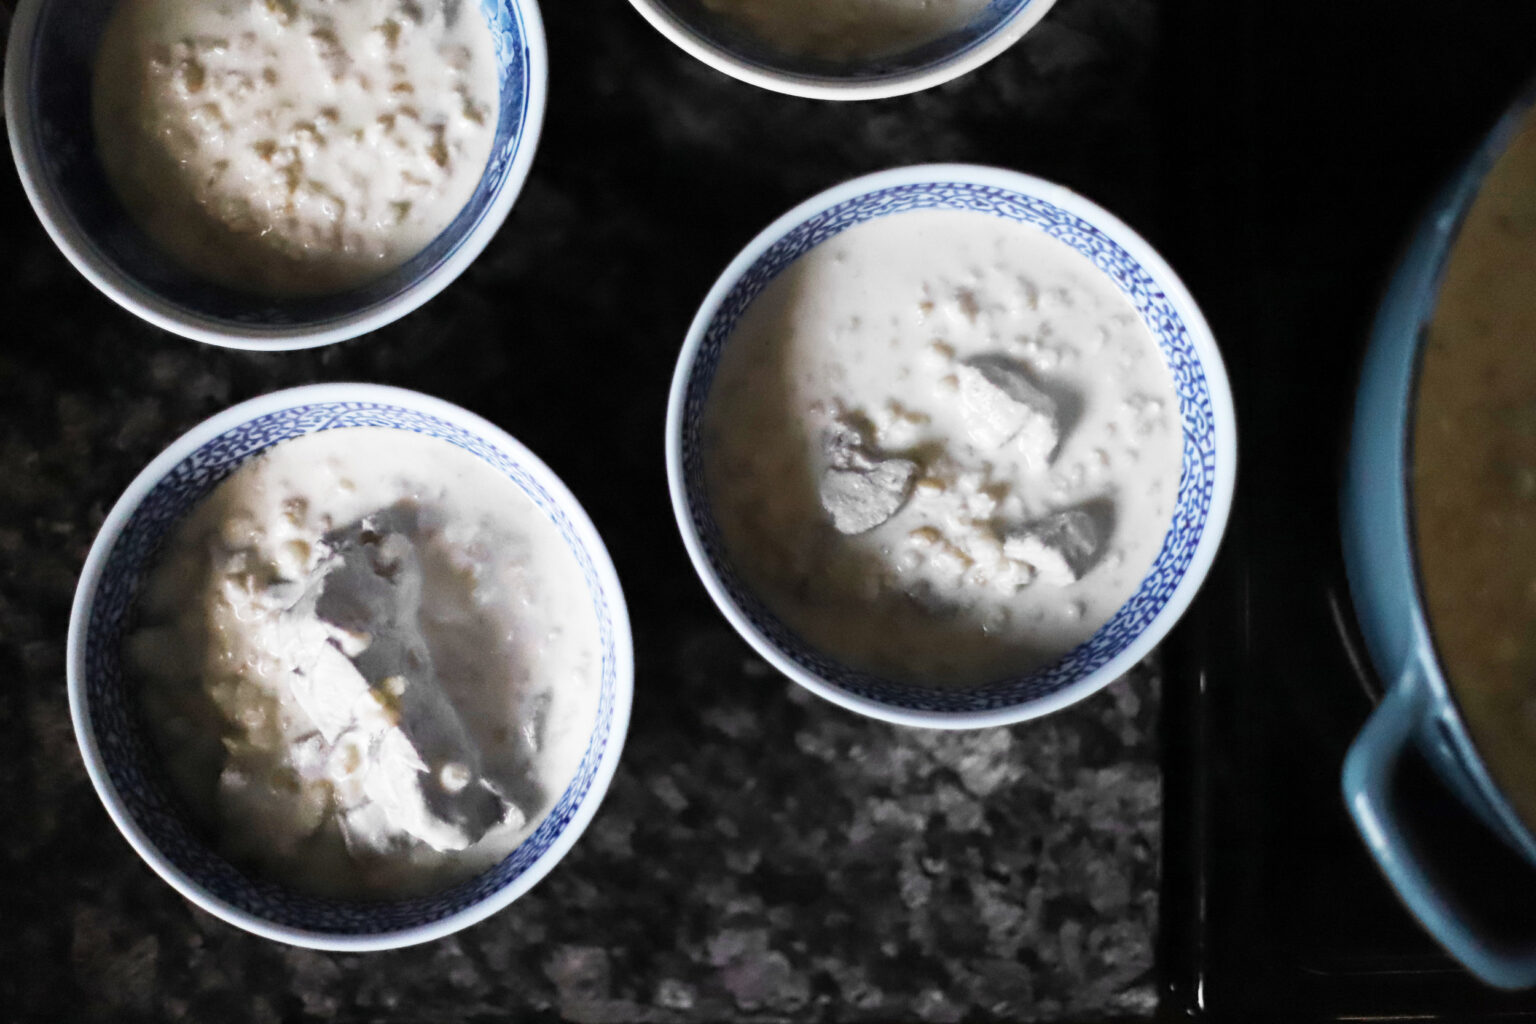
- If your yogurt is on the thick side, you will only need to use 3 quarts, and will need to water it down with about 4 cups of water. * The yogurt, or yogurt/water mixture, should have quite a bit of body, but it absolutely must be liquid (see photos). Place the yogurt (and water, if using) in the pot, add the egg, and mix until completely combined. Add the cooked and strained lamb and barley, and season with a little more salt (about 2 teaspoons, or more to taste). Stir together, and bring to a boil over medium heat. Stir constantly while you bring it to a boil, and then reduce the heat to low. Keep the pot uncovered, and cook stirring occasionally for about 1 hour and 15 minutes. The stew is done once the flavors have melded and the lamb is falling off the bones.
Notes
* If you want to make this with store-bought yogurt, make sure you don’t use strained/Greek yogurt. Look for a plain whole milk yogurt with as few additives and stabilizers as possible. Most Indian and Arabic brands work well, but read the label carefully to make sure it’s plain, unstrained. Yogurt consistency varies from brand to brand (and homemade batch to batch), which is why the amount you use will vary. If you use thick yogurt, you should water it down, and if it’s a thin homemade yogurt, you can get away with using the full amount and no water. Read the recipe for details.