Last month when we were visiting family in Chicago, I cooked a big dinner for my in-laws, my family, and a bunch of friends. My husband, Simon, volunteered to bake a cake. I recommended a simple upside down one since he had literally never baked a single cake before. And we ended up with this delicious apricot cake!
Upside down cakes are super easy, because the cake batter is essentially a sweet quick-bread. So it doesn’t require a lot of fancy butter creaming or egg beating. It’s all just stirring, pouring, and baking.
Simon did the whole “inspired chef” schtick where you go to the market and see what looks good. And he happened to find some really delicious looking apricots. He used my persimmon upside down cake as a base, and substituted some small apricots that he sliced in half and pitted. And I have to say, for a first cake, or even for a thousandth cake, that was a good one.
food styling inspiration
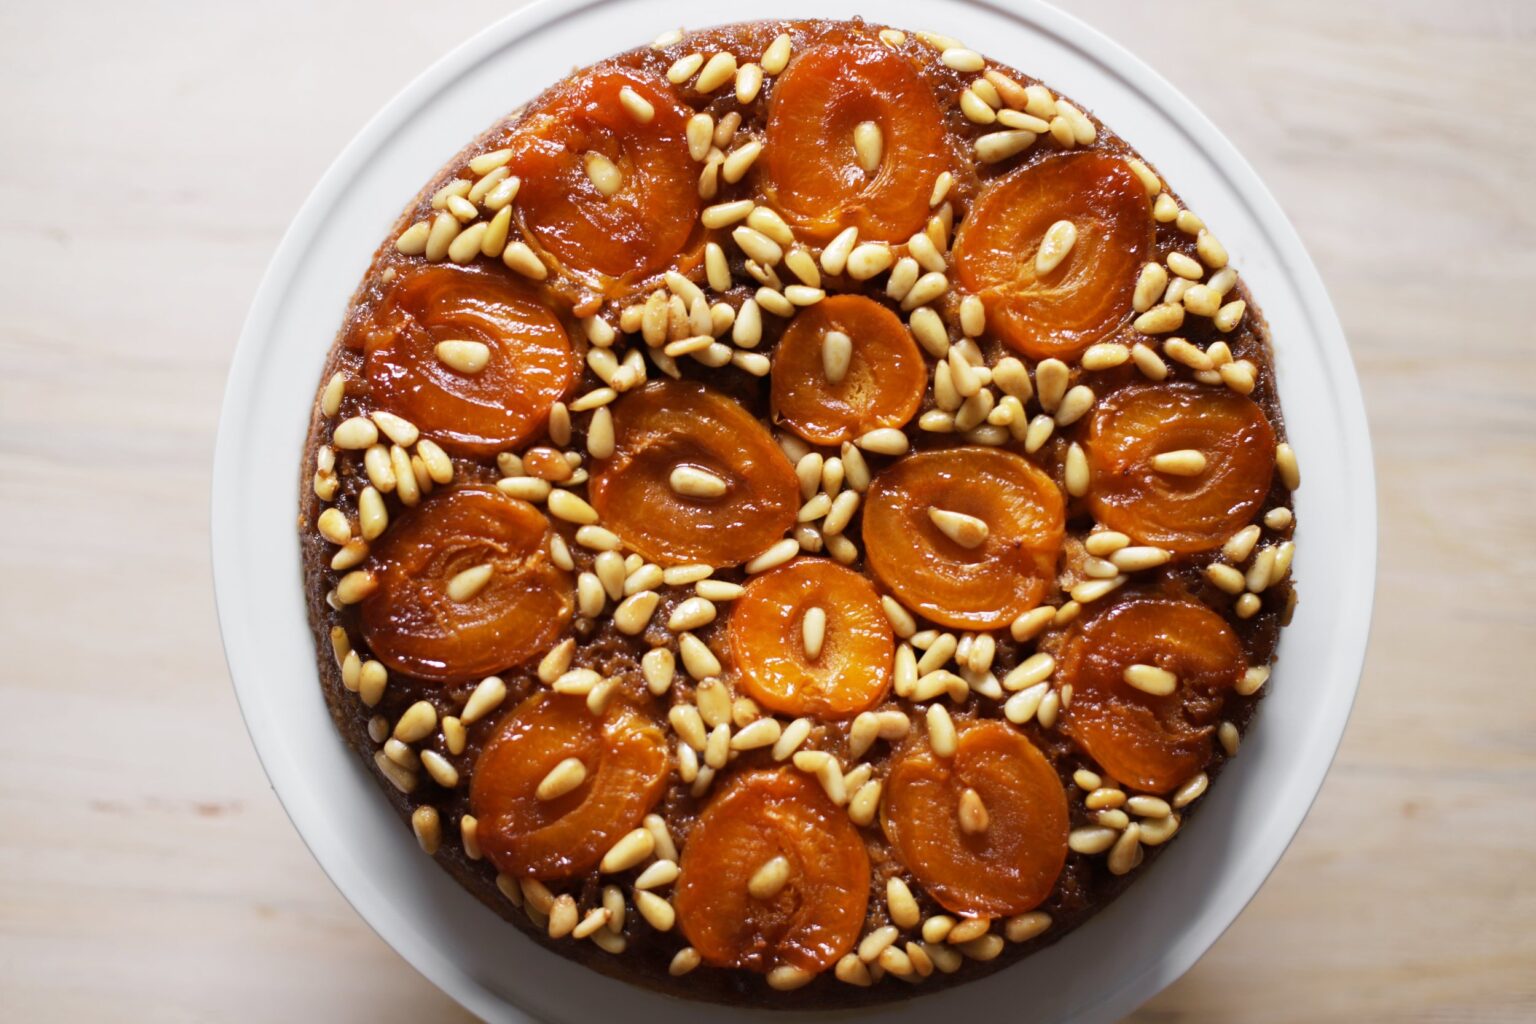
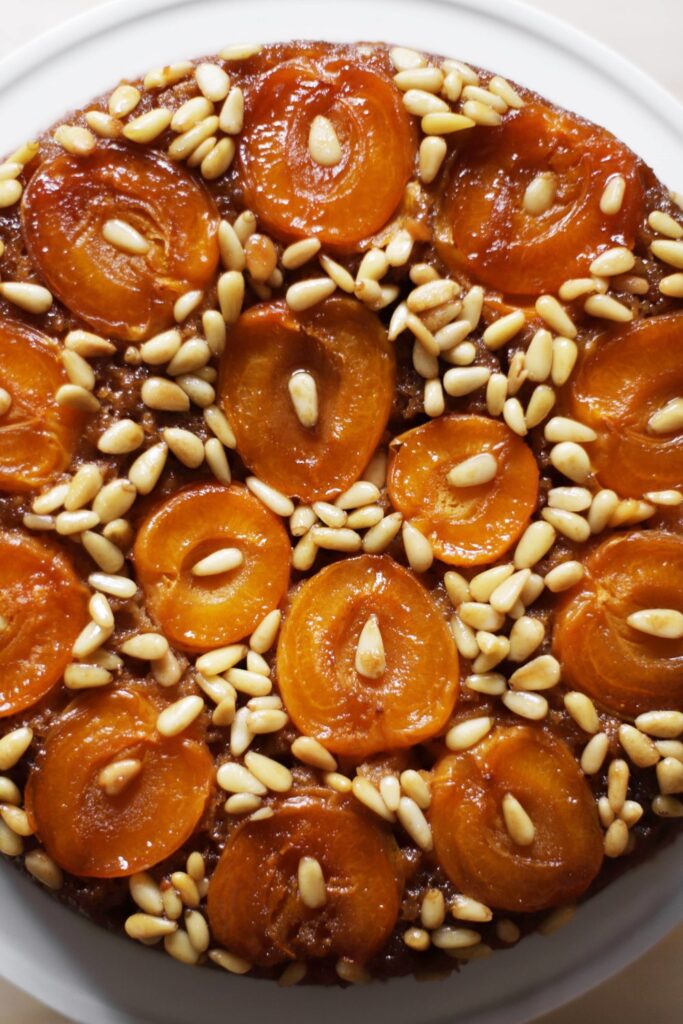
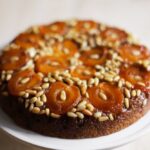
A few weeks later, I revisited his apricot cake to write up a recipe to share here. I decided to add some pine nuts to the brown sugar, which was a delicious addition. The basbousa-esque styling on this one is kind of a funny story. Just as I was putting the finishing touches on this blog post, Salma Hage posted to her instagram story that she was developing a recipe for a filo almond tarte tatin, which was styled with a single blanched almond in the center of each stone fruit. I sent her a photo of this cake because I was curious if we were both inspired by basbousa. It turns out Salma also took inspiration from the beautiful pattern of almonds on top of perfect basbousa diamonds. I love that so many of us share the same visual vocabulary and history, and find the same things inspiring. Check out Salma’s books if you haven’t already—she is a marvelous chef and a beautiful soul.

apricot and pine nut cake

- Prep Time: 20 minutes
- Total Time: 1 hour
- Yield: an 8-inch single-layer cake
Ingredients
for the apricot pine nut bottom:
- Butter for greasing cast iron skillet*
- 55g unsalted butter, melted and cooled (1/2 stick / 4 tablespoons)
- 100g brown sugar (1/2 cup)
- 1 pinch salt
- 330g firm-ripe apricots (about 7 small)
- 40g pine nuts (1/3 cup), optional**
for the cake batter:
- 200g all purpose flour (1 1/2 cups)
- 5g baking powder (1 1/4 teaspoons)
- 1g baking soda (1/4 teaspoon)
- 0.5g salt (1/4 teaspoon)
- 2 large eggs, at room temperature (110g total)
- 100g sugar (1/2 cup)
- 50g brown sugar (1/4 cup)
- 55g unsalted butter, melted and cooled (1/2 stick / 4 tablespoons)
- 120g buttermilk***, at room temperature (1/2 cup)
Instructions
- Preheat the oven to 350° F.
- Butter one 10-inch cast iron skillet. Cover the bottom of with a parchment round.
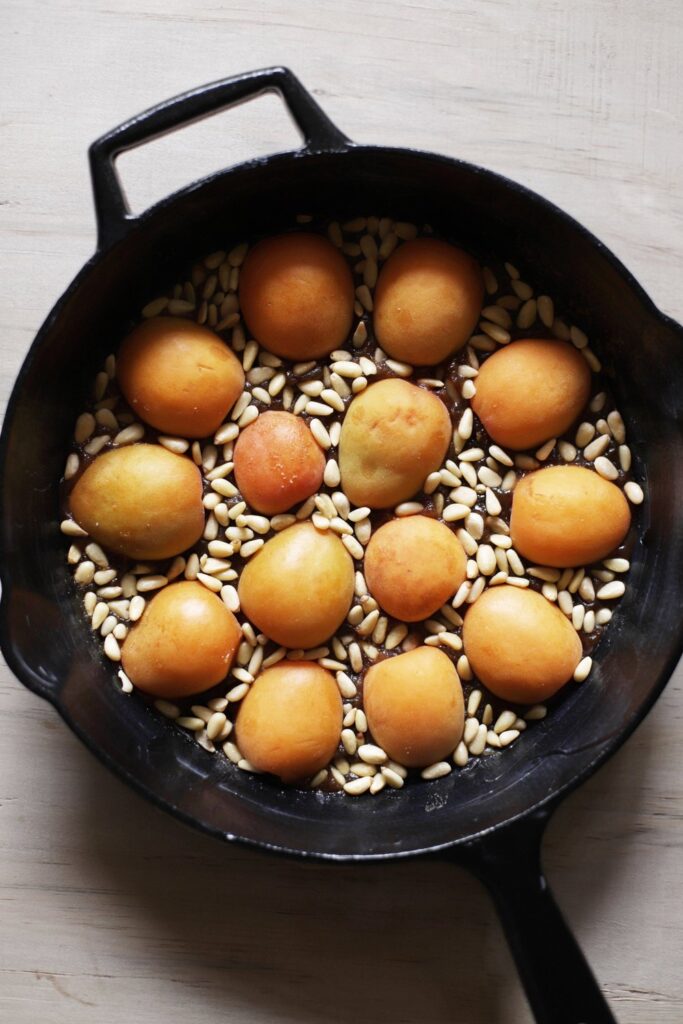
- Mix together the melted butter, brown sugar, and salt, and pour it over the parchment-covered cake pan. Use your fingers to spread the brown sugar out evenly over the bottom until it’s completely covered.
- Cut the apricots in half and pit them. Arrange them cut-side-down over the buttery brown sugar, placing 1 pine nut under each one as you go. Sprinkle the rest of the pine nuts around the apricots, and make sure they’re pressed into the brown sugar/butter mixture. Set aside.
- Sift together the flour, baking powder, baking soda, and salt in a large mixing bowl. Set aside.
- In a smaller mixing bowl, beat the eggs, sugar, and brown sugar together until the brown sugar has mostly dissolved. Add the melted butter and buttermilk to the egg mixture, and stir together until combined very well.
- Pour the wet mixture over the dry mixture, and stir just until everything is combined. It won’t be completely smooth, and there might be some tiny lumps; this is completely fine—do not overmix!
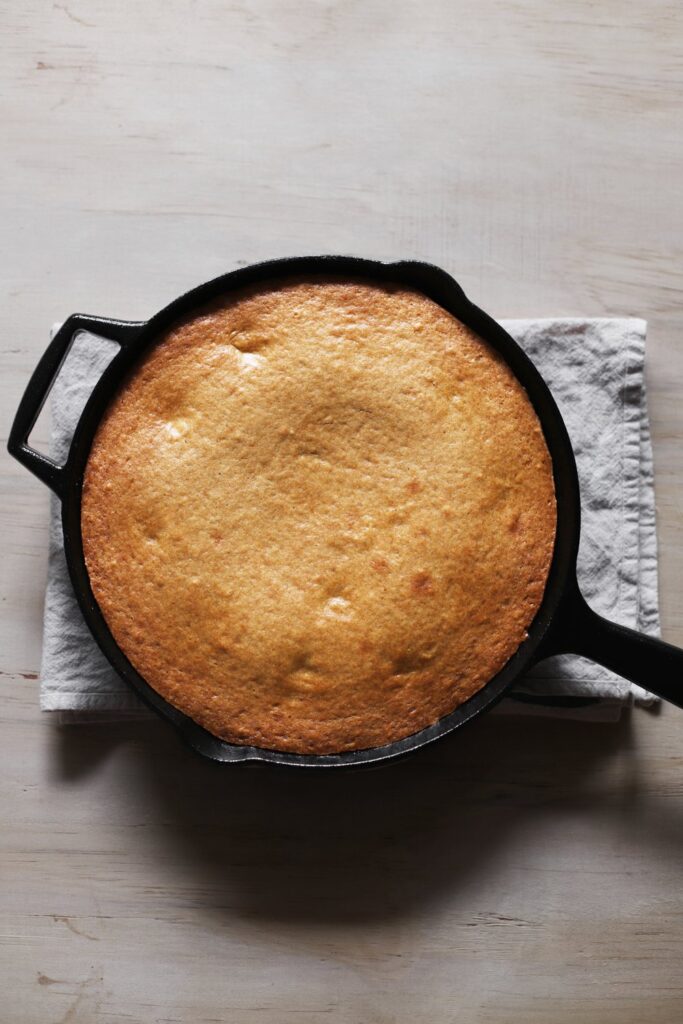
- Carefully pour the batter over the apricots, smooth out the top with a spatula, and bake for about 30-35 minutes. It’s done once you can insert a toothpick into the center and batter doesn’t stick.
- Let it cool for 5 to 10 minutes in the skillet. Then trace around the edge with a thin knife. Place a plate or cake stand upside-down over the cake. Put on your grippiest oven mitts, and hold the plate and cake together so that your thumbs are underneath the cake pan. Carefully and quickly rotate it away from yourself and give it a quick up-and-down shake to release the cake from the pan. Remove the pan and parchment, slice, and serve.
Notes
* No worries if you don’t have a cast iron skillet. You can instead use an 8 or 9-inch cake pan (cast iron skillets are measured from their widest point, so a 10-inch pan is more like 8 or 9 inches at its base). The cake will take more like 25 to 30 minutes to cook through if you use a regular cake pan.
** I’ve made this both with and without the pine nuts, and it’s delicious either way. If you don’t have them on hand or if you don’t like them, no worries.
*** You can instead use plain yogurt thinned out with a couple tablespoons of milk (but don’t use Greek or strained yogurt). Measure 120g (1/2 cup) of thinned yogurt in place of the buttermilk.
To make ahead: This cake is best baked the day you plan to serve it (store it at room temperature for less than 1 day), but leftovers keep well in the freezer (cut pieces into individual servings, wrap them tightly, and store them in the freezer for up to 3 months. Use a microwave or toaster oven to thaw and slightly warm them). All cakes stale more quickly in the refrigerator than they do at room temperature, so try to avoid the fridge if possible.