These meatball subs are inspired by the flavors of Assyrian/Armenian lula kebabs. They’ve got a ton of herby flavor, and here I’ve topped them with a tangy tomato sauce and stretchy mozzarella. For a more traditional meatball sub, simply replace the cilantro with fresh basil, and replace the tomato sauce with your favorite Italian one. Store-bought is always a good option!


The key to a good lula kebab is to add a ton of cilantro and green onion for a wonderfully fresh flavor. They’re delicious grilled (a little smoke complements all those herbs). But lately I’ve been taking inspiration from their flavor and baking them in a lula-inspired sub with a zesty tomato sauce.
Baked subs are a really wonderful party trick, because you can make and prep all the components ahead of time, quickly assemble and bake them at the last minute, and then casually serve them on a sheet pan. Add a really simple green salad (arugula, olive oil, lemon, black pepper, and lots of parmesan), and you’ll blow your guests away.

How to make meatball sub ahead
The day before
- Bake the lula meatballs
- Make the banadurah harrah (spicy tomato sauce)
- Shred or slice the cheese (if not already sliced/shredded)
- Wash and dry the cilantro topping (refrigerate in a slightly damp towel-lined container)
- Slice the baguettes (store everything in the refrigerator, except for the baguettes)
Right before serving
- Microwave the meatballs for about 1 or 2 minutes (to warm them through, but don’t overcook them)
- Microwave the banadurah harrah until it’s hot.
- Toast the bread and assemble the subs, then bake and garnish them as in the recipe.
- Once baked, they’re best served right away, but they’re still really delicious leftover.


meatball sub with cilantro and green onion


- Prep Time: 40 minutes
- Total Time: 1 hour
- Yield: 4 giant or 8 medium servings
Ingredients
for the lula meatballs:
- 3/4 cup panko bread crumbs (or 1/2 cup fine bread crumbs) (55g)
- 1/3 cup milk (75g)
- 2 pounds lean ground beef (900g)
- 2 cups chopped cilantro (80g), plus a handful of leaves for garnish
- 1/2 cup chopped green onion (30g)
- 1/4 teaspoon ground black pepper
- 1 clove garlic, crushed through a press
- 1 teaspoon salt, divided in half
- 1–2 tablespoons olive oil
for the banadurah harrah/tomato sauce:
- 1 tablespoon olive oil
- 1/4 cup chopped green onion
- 2 cloves garlic, crushed through a press
- One 28-ounce can (or 2 14-ounce cans) diced tomatoes (800g)
- 1/4 teaspoon salt (or to taste)
- 2 teaspoons dried mint
- 1/4 teaspoon crushed red pepper
- 1/4 teaspoon dried oregano
- 2 to 3 tablespoons lemon juice
to assemble:
- Four 10-inch baguettes
- fully cooked lula meatballs (above)
- banadurah harrah/tomato sauce (above)
- 200g/2 cups mozzarella (shredded or slices, not fresh)
- a handful of cilantro leaves
Instructions
- For the meatballs: Preheat the oven to 400°F / 204°C convection.*
- Place the bread crumbs in a large mixing bowl. Pour the milk over them, and let them sit for about 5 minutes to absorb it. They should become bread-like and mushy, but not soggy.
- Combine the hydrated bread crumbs with the ground beef, cilantro, green onion, pepper, garlic, and half the salt. Mix everything together evenly, but careful not to over-mix it or compress it.
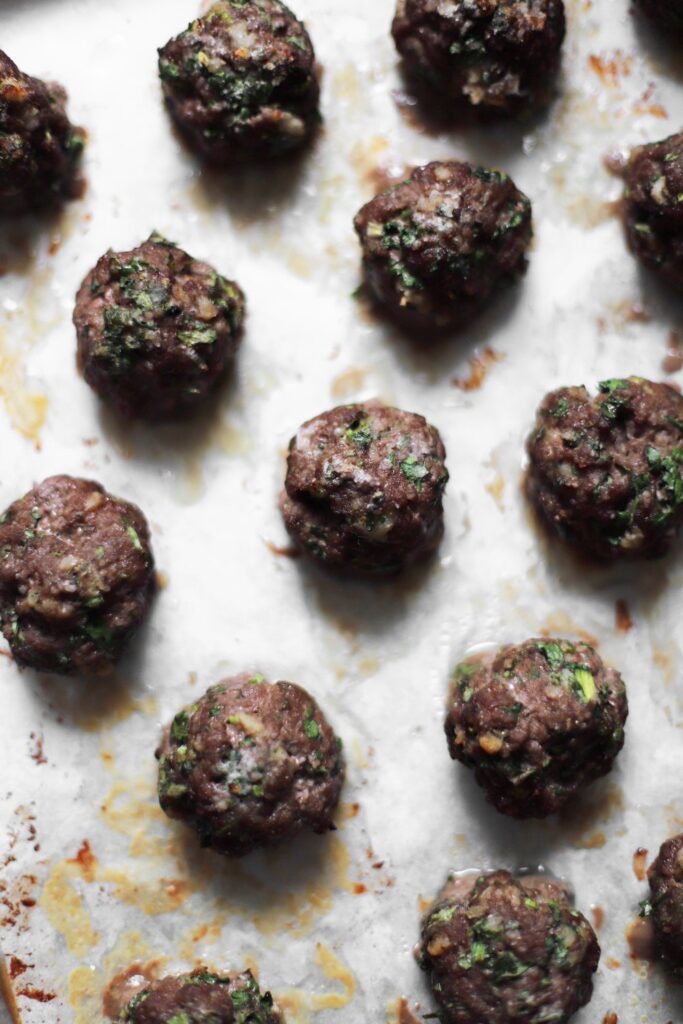
- Shape the meat mixture into about 20 meatballs, each weighing about 50g. Do not squeeze the meatballs together too tightly—they shouldn’t be perfectly smooth.
- Place them on a parchment-lined 18×13 inch sheet pan, sprinkle each meatball evenly with the remaining salt, drizzle evenly with 1 or 2 tablespoons of olive oil, and bake for about 15 to 20 minutes. If they aren’t browning to your liking, feel free to place them under the broiler or turn the heat all the way up for the last couple minutes of baking (keep an eye on them, to make sure they don’t burn). While you’re waiting, make the sauce.
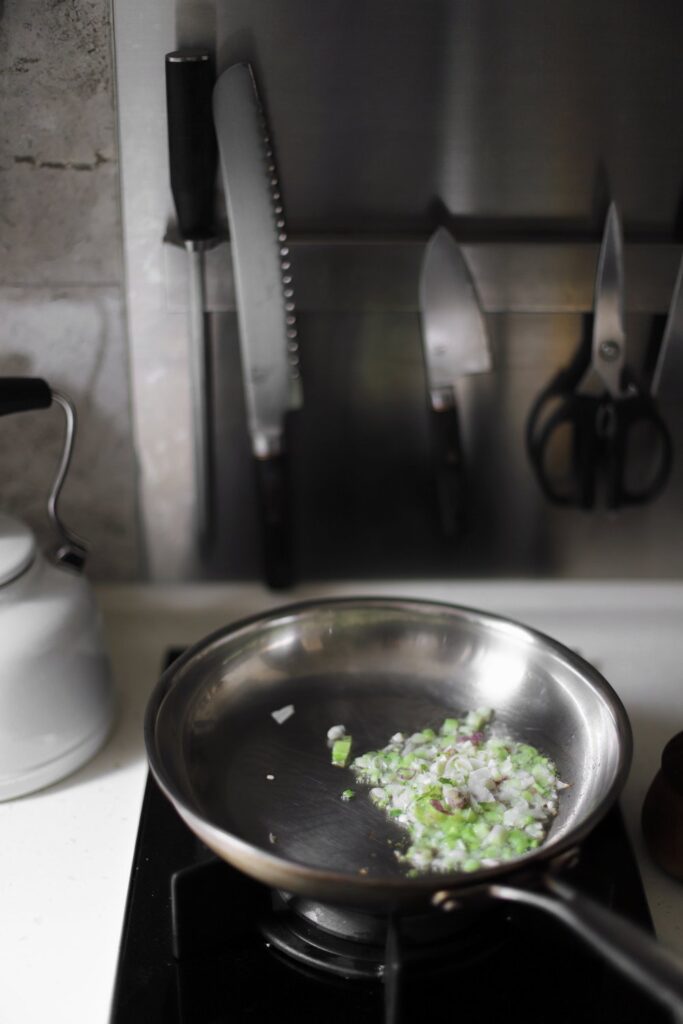
- For the tomato sauce: Heat the olive oil over medium heat in a 10-inch skillet for 1 minute. Add the onions and garlic and cook for about 5 minutes, stirring occasionally.
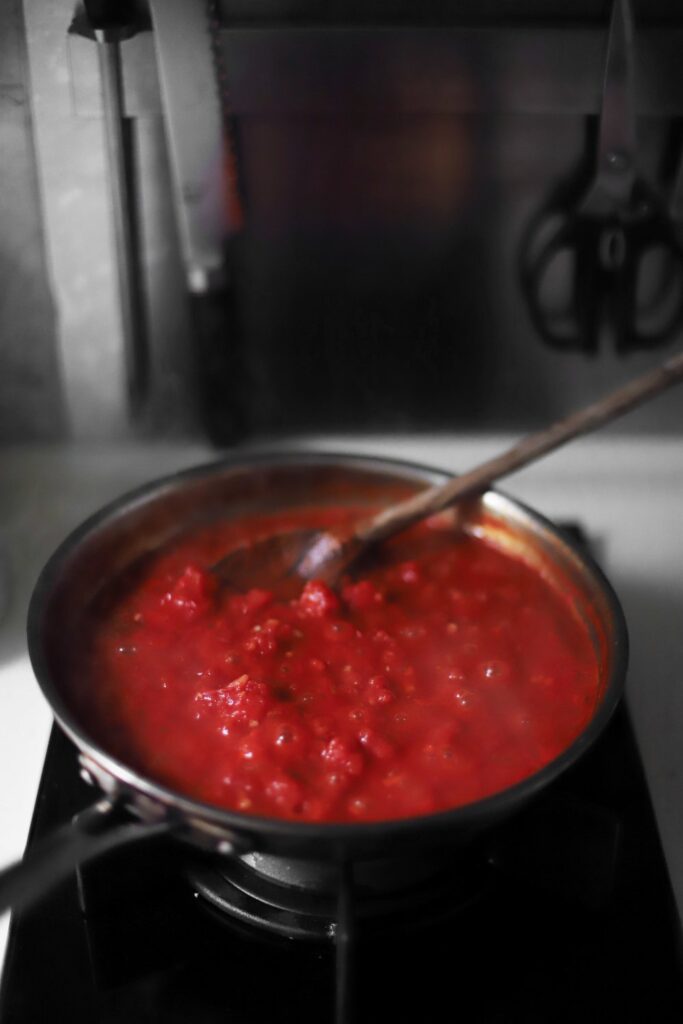
- Add the diced tomatoes with their juices. Cook for about 15 minutes, stirring every minute or so, until the tomatoes dissolve into a thick sauce and their juices evaporate. If you’re not using a wide frying pan (e.g., if you’re using a tall saucepan), this may take longer.
- Add the salt, dried mint, crushed red pepper, and oregano, and give it a stir. Remove from heat, add the lemon juice, and stir together. The sauce should not be too thick or too thin (there should not be any runny liquid. If it’s too runny, return to heat for a couple minutes, until it’s the right consistency).
- To assemble: Preheat the broiler.
- Cut the baguettes almost all the way through, and then open them like books. Place on a sheet pan cut-side-up. Place the baguettes under the broiler for just a couple minutes to toast them (this takes about 4 minutes in my broiler, but it may take less in yours).
- Remove the baguettes from the broiler, and place the meatballs evenly over the baguettes. Spoon some banadurah harrah over the meatballs, followed by the mozzarella (1/2 cup per sandwich). Broil them just until the cheese melts and bubbles (about 3 minutes in my broiler). Garnish with cilantro and serve immediately.
Notes
* If you don’t have a convection oven, no worries—they might just take a little longer to bake, and you might need to increase the temperature a bit to get them to brown.