This strawberry jello cake recipe is particularly easy, with a dump-and-stir method (no poking the cake or pouring anything over it—just regular-old mixing!). And the frosting is just cream cheese, butter, and powdered sugar.
It’s so easy, it once saved me from the brink of recipe developing despair. Continue on to read more about that ordeal, or jump to the recipe to start baking!

Why from-scratch strawberry cakes are the worst
A few years ago, I set out to make a simple strawberry rose cake. Just something pink & white & pretty. How hard could it be? (*cue ominous music*)
Turns out, very.
Every time I folded fresh strawberries into the batter, the cake would emerge from the oven a shade of purple. On its best day, it would turn out a sad, pasty pink. And the flavor? If it tasted like anything, it was soggy berries.
I pivoted to powdered strawberries, which delivered on color—a neon pink so intense, it felt like a cry for help. But they offered zero flavor. So I tried a purée. Then I tried a reduced purée. Then jam. Then roasting. I tried food coloring.
I tried it all.

Why strawberry jello cake is simply the best
After two years of testing every strawberry cake recipe I could find, adapt, or Frankenstein into existence, I finally had to admit defeat. All roads lead to the same conclusion: nothing beats good old-fashioned strawberry jello cake. You know the kind—a cake that’s unapologetically made with box mix and a packet of jello.
It’s the pinkest. It’s the strawberriest. And it doesn’t pretend to be anything it’s not. And at this point, you could not pay me to make strawberry cake any other way.
Optional ways to upgrade your strawberry jello cake
A little floral flair
I finally learned to appreciate the appeal of box-mix when I learned about my friend Abeer’s fabulous rose cardamom tres leches, which starts with box mix. The little bit of rosewater she adds to the milk soak turns ho-hum cake mix into something completely new.
Her recipe inspired me to try box mix with rosewater, and I’m so glad I did. It’s totally optional, but really takes strawberry jello cake to the next level.
All sorts of sprinkles
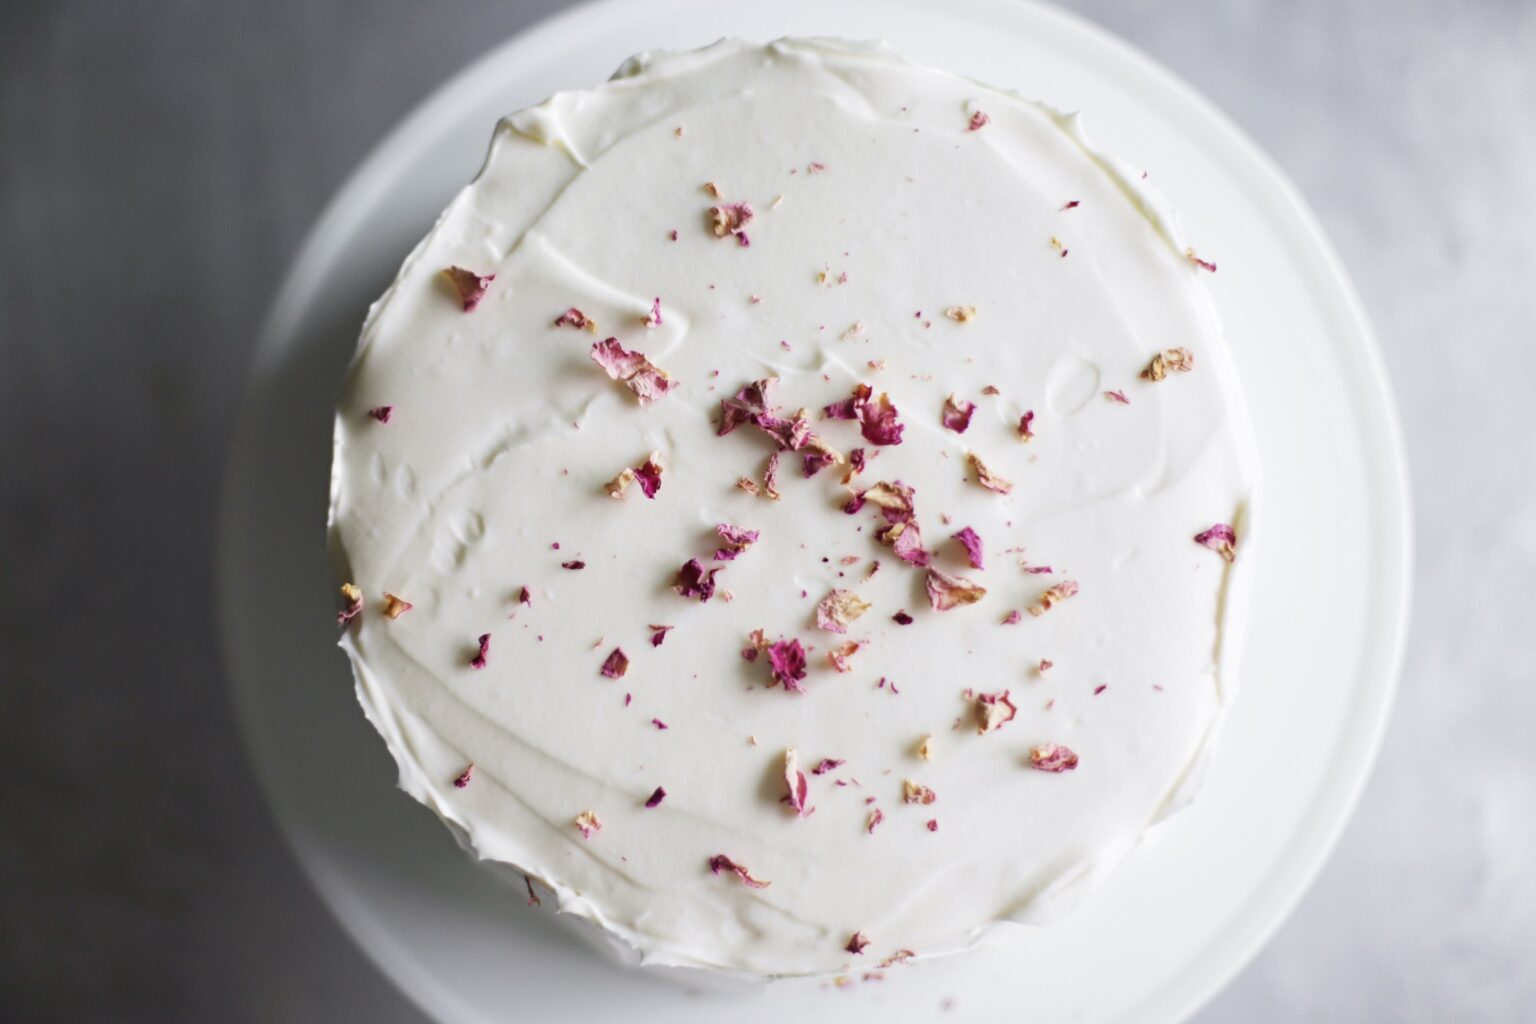
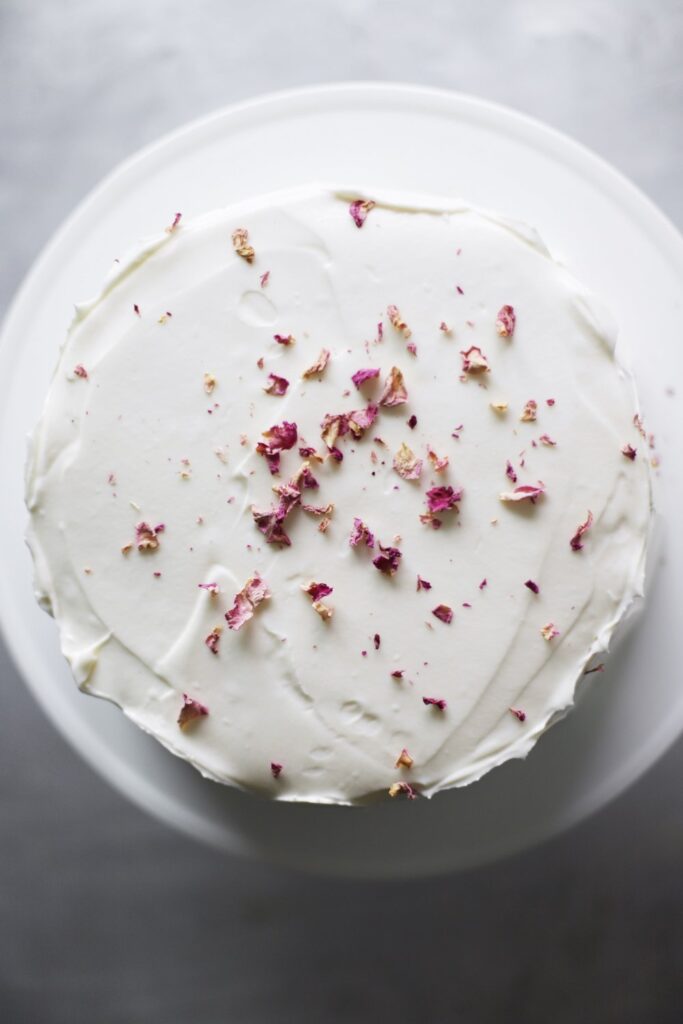
You can also sprinkle on some dried rose petals for the easiest-ever decoration. Pink sprinkles would do the trick too!

Suggested decorating instructions
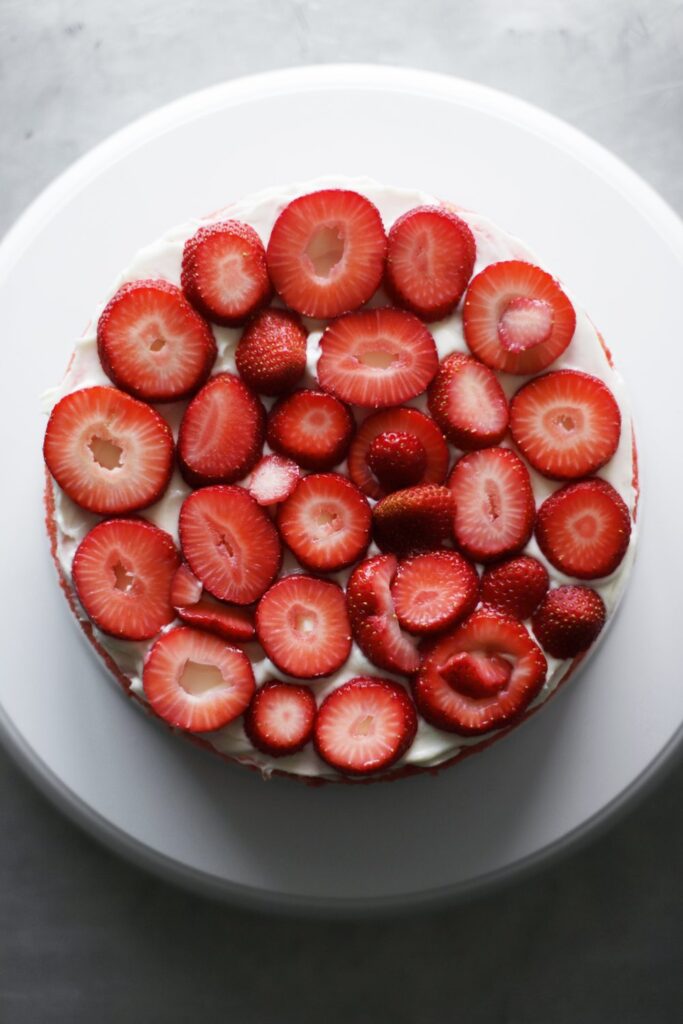
Feel free to decorate the cake however you’d like (including just dumping the frosting on and swirling away!), or recreate this look, inspired by Zoë François’ pavlova. Patty Pinner’s fabulous strawberry cake in Sweets: Soul Food Desserts and Memories was a major inspiration for this recipe as well:
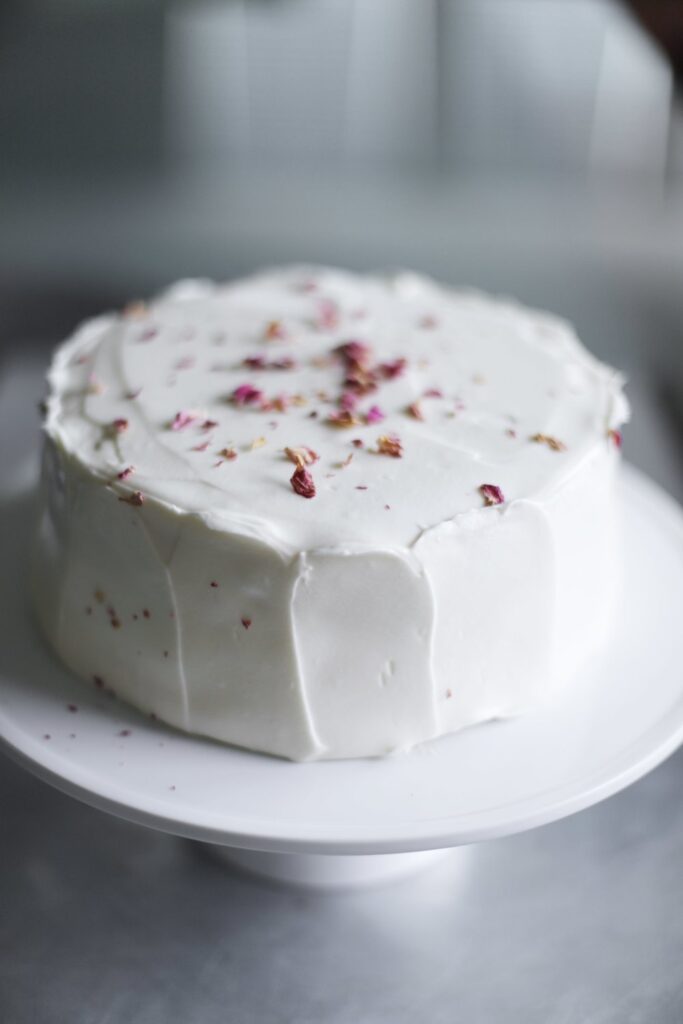
- Use a rotating turntable and offset spatula to evenly frost the cake. Smooth out the top with your offset spatula while rotating the turntable.
- Once the top is smoothed out, use your offset spatula to make sweeps up the side, rotating as you go and allowing the sweeps to overlap a little.
- To make the sweeps, point the flat side of the offset spatula so it’s facing the side of the cake, and place the spatula so it’s oriented horizontally.
- In one swift motion, sweep up while placing a small amount of pressure on the cake (don’t put too much pressure, or you will scrape off the frosting, which is not what you want to do).
- Allow the end of the sweep to sort of fall toward the center of the cake (kind of trail off toward the center as your spatula leaves the cake, but don’t scrape the top).
Easiest Strawberry Jello Cake


- Prep Time: 20 minutes
- Total Time: 1 hour
- Yield: 8 servings
Ingredients
for the cake layers:
- One 15.25-oz box white cake mix *
- One 3-oz package strawberry jello
- 1/3 cup vegetable oil
- 4 large egg whites
- 1 cup water
- 2–3 teaspoons rosewater (optional)**
For the cream cheese frosting & strawberry slices:
- Two 8-ounce bricks of cream cheese, softened to room temperature
- 4 tablespoons butter, softened to room temperature
- 1/4 teaspoon salt
- 1 1/2 cups powdered sugar ***
- 1 cup 1/4-inch sliced strawberries (do not mix into the frosting)
- Edible rose petals for decorating (optional)
Instructions
- For the cake: Preheat the oven to 350°F (175°C).
- Mix together the cake mix, strawberry jello, vegetable oil, egg whites, water, and rosewater.
- Line 2 8-inch cake pans with parchment rounds, and spray them with cooking spray. Pour the batter evenly into the 2 pans, and bake for about 30 minutes, until a toothpick inserted into the center comes out clean.
- Remove the cakes to a cooling rack, and let them cool completely before frosting (careful—they’re delicate).
- For the cream cheese frosting and strawberries: Mix together the cream cheese, butter, salt, and powdered sugar over low speed with a stand mixer and whisk attachment. Once the powdered sugar is all mixed in, increase speed to medium-high, and continue mixing until it lightens in color and consistency (this should take about 2 minutes). Use at room temperature.
- Place 1 cake layer on a cake stand (or use a rotating turntable and a cardboard cake round). Carefully level it if it has a hump (it probably won’t, because box mix is magical). Cover with a thin 1/8-inch layer of frosting. Top with strawberries. Spoon several small blobs of frosting over the strawberries, and smooth them out into another 1/8-inch layer of frosting. Place another cake layer on top. Dump all the frosting on top of the cake, and use an offset spatula to smooth the frosting down the sides. Decorate it however you’d like.
Notes
* If your box mix has a very different ingredients list than this recipe, feel free to follow those instead. Just add 1 extra egg white to compensate for the added strawberry jello packet. I used Duncan Hines white cake mix to test this recipe (not sponsored, just mentioning it for consistency).
** This is optional but really takes this cake to the next level. Less is more, and if you don’t add enough to the batter, you can always add a little to the frosting later.
*** If you like super sweet cream cheese frosting, feel free to add more powdered sugar, to taste.
Storage: This cake keeps well in the refrigerator for up to 24 hours. If you’re making it ahead for guests, you might want to make all the components and frost it at the last minute. It will stale in the refrigerator, so don’t make it too far ahead of time.