• Skip to primary navigation
  • Skip to main content
  • Skip to primary sidebar
  • Skip to footer
Cardamom and Tea
  • Blog
  • Recipes
  • About
  • Cookbooks
    • Piecemeal
    • A Dish for All Seasons (my first cookbook)

sheet pan kirtopie | sheet pan potato curry

October 1, 2017 by Kathryn Pauline 2 Comments

For several days in a row, before one of many recent typhoons, it was unrelentingly 99° F with 100% humidity and constant rain, which you’d think would cool everything down, but just seemed to make things steamier.

So recently, when I was looking through my list of post ideas, I thought it would be nice to do a post about my grandmother’s shirw’it kirtopie, which is a stew of potatoes, peas, beef, and tomatoes, with lots of yellow curry powder (it literally means “potato stew” in Assyrian). But the idea of cooking shirw’it kirtopie in 99° heat was more like one of those fleeting impulsive aspirations that you laugh at as soon as the thought crosses your mind, like “I think maybe I should start eating flax seeds and yogurt every morning. HAH!” 

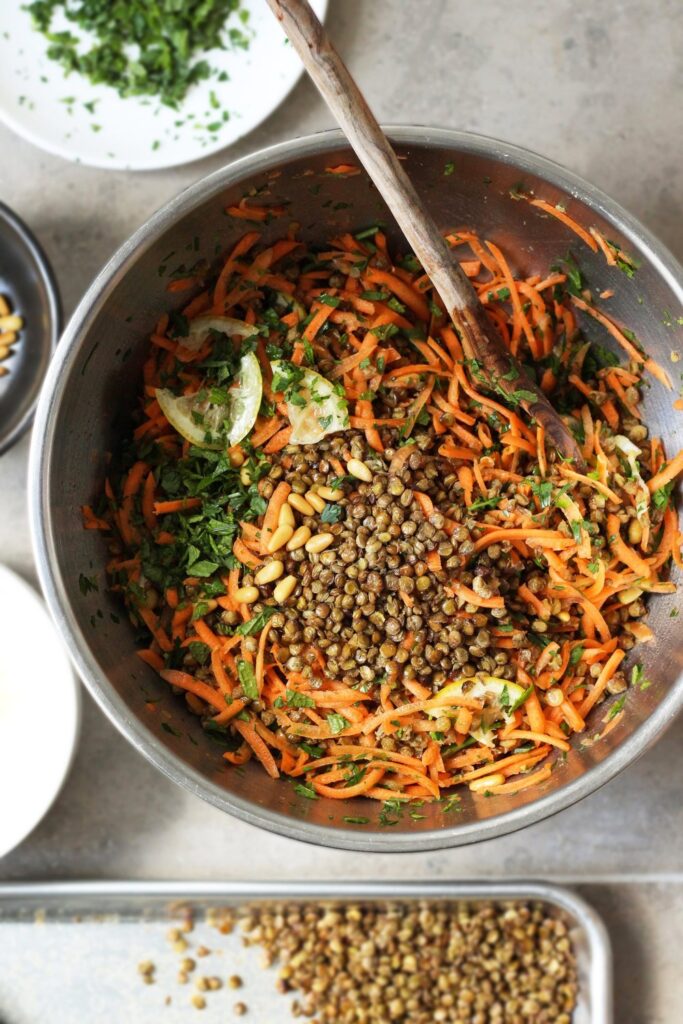
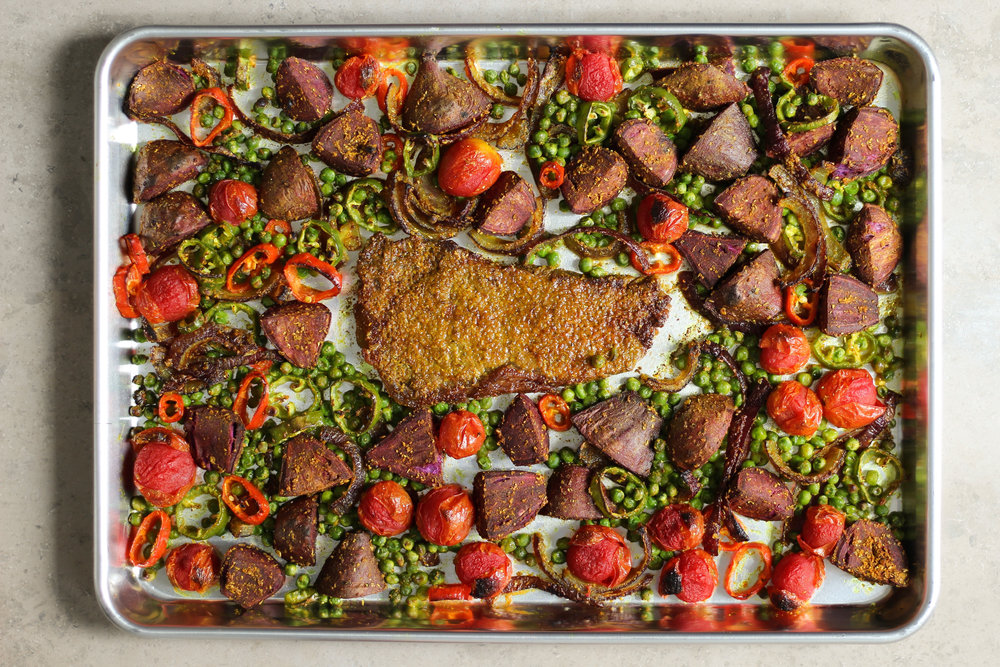
Instead, I thought I’d turn it into a sheet pan dinner, inspired by a few of my favorite weeknight meals (e.g., Deb Perelman’s sheet pan chicken tikka, and Chungah Rhee’s Sheet Pan Clam Bake). The oven doesn’t need to stay on very long, and the whole thing bakes up in minutes. It’s crispy, delicious, and has all the flavor of shirw’it kirtopie, without being stick-to-your-ribs-ey.

But this recipe might strike you as a little odd for a couple reasons. The first thing that might surprise you is the amount of meat called for, which is just a measly half pound for a dinner for four (just two ounces per person). Most Mediterranean and Middle Eastern diets aren’t strictly vegetarian—although there are definitely plenty of phenomenal vegan and vegetarian Middle Eastern cooks, and most of my favorite Middle Eastern dishes do happen to be vegetarian.

But if your main exposure to Middle Eastern food is through kebab house menus, the relatively small amount of meat on my recipes page (and in this recipe itself) might surprise you. But in fact, most of the food I cook is vegetable-heavy, with just a little bit of meat, and I love eating less meat because it’s the way I grew up, but it’s also better for ethical eating, for the environment, and for frugality. And in the case of shirw’it kirtopie, meat is not present in overwhelming amounts.

And perhaps even more surprising, in this recipe I ask you to cook the steak all the way through. I always go back and forth about doneness whenever I’m writing a recipe that includes beef, because most of the foodies I know believe dogmatically in the virtues of medium-rare steak (and I do sometimes write recipes catering to this), but a lot of the world doesn’t share this preference.

It’s not that Middle Eastern people don’t eat rare meat, or that there’s anything wrong with raw meat in general. In fact, there’s a delicious Middle Eastern dish called kibbeh nayeh, which is 100% raw meat, mixed with bulgur, spices, and a couple other fresh ingredients, and I’m sure there are some Middle Eastern culinary traditions I’m unfamiliar with that cook beef to medium-rare. But, at least in my family (whose roots are in Iraq, Syria, and Lebanon), when we cook our meat, we cook it all the way through.

And so I’m pretty confident that the preference for medium-rare, like most preferences, isn’t objectively better than well-done. It’s just that when you cook your meat well-done, you need to do a few other things to it to make sure it doesn’t dry out. In this case, the meat is loaded with plenty of spices, salt, and olive oil, which keeps it plenty delicious.

Print

sheet pan kirtopie | sheet pan potato curry

Print Recipe

5 Stars 4 Stars 3 Stars 2 Stars 1 Star

No reviews

  • Prep Time: 30 minutes
  • Total Time: 30 minutes
  • Yield: 4 servings

Ingredients

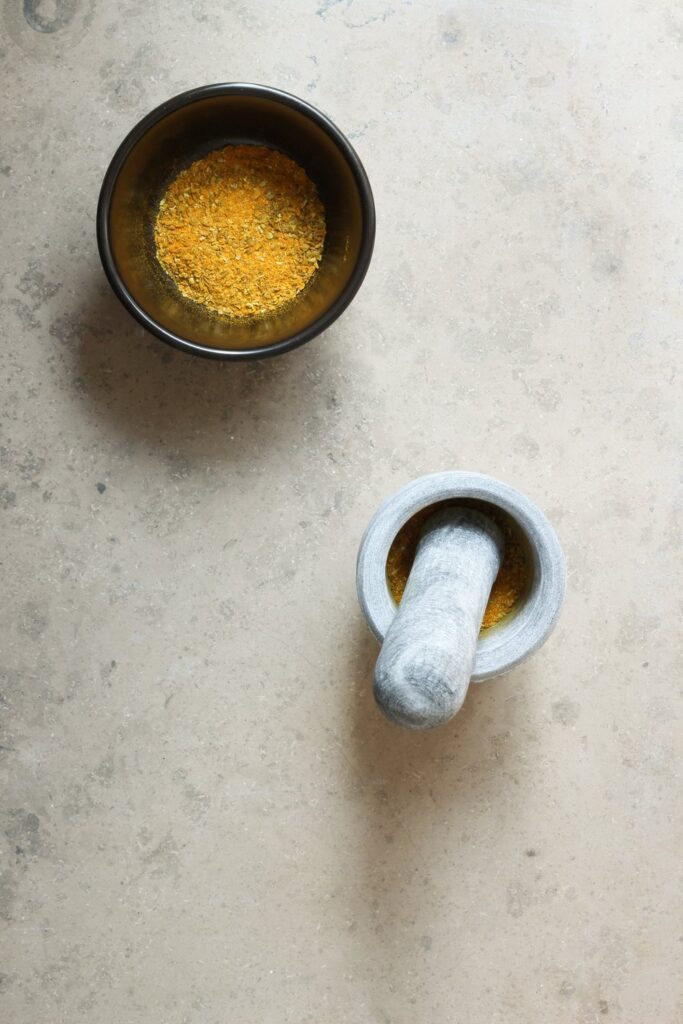
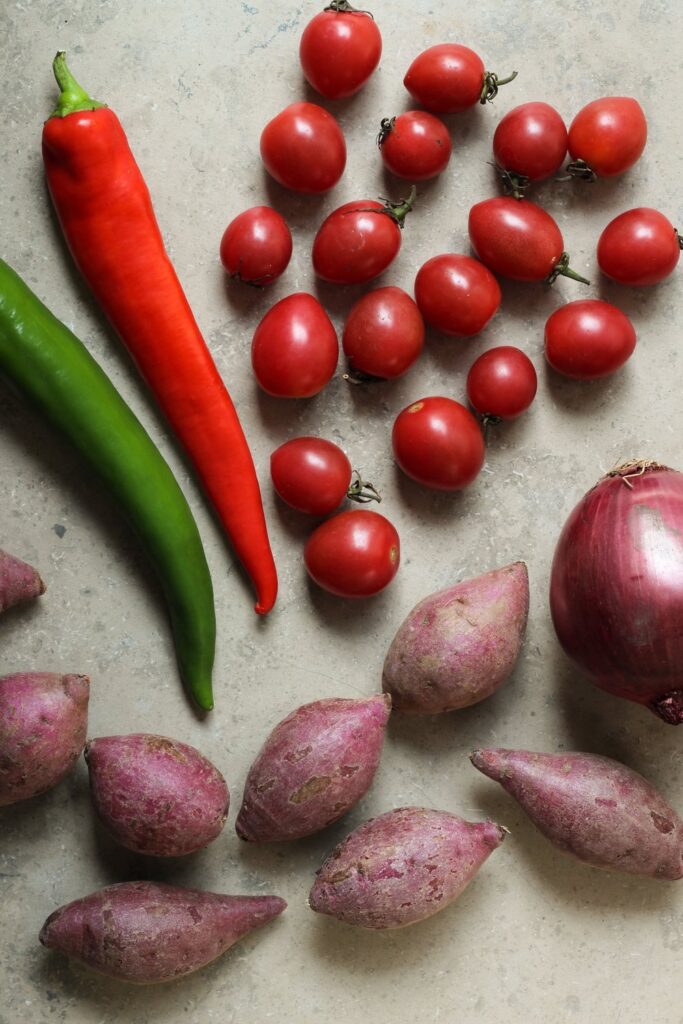
2 tablespoons yellow curry powder
3/4 teaspoon fine sea salt, plus more to taste
3 tablespoons olive oil
1/2 pound sirloin steak
1/2 red onion, sliced thinly
1 pint of cherry or grape tomatoes
1 cup frozen peas
1 to 3 hot peppers, sliced thinly (depending on your spice preference)
1 pound potatoes or sweet potatoes, cut into bite-sized pieces

Instructions

  1. Preheat the oven to 475° F.
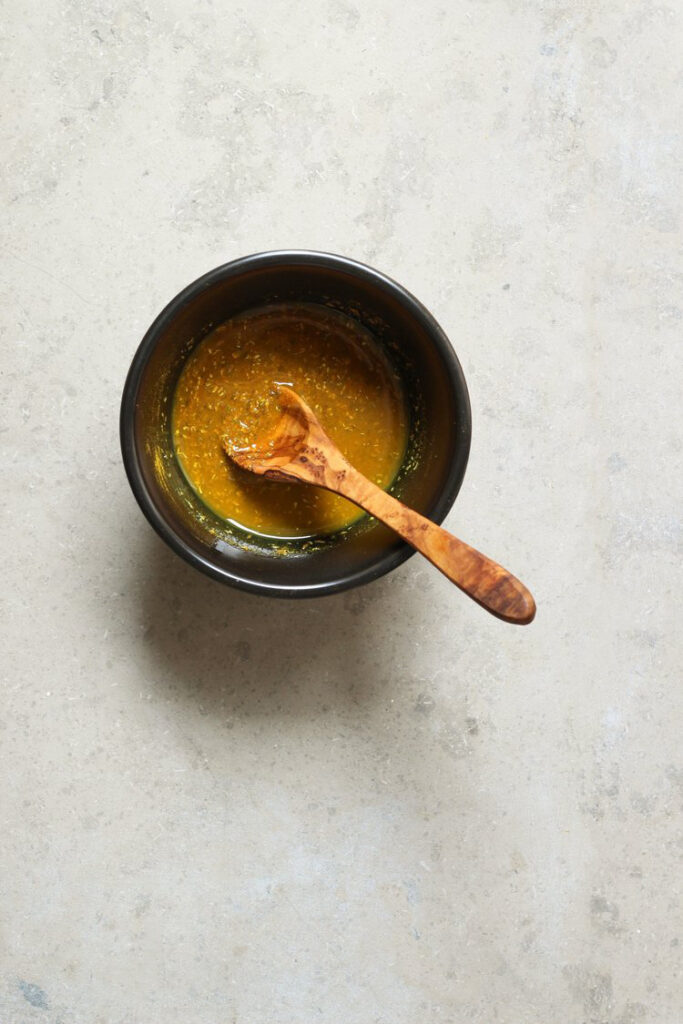
  2. Combine the curry powder, salt, and olive oil.
  3. Season the steak with a little extra salt, if you’d like.
  4. Coat the steak, onion, tomatoes, peas, hot peppers, and potatoes with the spice oil and use your hands to coat everything very evenly.
  5. Spread everything out into one even layer on a rimmed sheet pan.
  6. Roast for about 15 minutes, until the potatoes are cooked through (you should be able to insert a butterknife) and everything else is blistered and charred. The steak is best cooked all the way through (see above recipe note), but avoid overcooking. The potato doneness is the most important thing to check for; everything else will fall into place.

find us on instagram and let us know what you made!

Filed Under: dairy free, dinner, every recipe, gluten free, main courses, side dishes Tagged With: beef, curry powder, peas, potatoes, tomato

crispy lentil and carrot salad with quick-pickled lemon

September 27, 2017 by Kathryn Pauline 6 Comments

One of my favorite things to make for dinner is an extremely bare-bones carrot salad. I simply grate the carrots with my food processor shredder attachment, and then dress them with lemon, olive oil, salt, parsley, and mint (or whatever herbs I have left over). While it’s perfectly good at its most pared-down, it goes great with other shredded root vegetables, like raw beets and parsnips. And adding a protein is a nice way to turn it into a main course. But simply throwing in some simmered beans tends to water down the vibrant flavors, so my current favorite iteration is this shredded carrot salad with crispy roast lentils.

If you’ve never tried roasting beans, this recipe is a great place to start. Lentils are so easy to cook at home, because they don’t require any soaking time, and they cook through in no-time, since they’re tiny and have a lot of surface area. Roasting gives beans the texture and flavor of your favorite addictive junk food, but they’re actually very healthy, and totally salad material.

The crispy lentils and shredded carrots are the backbone of this dish (they made it into the title after all!), but I think my favorite thing about this salad is the quick pickled lemon. It might seem like a minor detail (it’s hard to compete with crispy crunchy lentils that have the texture of potato chips), but it makes all the difference. Quick pickled lemon is kind of a take on preserved lemon, which is one of my favorite things in the world. It’s one of those secret ingredients where you’re like “why is this so good?!” and it’s always because there’s preserved lemon in it. But I have trouble finding in stores, and also have had trouble making at home (although as you’ll soon find, the problem is all totally self-inflicted).

I feel like a common food blogging trope is “I used to be afraid of this cooking challenge, but now I’m not afraid anymore!” Since we like to think of ourselves as people who are offering ideas and solutions, it’s probably not so surprising that there aren’t too many posts that say, “I’ve always been afraid of conquering this cooking challenge, and I am nowhere near getting over this fear, and I have not taken any recent steps to overcome it!” But to tell you the truth, that pretty much sums up how I feel about preserving lemons.

I don’t know what my problem is with preserving lemons—I think it’s that all the recipes I’ve found are a little imprecise. It seems important to salt the brine enough, but not so much that they’re inedible. But most recipes I’ve found simply tell you to add a particular amount of salt per lemon, and then top everything off with an indeterminate amount of lemon juice, but depending on the size and shape of the jar, and the degree to which you’ve squished the lemons down, the amount of liquid could really vary with each batch. And maybe I’m a little on the neurotic side, but home preserving is the kind of thing I want precise measurements on.

I have friends who preserve their own lemons at home, and have assured me that it’s hard to mess them up, so I’ve tried with some lovely meyer lemons twice (two years in a row), but each time, after earnestly assembling a quart-jar-full, after carefully inspecting the batch for several weeks, sniffing, shaking, poking around, and after observing nothing but a completely intoxicating aroma, beautifully viscous, clear, salty brine, and perfectly soft yellow lemons, I’ve just always been too afraid to actually eat them, and (I’m a little ashamed to say) they’ve gone straight in the garbage each time. I’m sure I will conquer this fear, but not today, and maybe not even this year. It’s a journey! I’m working on it!

But when someone who knows what they’re doing has prepared them, I love preserved lemons, and my own incompetence doesn’t change that fact. Gosh, I really love them so much. So in the meantime, there is this little hack to get around my fear of preservation: a quick lemon pickle (popularized in very different versions by Yottam Ottolenghi and Sami Tamimi, as well as Mark Bittman). This probably sounds a little ridiculous, since a lemon is a lemon, and it’s already very acidic, and besides—what can you possibly do to change a lemon without adding any ingredients or doing much to it?

The thing is, the white stuff between the rind and pulp, also known as the pith, is very bitter, and that bitterness mellows a lot when you preserve lemons (or do other things to them, like cook them or candy them). But a quick way to mellow the pithy flavor is to slice half a lemon as thinly as possible, and then submerge it in the juice from the other half of the lemon with a pinch of salt for about thirty minutes to an hour. It obviously doesn’t create a true, preserved pickle, but it gets you something in that ballpark. And until I learn how to make the real thing, it’ll do quite nicely!

Print

crispy lentil and carrot salad with quick-pickled lemon

Print Recipe

5 Stars 4 Stars 3 Stars 2 Stars 1 Star

No reviews

  • Prep Time: 20 minutes
  • Total Time: 1 hour
  • Yield: about 6 servings

Ingredients

1 1/3 cup rinsed lentils *
1 to 2 lemons
2 tablespoons olive oil (for coating the lentils)
1 tablespoon butter or olive oil (for the pine nuts)
1/4 cup pine nuts
15 ounces carrots
1/4 cup chopped parsley
2 tablespoons chopped mint
2 tablespoons olive oil (for dressing)
Salt to taste

Instructions

  1. Place the lentils in a small stockpot and cover with a few inches of water and a big pinch of salt. Bring to a boil, reduce heat to a simmer, and cook uncovered until the lentils are al dente.* Preheat the oven to 425° F so that it is heated once the lentils are done.
  2. While the lentils are coming to a simmer and cooking: First, cut a lemon in half from root to stem. Cut the half lemon down its length so that you have two long wedges, and then very thinly slice the lemon wedges into triangular pieces. Place the lemon in a bowl, cover with a generous pinch of salt, and squeeze the other half of the lemon over it to cover. Use the juice of another half lemon if necessary to fully submerge the pieces.
  3. Once the lentils are done (but not mushy), strain and rinse them well. Let all the water drain away, and then move them to a sheet pan. Gently blot the lentils with a kitchen towel to make sure they are as dry as possible, and then use your hands to coat them with the 2 tablespoons of olive oil. Spread them out into an even layer, sprinkle with 1/2 teaspoon of salt, and bake for 15 minutes. After 15 minutes, stir the lentils, shake them out into an even layer, and return them to the oven for another 10 minutes, until they’re crunchy.
  4. While the lentils are roasting: Melt 1 tablespoon butter (or olive oil) in a small saucepan over medium heat. Add the pine nuts to the melted butter and cook stirring constantly, until the pine nuts become light brown. Shred the carrots with a food processor shredder attachment, spiralizer, or box grater. Chop the parsley and mint, if you haven’t already.
  5. Combine the roast lentils, quickled lemons, pine nuts, carrots, herbs, and 2 tablespoons olive oil in a big bowl, holding back some of the herbs and other toppings for garnishing. Mix together, taste, and add more lemon juice, olive oil, and salt to your own taste. Garnish (either the big bowl, or individual plates) and serve.   * You can use any variety of lentils for this recipe, but the cook times will vary. I find that packages typically overestimate the amount of time lentils take to cook, so taste often. In my experience, brown lentils take about 15 to 20 minutes to become al dente (although most packages say 50! I don’t get it).

find us on instagram and let us know what you made!

Filed Under: dairy free, dinner, every recipe, gluten free, lunch, main courses, salads, side dishes, vegan, vegetarian Tagged With: beans, carrots, fall, herbs, lemon, lentils, mint, nuts, parsley, pine nuts, spring, winter

  • « Go to Previous Page
  • Page 1
  • Interim pages omitted …
  • Page 150
  • Page 151
  • Page 152
  • Page 153
  • Page 154
  • Interim pages omitted …
  • Page 183
  • Go to Next Page »

Primary Sidebar

Kathryn Pauline smiling

Welcome! I’m Kathryn Pauline, cookbook author, recipe developer, and photographer.

Footer

read our privacy policy

© 2017 - 2026 Kathryn Pauline