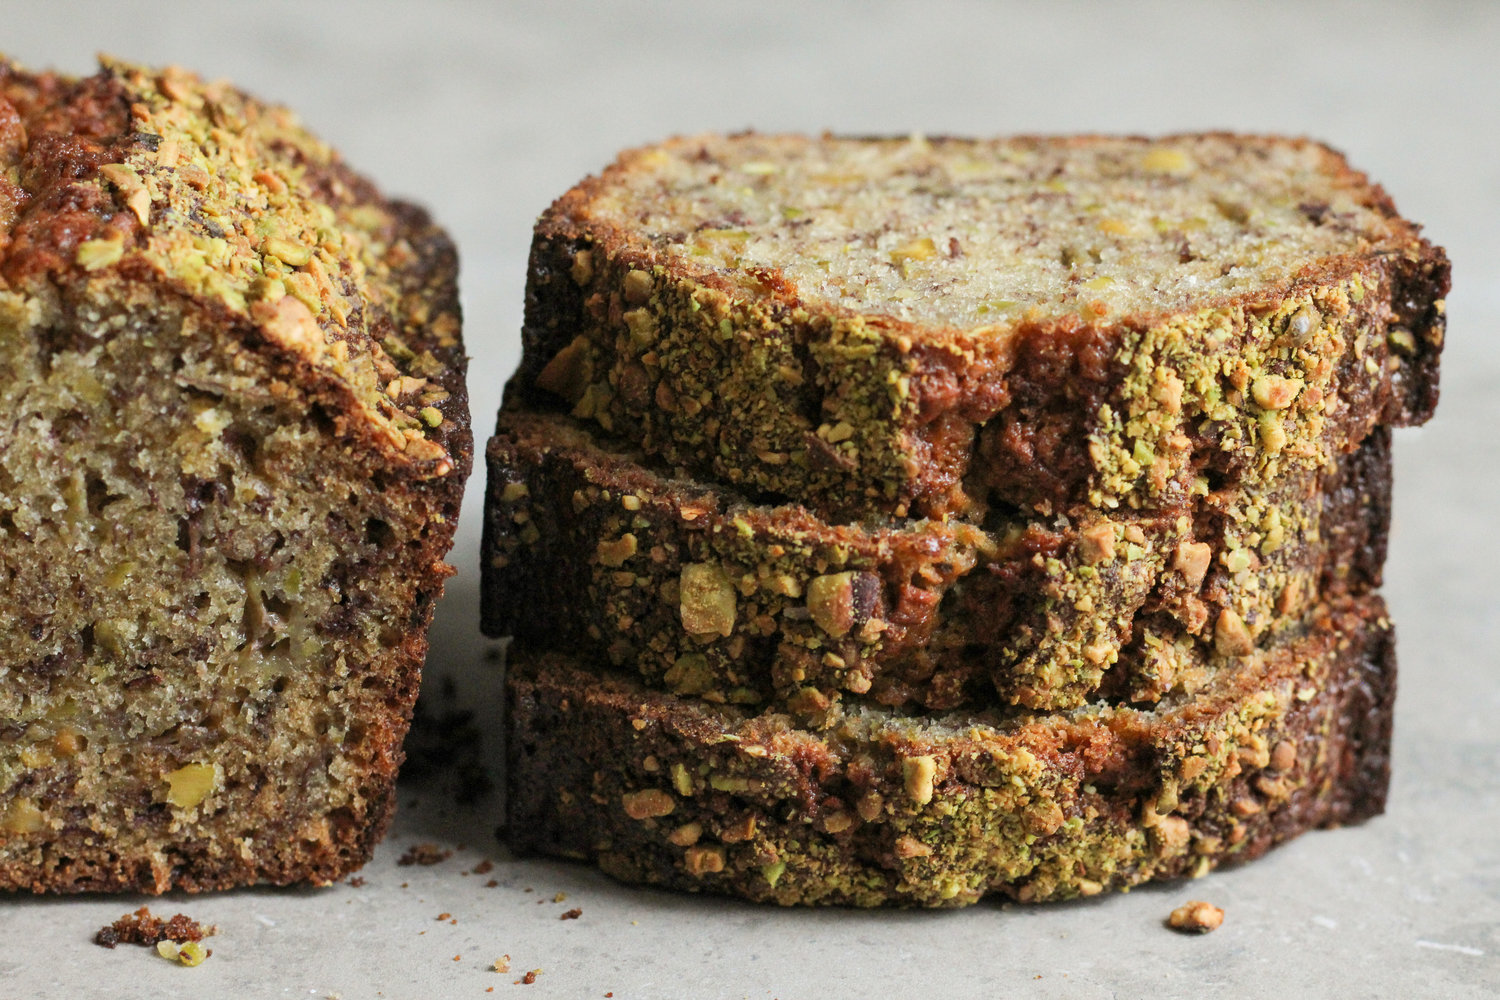
Lately, I’ve been obsessively trying to perfect my recipe for lokma (AKA Turkish delights). I might post it someday soon, but that’s all beside the point, because this post is not about the high-maintenance, fast-paced, high-stress world of candy making. This is a post about the lowest maintenance sweet of all time: banana bread! Or more specifically, pistachio banana bread.
Jump to the recipe if you’re ready to bake, or read on to learn about the secret ingredient I love to add to banana bread. And don’t miss my recipe for olive oil banana bread if you’re looking for a dairy-free alternative.
My secret ingredient for the best banana bread
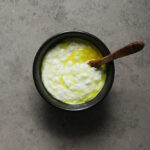
It’s a bit of an obscure ingredient if you don’t do a lot of Middle Eastern baking, but my secret to the best banana bread is a little splash of orange blossom water.
Don’t worry though—you don’t have to use orange blossom water if you don’t have it on hand.
If you don’t use orange blossom water, this recipe makes an excellent loaf of pistachio banana bread. But if you do include a bit of orange blossom water, you’re in for an absolute treat. Here’s why:

What is orange blossom water?
If you haven’t tried orange blossom water, it tastes just like it sounds: it’s reminiscent of oranges, but with a definitively floral bouquet. It’s like if some really fancy cosmetic line made a subtly orange-scented perfume (rather than one that screams “generic orange-scented dishwasher detergent!!”).
In other words, orange blossom water makes plain old orange juice, orange slices, and orange peel extract seem astringent, bland, and brassy.
And why is it so good in banana bread?
There is something kind of ripe-banana-adjacent about the scent of orange blossom water. I’m not sure exactly what that’s all about, but it works incredibly well in banana desserts. It heightens the flavor of bananas by marrying them with a floral citrus-scented infusion.
I don’t stop at banana bread—I add orange blossom water to banana cream pie, banana pudding, and banoffee everything.
By the way, don’t miss my other banana bread recipes if you’re looking for something a little different:
- Olive oil banana bread
- Double chocolate banana bread
- All my favorite loaf cakes! (including banana bread)
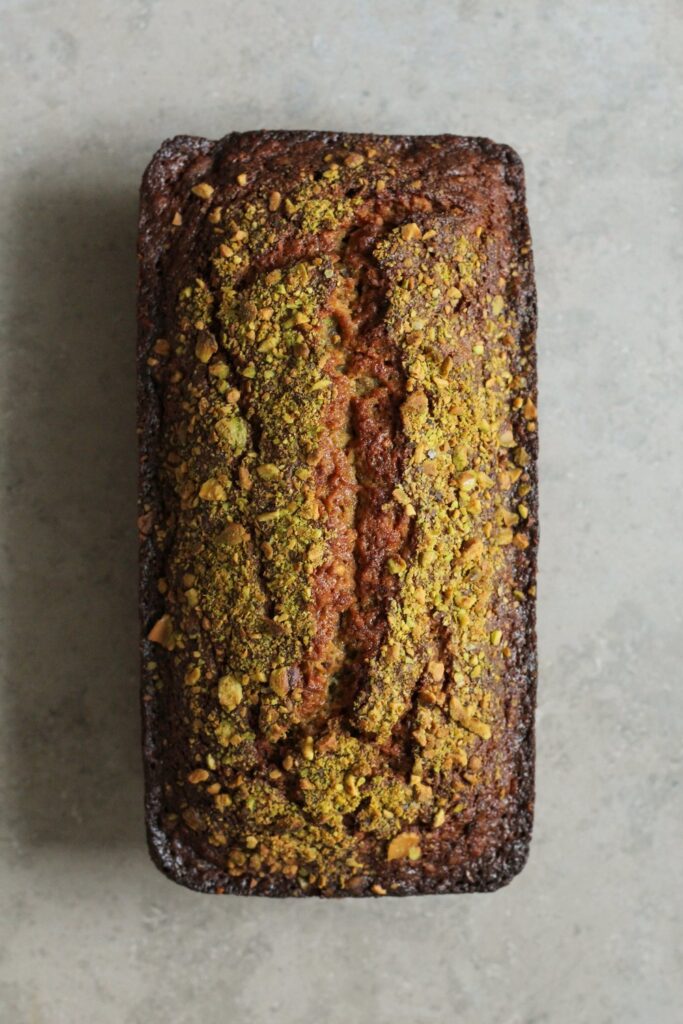
Pistachio Banana Bread


- Prep Time: 15 minutes
- Total Time: 1 hour and 15 minutes
- Yield: 1 medium loaf
Ingredients
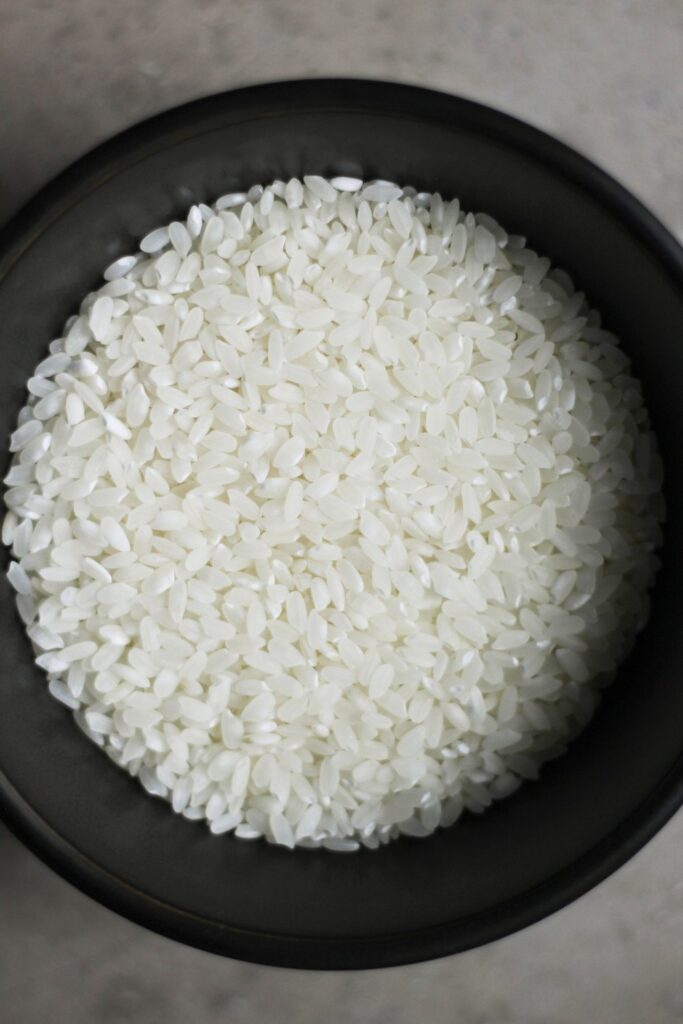
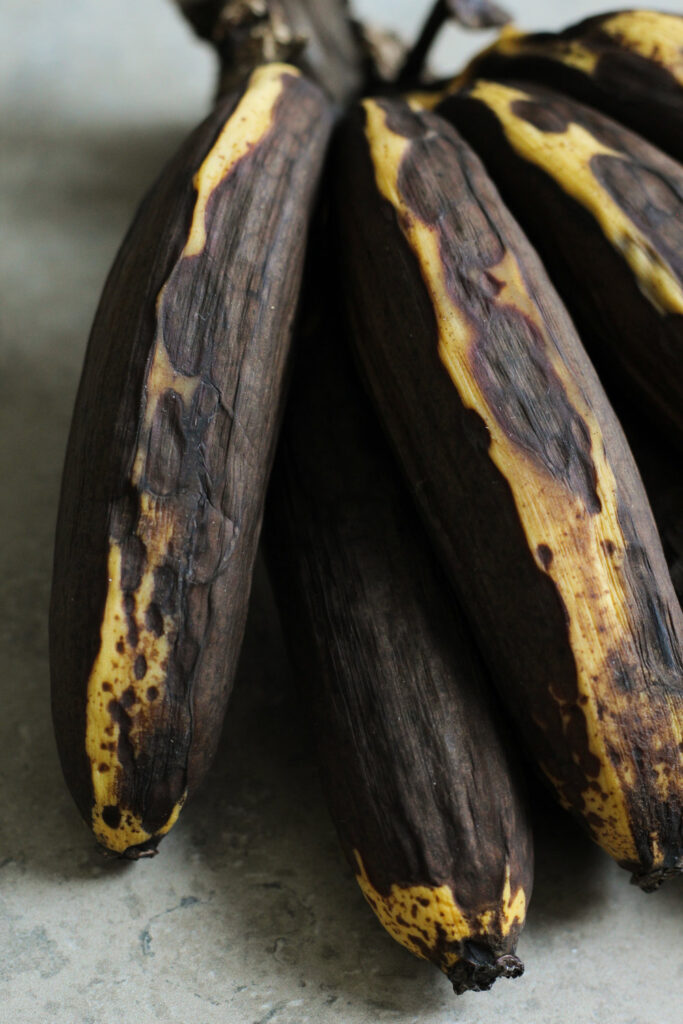
- 1 cup [240 g] mashed banana from 3 very overripe bananas *
- 3 Tbsp [45 g] melted unsalted butter**
- 1/4 cup [55 g] olive oil**
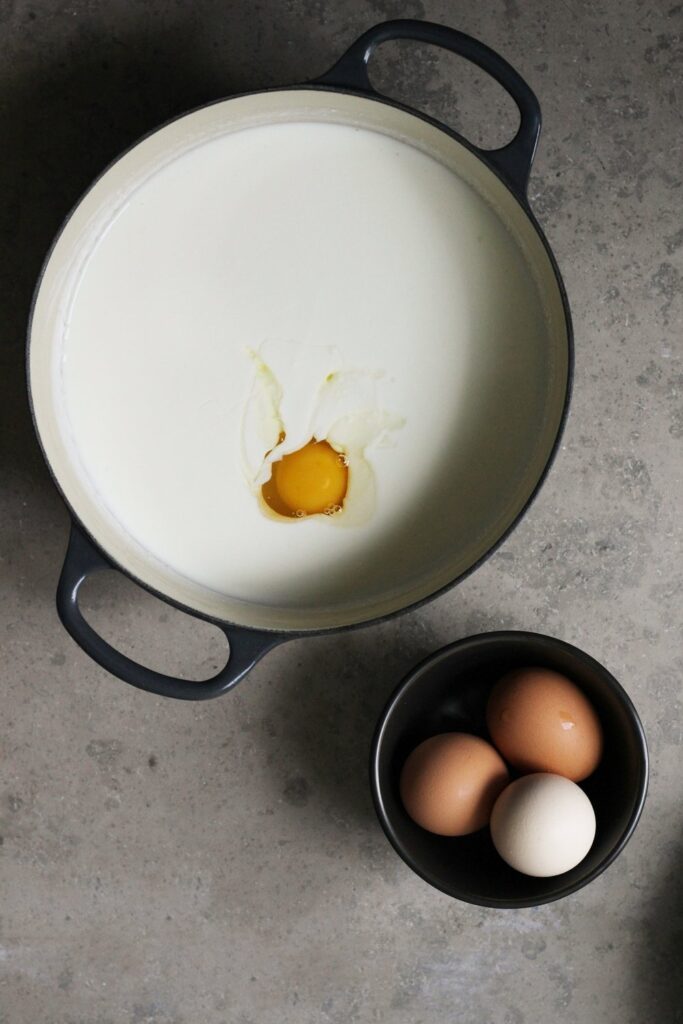
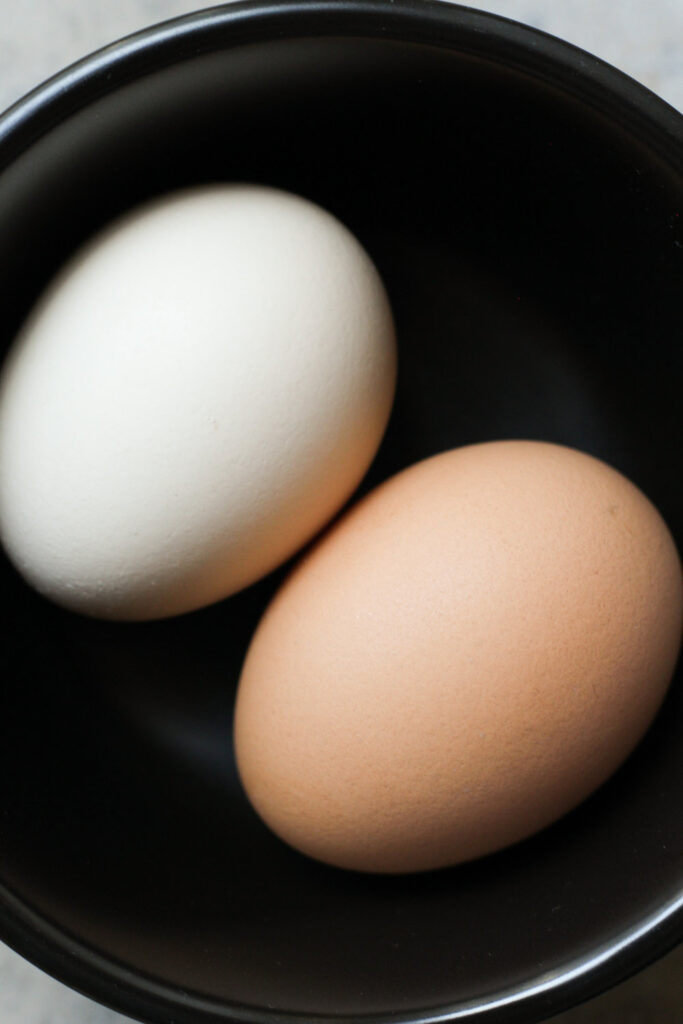
- 2 room temperature eggs
- Flavorings (optional) ***
- 1 cup [200 g] sugar
- 1/2 teaspoon fine sea salt
- 2 cups [230 g] sifted flour (about 1 3/4 cups unsifted)
- 1/2 tsp baking soda
- 1/2 tsp baking powder
- 1/2 cup [60 g] chopped raw pistachios
- 1 1/2 Tbsp [15g] coarsely ground pistachios (for the top) ****
Instructions
- Preheat the oven to 350° F [177° C].
- Butter a 8 x 4 inch [20 x 10 cm] loaf pan. *****
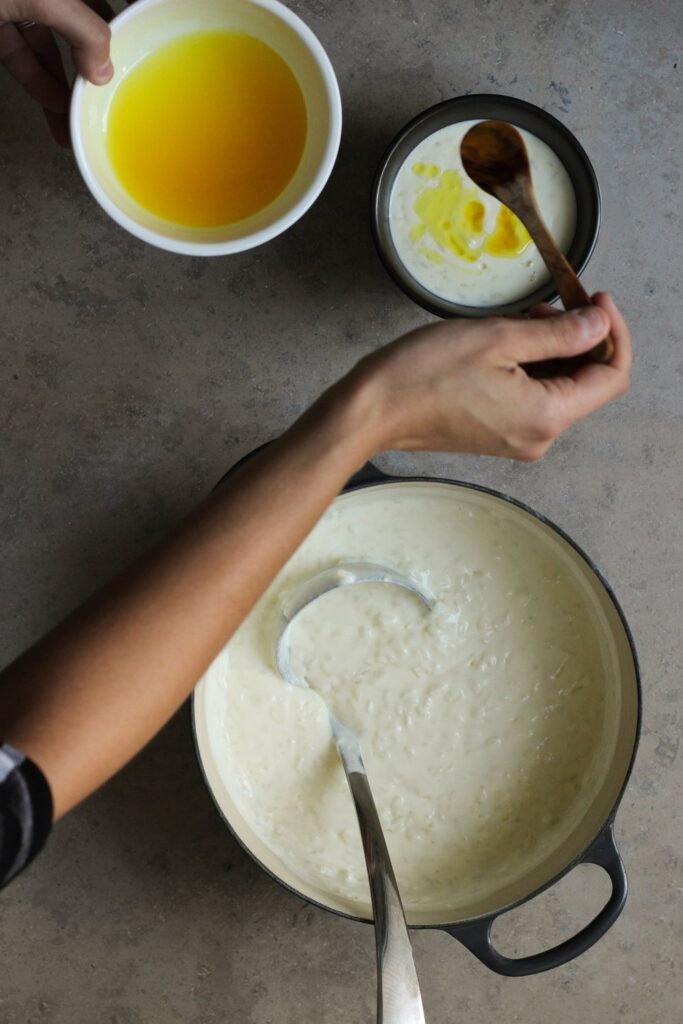
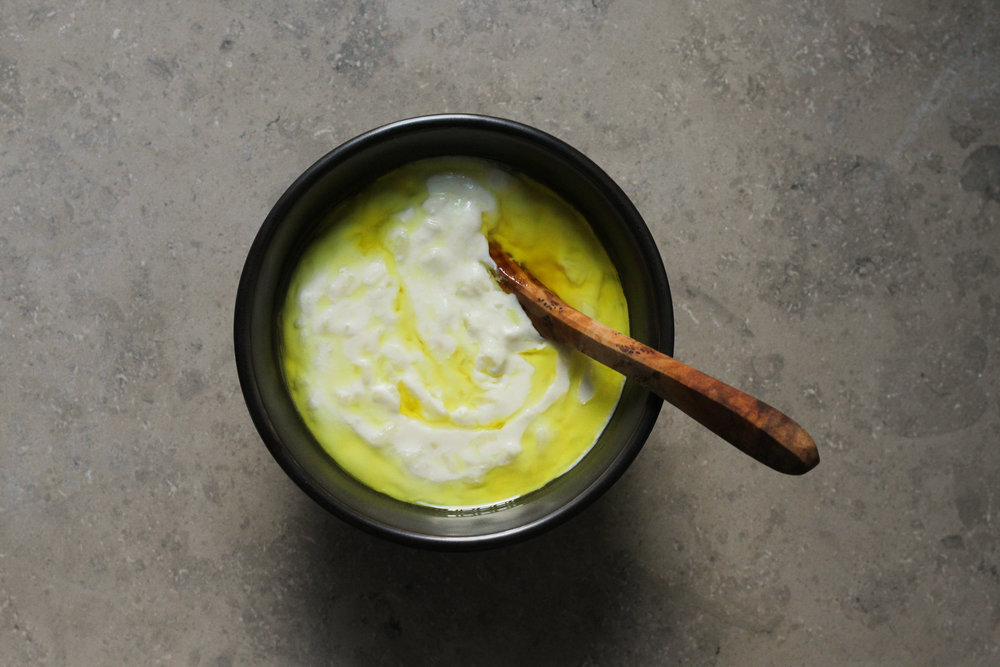
- In a medium mixing bowl, whisk the mashed bananas together with the melted butter and olive oil until very well combined. Add the eggs, orange blossom water (if using), sugar, and salt, and whisk together until the whole thing is completely incorporated.
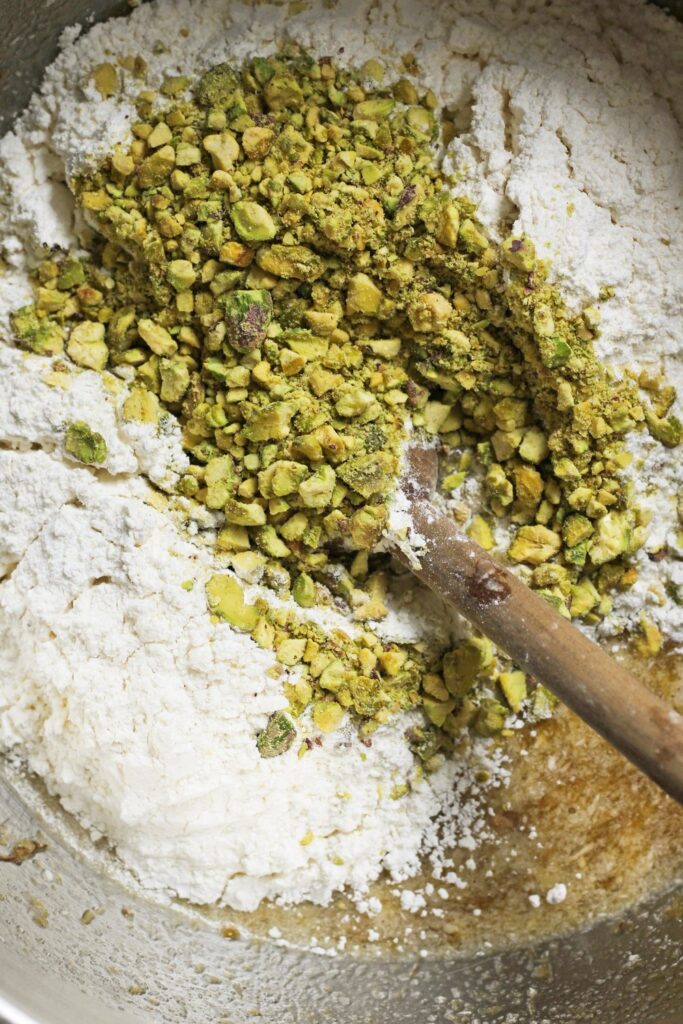
- In a large mixing bowl, combine the flour, baking soda, and baking powder, and then pour in the chopped pistachios.
- Add the wet mixture to the flour mixture and stir to combine. Do not over-mix (stop mixing as soon as there are no large lumps).
- Spoon the mixture into the loaf pan.
- Sprinkle the top with the ground pistachios.
- Bake for about 1 hour. Start checking for doneness after about 50 minutes, by inserting a toothpick or wooden skewer into the center of the loaf. If it comes out with batter, it needs more time, but if it comes out with just some crumbs, it’s ready to take out.
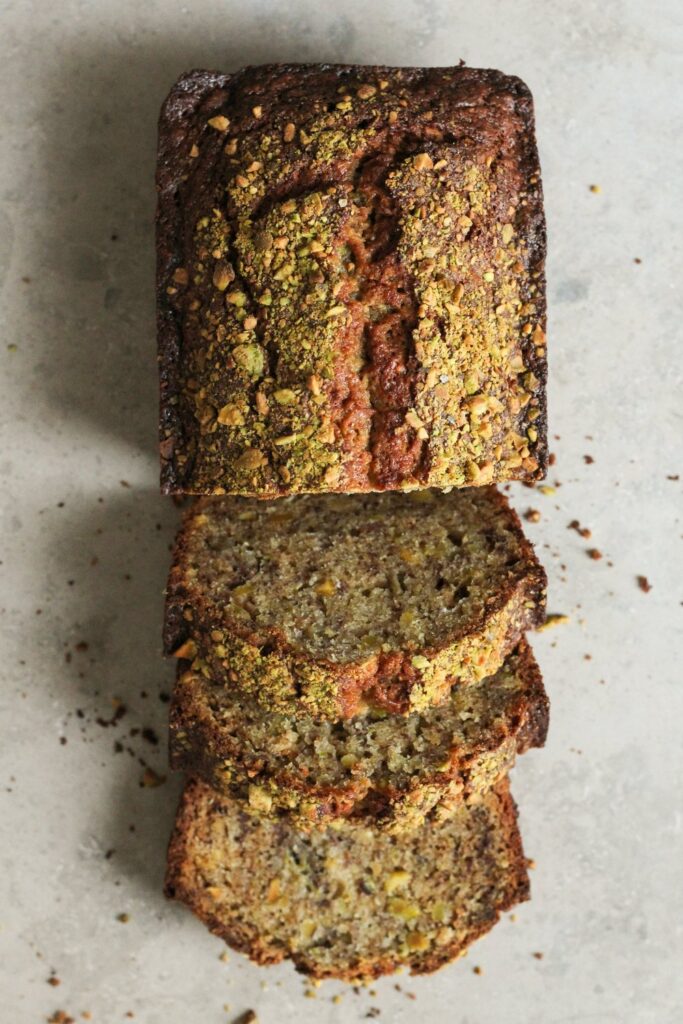
- Remove from the pan and cool on a rack for at least 30 minutes before cutting and serving.
Notes
* I used to suggest optionally using up to 1 1/4 cup [300 g] banana, but the recipe works much better with just 1 cup. I’m just including this note for anyone who used to make it with the larger amount when it was an option. (Note from 26 August 2025)
** Feel free to use a total of 1 cup [105 g] olive oil in place of the butter + oil.
*** For example, 2 teaspoons orange blossom water. Feel free to add more orange blossom water, if you’d like. 1 tablespoon will be a bit more heightened, and if you like when things to taste like perfume, you can even add 2 tablespoons. But that is the absolute maximum.
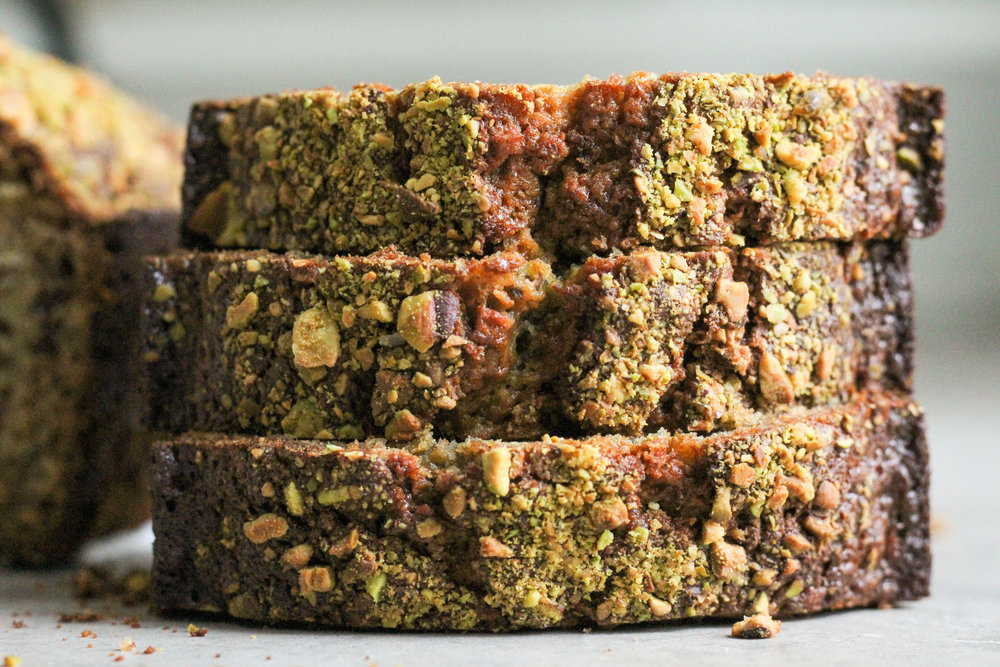
**** The pistachios that are mixed into the loaf should simply be chopped, but the ones sprinkled on top should be ground (in other words, very finely chopped). I like to simply use the crumbs left behind from chopping the pistachios for this. But the only reason is because it looks prettier this way, so don’t sweat it.
***** Feel free to instead use a 9×5″ loaf pan if you’re very worried about spillage. But if you follow the recipe carefully, the batter should be viscous enough that it won’t overflow, but will instead puff up into a beautiful, tall loaf as it bakes. If you use a 9×5 loaf, check it for doneness about 5 to 10 minutes earlier. If your pan isn’t nonstick (or is very scratched-up nonstick), make a parchment sling for easy removal (butter the pan, place the sling, and add more butter to the parchment). Simply trace a butter knife around the bare sides and lift it out with the parchment flaps.
Video note: If you don’t see the video for this post after scrolling up, please disable ad block and try reloading the page.