It’s barely a walk from our apartment to one of our favorite restaurants in Hong Kong, the izakaya Okra Kitchen. Naming a restaurant after a polarizing vegetable is the kind of thing I could totally see myself insisting on, and I happen to be strongly on team okra, so I was sold right away. We most often find ourselves ordering their brussels sprouts, which are deep fried, sprinkled with boozy Xinjiang raisins, covered in their special sauce, and piled high with julienned radishes.
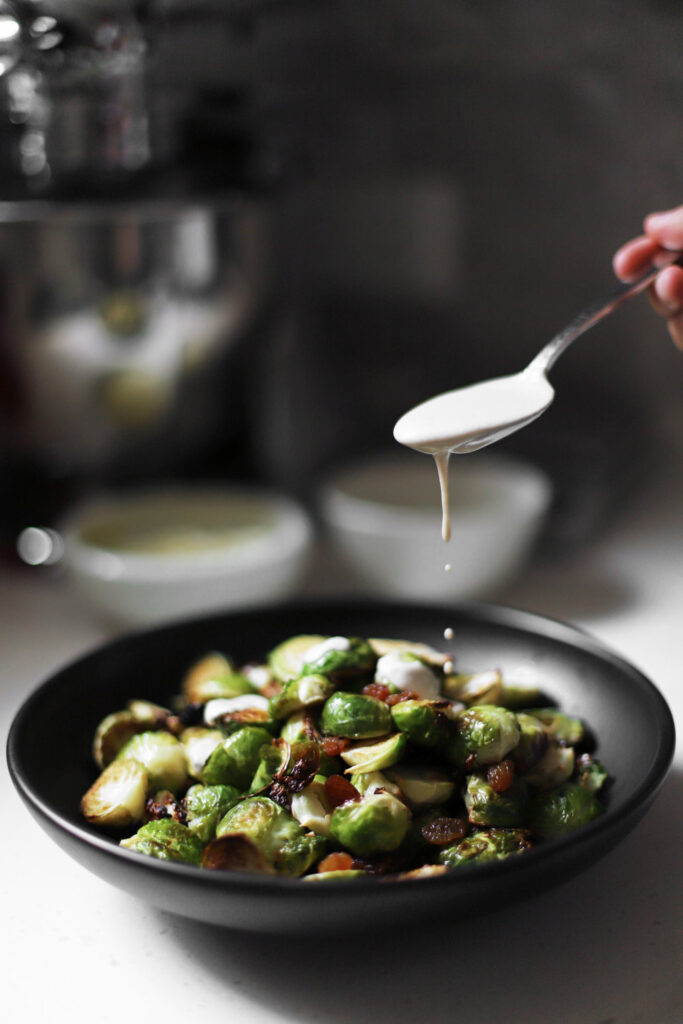
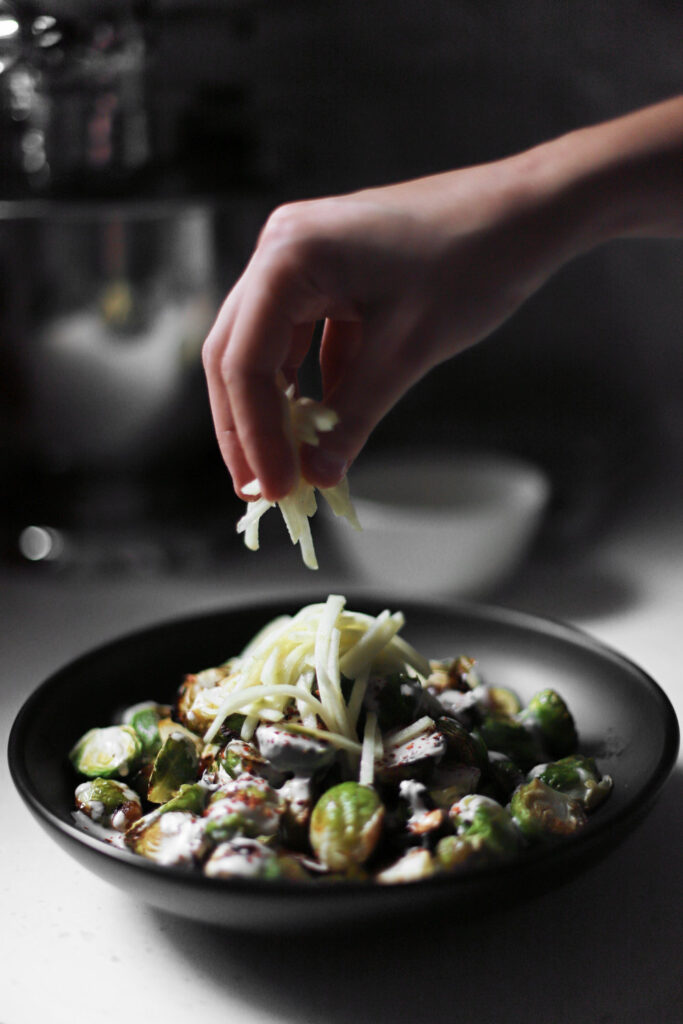
So lately I’ve been making a more home-cooked Middle Eastern version of this for quick weeknight meals and holiday celebrations, with yogurt tahini sauce, pickled apples, a little crushed red pepper, and my favorite magical thing I learned from my grandmother: roasted raisins.
why roast or sauté your raisins?
The difference between roasted raisins and straight-out-of-the-box is like the difference between homemade sea salt caramels and milk duds. Roasting takes them from stale, lifeless blobs to soft, chewy flavor bombs.
Even before I knew what roasted or sautéed raisins were, I loved them in riza sh’ariyeh (jeweled rice with vermicelli noodles). I’d always strategically scoop rice onto my plate to end up with extra topping. If we had guests over, I would do this as tactfully as possible, but if it was just our immediate family, all civility went out the window and I was shameless.
It wasn’t until I learned how to cook riza sh’ariyeh a couple years ago that I learned what made the raisins in it so delicious. It turns out, my grandmother sautés them briefly in butter, before sprinkling them on top of the rice. It takes so little time that it may seem like an insignificant detail, but it’s everything.
When I’m cooking on the stove, I sauté them in a little butter, but when I’m roasting, I like throwing them on the sheet pan for the last couple minutes, just until they puff up a little and caramelize slightly. In this brussels sprouts recipe, you sprinkle them on after the sprouts have started to caramelize, so they can broil for a minute or so. Top everything with yogurt tahini sauce, pickled apples, and crushed red pepper, and be sure to watch out for strategic raisin scooping at the dinner table.

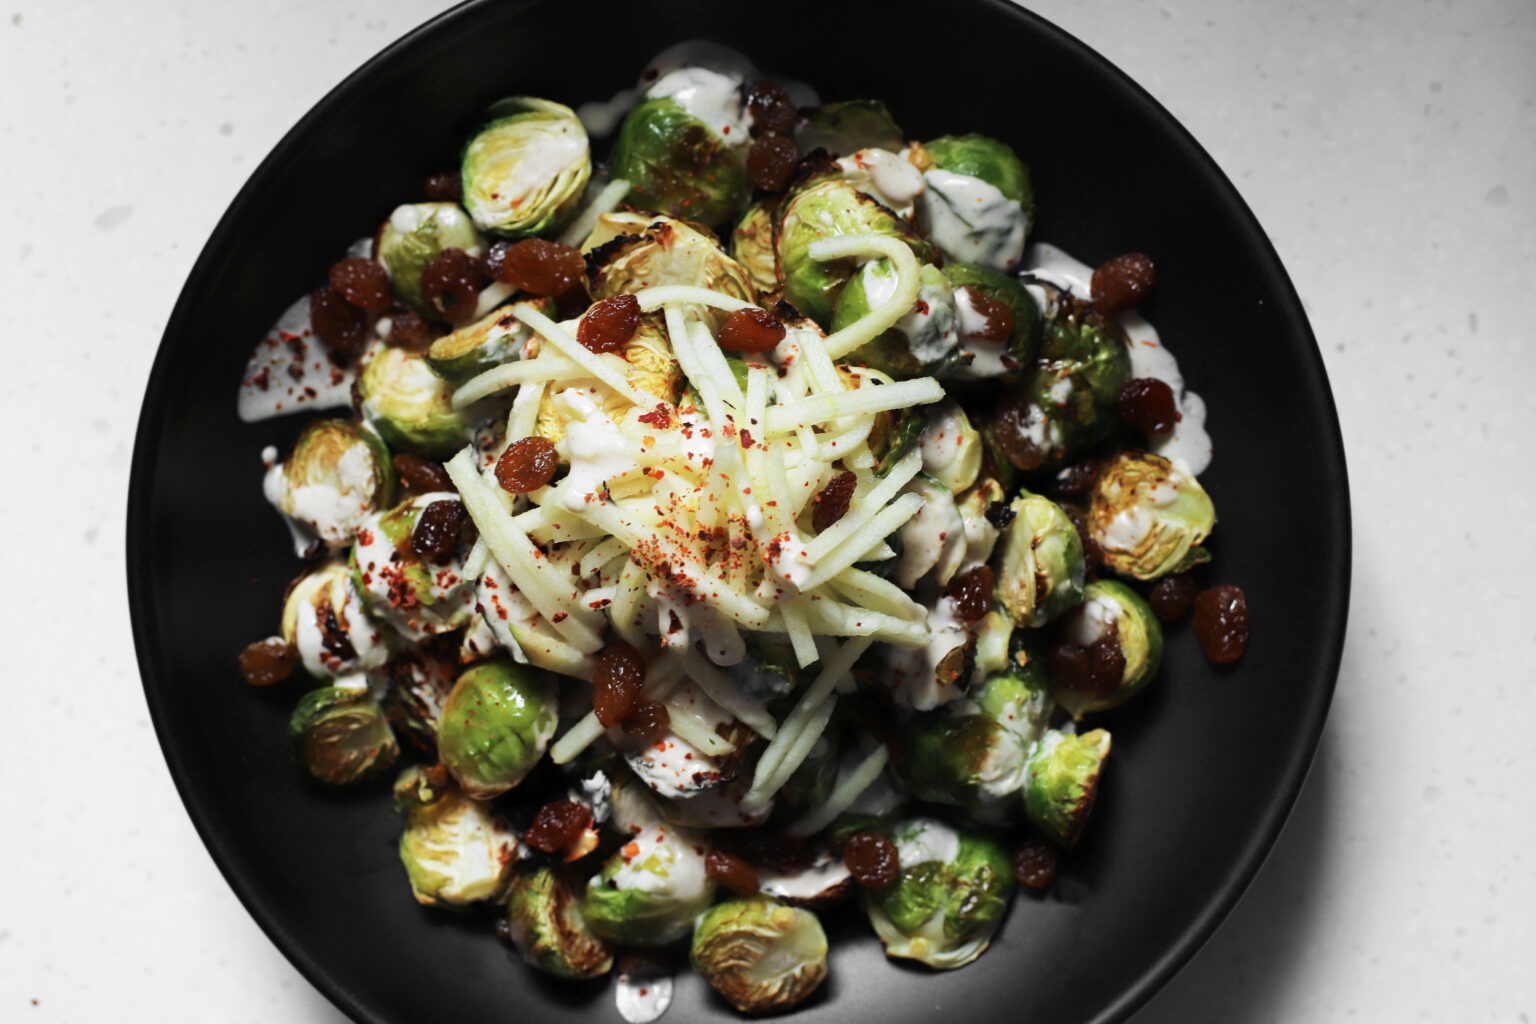
brussels sprouts with pickled apples and roasted raisins


- Prep Time: 15 minutes
- Total Time: 30 minutes
- Yield: about 5 servings
Ingredients
for the yogurt tahini sauce:
- 1 tablespoon tahini
- 1/4 cup Greek yogurt *
- 1 tablespoon lemon juice
- 1 pinch salt
- Water, as needed
for the quick pickled apples:
- 2 tablespoons apple cider vinegar
- 3 tablespoons lemon juice
- 1 big pinch salt
- 1 small pinch sugar
- 1/2 of 1 granny smith apple
for the roasted veggies:
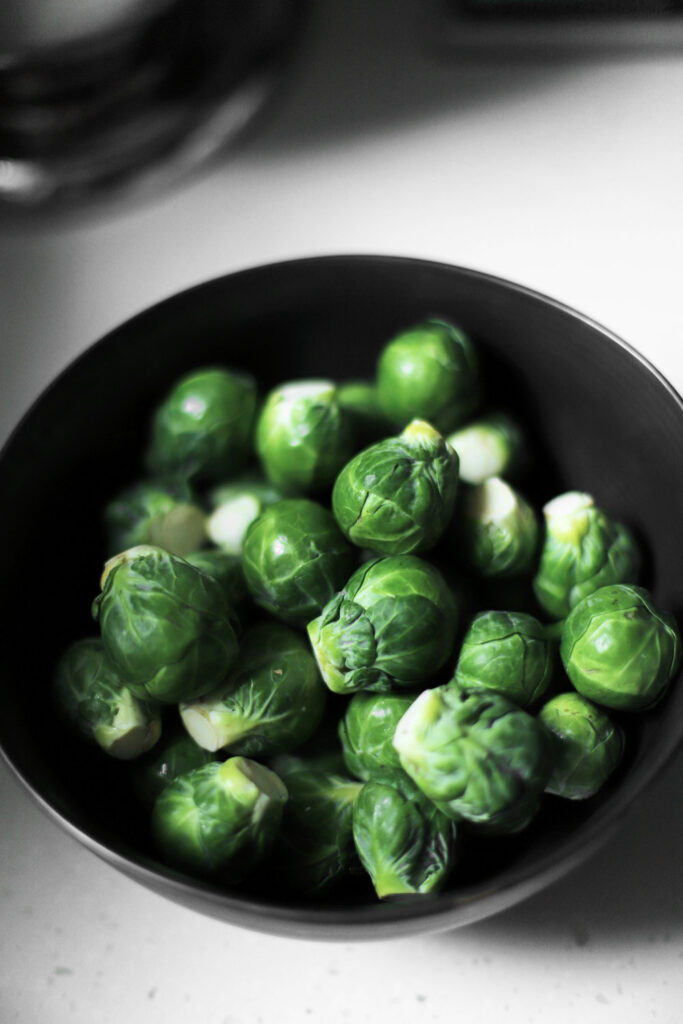
- 21 to 22 ounces (600g) brussels sprouts (about 50 small sprouts, 25 medium ones, or 17 giant ones)
- olive oil
- salt
- 1/4 cup golden raisins
- 1/2 tablespoon softened or melted butter
- crushed red pepper
Instructions
- Make the yogurt tahini sauce: Combine the tahini, Greek yogurt, lemon juice, and salt, and stir together until it forms a thick sauce. Stir in water, about 1 teaspoon at a time, stopping once the sauce still has some body, but is a pourable consistency (I used 1 1/2 teaspoons when developing this recipe—it will vary depending on your Greek yogurt).
- Quick pickle the apples: Combine the apple cider vinegar, lemon juice, salt, and sugar in a small bowl, and stir until dissolved.
- Peel and julienne (or allumette) the half apple, using a mandolin or very sharp knife.
- Add the julienned apple to the brine (quickly so it doesn’t brown), and gently press it down with the back of a spoon until it’s submerged. Let it stand for 30 minutes to 1 hour, and then strain once it’s as tangy as you’d like.
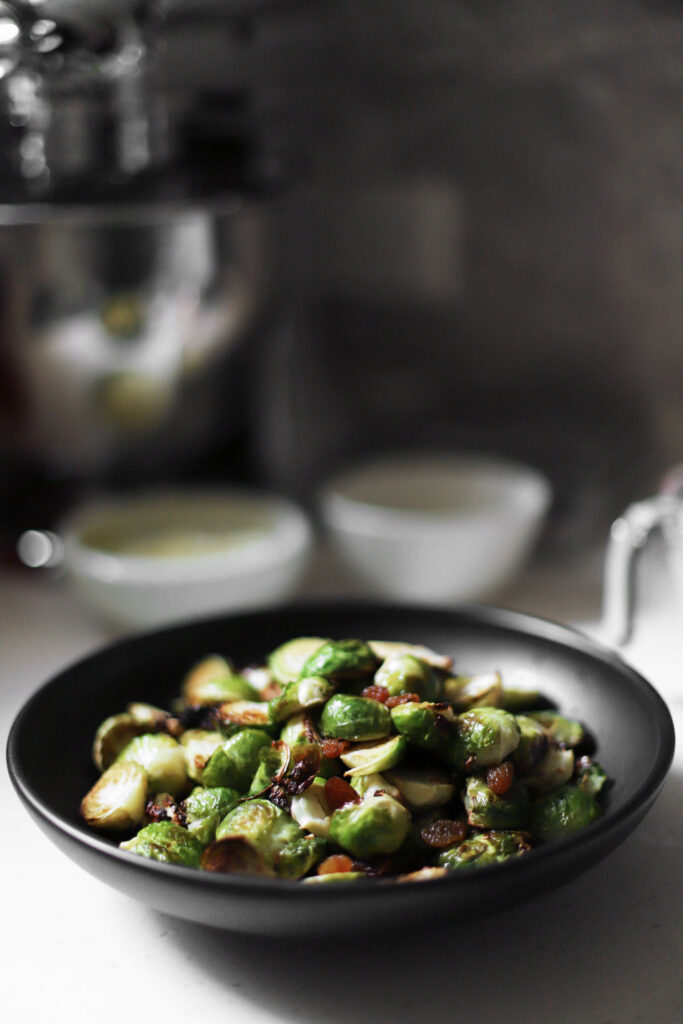
- Roast the veggies: Preheat the oven’s broiler.
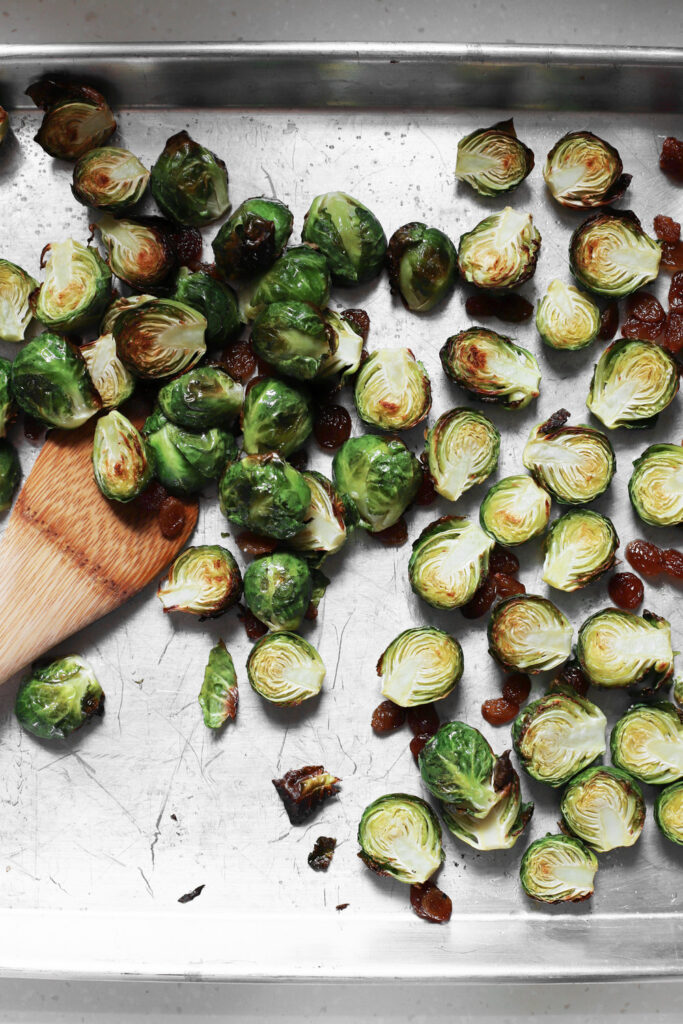
- Halve the brussels sprouts, coat them in oil, place cut-side-up on a sheet pan, and season to taste.
- Broil the brussels sprouts for about 10 minutes (it might take as little as 5). Keep an eye on them to make sure they’re not caramelizing too quickly (if they are, move them away from the heat source, turn the temperature down, and/or remove them from the oven early).
- Coat the raisins in a little softened or melted butter. In the last minute of broiling, sprinkle the raisins over the brussels sprouts, and broil them for about 1 minute, just until they’re starting to swell a little and caramelize in spots. Do not let them burn, and keep a close eye on them (it might take just 30 seconds, and varies from oven to oven).
- Move the brussels sprouts and some of the raisins to a serving bowl, top with a few spoonfuls of yogurt tahini sauce, sprinkle the rest of the raisins over the top, and top with a heap of the apple pickles. Garnish with crushed red pepper, and serve with extra yogurt sauce on the side.
Notes
* To make this vegan, instead make a lemon tahini sauce. Also be sure to use oil instead of butter when you roast the raisins.