If you’re at an Assyrian person’s house and you find a carton of cottage cheese in the refrigerator, you can be almost certain that there is no cottage cheese inside. 90% of the time, the cottage cheese has been replaced by jajik. If, on the off-chance, there is cottage cheese inside, don’t eat it, because it’s about to be turned into jajik, which is a hundred times better than cottage cheese, so either way, you’re in luck.
Jajik (also known as jajeek) is a simple, yet delicious, spread made from dairy with herbs or veggies. It’s very similar to many other Middle Eastern, south-Asian, and Mediterranean dairy-based dips and spreads, such as tzatziki, cacik, mastokhiar, and raita (to name a few).
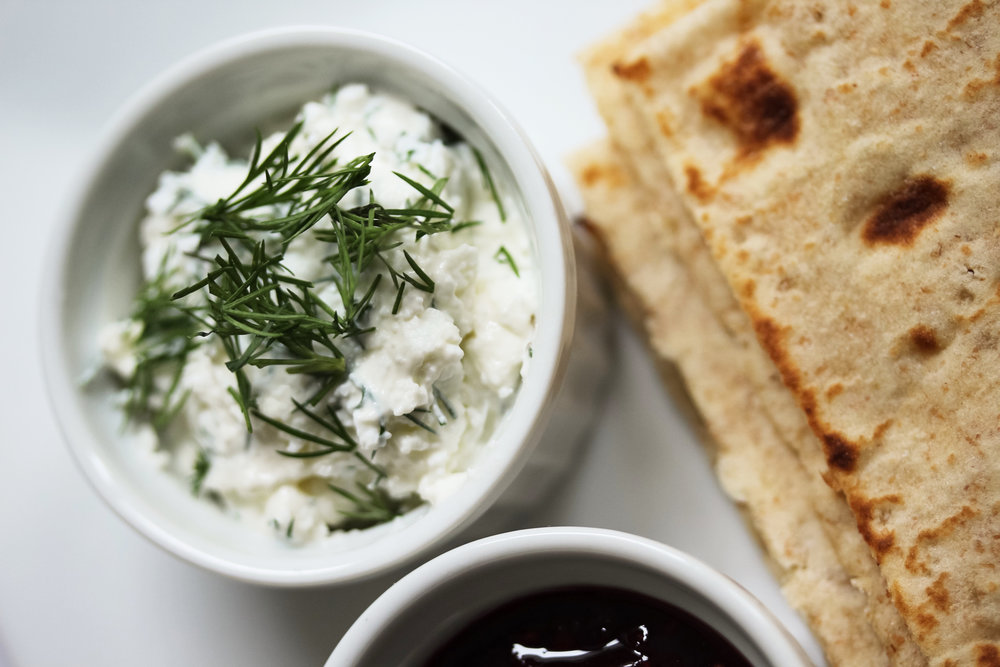
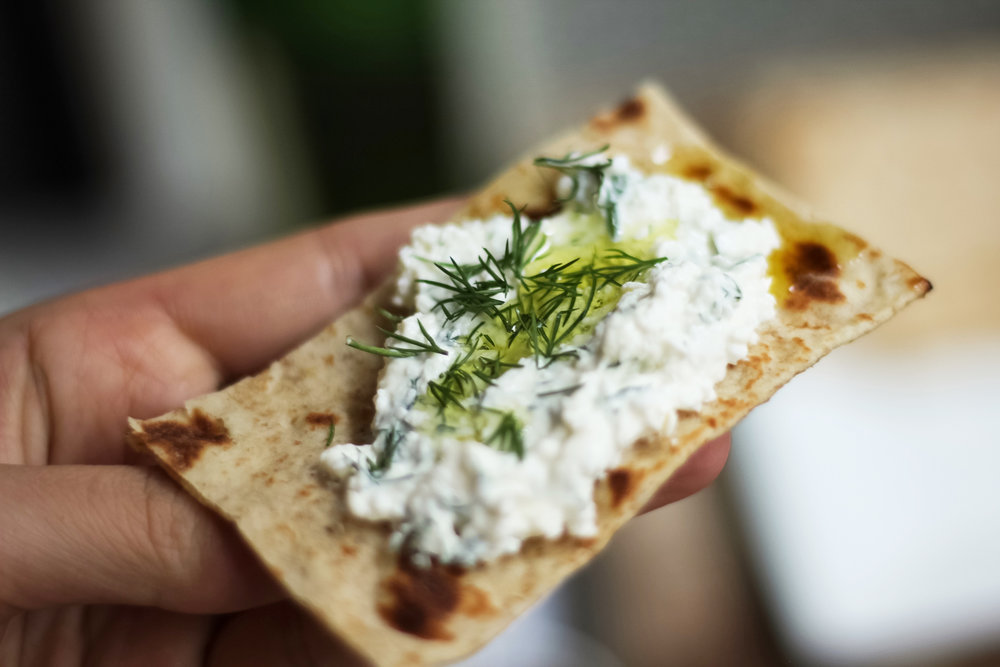
My family’s recipe only has four real ingredients and requires no special equipment or skills. While our recipe is pretty simple, some common additions include cilantro, parsley, green onions, banana peppers, garlic, and grated cucumber. Feel free to experiment with the recipe, adding any of these other traditional ingredients.

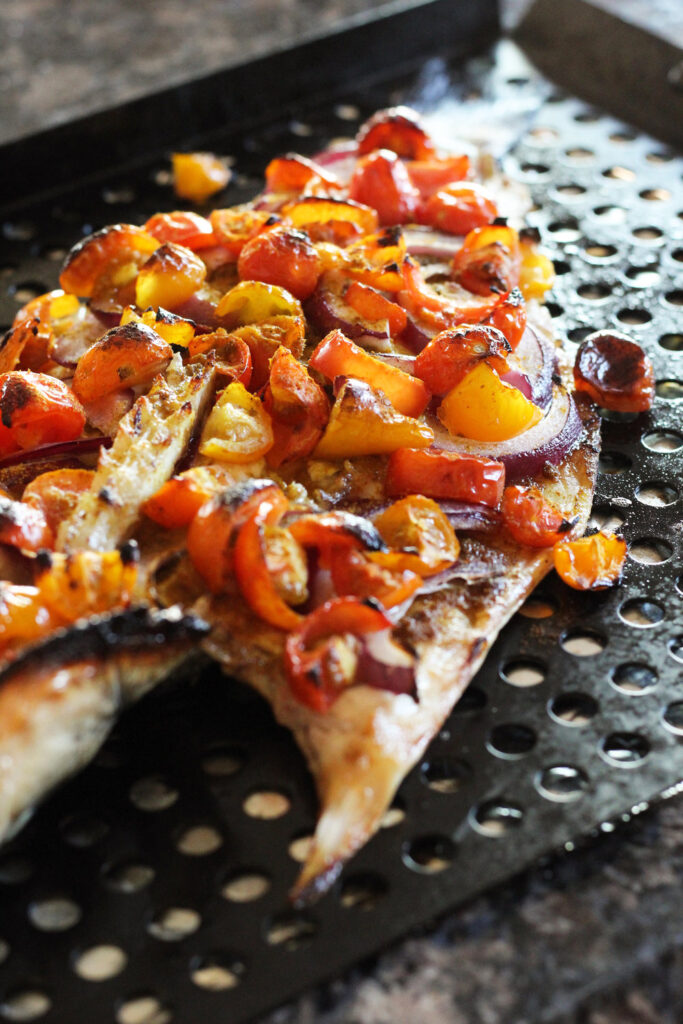
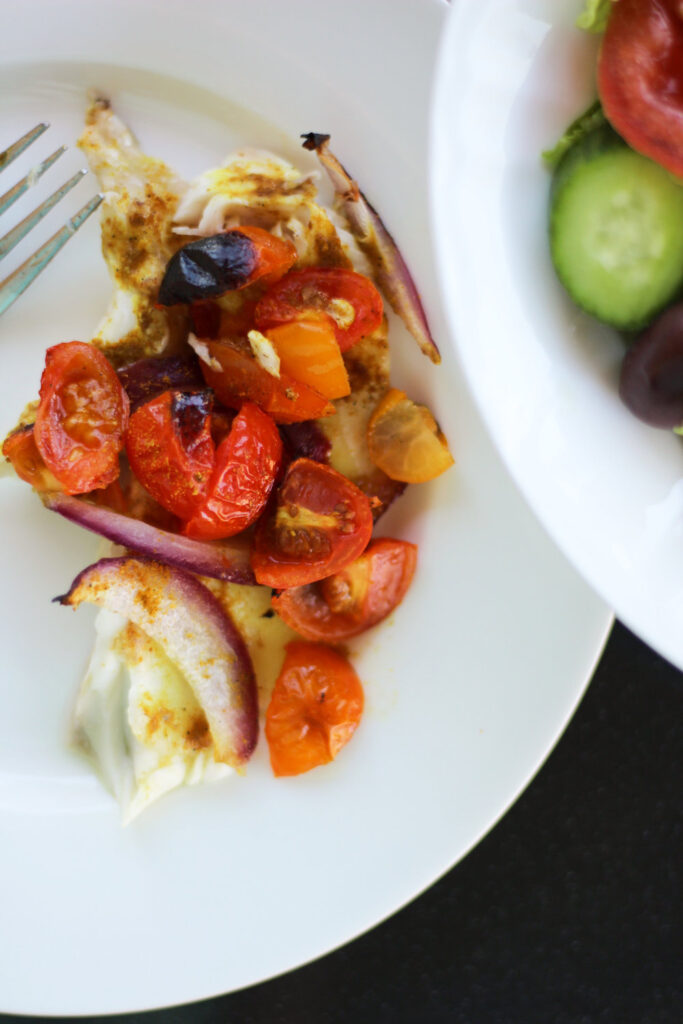
Jajik was one of my Baba Peter’s favorite things to eat for breakfast; he and my grandmother were always fans of savory and sweet. My grandmother sometimes eats her jajik on a Krispy Kreme doughnut and my grandfather would sometimes spread jajik and jam on a bagel. I have to admit, both are strangely perfect combinations, but I prefer plain old English muffins or lawasha. But jajik isn’t always eaten for breakfast—it’s also great for dinner (jajik chicken, and jajik chickpeas with rice) along with other mezes, like hummus and stuffed grape leaves.

jajik

- Total Time: 5 minutes
- Yield: about 3 1/2 cups
Ingredients
- 8 ounces cream cheese
- 2 tablespoons unsalted butter
- 16 ounces small curd cottage cheese
- Packed 1/4 cup chopped dill + 2 tablespoons for sprinkling on top
- Salt to taste (I use 1/4 teaspoon)
- Optional: olive oil for drizzling
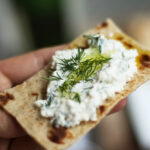
- For serving: pita bread, english muffins, or lawash
Instructions
- Let the cream cheese and butter come to room temperature. Once softened, combine the two until they are very well blended.
- Combine the cottage cheese with the butter/cream cheese mixture and salt to taste.
- Gently fold the 1/4 cup chopped dill into the mixture. Do not add the dill before this point or the whole thing will turn green.
- Garnish the jajik with the remaining 2 tablespoons chopped dill.