Blog posts in the summertime practically write themselves. It’s always just like, “Oh my gosh guys it’s whatever-season!!! Don’t forget to make an upside down cake or a salad before it’s too late!” I know I should probably come up with something more interesting to say, but sometimes interesting isn’t what’s necessary, and the one thing I really need you to know right now is that it’s the tail end of apricot season. This is not a particularly earth-shattering or groundbreaking claim, but there you have it.
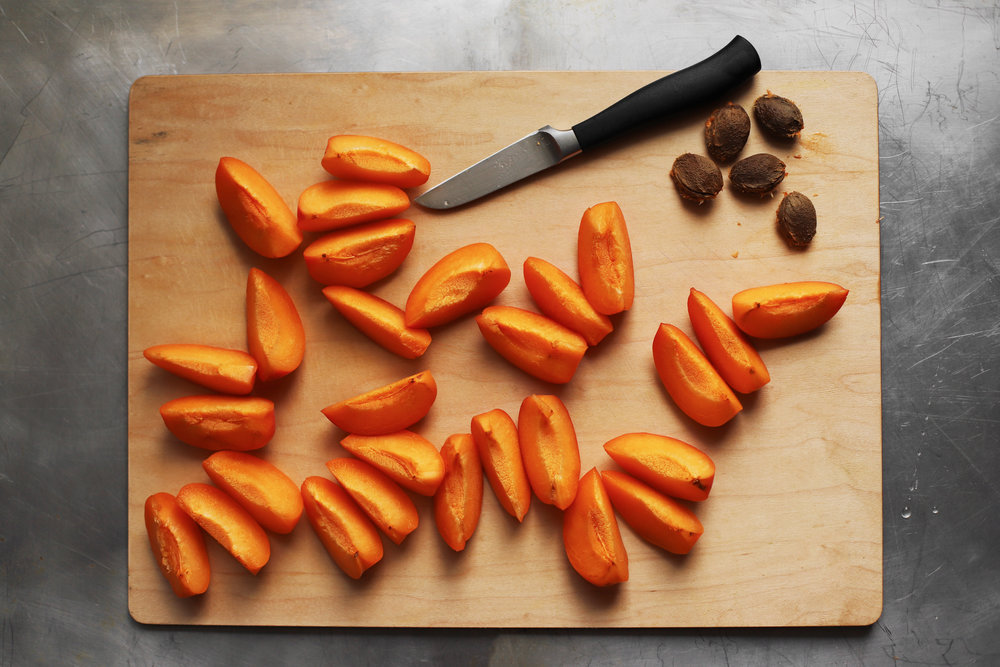
So go buy some apricots, right now, and then go make all the things you’ve been dreaming about since May, but just haven’t gotten around to making. Or, if you haven’t really had much of a chance to daydream about apricots (that’s okay, I daydream about them enough for the both of us), you should go make this salad. It’s a celebration of one of my favorite combinations, apricots and ground pistachios. They’re a match made in heaven, and my favorite flavor of lokme (AKA Turkish delight). Here, they bring just the right sweetness and crunch to a lovely summer salad. And, while I love just about any stone fruit in a salad, apricots are particularly versatile, because of their meaty texture. Even when they’re perfectly ripe, they don’t have the same runny juiciness as peaches and plums, so they tend to keep to themselves instead of totally taking over the whole salad. Plus, isn’t it great that they’re not cling-stone fruits? The pits just pop right out, which makes them the ideal for easy summer cooking.
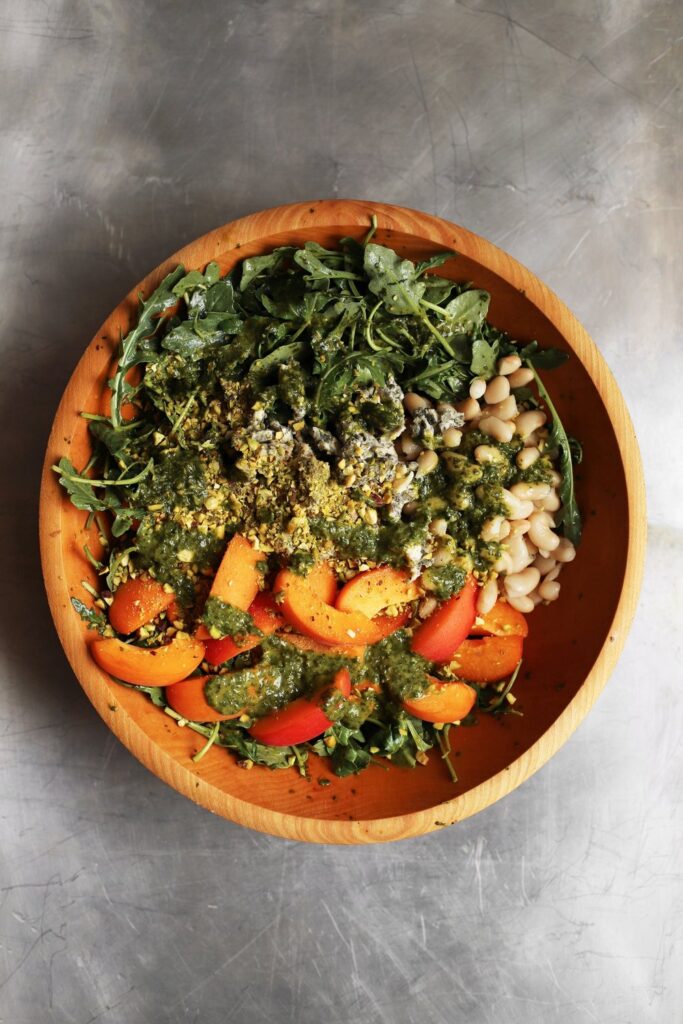

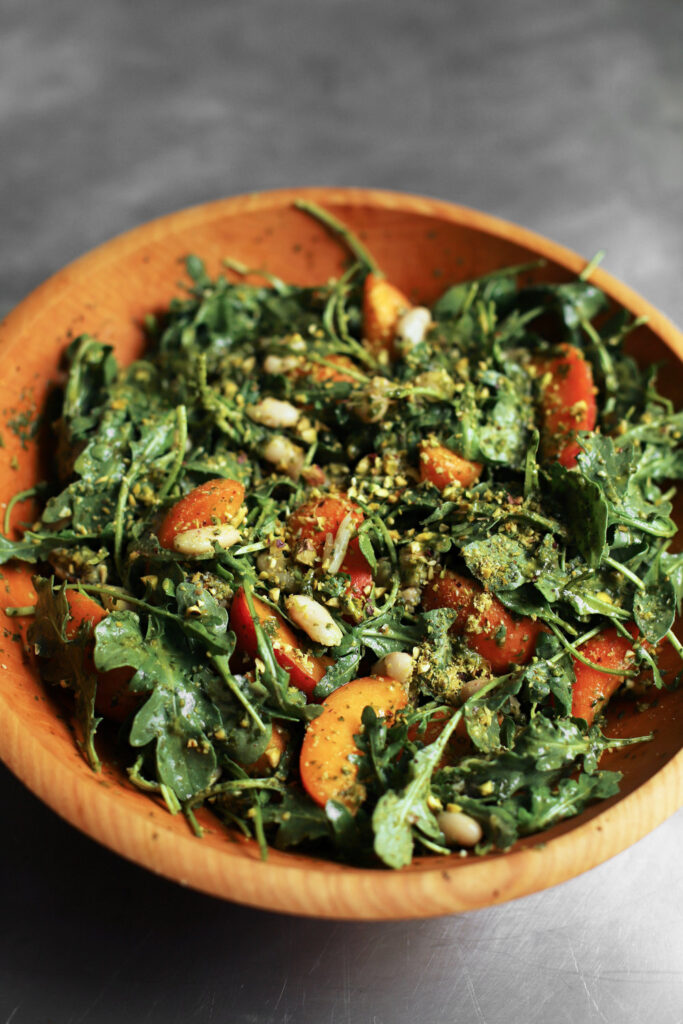
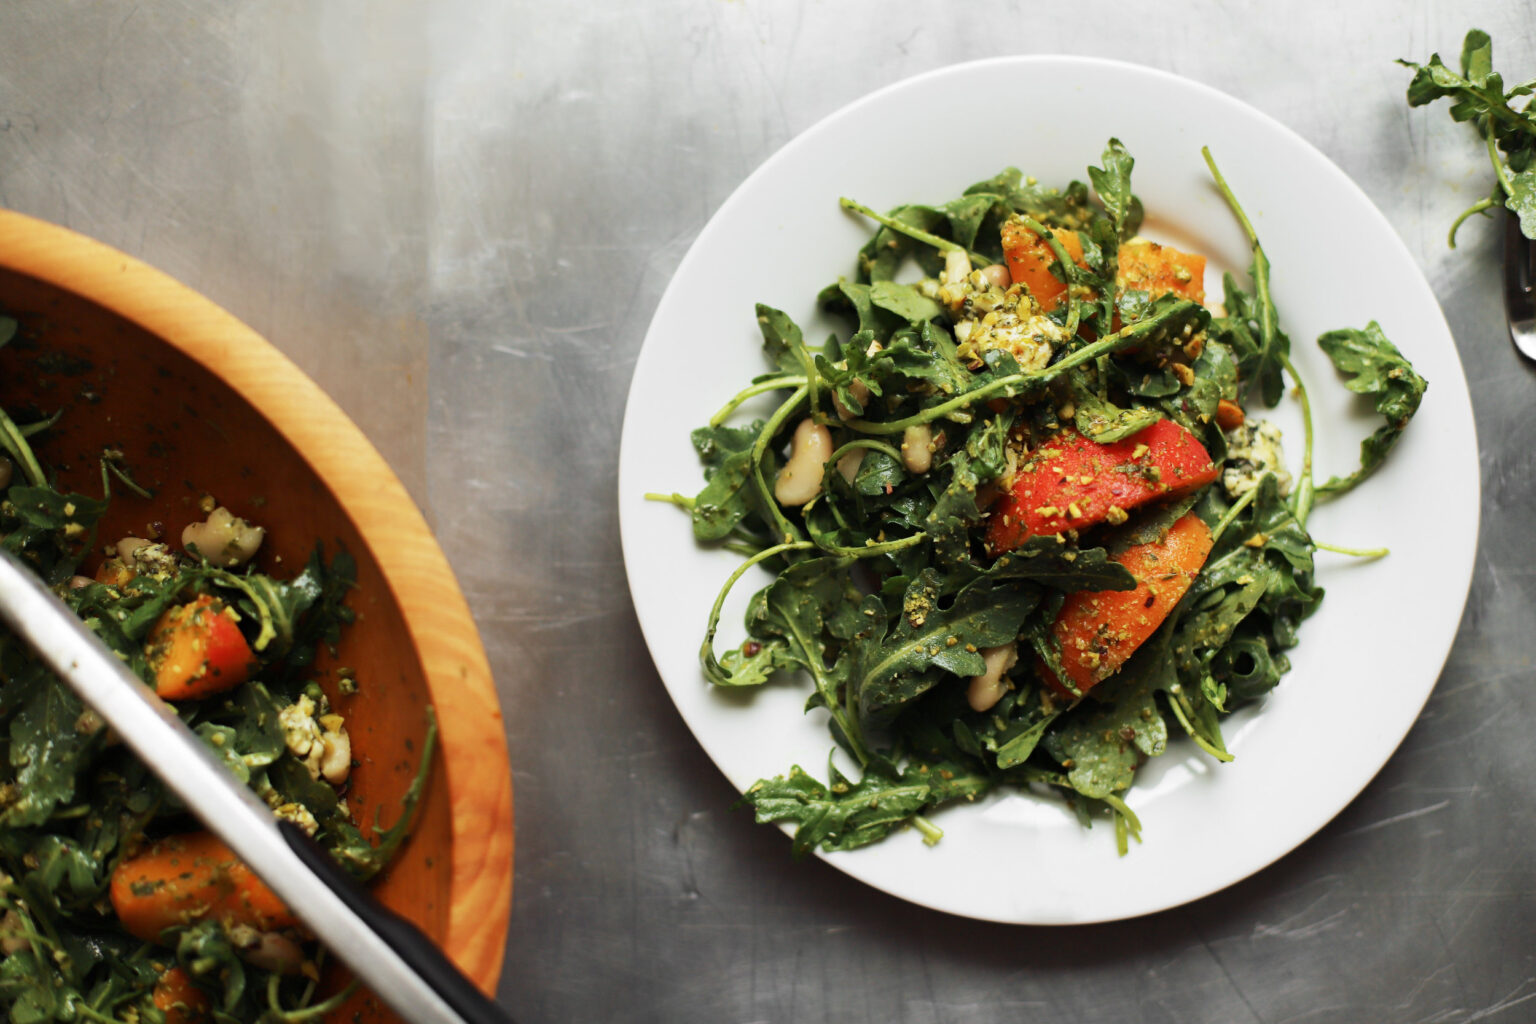
apricot pistachio salad with cilantro lemon dressing


- Total Time: 15 minutes
- Yield: 4 to 6 servings
Ingredients
- 1 bunch cilantro*
- 1 small clove garlic (from the inside of the head)
- 1/4 cup + 2 tablespoons extra virgin olive oil**
- 1/4 cup lemon juice
- 1/4 teaspoon salt, or to taste
- 1/4 teaspoon black pepper
- 5 ounces arugula, washed and dried
- 5 large apricots (or 7 small), sliced into wedges
- 2 to 4 ounces crumbled blue cheese (2 if it’s sharp, 4 if it’s mild)***
- 15 ounce can of cannellini beans (or other white beans), rinsed and strained
- 1/3 cup ground or finely chopped raw pistachios
Instructions
- Remove the stems of the cilantro by grabbing the leafy part and twisting it off. Discard the big stems, wash the leaves, and then dry them really well with a salad spinner or a towel.
- Mince the garlic in a food processor (you might have to scrape down the sides and pulse a couple more times). Add the cilantro and olive oil to the garlic in the food processor, and blend until very finely minced, nearly puréed. Add the lemon juice, salt, and pepper, and blend for about a minute, until everything comes together smoothly. Taste and adjust the seasoning.
- Place the arugula in the bottom of a salad bowl, and toss with a few spoon-fulls of the dressing. Then add the apricots, blue cheese, beans, and pistachios. Drizzle with the rest of the dressing (or to taste), toss everything together, and enjoy.
Notes
* If you can’t stand cilantro, this dressing works well with parsley too. You’ll have to be a little more careful about removing the big stems (cilantro stems are way more tender). You could even use parsley and basil, or all basil. If you use all basil, it will dominate the flavor of the salad, which is different but still super tasty.
** The easiest way to do this is to use a liquid measuring cup, and pour halfway between 1/4 and 1/2 cup.
*** If you don’t like blue cheese, another crumbly cheese will work great here. Try bulgarian feta (or any feta really), cotija (use a smaller amount, because it’s nice and salty), chèvre/fresh goat cheese, or even some parmesan or pecorino shavings (again, so salty—use less). If you want to make this vegan, feel free to leave out the cheese altogether. If you leave out the cheese, add a teeny tiny bit more garlic to the dressing (like, 1 more small clove), and toast the ground pistachios until they’re very light golden brown (toast them over the stove at medium heat in about 1/2 teaspoon olive oil, stirring constantly until they’re ready, and then remove them to a plate).