These next three posts are dedicated entirely to Thanksgiving, but this one in particular, this cornbread with labneh and slow roasted tomatoes, is the thing I’m most looking forward to this Thanksgiving. And sure, a dish primarily made up of fresh tomatoes isn’t necessarily the most seasonal choice for November, but slow-roasted tomatoes have a deeply wintery flavor, because slow roasting is a way of preserving summer produce.
Some ingredients (certainly tomatoes!) are very strongly tied to their season of harvest, but even the most seasonally-entrenched ingredients can completely transform to suit the palate of another time of year. I’ve been meaning to do more posts about traditional Middle Eastern preservation techniques, and this one isn’t exactly traditional (as far as I know), but it takes advantage of the same concept: a tomato in August won’t taste the same as a tomato in December, but when treated in a certain way, this can be a wonderful thing.

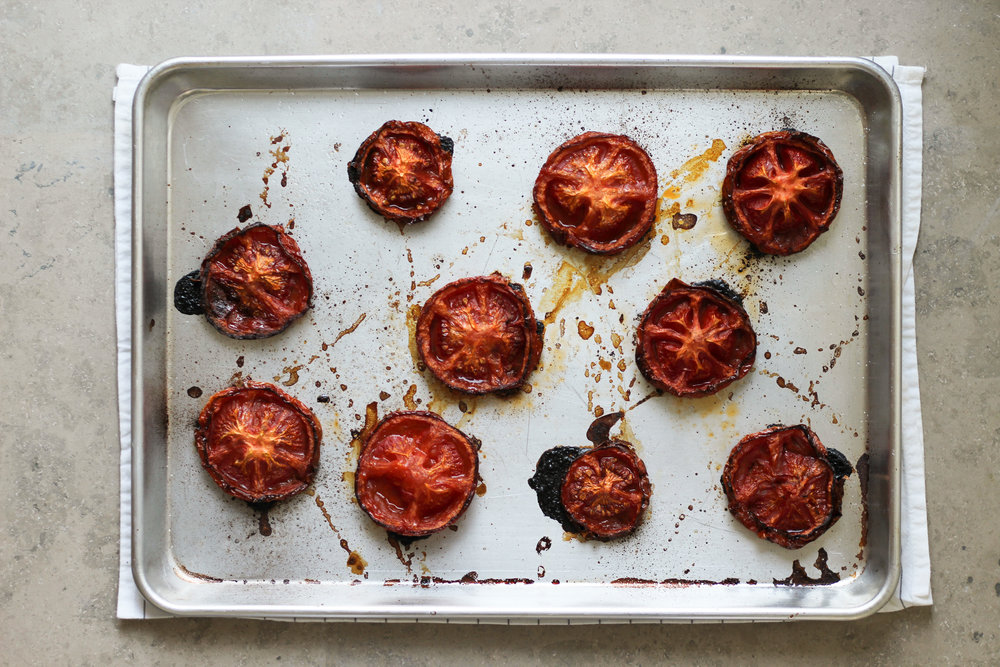
If you’re discovering this post sometime in the summer, you should definitely stock up for the fall and winter: just slow roast them, place them in a single layer on a parchment-lined baking sheet, freeze them solid, and then place them in a ziplock bag. They’ll stay delicious and keep their flavor and shape the whole winter long, especially if you roast them until they’re no longer oozing tomato juice, and then store them properly in the freezer (see the recipe for more specific instructions). My friends Erin and Alvin, who taught me how to slow roasted tomatoes, always have a freezer packed to the brim with their home grown tomatoes, all winter long.
But if you’re more of a grasshopper than an ant in your wintertime preparation, and you’re caught in November with no preserved tomatoes stowed away (or maybe this is the first time you’ve been inspired to make them!), slow roasting can also be a really nice way of coaxing delicious flavors out of sad, out-of-season tomatoes, and you’re going to be very happy with the alchemical results. There’s always next year to aspire to a perfectly stocked, sustainable winter freezer and pantry (I’m still working on it).


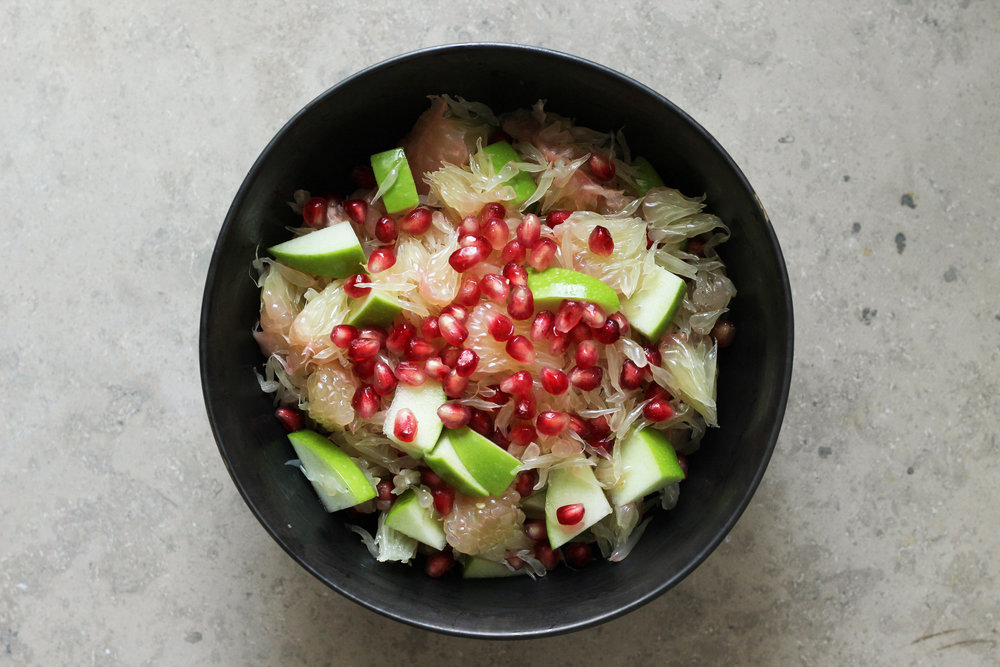
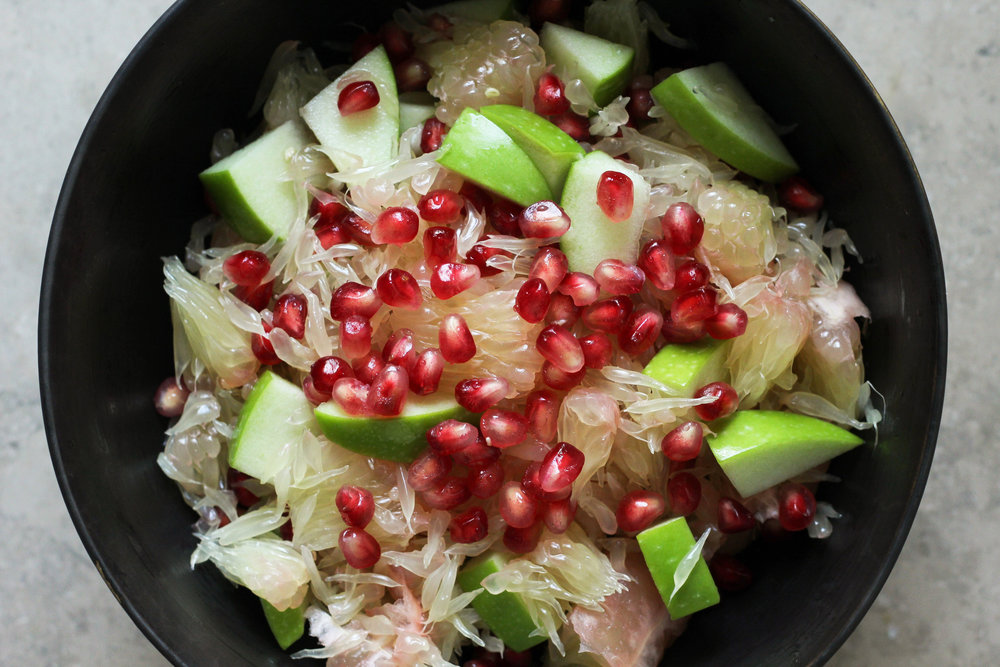
I can hardly believe that I need to convince you how delicious this is, so I’ll just tell you a little bit about how I came up with it, which was through the same dumb luck I occasionally stumble upon when I visit a salad or fro yo bar offering unlimited toppings. I succumb to the same stupid method every single time: throw out everything I’ve learned from hundreds of skimmings of the Flavor Bible, and just get all my favorites, all together, no matter whether they actually go together. That means that sometimes you might end up with a caper, watermelon, and alfalfa sprout salad, but sometimes you’ll find that your three favorite things are your favorites for a reason: they mesh like old friends from another life, brought together by your totally capricious decision to place them there.

cornbread with labneh and slow roasted tomatoes


- Prep Time: 25 minutes
- Total Time: 5 hours
Ingredients
For the slow roasted tomatoes:
2 pounds of tomatoes (4 or 5 large tomatoes)
1/2 tablespoon olive oil
1/4 teaspoon salt
For the cornbread:
Butter for greasing the skillet
1 1/2 cups cornmeal
1 1/2 cups all purpose flour
1 tablespoon baking powder
1/2 teaspoon baking soda
1 teaspoon salt
2 room temperature eggs
1 stick unsalted butter, melted
2 cups room temperature buttermilk
1/3 cup sugar
To serve:
1 1/2 cups labneh (you can substitute goat cheese or plain full-fat Greek yogurt here, which both work really well)
Instructions
- Slow roast the tomatoes: Pre-heat the oven to 325° F.
- Do not remove the stems or hull the tomatoes. Simply slice the tomatoes in half, cutting from one side to the other, rather than cutting from stem to end (but if you’re using roma tomatoes, cut from stem to end instead). Try to make your cut as level and horizontal as possible.
- Coat the tomatoes in the oil and sprinkle with salt, and then place the tomatoes cut-side-up on a roasting pan (optionally, using a silicone mat will help you remove them later).
- Slow-roast the tomatoes in the oven, checking every 30 minutes to make sure they are not burning. ** If the tomatoes seem to be browning very quickly early on, turn the heat down to 300° F and be prepared to cook them longer. The tomatoes are done once they have have shrunk significantly, browned nicely, and no longer ooze juice. This will take between 2 to 4 hours, depending on the tomatoes’ size and sugar content, and can be done up to 3 days ahead of time, and kept in the refrigerator.
- Once the tomatoes are done, remove the stems and use kitchen shears to snip away any burnt bits.
- Make the cornbread: Preheat the oven to 375° F and generously butter a 10″ cast iron skillet, or a similar sized baking dish. Feel free to make (and the butter) a parchment round if you want to eliminate any chance of sticking.
- In a medium or large mixing bowl, whisk together the cornmeal, flour, baking powder, baking soda, and salt, and set aside.
- In a smaller mixing bowl, whisk together the eggs and butter until they’re completely blended. Add half of the buttermilk, stir until combined, add the rest of the buttermilk, and stir again until combined. Add the sugar and stir until it dissolves.
- Pour the wet ingredients over the dry ingredients, and stir together until it just comes together. Don’t over-mix the batter, and stop as soon as it comes together.
- Bake for about 35 to 40 minutes, or until a toothpick inserted in the center comes out without batter sticking to it.
- Allow to cool for at least 1 hour, and then slice into pieces.
- Serve: Stir the labneh, and then plop a dollop on each piece of cornbread, and top with one or two slow roasted tomatoes (divide the tomatoes equally among the pieces). Serve immediately after topping (but note that the leftovers are pretty delicious too).