How to choose
persimmons. This is precision.
Ripe ones are soft and brown-spotted.
Sniff the bottoms. The sweet one
will be fragrant. How to eat:
put the knife away, lay down newspaper.
Peel the skin tenderly, not to tear the meat.
Chew the skin, suck it,
and swallow. Now, eat
the meat of the fruit,
so sweet,
all of it, to the heart.
– excerpt from “Persimmons” by Li-Young Lee


Lee’s poem is the first recipe in this post: if you have ripe persimmons at home, enjoy one just as he describes. But the recipe that follows is for when you receive a gift basket of persimmons for the holidays, or when you find a huge crate of them at Costco. Make sure you let them ripen until they feel almost like water balloons, enjoy as many as you’d like fresh, and then move on to ice cream sundaes (edit: or persimmon upside-down cake) when you feel up for a change.
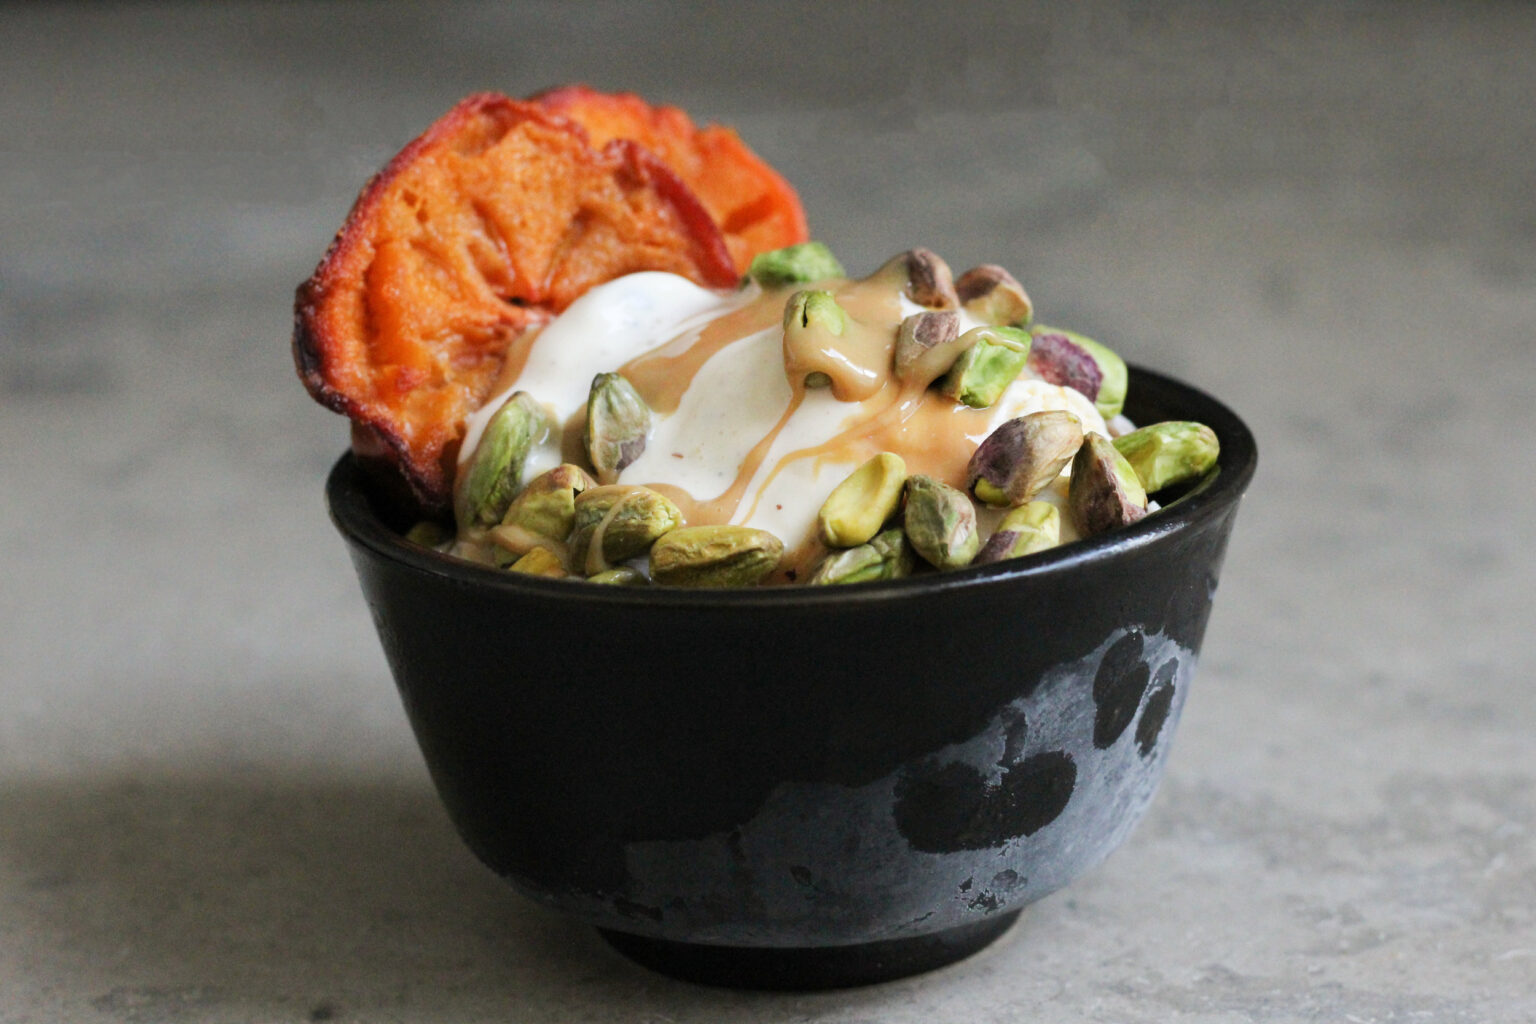
The recipe below is for an autumn ice cream sundae with slow roast persimmons, caramel sauce, and raw pistachios. This is one of those desserts that’s perfect for entertaining. In fact, you hardly need a recipe: buy a few pre-made ingredients, roast some persimmons, throw everything together, and you’ve got an elegant and impressive dessert. Or simply serve your guests a platter of persimmons, because sometimes less is more.
You can certainly buy caramel or dulce de leche for this sundae, but you can also make your own if you feel like it. My favorite way of making caramel is slowly simmering a sealed can of sweetened condensed milk for a couple hours and then letting it cool. There’s a great tutorial on Serious Eats (make sure you read it so that you don’t make the can explode!). The caramel in these photos was simmered for 2 hours and then thinned out with a little water, but you can go a little longer to get a darker color and deeper flavor.


Some things never leave a person:
scent of the hair of one you love,
the texture of persimmons,
in your palm, the ripe weight.


slow roasted persimmon sundae


- Prep Time: 15 minutes
- Total Time: about 90 minutes
- Yield: 4 big servings *
Ingredients
4 persimmons
Oil, to coat
1/3 cup raw pistachios
1 quart (2 pints) of vanilla, almond, or pistachio ice cream
Caramel sauce **
Instructions
- Preheat the oven to 325° F.
- Cut the persimmons in half from one side to the other, rather than cutting from stem to end. Coat them in a little oil, place them on a sheet pan, and roast them for about 60 to 90 minutes.
- The persimmons are done once they have shrunk down, but are still a little juicy.
- Scoop 1 cup of ice cream into each of 4 bowls. Drizzle with caramel (either hot or cold), top with pistachios, and tuck 2 persimmon halves into the sides of each bowl.
Notes
* This recipe can be easily multiplied or divided (each serving comes out to 2 persimmon halves, 1 heaping tablespoon pistachios, 1 cup of ice cream, and 2 tablespoons of caramel sauce). These are very big servings, so feel free to scale things back accordingly.
** This recipe for caramel sauce is pictured here, but you can also use store-bought. If you’re going to use the pictured sauce cold, thin it out a little with some water or milk, until it’s a pourable consistency.