• Skip to primary navigation
  • Skip to main content
  • Skip to primary sidebar
  • Skip to footer
Cardamom and Tea
  • Blog
  • Recipes
  • About
  • Cookbooks
    • Piecemeal
    • A Dish for All Seasons (my first cookbook)

kbeibat

February 28, 2018 by Kathryn Pauline 7 Comments

Kibbeh is a Middle Eastern sensation. Just about every city has its own preparation, and you can find countless varieties if you do just a quick search. Kibbeh is diverse, prolific, and completely beloved. Thus, kibbeh is a food that resists definition and categorization. It’s most often translated in English as “Middle Eastern dumplings,” which is closest to the word’s etymology. And true, most are dumplings (sometimes boiled, sometimes fried), but some preparations, like kibbeh bil saniyeh, are baked in a casserole or sheet pan, and some are eaten raw, like steak tartare. So whenever the dumpling comparison doesn’t fit, kibbeh is defined as having some sort of dough made out of bulgur wheat. But this isn’t always the case, because some are totally gluten free, made with potatoes or rice. So while I guess you could say that the platonic form of kibbeh is a bulgur dumpling, that only begins to scratch the surface of what’s possible. This particular dish, kbeibat, fits both definitions, and is a great place to start.

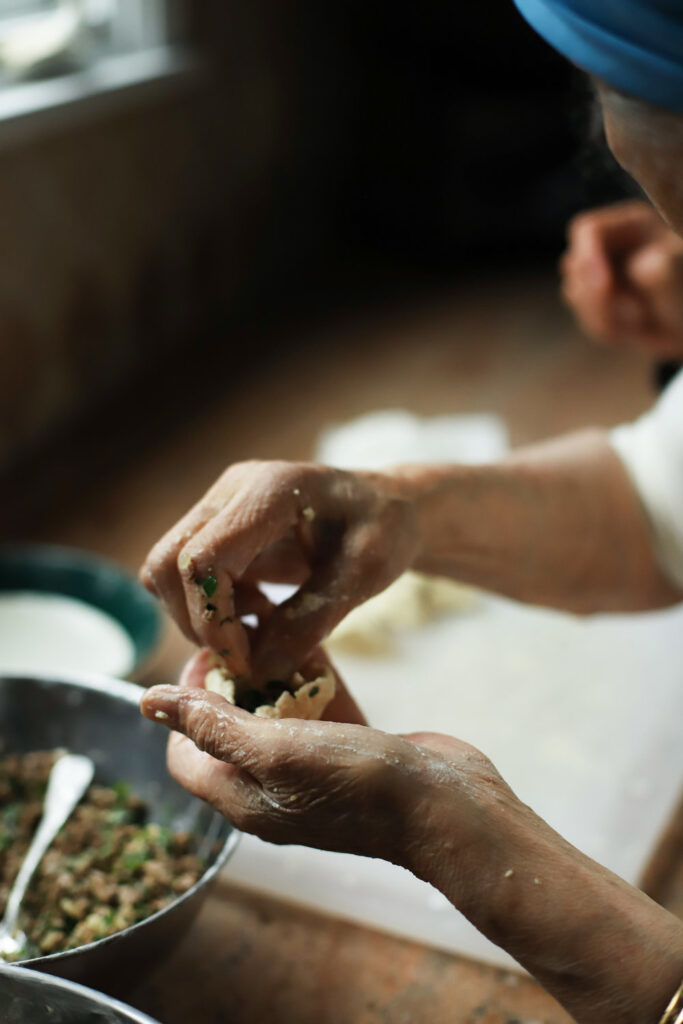
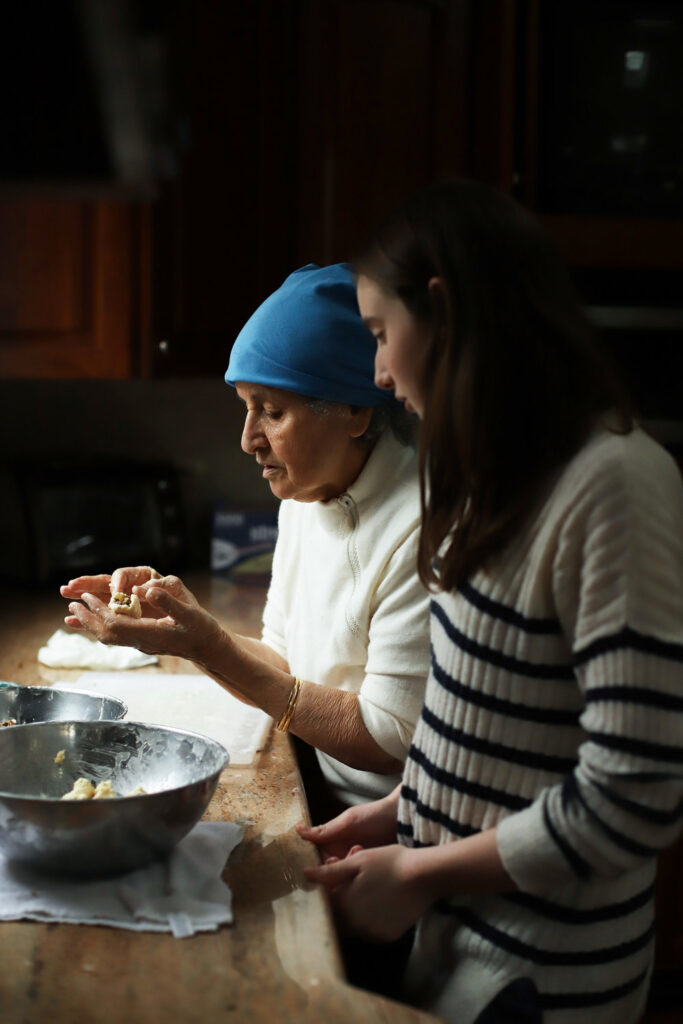
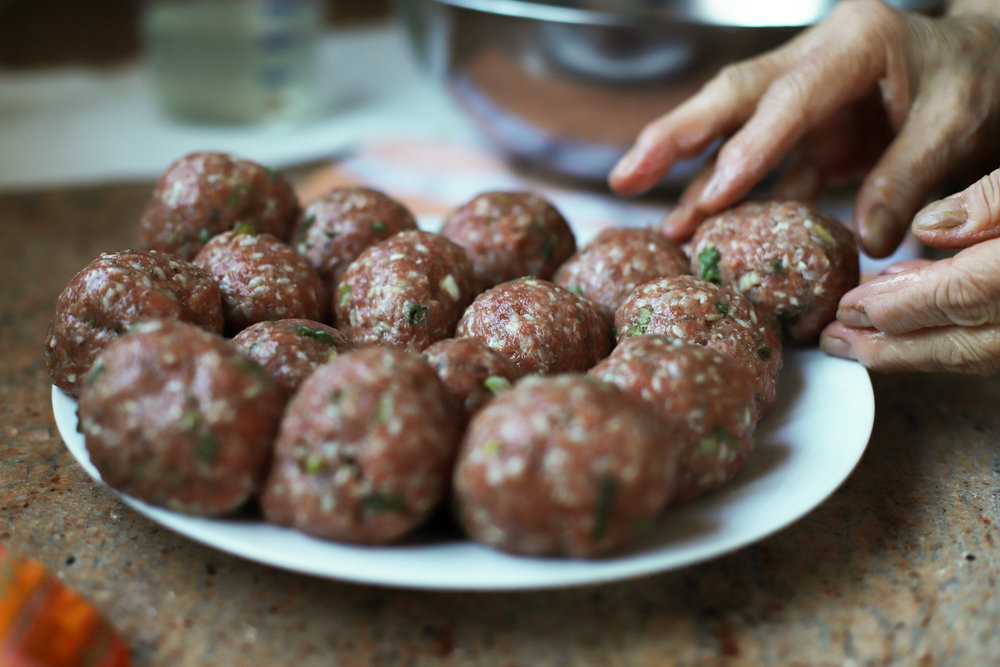
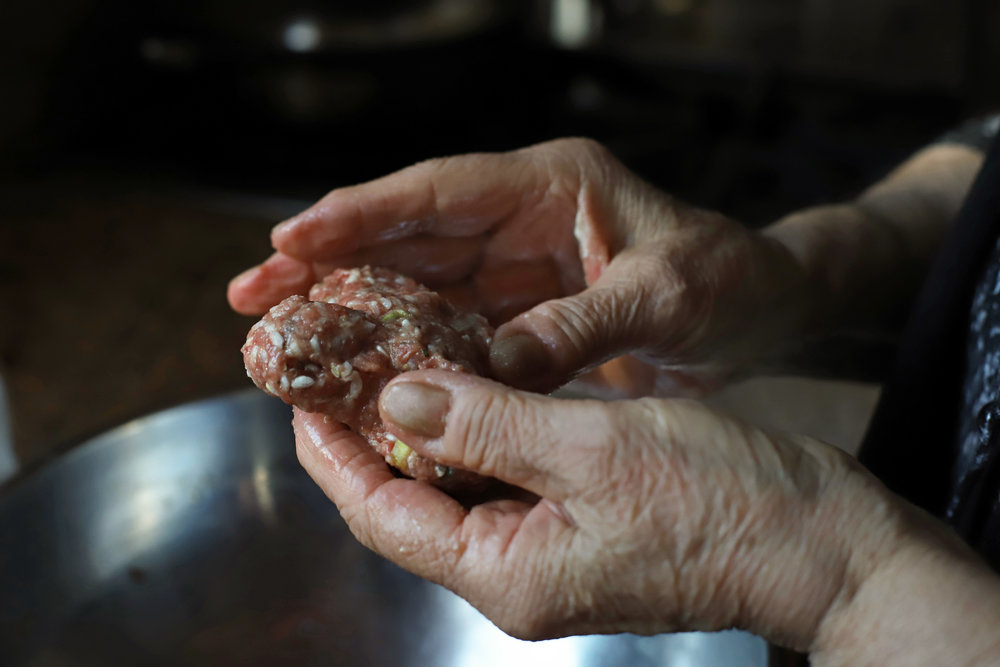
My aunt Masy taught us all how to make kbeibat a few weeks ago. We had just about everyone over to my parents’ house and she demonstrated how to expertly form the dough into little hollow cones, how to prepare the finely minced filling, and how to make a farina and bulgur dough. She wasn’t totally happy with how the dough turned out, but we spoke on the phone a couple times afterwards, and she gave me some more crucial advice. I put her suggestions to practice when I made my own kbeibat, and this resulted in a dough that’s perfectly soft, pliable, and not so sticky that it’s hard to work with, but sticky enough that it holds together when you want it to.

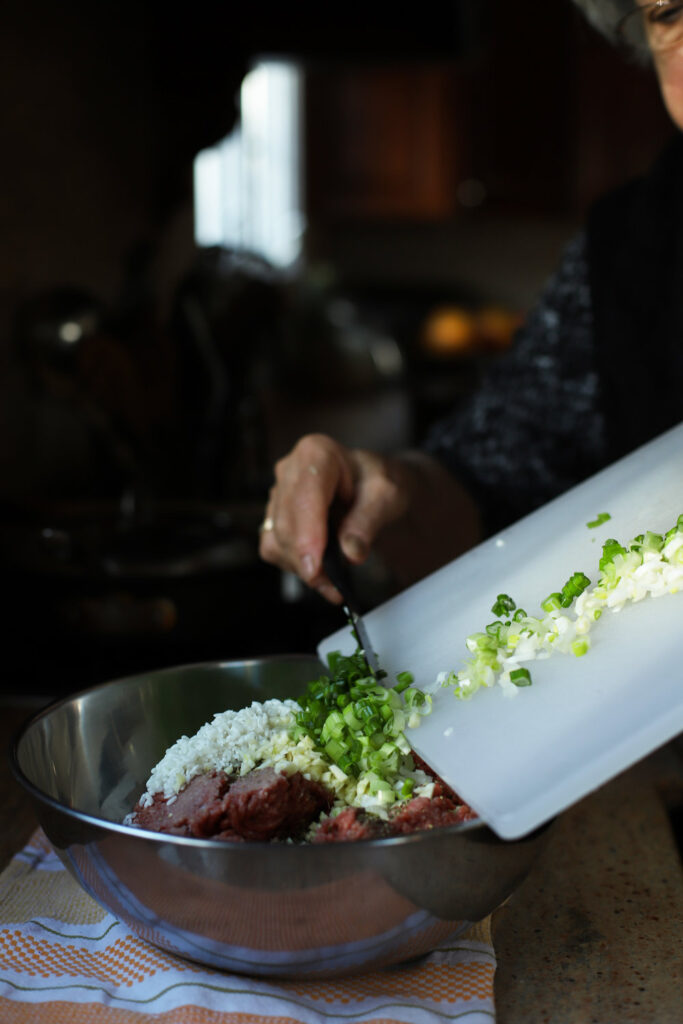
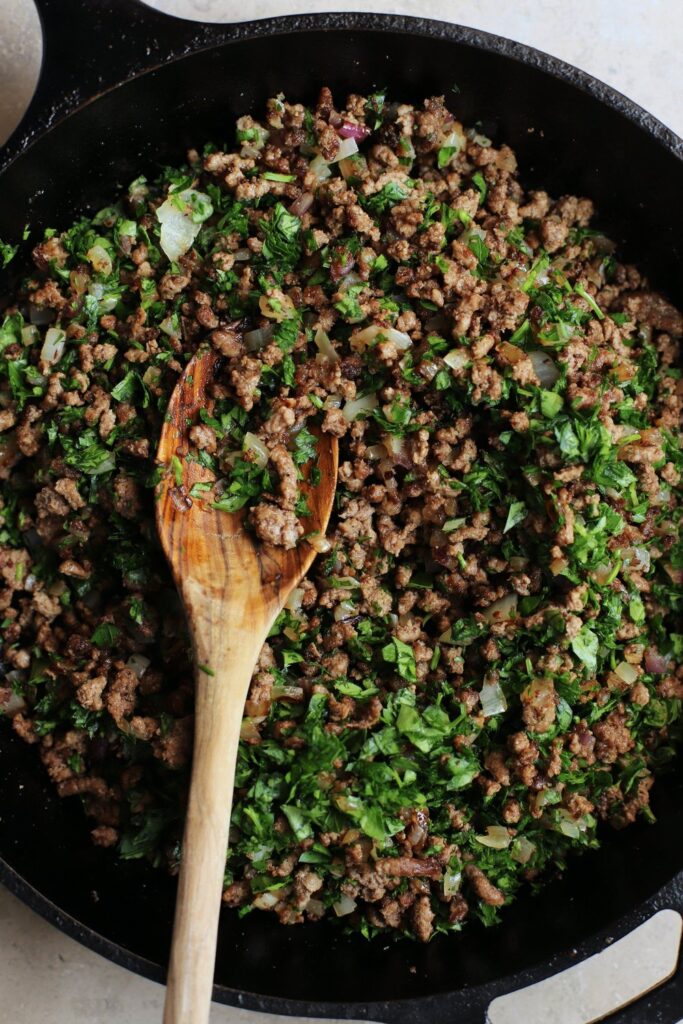
Kbeibat dough is usually made with some combination of bulgur and farina/semolina. Masy soaks, strains, and purées bulgur in a food processor, and then kneads in some farina and water. The filling is made with ground beef, spices (in my family’s case, just some black pepper), onion, and parsley. Some cooks fill their kbeibat with raw meat and some fill theirs with sautéed meat—there are pros and cons of each method, and each result is totally different. The sautéed filling has that seared-meat flavor, which nicely contrasts with the subtle flavor of the boiled dough. On the other hand, the raw filling gently cooks along with the dough, and result in a more satisfying texture. To see an example of semolina kbeibat, made with the raw filling method, check out my friend Tony Tahhan’s kbeibat. Either way, you can’t go wrong.
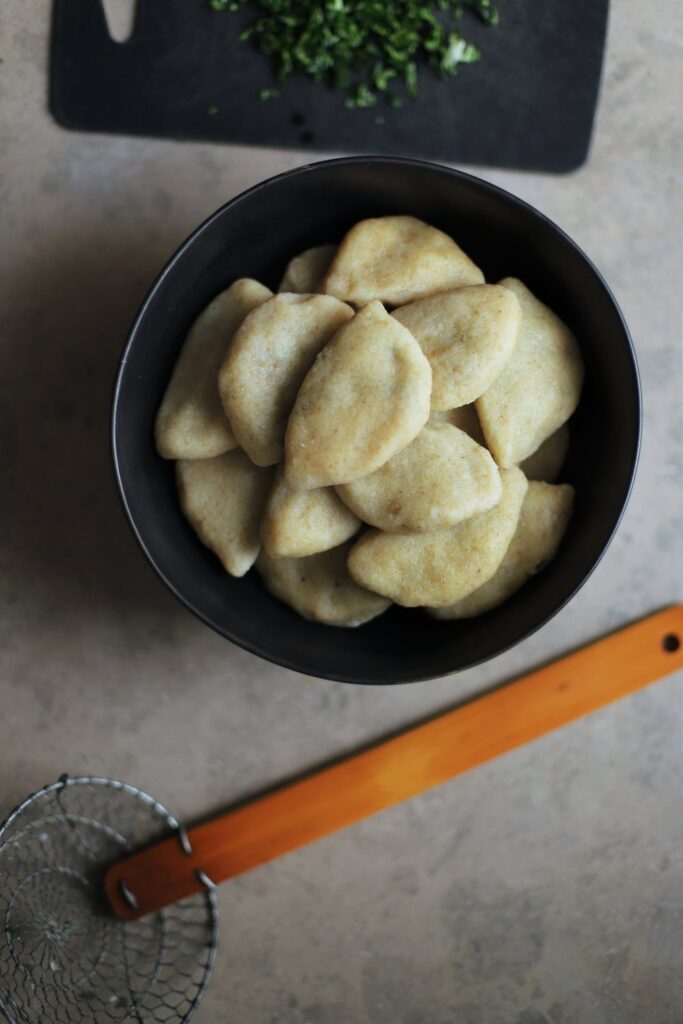
Print

kbeibat

Print Recipe

5 Stars 4 Stars 3 Stars 2 Stars 1 Star

No reviews

  • Prep Time: 1 hour 15 minutes
  • Total Time: 2 hours 15 minutes
  • Yield: 3 to 4 dozen

Ingredients

For the dough:

  • 1 cup bulgur # 1 (extra fine)
  • 1 quart of water (for soaking)
  • 1 1/2 teaspoons salt
  • 3 1/3 cups farina
  • 1 1/3 cups water (for the dough)

For the filling:

  • Olive oil
  • 1 medium onion, finely minced (about 1 1/2 cups finely minced)
  • Salt to taste (I use 1 teaspoon total)
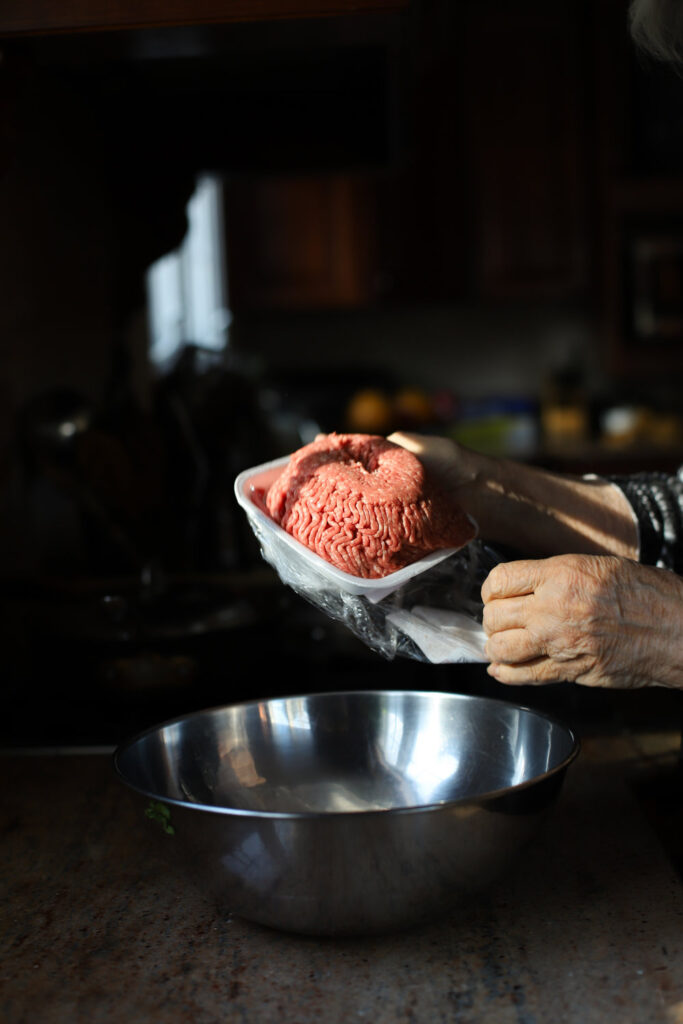
  • 1 pound ground chuck
  • 1/2 teaspoon black pepper
  • 2 tablespoons water
  • 1/2 cup finely minced parsley, plus more for garnish (or your favorite herb for garnish)

Instructions

  1. Make the dough: Soak the bulgur in 1 quart of water for 1 hour. After 1 hour, drain it in a fine mesh strainer, and purée it in a food processor until it’s somewhat smooth.
  2. Add the salt, farina, and about half of the water to the food processor, and blend to combine. Gradually add the rest of the water with the food processor running, until it forms a smooth, slightly sticky, pliable dough. You might not use all the water—I usually hold back about 1 or 2 tablespoons.
  3. Make the filling and stuff the kbeibat: Heat 1 tablespoon of oil over medium heat for 2 minutes, and add the minced onions and salt to taste. Cook, stirring occasionally, for about 5 minutes, just until they soften and shrink down a little.
  4. Remove the onions to a medium bowl to cool, increase the heat to high, and wait 1 minute. Add 1/2 teaspoon oil, swirl to coat, and add the ground chuck and salt to taste. Cook, stirring every few minutes and breaking everything up into very small pieces. The meat is done once any liquid has evaporated and it’s browned nicely (about 5 to 8 minutes).
  5. Once the meat is done, turn off the heat, stir in the pepper, and count to 10. Then add the 2 tablespoons of water, and immediately start scraping up the bits stuck to the bottom of the pan. Stir until the water evaporates, and add the meat to the bowl with the onions, Let everything cool for a little while, and then add the parsley.
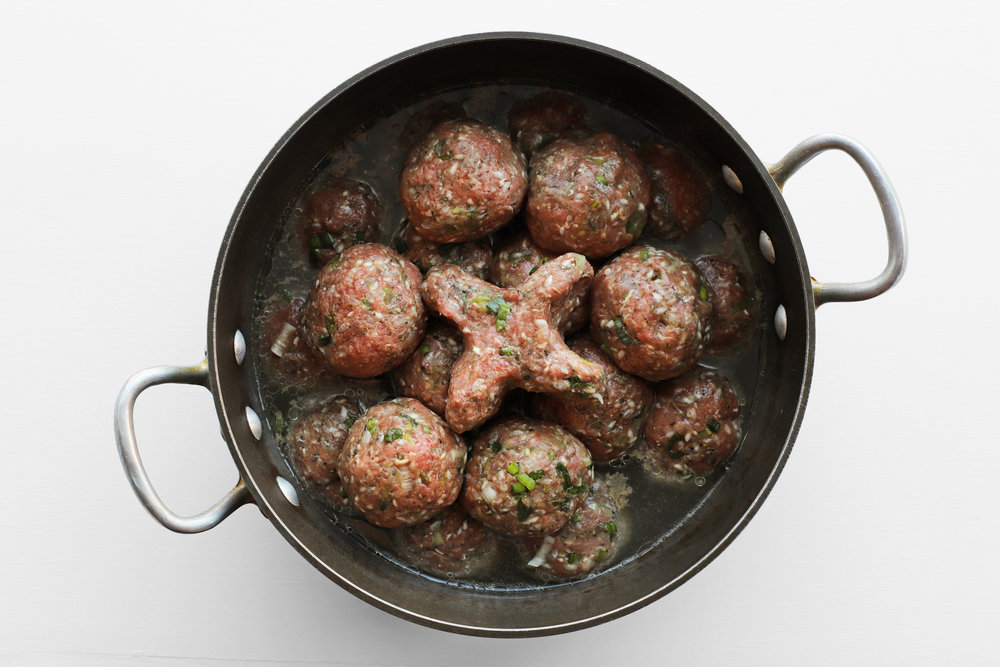
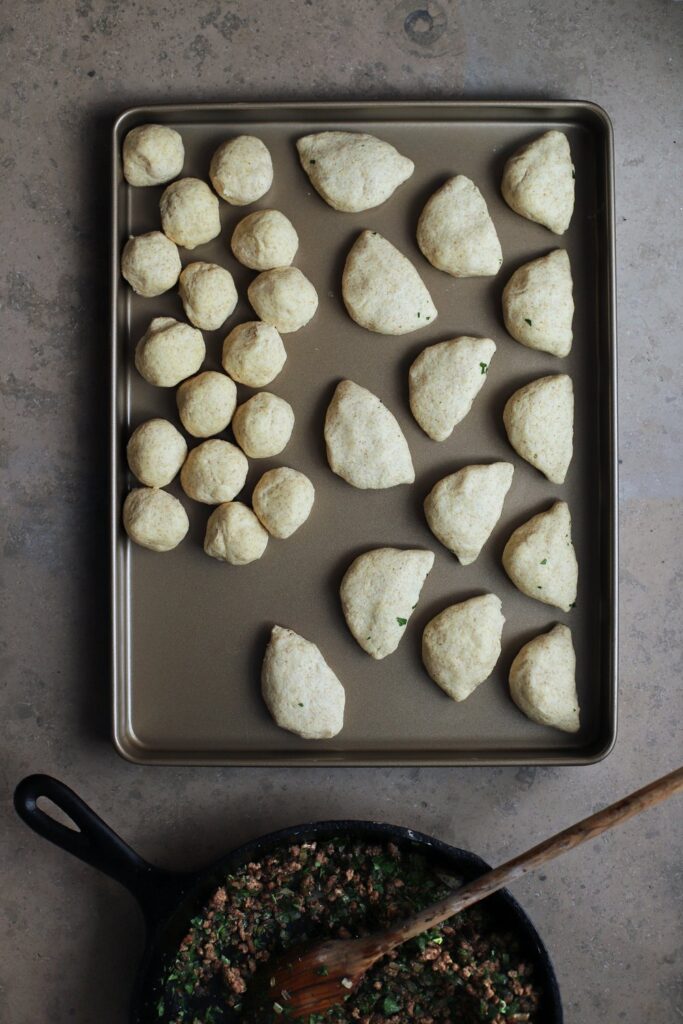
  6. Bring a pot of salted water to a boil over high heat. While you’re waiting on the water, begin shaping the kibbeh.
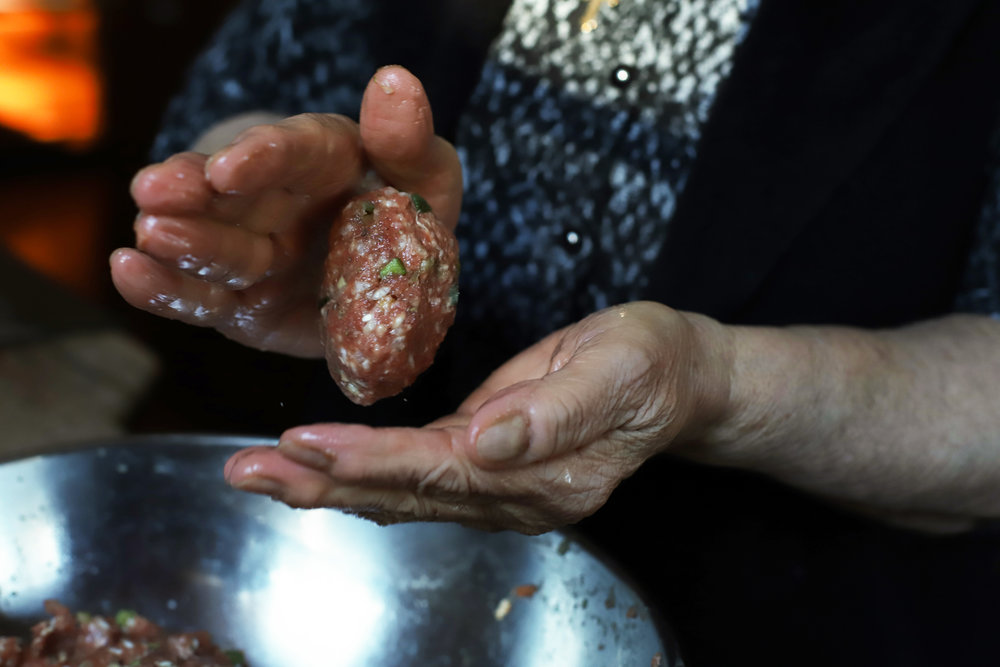
  7. Lightly wet your hands while handling the dough to keep it from sticking. Take a ping-pong-sized ball of dough, wet your dominant index finger, and mold the ball around your finger. Wiggle your finger around to widen the opening. Once it’s open enough and the dough is thin enough (about 1/8 inch), fill it with a heaping tablespoon of filling, and then crimp the opening shut (watch the video to see an example of how to shape them, but feel free to use whatever method is easy for you).
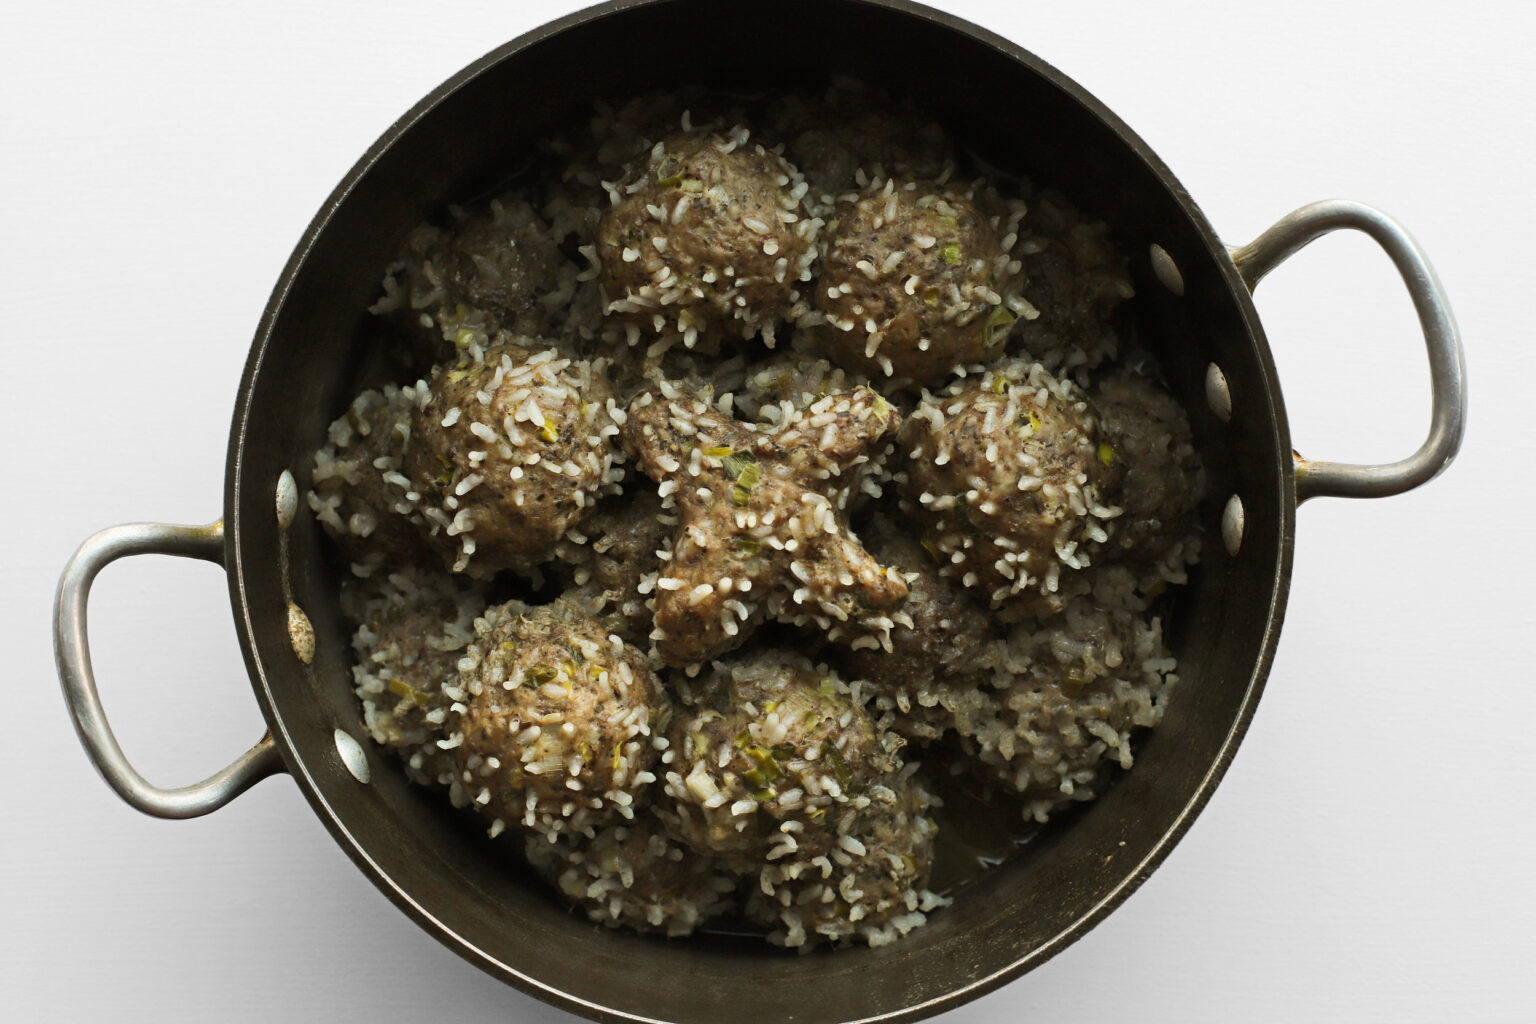
  8. Drop about 5 to 10 kibbeh into boiling water and let them cook for about 5 to 8 minutes, until they start floating to the top of the pot.

find us on instagram and let us know what you made!

Filed Under: appetizers, dairy free, dinner, every recipe, family recipes, lunch, main courses, meze, side dishes Tagged With: beef, herbs, middle eastern, parsley

kift’it tkhuma

February 25, 2018 by Kathryn Pauline 8 Comments

Kift’it Tkhuma makes me feel more connected to my heritage than any other Assyrian food. I don’t eat a ton of meat, and I’ve been a vegetarian at various points in my life (and probably will be again someday), but I don’t think I could ever actually give up kifteh. And while it’s incredibly tasty, and one of my grandmother’s most frequently requested dishes, it’s not even my favorite Assyrian food, but it’s definitely the one I care the most about. It represents who I am and where I come from, and when someone says they don’t like the way it looks or tastes, I feel no shame, just bitterness; and when someone loves it, I feel proud, not of myself but of my family and my culture. To be fair, I feel this way about most traditional Middle Eastern foods, but kift’it Tkhuma is the one at the center of it all.

Every Assyrian tribe makes kifteh differently, and my family makes it this way because we are part of the Tkhuma tribe. There’s nothing else quite like it. The American beef dishes I grew up with almost always involved browning the meat in some way (e.g., sautéeing ground beef for shepherd’s pie or searing a steak on the grill), but kift’it Tkhuma has you simmer the meatballs super simply in a lamb broth. The rice spikes usually surprise people who’ve never seen kifteh before. Someone once asked my grandmother how long it takes her to stick each grain of rice into the sides of each meatball before simmering them. I think they must’ve been imagining something like an orange pomander ball studded with clove spikes, which is what it looks like once it’s done simmering, but not at all what it looks like when it first goes into the pot.

In fact, kift’it Tkhuma is pretty easy to make. You simply simmer a lamb chop and then mix and shape the meat balls, which you then simmer with the lamb chop and broth. The final meatball is traditionally shaped into a cross before covering and cooking, which you can see my grandmother doing in the photos below. We flavor our kifteh with garlic, green onions, lots of black pepper, and even more dried oregano. We don’t normally serve kift’it Tkhuma as a meze, although I suppose it could be done. Instead, we like to serve it with all our favorite family-style dishes. You can usually find it on our table with flat bean stew, zucchini dolma or stuffed grape leaves, fattoush, and riza sh’ariyeh. My mom and cousins love to eat theirs with ketchup, but it’s also wonderful on its own.

Print

kift’it tkhuma

Print Recipe

5 Stars 4 Stars 3 Stars 2 Stars 1 Star

5 from 3 reviews

  • Prep Time: 30 minutes
  • Total Time: 90 minutes
  • Yield: 20 large meatballs (about 6 to 8 servings)

Ingredients

  • 1 small lamb chop (optional) *
  • 2 cups water
  • 3 pounds ground chuck
  • 1 level tablespoon table salt (or to taste)
  • 1 1/2 teaspoons ground black pepper
  • 1 1/2 cups uncooked medium grain rice (e.g., Calrose)
  • 3 cloves garlic, crushed through a press or finely minced
  • 1 bunch green onions, minced
  • 3 tablespoons dried oregano
  • 2 eggs
  • 1/2 cup boiling water + more, if necessary

Instructions

  1. Place the lamb chop in the bottom of a wide stock pot and cover the shank in 2 cups of water. Turn the heat to high, bring it to a simmer, then drop the heat to low and simmer covered for 30 minutes. *
  2. Soak the rice in cold water for about 5 minutes, then rinse it until the water runs clear.
  3. Use your hands to mix the ground beef, salt, black pepper, rinsed medium grain rice, garlic, green onion, dried oregano, and eggs, just until combined.
  4. Roll the meat mixture into about 20 balls (halfway between a golf ball and a tennis ball, or about the size of an average lemon). Wetting your hands while rolling helps with the process.
  5. After simmering the lamb chop for 30 minutes, nest the meatballs in the pot on top of the lamb chop, in 1 or 2 layers.
  6. Keep the heat at medium-low, cover, and simmer/steam the meatballs for 50 minutes. Check on them about 30 minutes in to see if the water level is too low. If it looks like it’s in danger of boiling off, add 1/2 cup more, and continue to keep an eye on it. The water should come at least 1/4- to 1/2-way up the sides of the first level of meatballs.
  7. After 50 minutes, remove from heat and serve immediately, or keep them covered and let them rest for no longer than 45 minutes.

Notes

* If you don’t have a lamb shank, skip the first step and fill a stock pot with 2 cups of water and 2 tablespoons butter or olive oil. Bring the water and butter to a simmer before adding the meat balls.

find us on instagram and let us know what you made!

Filed Under: dairy free, dinner, every recipe, family recipes, gluten free, main courses, side dishes, weeknight Tagged With: beef, lamb, meatballs, middle eastern, rice

  • « Go to Previous Page
  • Page 1
  • Interim pages omitted …
  • Page 131
  • Page 132
  • Page 133
  • Page 134
  • Page 135
  • Interim pages omitted …
  • Page 183
  • Go to Next Page »

Primary Sidebar

Kathryn Pauline smiling

Welcome! I’m Kathryn Pauline, cookbook author, recipe developer, and photographer.

Footer

read our privacy policy

© 2017 - 2026 Kathryn Pauline