• Skip to primary navigation
  • Skip to main content
  • Skip to primary sidebar
  • Skip to footer
Cardamom and Tea
  • Blog
  • Recipes
  • About
  • Cookbooks
    • Piecemeal
    • A Dish for All Seasons (my first cookbook)

Tacos Árabes (oven-roasted)

April 18, 2019 by Kathryn Pauline 4 Comments

My oven is about the size of a large shoebox. So you can bet that I, like you, do not own a spit or anything remotely like it. But regardless, I’m always trying to recreate shawarma at home. And luckily, there are a bunch of good ways to approximate pork shawarma without a spit. I’ve discovered a simple technique that works remarkably well (and doesn’t require any special equipment!):

the best shawarma technique for tacos árabes:

My technique is simple: thin-slice, marinate, layer, slow-roast, and sear. It’s partly inspired by Serious Eats’ Tacos Árabes technique, but with one really important difference: Instead of cooking it in a loaf pan, I roast it in a wide skillet.

Here’s a video demonstrating how I use this technique to make super crispy, delicious tacos árabes:

Why this technique works:

Roasting in a wide skillet allows the juices to run off and concentrate, and the outside roasts beautifully. Because it’s got so much exposed surface area, the outside bits end up tasting exactly like real crispy pork shawarma, and the inside ends up getting all seared and delicious eventually.

Helpful tip:

In order to roast it in an open pan without the whole thing toppling over and falling apart, you’ve got to layer the slices in particular way, which actually approximates spit-layering. Instead of just stacking them straight up, you create an overlapping rough pentagon, and continue layering this way. It has a lot of structural integrity, which means you don’t actually need a skewer going through the center (or the sides of a loaf pan) to hold it together.

A little pork shawarma history:

Tacos árabes are pork shawarma tacos from Puebla, Mexico; they were created by Lebanese and Iraqi immigrants in the early 20th century. This ingenious adaptation combines Middle Eastern technique (spit-roasting layers of marinated meat) with local Mexican ingredients (pork and lime).

Print

Tacos Árabes (oven-roasted)

Print Recipe

5 Stars 4 Stars 3 Stars 2 Stars 1 Star

5 from 1 review

for a halal version, try my chicken shawarma

  • Prep Time: 35 minutes
  • Total Time: about 6 hours
  • Yield: 6 to 8 servings

Ingredients

for the pork shawarma:

  • 1/4 cup + 2 tablespoons lime juice (90g)
  • 1 tablespoon + 1 teaspoon cumin (8g)
  • 1 tablespoon + 1 teaspoon oregano (2g)
  • between 2 tsp – 1 tbsp salt (12-18g), to taste
  • 1/2 teaspoon cinnamon (1g)
  • 1/2 teaspoon cardamom (1g)
  • 2 teaspoons paprika (4g)
  • 1 teaspoon black pepper (2g)
  • 1 large onion, sliced thinly (250-315g sliced)
  • 3 pounds boneless pork shoulder (1350g)

for serving:

  • banadurah harrah or your favorite salsa
  • thin pita bread, or tortillas (best for wrapping, rather than stuffing)
  • lime wedges
  • labneh or Greek yogurt
  • cilantro

Instructions

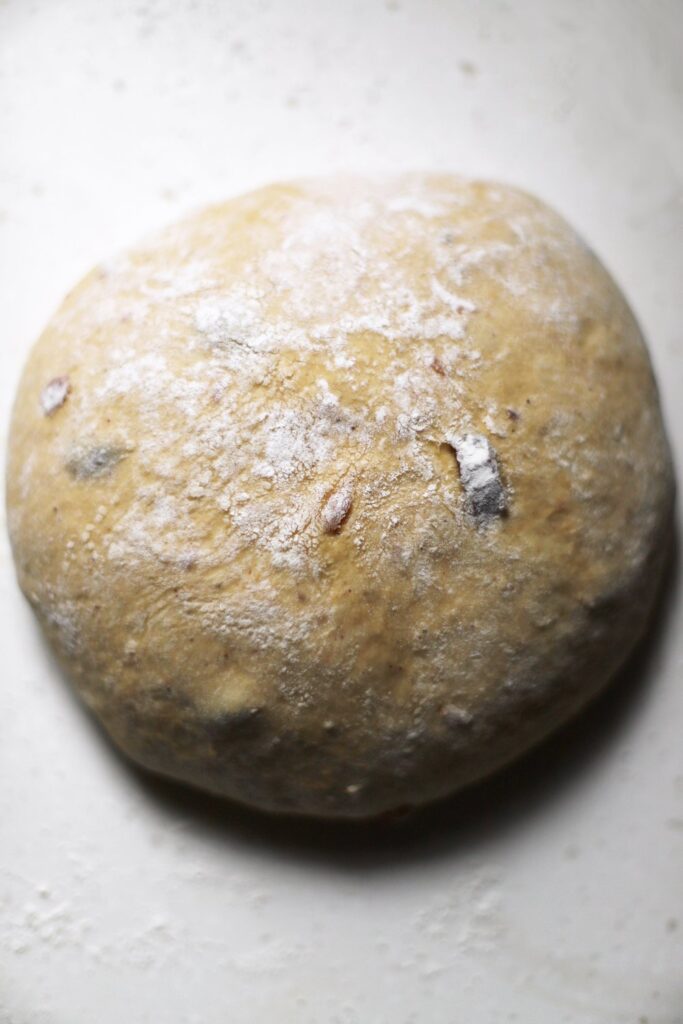
  1. Place the pork shoulder in the freezer, and set a timer for 1 hour (this makes it easier to slice thinly).
  2. Combine the lime juice, cumin, oregano, salt, cinnamon, cardamom, paprika, and black pepper.
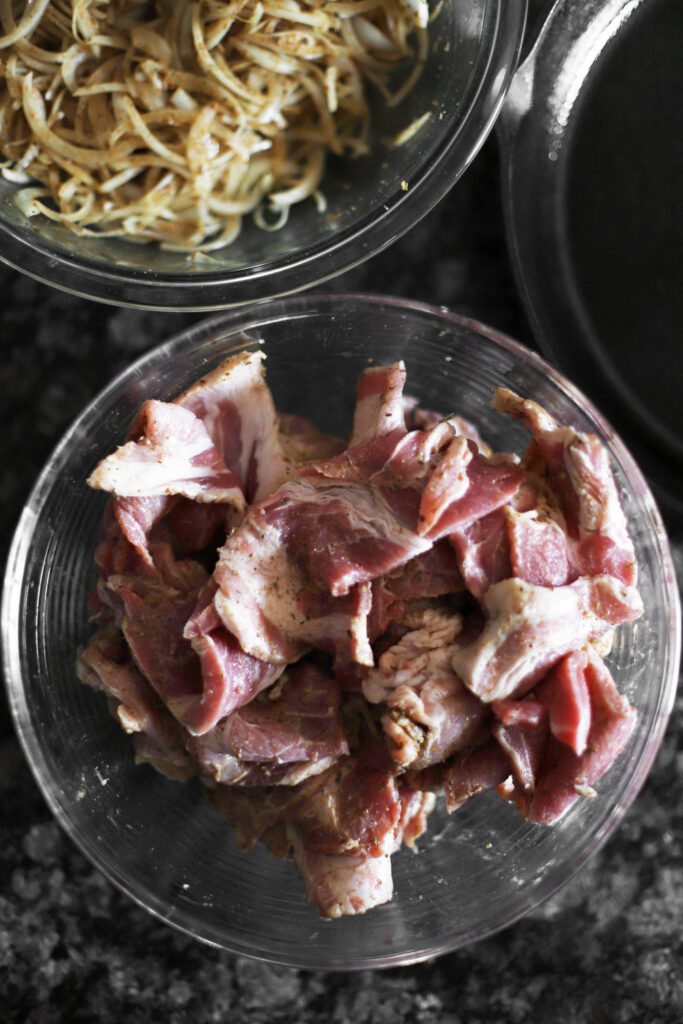
  3. Toss the onions together with a few tablespoons of the marinade until they are very evenly coated.
  4. Thinly slice the semi-frozen pork, and toss it together with the rest of the marinade until it’s very evenly coated.*
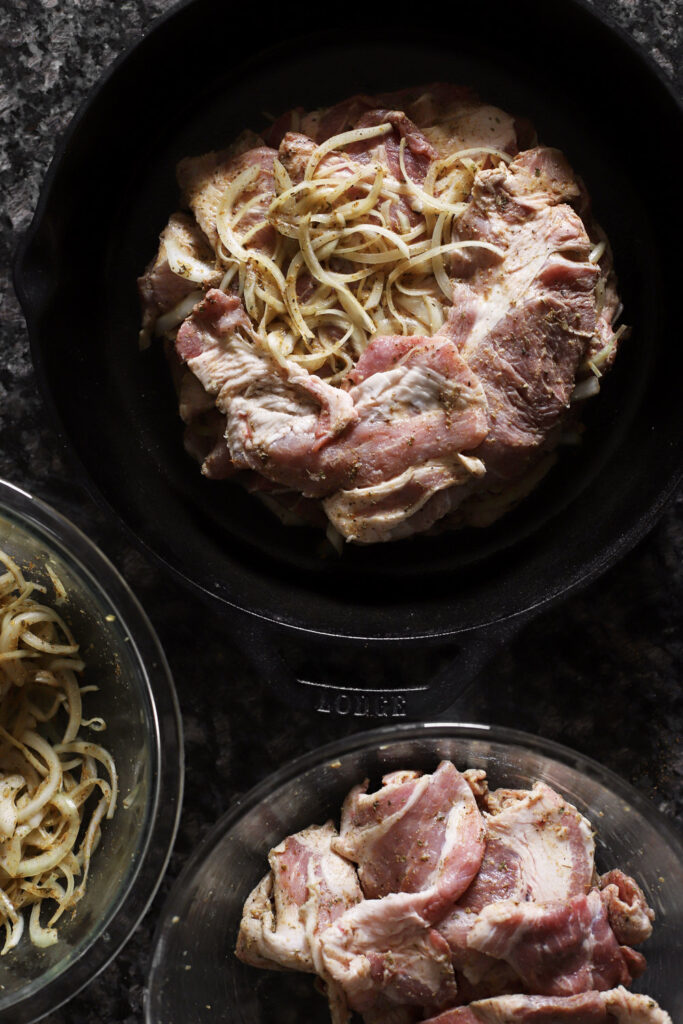
  5. Preheat the oven to 250° F (121° C) once the pork is sliced, and lightly oil a 10 to 12-inch oven-proof skillet.
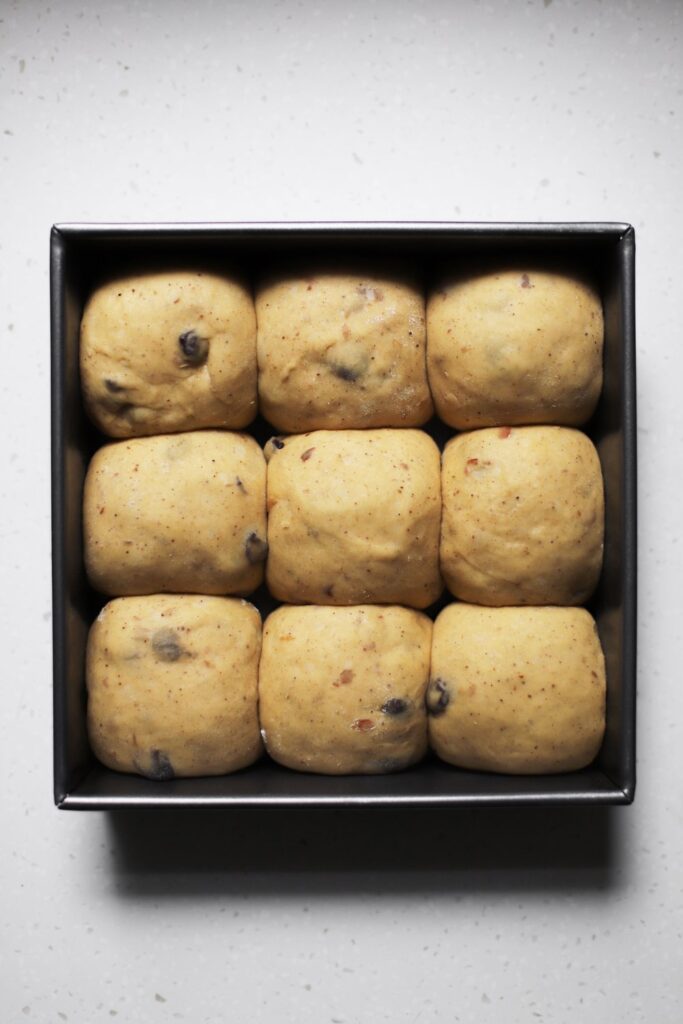
  6. Build a layer of overlapping pieces of pork, leaving a border of at least 1 inch between the pork and the walls of the skillet. Add a layer of onions, followed by another layer of pork, and continue until all the ingredients are used up. When layering, make sure your pieces of pork overlap a little, aim for making a pentagon or square with them, make sure it doesn’t taper too much as you build upwards, and squish it down every few layers to make sure it’s stable and compact.
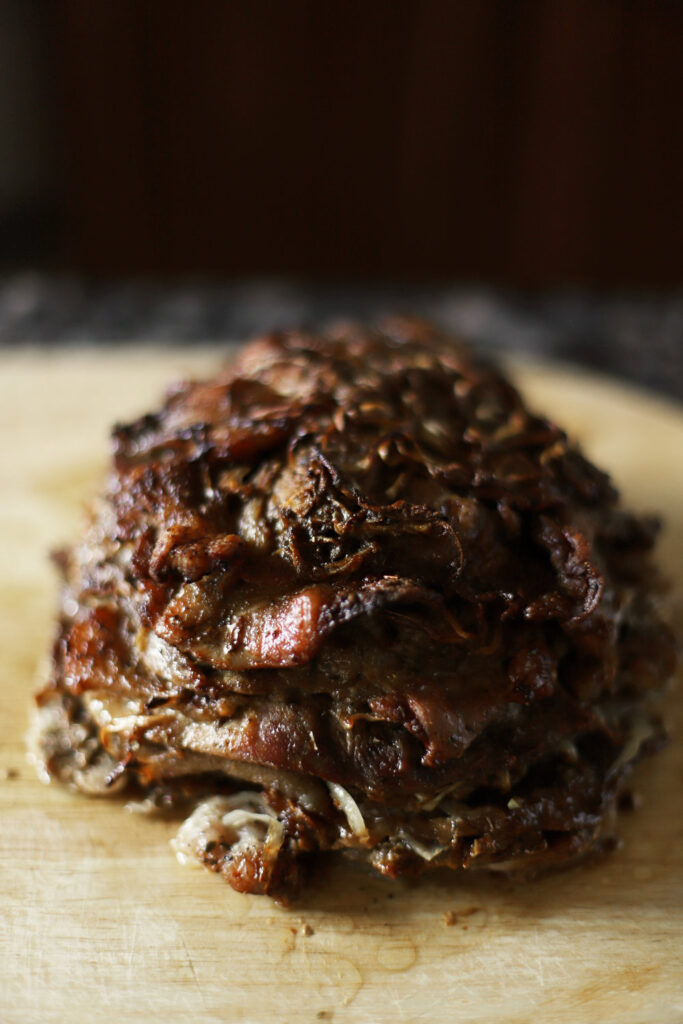
  7. Bake for about 4 1/2 hours, until the pork is very tender and crispy on the outside. About once every hour or so, baste the shawarma with the juices collecting around the edges.
  8. Once it’s done, remove the shawarma from the skillet to a cutting board (don’t throw out the juices!), and let it rest for about 20 minutes before slicing.
  9. Remove the juices to a small bowl or measuring cup, and allow them to separate for a minute. Rinse out the pan.
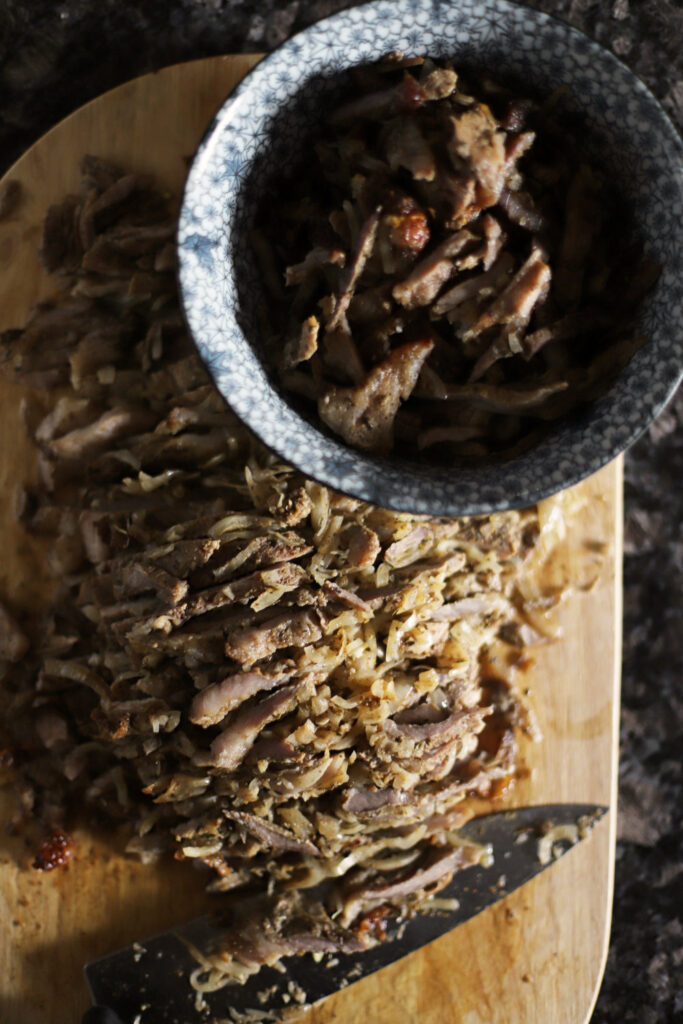
  10. Peel off the top of the shawarma, thinly slice it, and then thinly slice off the crispy edges from the shawarma. Set these aside in a bowl (they don’t need to be seared). Thinly slice the rest of the shawarma.**
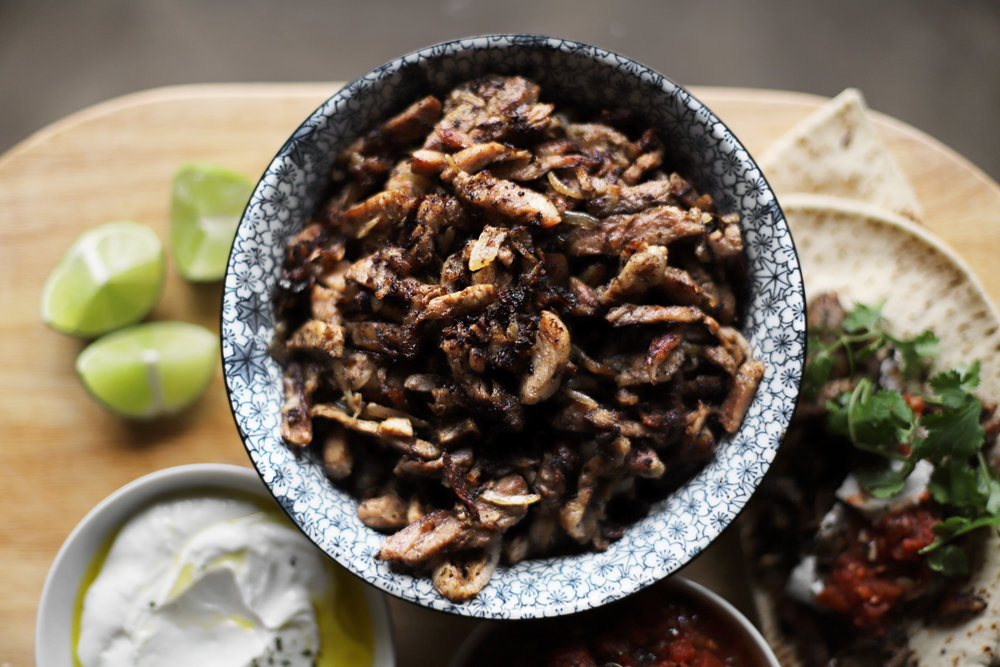
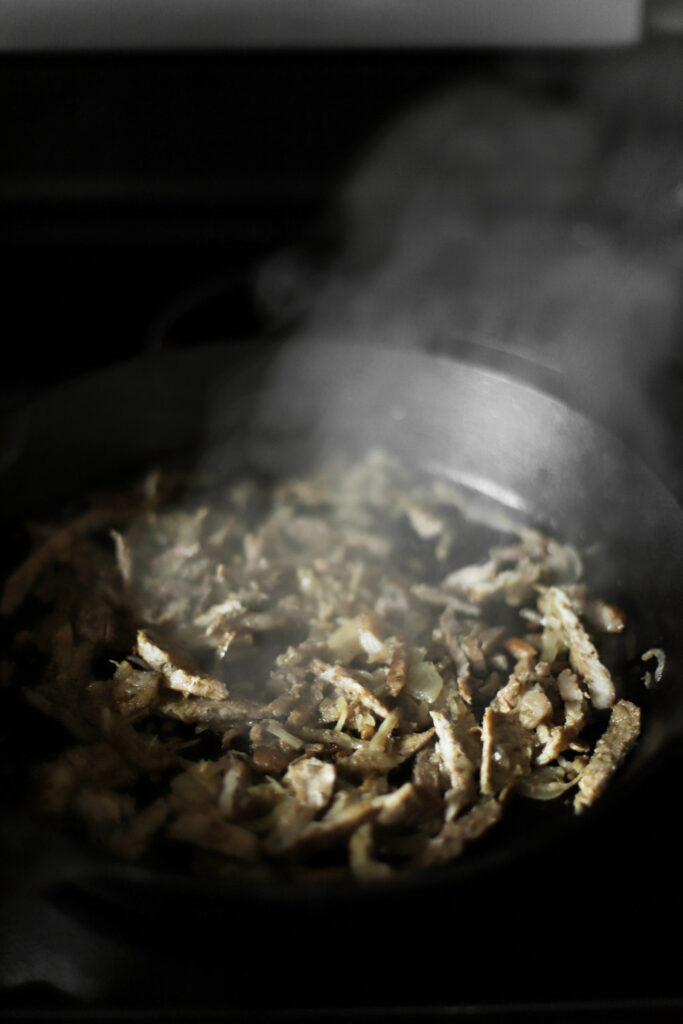
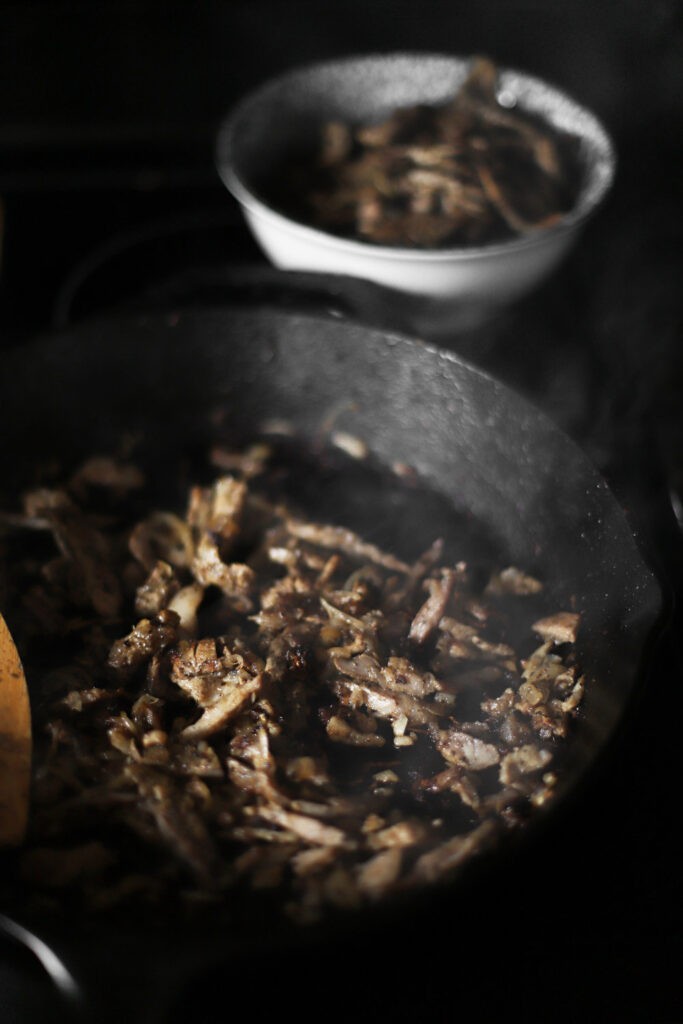
  11. Heat the empty cast iron skillet over medium-high heat for a few minutes. Use a spoon to skim about a tablespoon of the fat off of the surface of the reserved juices, and add it to the hot skillet. Swirl to coat, and then add about 1/3 of the sliced shawarma. Stir it frequently for about 5 minutes, until nicely browned. Remove to a bowl, and repeat with the remaining batches, adding a little more fat each time.
  12. Taste the finished shawarma. If it needs more seasoning, discard the remaining fat from the surface of the juices, and use some of the juices at the bottom to season it a little more. They’re quite salty and acidic, and add a ton of flavor, so use them very sparingly.
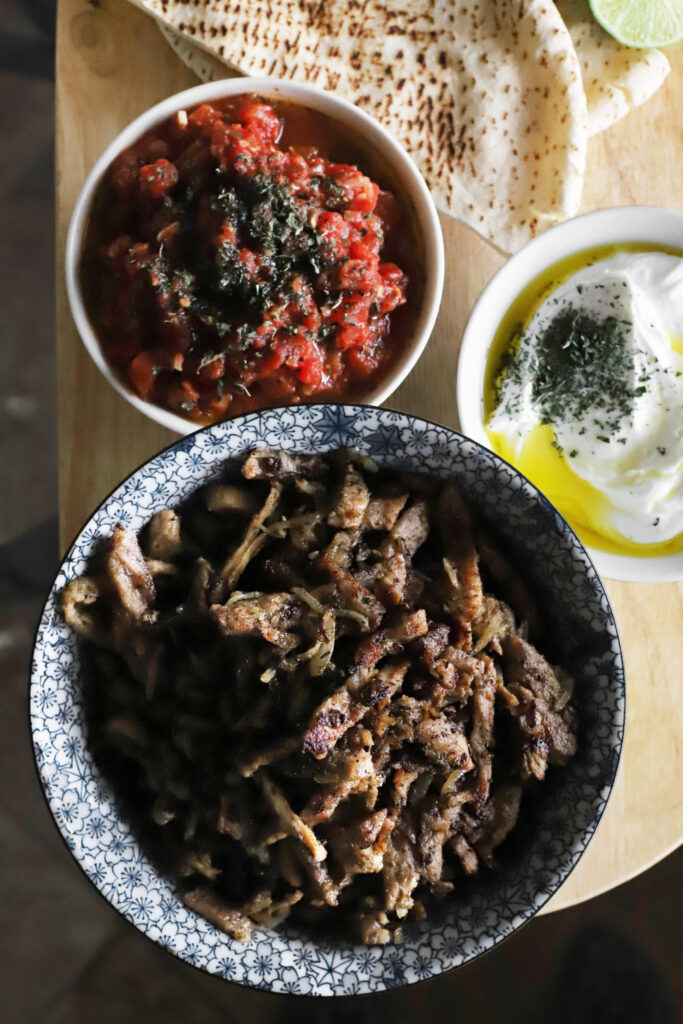
  13. Serve with salsa, pita, lime wedges, cilantro, and/or labneh.

Notes

* You can make ahead to this point, and let it marinade up to overnight, or you can bake it right away (it makes little difference).

** You can even make the whole dish ahead up to this point. Cook and slice the shawarma the day before you plan to serve, reserve the juices, and then sear at the last minute. The fat will solidify in the fridge overnight, and the juices will gel, but you can use it just like butter the next day (throw it in the pan and let it melt).

find us on instagram and let us know what you made!

Filed Under: dairy free, dinner, every recipe, gluten free, lunch, main courses Tagged With: lime, middle eastern, onion, pork, shawarma, tacos

hot cross buns with banana and orange blossom

April 11, 2019 by Kathryn Pauline Leave a Comment

Rolls on Easter are such a universal. While I didn’t grow up with hot cross buns, we usually had samoon on the table, and my grandmother always told us about the gubta mtumarta-stuffed samoon her mother would make every Easter. One roll was always filled with a little cheese, and the lucky kid who found the cheesy one got a special gift (like a new dress or new shoes). I should really develop a savory cheese-stuffed hot cross bun recipe next year. But this year I’m sharing this classically sweet (but not too sweet) recipe: orange blossom banana hot cross buns!

a few notes for this hot cross bun recipe

flavors

The combination of orange blossom and banana is one of my favorites. If you’ve never tried it before, you’ll definitely notice that orange blossom lives up to its name. It’s floral and distinctively orangey. But at the same time, it’s not at all citrusy, and lacks the big brassy notes of orange juice and zest.

So even though the fruit and the flower come from the same tree, the closest flavor to orange blossom is actually, surprisingly, banana. The two flavors complement each other perfectly—orange blossom brings out the fragrant floral notes in ripe banana. And banana brings the orange blossom down to earth a little, giving it substance.

You can easily omit the orange blossom water. For the glaze, substitute orange or lemon juice in its place. For the bread dough, replace it with more orange juice.

The one thing I’ve got to emphasize about this recipe is that the bananas absolutely must be old bananas. For this bread to have the right flavor, they really must be overripe, totally past their prime. Don’t settle for bananas with brown spots. Really wait for them to start to develop brown splotches, and almost entirely change color. That’s when they’re ready to use. If you want to speed things along, you can place the bananas in a brown paper bag to make them ripen a day or two sooner.

Print

hot cross buns with banana and orange blossom

Print Recipe

5 Stars 4 Stars 3 Stars 2 Stars 1 Star

No reviews

  • Prep Time: 35 minutes
  • Total Time: 3 hours
  • Yield: 9 rolls

Ingredients

for the dough:

  • 70g raisins (1/2 cup)
  • 70g chopped pitted dates (1/2 cup)
  • 60g orange juice or water (1/4 cup)
  • 45g orange blossom water (3 tablespoons)*, divided into 1T and 2T
  • 2 large egg yolks (35-40g) (save the whites)
  • 230g mashed overripe bananas (from 2 to 3 bananas)
  • 85g softened butter (6 tablespoons)
  • 7g instant yeast (2 teaspoons)**
  • 50g light brown sugar (1/4 cup)
  • 2.5g cinnamon (1 teaspoon)
  • 0.5g cardamom (1/4 teaspoon)
  • 8g baking powder (2 teaspoons)
  • 12g salt (2 teaspoons)
  • 490g all purpose flour (3 3/4 cups)
  • egg whites beaten with a little water (for the egg wash)

for the glaze:

  • 45g icing sugar (1/3 cup)
  • 15g orange blossom water (1 tablespoon)
  • 1 tiny pinch salt

for the icing:

  • 85g icing sugar (2/3 cup)
  • 12.5g orange blossom water (2 1/2 teaspoons)

Instructions

  1. Make the dough: Combine the raisins, dates, orange juice, and 1 tablespoon of the orange blossom water. Microwave for 1 minute, then let them soak and cool while you work on the dough (at least 10 minutes).
  2. In the bowl of a food processor, combine the egg yolks, mashed bananas, butter, yeast, brown sugar, cinnamon, cardamom, baking powder, salt, flour***, and the other 2 tablespoons of orange blossom water. Stir together with the hook attachment at low speed until there’s only a little dry flour remaining at the bottom of the bowl. Increase the speed to medium and knead for about 5 to 10 minutes, until it becomes elastic and smooths out quite a bit. The dough should be a little on the wet side—it should pool a tiny bit in the bottom of the bowl, but should also pull away from the sides of the bowl.
  3. Once the dough is done kneading, strain the dried fruit and wring it out a little with your hands (discarding the liquid). Add the strained dried fruit to the dough and mix everything together until evenly distributed (you may need to switch to using your hands, folding the dough over itself a few times).
  4. Preheat the oven to 180°F (80°C), then turn the heat off and leave the door open for 30 seconds.
  5. Transfer the dough to an oiled bowl, smooth out into a ball by tucking the bottom under itself, cover with a plate, and move to the warm (but off!) oven for 50-60 minutes. While it’s proofing, butter a 8×8” pan (and optionally line the bottom with parchment).
  6. Once the dough is done rising, move to a lightly floured counter, and divide into 9 even pieces (about 120g each). Shape each piece into a smooth, round ball. Space them evenly in the pan.
  7. Cover the pan with plastic wrap, and move back to the still warm oven for about 40 minutes (again, make sure it’s still off), just until the gaps around them almost close up.
  8. Once the buns have finished their rise, remove from the oven, and preheat it to 350°F (177°C) convection.****
  9. While you wait on the oven, make the glaze and icing: Stir the glaze ingredients together until it becomes a runny and translucent glaze. Cover it and set aside. In a separate bowl, stir together the icing ingredients until they form a thick icing. Transfer to a pastry or ziplock bag to pipe it later.
  10. Once the oven has preheated, brush the buns with a light layer of egg wash, and then bake for about 30 to 35 minutes, until the internal temperature reads about 195°F (about 90°C).
  11. When they’re done baking, remove from the pan to a cooling rack, and immediately brush the top and sides with the runny glaze.
  12. Wait for the glaze to set completely before piping the icing. Pipe the icing across the buns in 1 direction, and again in the other direction (see photos). Let the icing harden for a few minutes before covering.

Notes

* Most easy-to-find orange blossom water brands aren’t super strong, especially if they’ve been sitting on the shelf for a while. But proceed with a little bit of caution, taste some on a piece of fruit to see how strong it is, and make sure you don’t overdo it—you might only need 1 tablespoon for the dough. Likewise for the glaze, which may only need 1/2 tablespoon + some water to dilute it. Its flavor will come through more distinctly in the glaze than in the dough.

** If you’re using active dry instead of instant yeast, mix it in with the mashed banana first so it can dissolve.

*** Using weight instead of volume gives you more consistent results when following a baking recipe. But if you don’t have a scale and need to measure with volume, no worries—just make sure you don’t add all the flour at once. Add the first 75% of it, and then slowly add the last 25%. You may not need it all, or you may need a little bit more. With this recipe, most of the moisture and flavor comes from the bananas—if you add too much flour, you can add a little bit of milk to compensate, but it will be hard to recover the flavor and it might end up tasting bland.

**** If you don’t have convection, they should take a little longer to bake, or you can slightly increase the temperature.

Storage: Like most bread, it can be kept at room temperature for less than 1 day before starting to get stale, and it will stale fastest in the refrigerator. Bread keeps much better tightly wrapped in the freezer for long term storage. If you want to make it ahead for company: Bake it (be extra careful not to over bake!), let it cool completely, wrap and freeze it as soon as it’s cool. The day you plan to serve it, thaw it in a 325°F (165°C) convection oven for about 10 minutes (until it’s thawed on the outside, and only frozen at its core) then let it coast the rest of the way and cool at room temperature, and then glaze and ice it before serving.

find us on instagram and let us know what you made!

Filed Under: bread, breakfast, every recipe, sweets Tagged With: banana, cardamom, cinnamon, dates, icing, orange blossom water, raisins

  • « Go to Previous Page
  • Page 1
  • Interim pages omitted …
  • Page 95
  • Page 96
  • Page 97
  • Page 98
  • Page 99
  • Interim pages omitted …
  • Page 183
  • Go to Next Page »

Primary Sidebar

Kathryn Pauline smiling

Welcome! I’m Kathryn Pauline, cookbook author, recipe developer, and photographer.

Footer

read our privacy policy

© 2017 - 2026 Kathryn Pauline