Toum (Lebanese garlic sauce) sure can be finicky. But it doesn’t have to be that way! It couldn’t be simpler to make a toum that does not break. You just need to use the right technique. I used one popular technique for a very long time, and didn’t always have success. But I’ve finally learned how to make sure it doesn’t split! And it just so happens that this fail-proof way is also the least fussy way.
You can use either a blender or a food processor for this recipe. If you’re ready to get to blending, jump to the recipe. Or read on to learn how to make sure your toum never splits again.


And the key to toum that doesn’t split is…
[drum roll…]
Add all the water at once in the beginning! (Then add the oil very slowly.)
I learned this strategy from my friend Cosette’s toum recipe. Ever since this shift, I’ve been had a 100% success rate with my emulsion successfully taking. I guess “toum that never breaks” should probably be “toum that has never broken on me the dozens of times I’ve tried it” (but that was too long to fit).
I think this one little change makes a big difference for two reasons:
- It allows you to get a really smooth purée of garlic before you begin slowly introducing the oil. The more smoothly the garlic is puréed, the easier the emulsion will come together.
- My old technique involved alternating oil and water, but it’s so easy to accidentally add too much of one or the other as you go (and once you do, the whole thing is ruined). By adding all of the water right away and then slowly drizzling in the oil, there’s just less room for error. You don’t have to judge the viscosity of the toum to decide whether it’s time to add more water or oil. You just add the oil in a slow stream, and boom—you’ve got toum!
But the old advice about adding the oil very, very slowly still stands. You absolutely must do so to make sure your emulsion doesn’t break. That’s the main takeaway, but there are a few other things you can do to ensure success:


How to make sure your toum doesn’t break:
You could just carefully follow the recipe below, which accounts for all of the following advice. But if you’re curious why the recipe specifies “cold water” or whether you can double it, read on:
- Add the water all at once with the finely chopped garlic toward the beginning.
- Drizzle in the oil in a slow and steady stream. Whatever you do, do not add it all at once and do not rush it.
- Don’t let the food processor or blender run excessively (especially if you have a high-power blender, which can overheat quickly). If you’re taking a break from streaming in oil, stop the machine. But make sure you do let it run for 1 or 2 seconds after you stop drizzling in the oil to make sure it fully incorporates.
- Don’t make toum in large batches. Even if your blender or food processor is big enough to hold a lot, it may not be powerful enough. This recipe is the maximum amount you can safely make at a time. This shouldn’t be a problem, because it’s incredibly strong, and easy to whip up whenever. If you’re cooking for a huge party and need to make extra, make it in a couple batches. You might sometimes get away with doubling this recipe. But it will most likely break some of the time (and then you’ll lose twice as much—yikes!). And anything more than doubling it will break just about every single time. Trust me when I say I’ve learned from experience while working in a restaurant.
- Use cold water and cold lemon juice.
- Your blender or food processor should be very clean to start.
- Use fresh garlic, not garlic that has started sprouting (I’m not sure if there’s good evidence this helps with the emulsion, but some cooks swear by it. Either way, it’s essential for the right flavor).
Ways to use toum
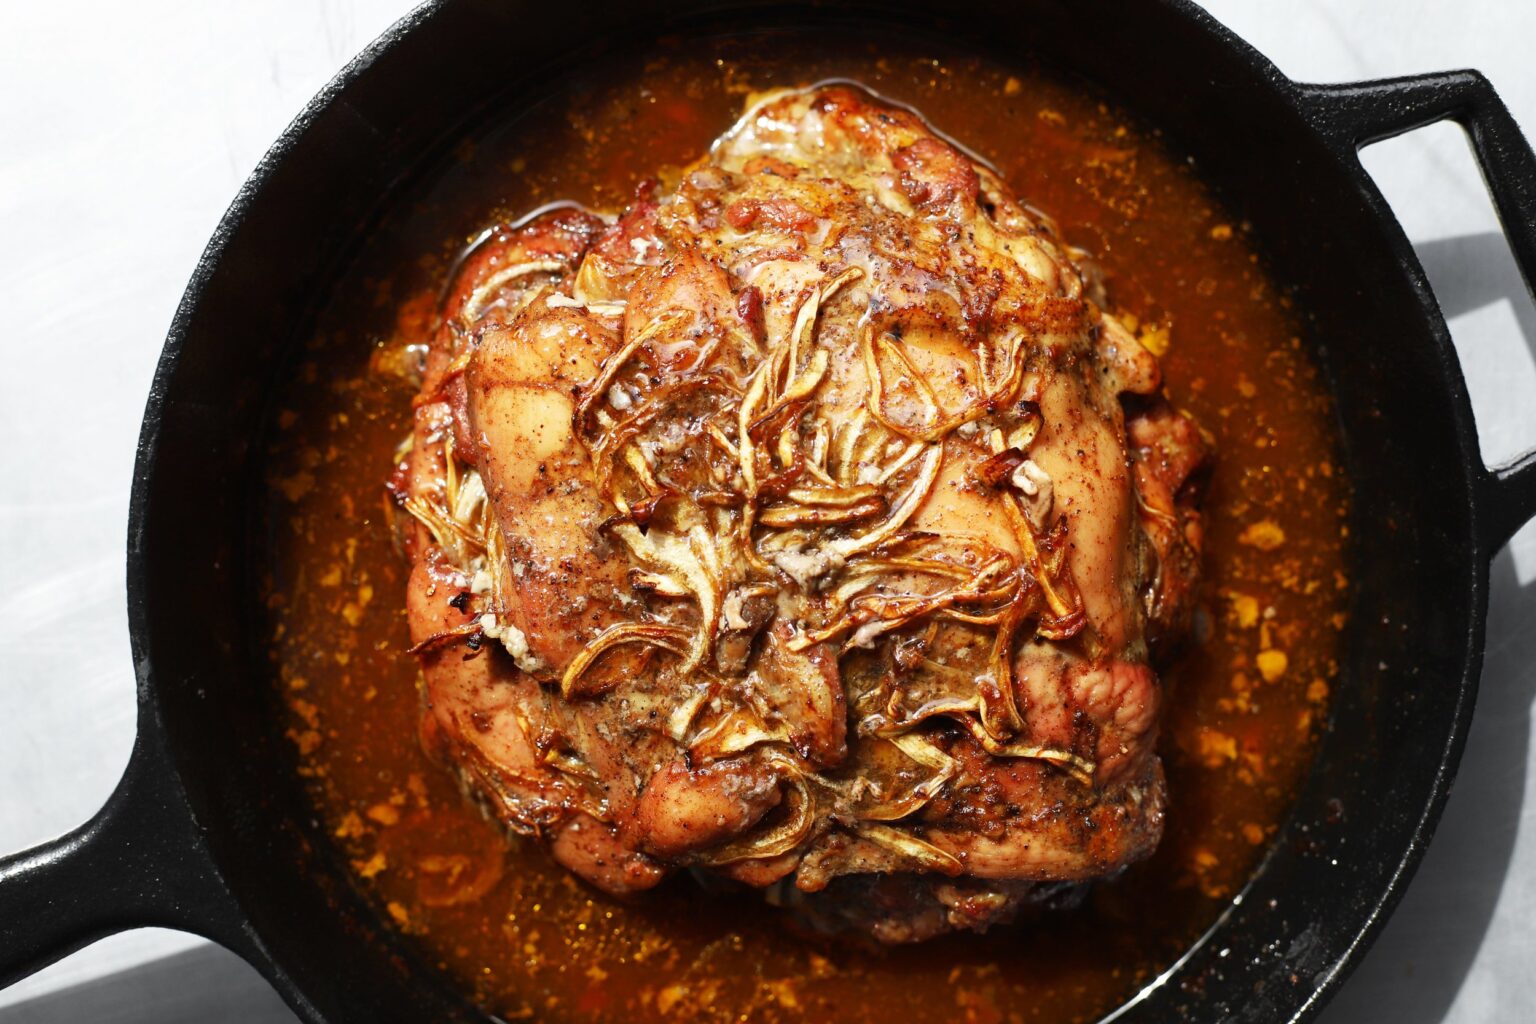
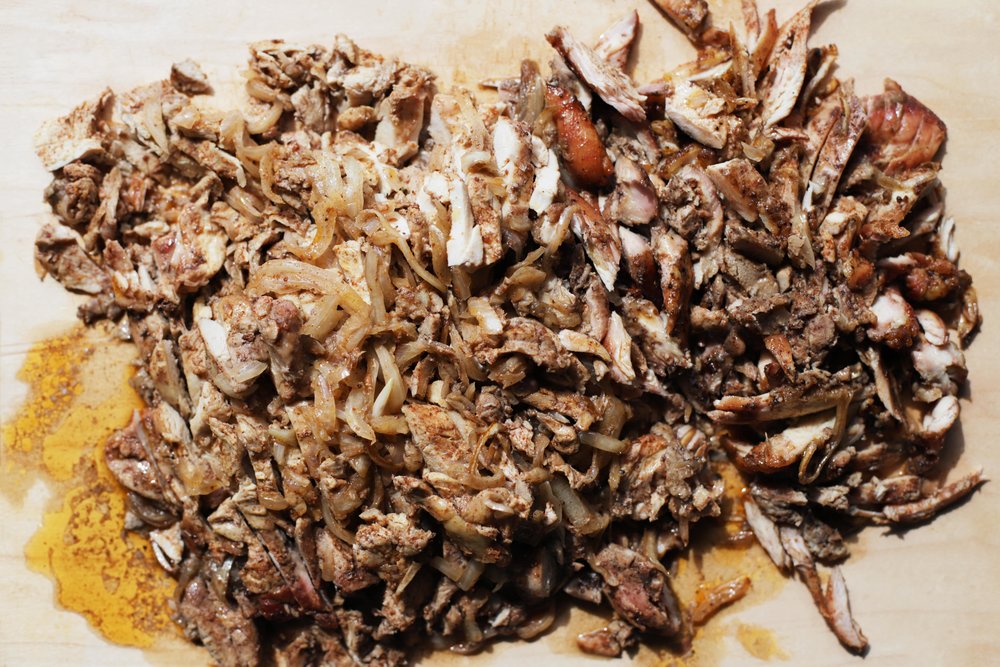
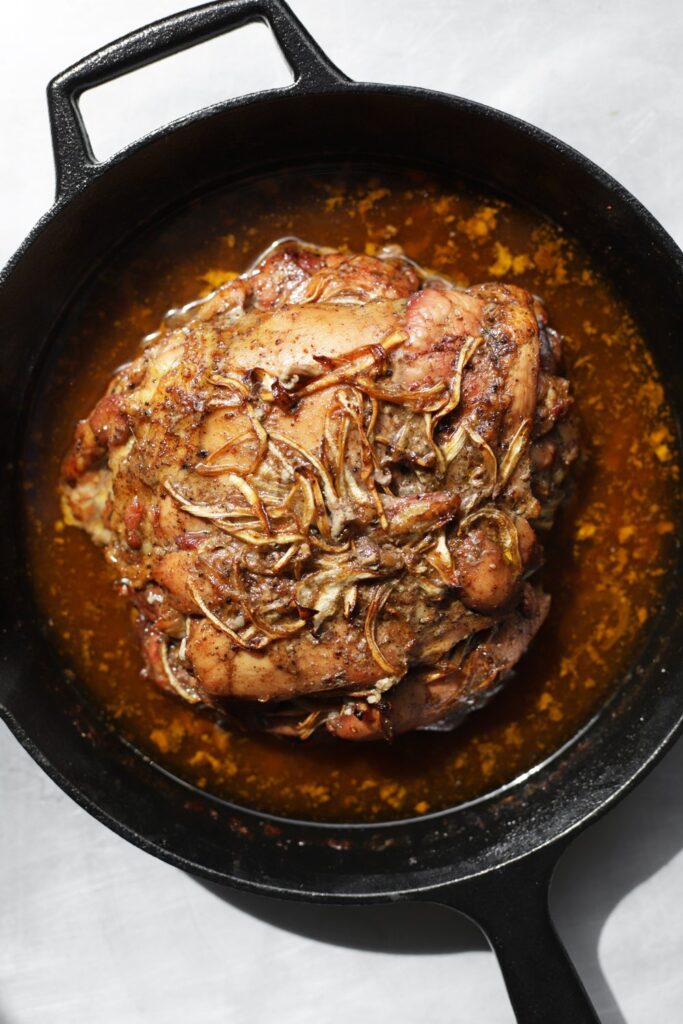
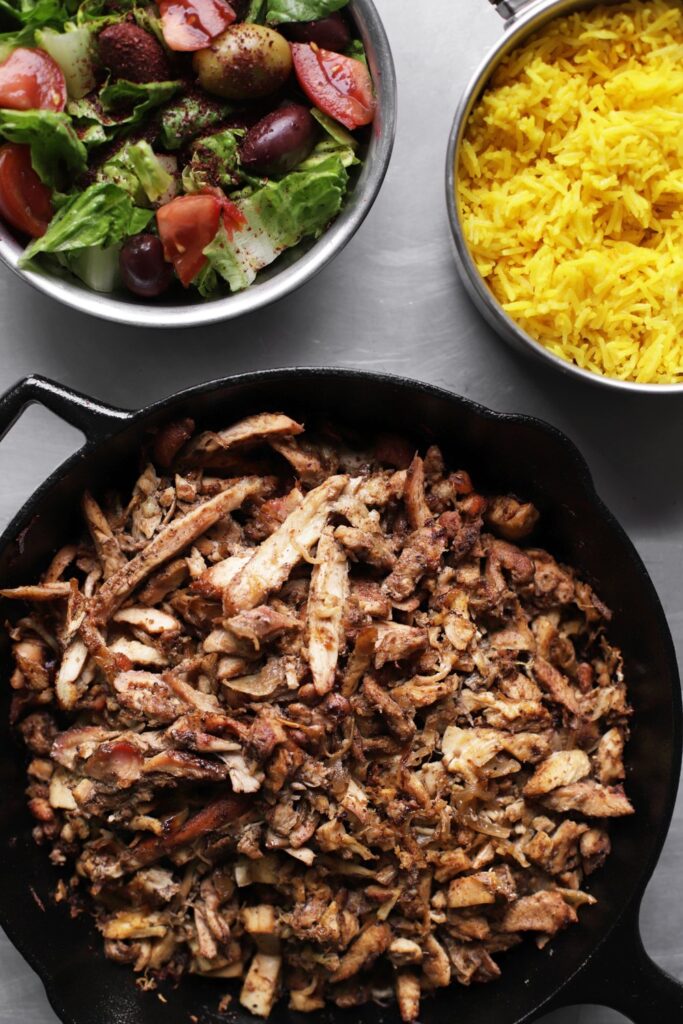
From there, the possibilities are endless. I’m going to post one of my favorite ways to use toum in just a couple days, but until then, feel free to experiment with using it as a marinade, in a little bowl with your favorite meze, as a dip for a ho-hum store-bought rotisserie chicken, and basically anywhere you want to add a lot of garlicky flavor, some richness, and a little acidity. I’ve also got three recipes featuring toum in my second cookbook, Piecemeal (elotes preparados, toum thyme chicken, and a BLT made with toum and pancetta).
Still going strong:
Edit, Oct 2022: It’s been 3.5 years since I posted this recipe, I’ve made toum dozens more times, and I’m still at a 100% success rate with this recipe. Although, after typing up this little edit, I’m destined to jinx it. But just to say: this recipe is the most reliable method I’ve found yet.
Edit, May 2026: I’ve made it several more times over the years and I’m still at 100%—no splitting!
PrintToum that never breaks (garlic sauce)


- Total Time: 15 minutes
- Yield: about 2 cups*
Ingredients
- 90g very fresh peeled garlic cloves (heaping 1/2 cup, from a 105g head)
- 1.5g salt (1/4 teaspoon)
- 55g cold water (1/4 cup)
- 315g neutral oil (1 1/2 cups)**
- 30g cold lemon juice (2 tablespoons)
- special equipment: a high-powered blender or food processor***
Instructions
- Combine the garlic and salt in a very clean blender (see note for food processor ***). Blend at a low speed until the garlic is coarsely puréed. Add the water and blend at medium speed until it liquefies. Turn the blender off when you’re not using it, to prevent it from overheating.
- With the blender running at a medium-low speed, remove the cap from the lid (but keep the lid on so it doesn’t splatter/for safety), and start to slowly drizzle in the oil through the small opening. Try to aim the stream of the oil for the center of the blades. Do not pour the oil too quickly or the emulsion will break.
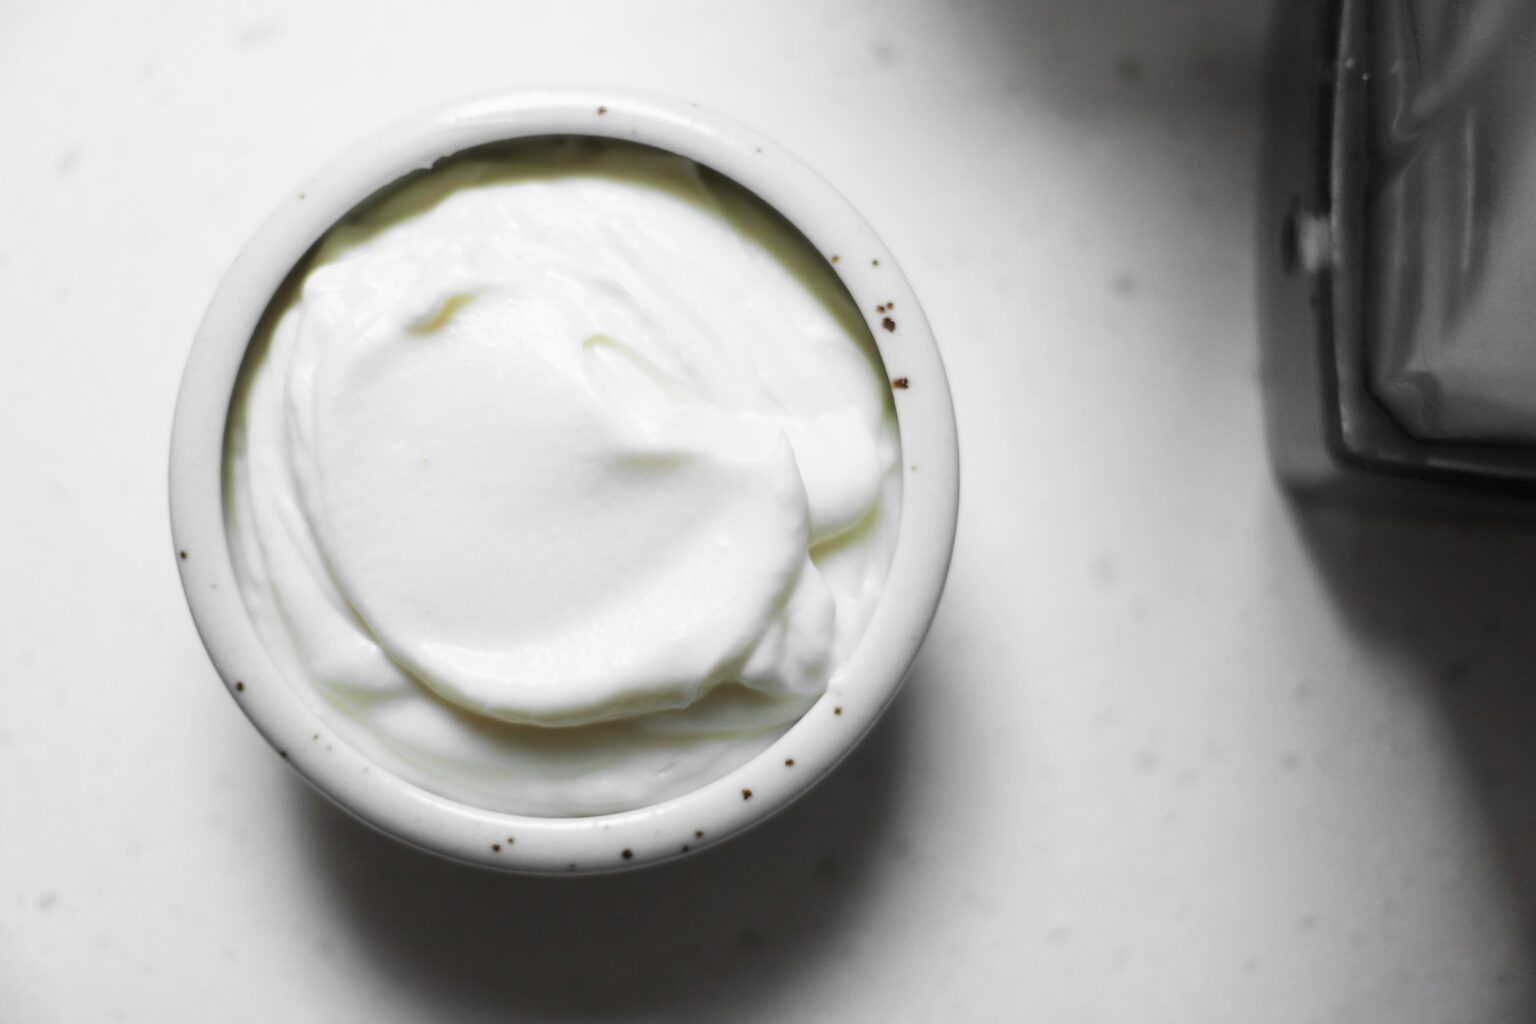
- Once all of the oil has been added, the toum should be thick and white, kind of like an aioli or thin mayo. Slowly pour in the lemon juice while the blender is running. The toum will thicken a bit more, and then it’s ready to use. You can store in in the refrigerator for about 2 weeks (adding more lemon juice will allow you to store it longer, for more like 1 month).
Notes
* Do not double this recipe. Toum is an eggless emulsion, so it’s very temperamental, and will break very easily. It must be made in small batches. Let the blender cool down between batches, because excessive heat can also cause the emulsion to break. This shouldn’t be a problem, because you probably won’t need more than 2 cups at a time. It’s strong stuff!
** Do not use extra virgin olive oil for this (although it works alright with super refined olive oil. I like to use canola, but any other neutral oil will work).
*** If you don’t have a high-powered blender, you can totally make toum in a food processor instead. The danger of making it with a high speed blender is letting it run too long, which makes the toum overheat and break. On the other hand, the danger of making it with a food processor is not puréeing the garlic enough at the beginning, so make sure you mince it finely with the salt, and then slowly add the water. In either case, it’s important to add the oil slowly, but you’ll want to add it a little extra slowly when using a food processor.