“Do you ever worry you’ll run out of ideas?” was one of the most stressful things people would ask me about blogging when I first started. Now that I’ve been doing this for a couple years, and have posted over 200 recipes that I love (at a rate of 85 recipes/year), that anxiety has more or less gone away. But it takes work to overcome creative anxiety; there are several concrete things you can do to set yourself up for success as a recipe writer, and to make sure that your success is meaningful and has a positive effect on the recipe writing community.
Part of it is making sure you’re taking care of yourself, avoiding burnout, and focusing on the things in your life that really matter. But the other half of the equation is finding a creative process that works for you, and that’s what I’ll be talking about in this post. This is the process that works for me, and while parts of it are universally applicable (especially the parts about crediting others), your mileage may vary on some of it.
To my non-writer readers: I’ll be back with your regularly scheduled programming tomorrow, but in the meantime, this one is mostly for the food writers, so feel free to skip it and come back tomorrow for some chocolate cherry galette (oops, you didn’t hear it from me!). Or stay and read if you want a little behind-the-scenes peek!
So for anyone who wants to hear it, today I’m sharing my four strategies for creative consistency, as well as a guide to researching and writing an original recipe.
how to consistently develop original recipes
1) always have a big list of ideas (good and bad)
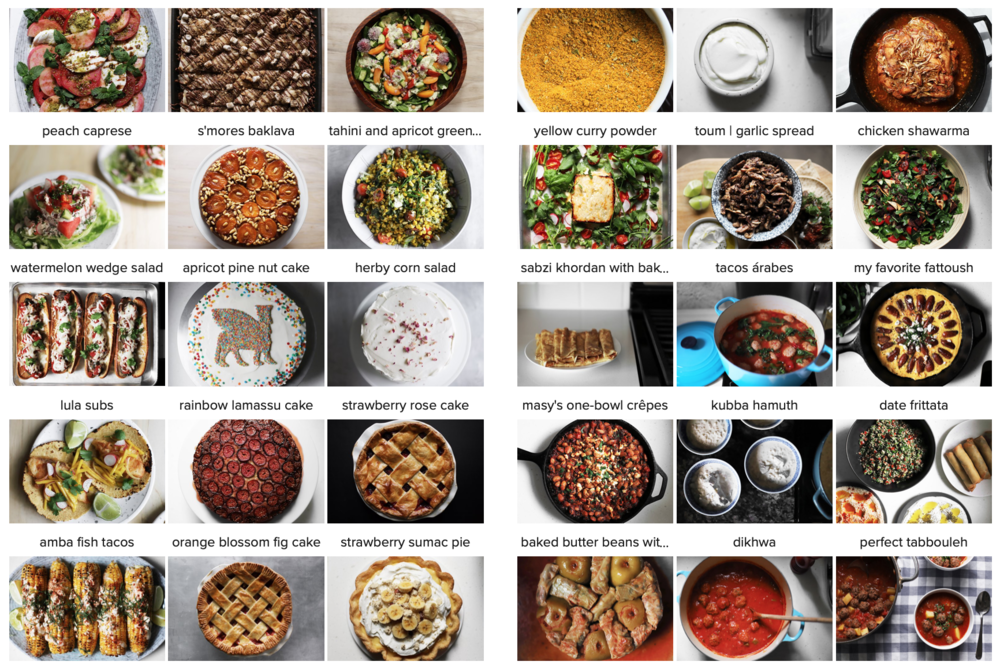
Most creative people will tell you that the secret to generating a decent number of very good ides is generating a ridiculous number of bad ones. I keep a spreadsheet of all my ideas for future blog posts, and each one gets promoted (or demoted!) as I work on it.
They’re definitely not all keepers, and this is not false modesty—it is the truth. Only the really good ones make it to the blog, but the bad ones are important in their own behind-the-scenes way. Just about 50% of my initial ideas are absolutely awful, 40% of them are pretty good but need some serious revision, and a small 10% sliver of them are actual fully-formed good ideas.
All my ideas start in the “more ideas” section of my list, which has literally hundreds of thoughts (I do some serious idea-weeding about once a year, but it’s normally pretty long). The good ones eventually move to the “on my mind” section when I’m thinking more seriously about working on them, then “in production” when they’re ready for the kitchen, then “post production.” And if they go into production, but end badly, they get demoted to “needs development,” or “dead ideas.”
2) learn to tell the good ideas apart from the bad, learn to be productively critical without beating yourself up, and find inspiration in bad ideas
The key to consistently producing great recipes is learning how to figure out which ones are the good ones. It doesn’t matter how many bad ideas you come up with, as long as you don’t thoughtlessly chase after them, without ever identifying the ones worth pursuing.
With experience, my average number of good ideas has improved a bit, but way more importantly, my ability to sniff out a good ideas has improved much more. When I first started, I had no clue what was what, and would try out a random thing I dreamed up, which would go well about a quarter of the time. So I spent a tremendous amount of time (and energy, and ingredients) in the kitchen just experimenting and hoping something would gel. Eventually something would! But success was always hard-won. While I learned so much from the times things went badly, it was honestly mostly exhausting and stressful.
Developing the skills to be productively self-critical (recognizing when something is good, when something is terrible, and when something just needs a bit more work) takes time and a lot of reflection. But beating yourself up over bad ideas, while sometimes inevitable, is never productive. When something sucks, be proud of yourself for knowing so, spend some time figuring out exactly why it sucks, and then move on. Maybe moving on is trying again the next day, maybe it’s trying again next year, and maybe it’s totally scrapping the idea forever.
But what to do with the long list of bad ideas? Use it for inspiration! While 50% of my brainstorming ideas are awful, there’s usually a little nugget of something there. There’s always a reason you thought of it to begin with. Sometimes reading over my list of bad ideas inspires another better idea that I never would have had otherwise.
3) always have a few posts ready to go
Whenever bloggers ask me for advice about posting consistently, this is always the number 1 thing I say, and I feel like it usually comes across as completely unattainable, as if it requires a crazy amount of planning.
But having a few posts ready to go doesn’t mean that you need to work twice as hard to get a couple weeks ahead—instead, it could mean that you need to take a break from posting for a few weeks to spend some time generating content, so you feel super prepared when you start up again.
Having a few posts ready helps my creative process, because it takes the stress out of idea generating and recipe developing. That security blanket allows me to forgive myself when things go wrong, but also allows me to be critical enough to know that things have gone wrong.
Without this buffer, when things are going wrong, I end up vacillating between wishful thinking mode (“I guess this is good enough to post!”… because oh no, I need something to post!) and self-loathing mode (“everything I do is terrible, and I’ll never have another good idea ever again”). Neither of these ways of thinking is productive. Mindlessly hating yourself is neither self-reflective nor productive… but of course, neither is thinking everything you do is brilliant.
By always working a little bit in the future, you can detach from the pressure a bit, and have a little more objectivity when assessing your work. You’ll find that when things go wrong, you can take a step back, acknowledge it, and learn from it, all without beating yourself up about it.
Plus, working ahead helps you make room in your life for other projects. Right now, I’ve pulled 7 months ahead on content to gear up for a big project I’m about to take on. This kind of planning has given me the freedom to build something, and move beyond the daily grind of creating and posting content.
4) take inspiration, and give more credit than you think is due
While generating and recognizing your own contribution is really important to your growth as a recipe developer, it’s also totally okay to find inspiration in other people doing similar things. I find a lot of comfort in the idea that we can all inspire each other, and that I’m not just doing this by myself.
It’s just also important to actively take inspiration, rather than just passively soaking things up. Did someone’s photo inspire yours? Did you adapt someone else’s recipe? Did someone’s combination of ingredients make you think to do something similar? Did someone teach you about a new baking technique? Say so!
David Lebovitz wrote a wonderful article about recipe attribution a few years back, which you should absolutely read. The bottom line? You can legally get away with a lot, but if someone else inspired your idea, it’s so much better to just give them the credit you owe them. And if you adapted or borrowed someone else’s recipe, attribution is crucial.
You’re not just doing the ethical thing—thinking about where your ideas come from is crucial to your own growth as a recipe developer, and can only help you become a better one. It’s not about being perfect (we all mess up and forget things from time to time!)—it’s about trying our best not to make a pattern of withholding credit. It’s about putting in a little effort to develop some good habits.
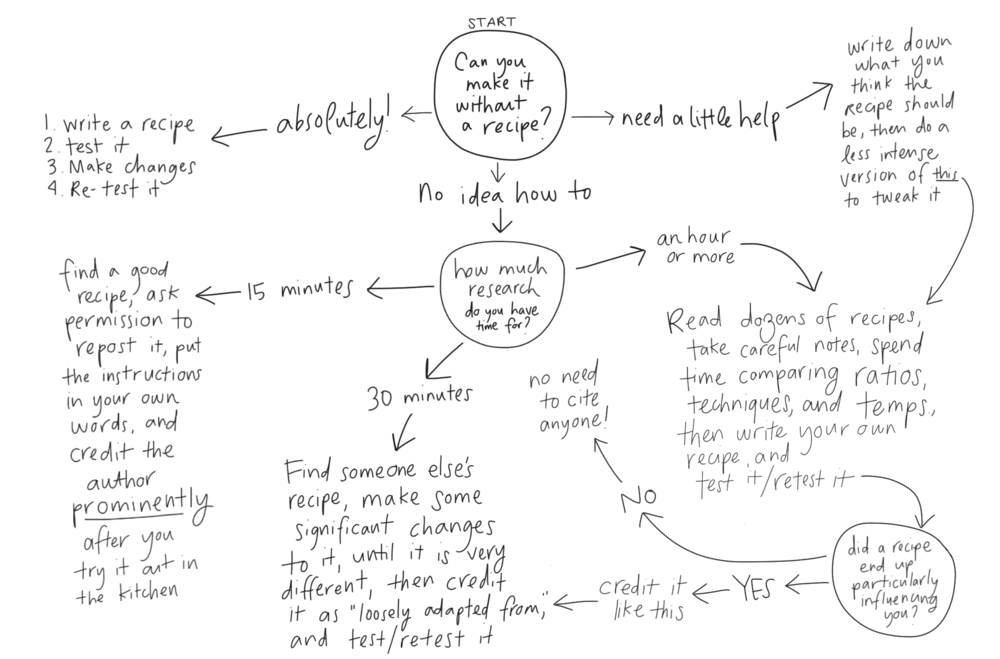
If this sounds totally overwhelming, don’t worry! I’ve put together the following guide, plus a flow chart. If you’re unsure, you can follow along, one step at a time, to decide which path makes the most sense for you.
how to research and write a recipe, and how to credit others
First, I always google whether someone else has already had my idea, so I can either scratch it off my list (or give credit to the originator) before I get all married to the idea as my own.
Some things are so universal, they don’t need to be credited in this way. E.g., I don’t need to credit someone else for my family’s fattoush recipe, even though there are other bloggers who have posted their recipes before I posted mine. No one person on the internet invented it, and it’s something a lot of Middle Eastern and North African folks know how to make totally independently of each other. Or you might find that you have an idea that lots of other people have also had (e.g., tomorrow’s chocolate cherry galette… it turns out lots of folks have caught onto the fact that chocolate and cherries are pretty tasty together). Unless you can track down the originator, you don’t need to find someone to credit with this universal idea.
But honestly, if a friend’s fattoush post inspires me to share my own, I’ll totally mention them. Or if I’m making something from a culture that’s not my own, I’ll for sure credit (or at least mention) the person or recipe that first taught me how to make it, or the friend or restaurant that inspired me to come up with my own version.
Once you’ve established that you have your own unique idea (or figured out how you’ll navigate crediting someone else with their idea in your post), there are a lot of different recipe developing scenarios, depending on where you’re starting from. Do you totally know how to make it, or do you need to do a bit of research? Follow along with this flow chart (and the explanation below it), to find out how to attribute your recipe:
let’s say you can make the dish without a recipe
Sometimes I’m developing a recipe for something I can make with my eyes closed and one hand tied behind my back. In those cases, I just write up a recipe off the top of my head, go for it in the kitchen, carefully record any changes, re-test it if need be—and that’s that.
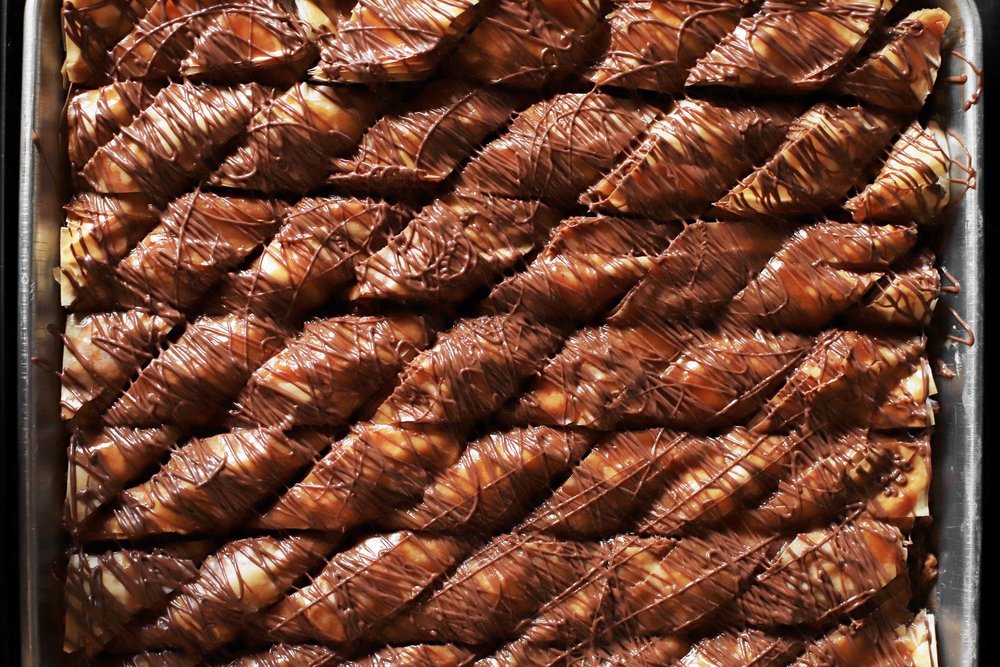
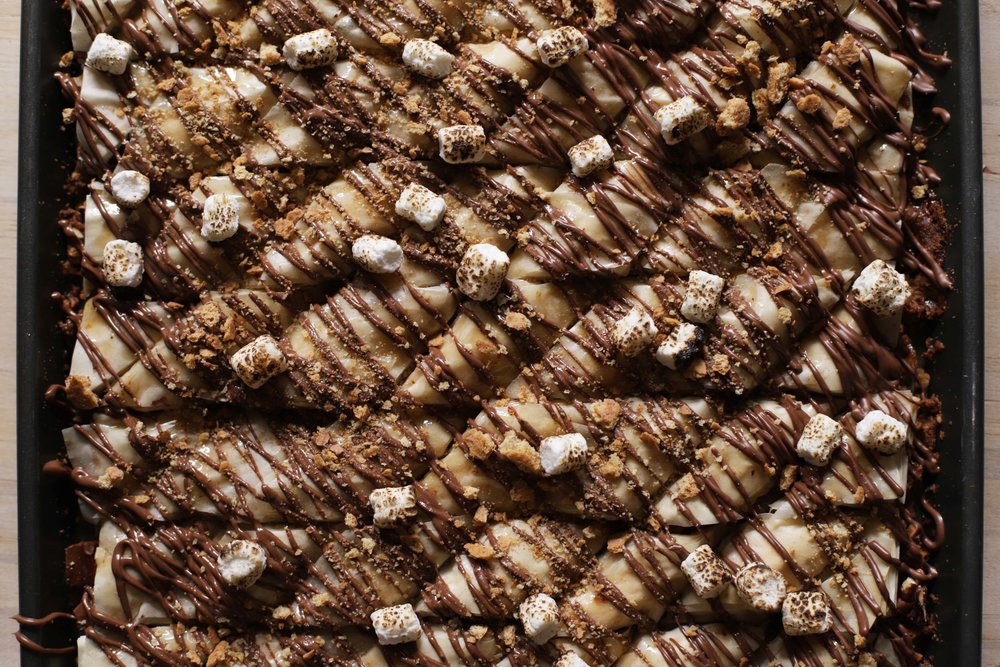
I’ll spend a few minutes thinking about how the dish came to be, and mention any other recipes that inspired me, but if the recipe isn’t adapted from or inspired by anyone else, it’s totally ok not to cite anyone else. For instance, my s’mores baklava was inspired by my cousin Heather’s wedding, and I know how to make baklava without a recipe—so since the recipe and its inspiration came directly from my brain, I didn’t need to cite anyone.
or let’s say you pretty much know how to make it, but need a little guidance
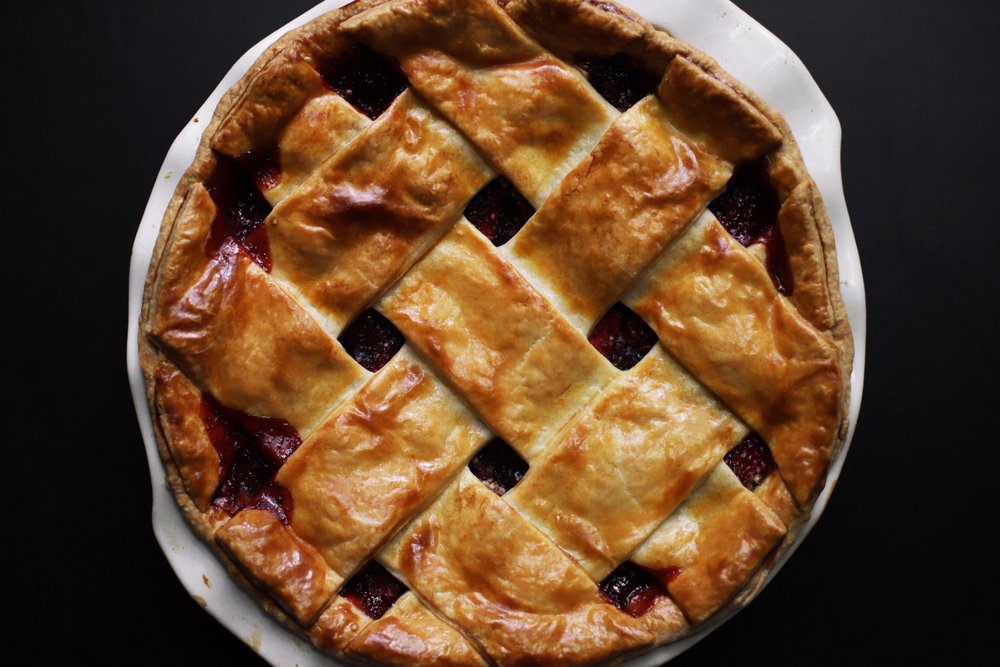
Sometimes I’m working on an idea that I need to consult other recipes for, like my strawberry sumac pie. In a case like this, you’ll want to write down what you think the recipe should be, and then research to tweak it.
With my strawberry sumac pie, I started by writing down how many grams of strawberries I thought would fill a 9-inch pie pan. I knew I wanted to thicken it with tapioca, and estimated that I’d need a little more than I used in my strawberry sour plum pie, since strawberries are less pectin-rich than plums. And I wrote down about how much sumac and sugar I thought it needed (plus times, temperatures, and all that).
Then comes the research. I spent an hour or so looking at other recipes and taking careful notes. I read through dozens of other strawberry pie recipes, jotting down ingredient ratios, techniques, temperatures, etc. I then compared my notes to figure out what common ground exists between all these different recipes, and to figure out how to tweak my own to be more consistent with the ones I found. I also spent some time thinking about whether I wanted my pie to be similar to the ones I found—I like fruit pie to be a bit more on the set side, so I erred toward the ones that had more tapioca.
I then took my new and improved recipe to the kitchen, tested it out, decided it was a bit too sweet, didn’t have quite enough sumac, and wasn’t set enough to my liking. I changed all these things in my recipe, made it again, and was totally happy with the result.
If one recipe in particular influenced the way I changed mine, I’d credit that author somewhere in the post. To give a very different example, my friend Cosette’s recipe for toum taught me a really wonderful technique that helped me tweak my own recipe to be more consistent, and I was sure to mention that in the post.
Also, since I wasn’t the first person to have the idea to make a strawberry or cherry sumac pie or tart, I made sure to give credit where it was due (Majed Ali’s cherry sumac date molasses pie and Jerrelle Guy’s strawberry sumac granola tart) in the original post. Could I have legally skipped this part? I guess so! But why skip it? Crediting others for their related ideas takes nothing away from yours, and makes it no less original.
then again, sometimes you have no clue how to make it, and need a lot of help
This is where things get tricky, and you have to decide between 3 options, depending on how much time you want to put into the research. You’ll either:
1. Find someone else’s recipe, make almost no changes to the ingredients or technique, and ask permission to post it with credit. Make sure you do this right:

- Put the instructions 100% in your own words. Like, literally rewrite them as you remember the process going, without referring to the original recipe until you’re done writing yours.
- If you make one or two small tweaks to the ingredients (e.g., cut back on the salt, used beef stock instead of chicken, or used whole milk and lemon juice instead of buttermilk), you should still give full credit.
- For example, once I adapted David Leite’s perfect chocolate chip cookies by adding pine nuts to them. I asked his permission to post this recipe to my blog, which he gave me, and I did all of the above steps. Adding pine nuts isn’t exactly an earth-shattering change, so I needed David’s permission to use this recipe, and I made sure to credit him profusely in the post.
2. Find someone else’s recipe and make a ton of changes to it until it’s totally become your own, but then credit them anyway with “loosely adapted from” because you’re not going to be that guy.
- A good rule of thumb: if you make 1 or 2 big changes along with 2 or 3 minor changes to a single recipe, it’s probably ok to call it yours, but it’s always best to give credit to the recipe that helped get you there.
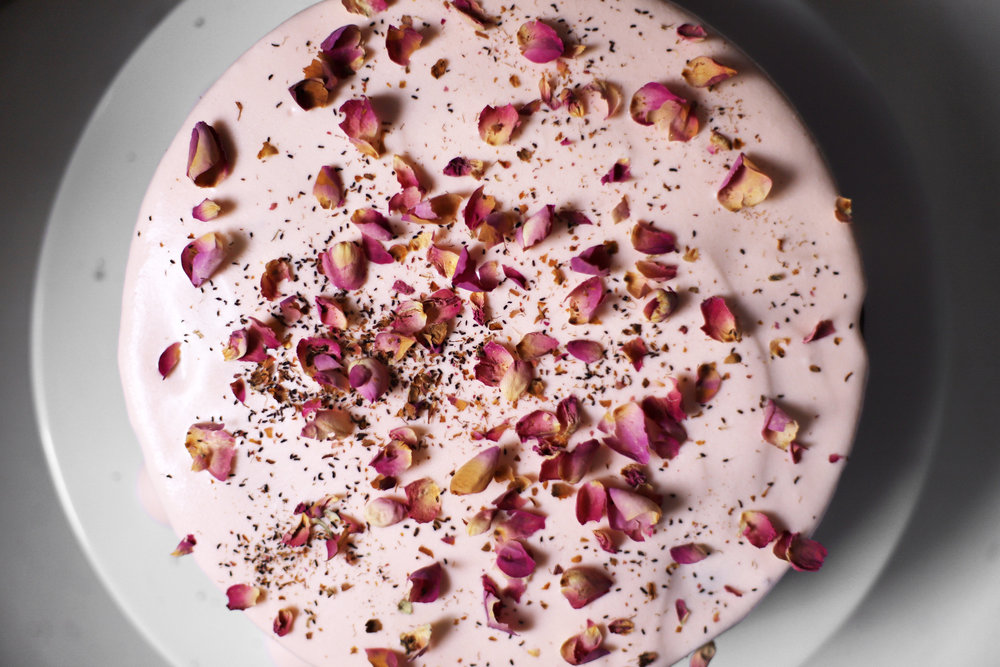
- For example, this is how I came up with my cardamom rose gingerbread cake: I had previously baked (and loved) the Cook’s Illustrated classic gingerbread layer cake. So I used that as a starting point, and made several major changes to it. I added a couple new flavors, like rosewater and cardamom, and cut out a couple others, like cayenne pepper and white pepper (which would clash with the new ones). And instead of coffee, which would overpower the delicate cardamom and rosewater, I used buttermilk, which changed both the flavor and texture of the cake. And I used my own recipe for a rosewater cream cheese glaze with dried rose petals, instead of an ermine buttercream with crystalized ginger. Plus I made some very minor changes to a couple techniques. And I credited the original recipe as “loosely adapted from.”
3. Do a ton of research and come up with your own recipe
- This is the option I usually end up choosing, but it definitely takes the most effort. This is basically the same as when I pretty much know how to make something, but need a little guidance… except I have no idea how to make it, and need a lot of guidance, and a lot of trial and error.
- I end up spending a really long time reading every single recipe I can find on the subject, comparing notes (see above “you pretty much know how to make it” for more info on how to do this). I end up writing a recipe from scratch after a comparison of dozens and dozens of related recipes, once I feel like I can write up my own.
- This usually requires several more rounds of testing than any of the other methods listed above, because you’re starting from such a place of not knowing, but it’s super gratifying once you finally figure it out and come up with something that’s really your own.
- If you don’t feel like you have the background to be able to do this yet, that’s totally ok, because all the other above options are perfectly fine alternatives—the important thing is to make sure you cite other recipes if you’re not truly writing your own yet. It’s really helpful to read some books on technique and food science to build your skills up—for example, Salt, Fat, Acid Heat (for cooking technique), The Bread Baker’s Apprentice (for bread baking), I’m Just Here for More Food (for pastries), and On Food and Cooking (for food science).
So do you have to do everything 100% from scratch, without ever using anyone else’s recipe? Absolutely not! Being original isn’t about being an island—you can collaborate and still be your own unique person. There’s no shame in adapting someone else’s recipe—just make sure you give credit appropriately, out of respect for yourself and others.