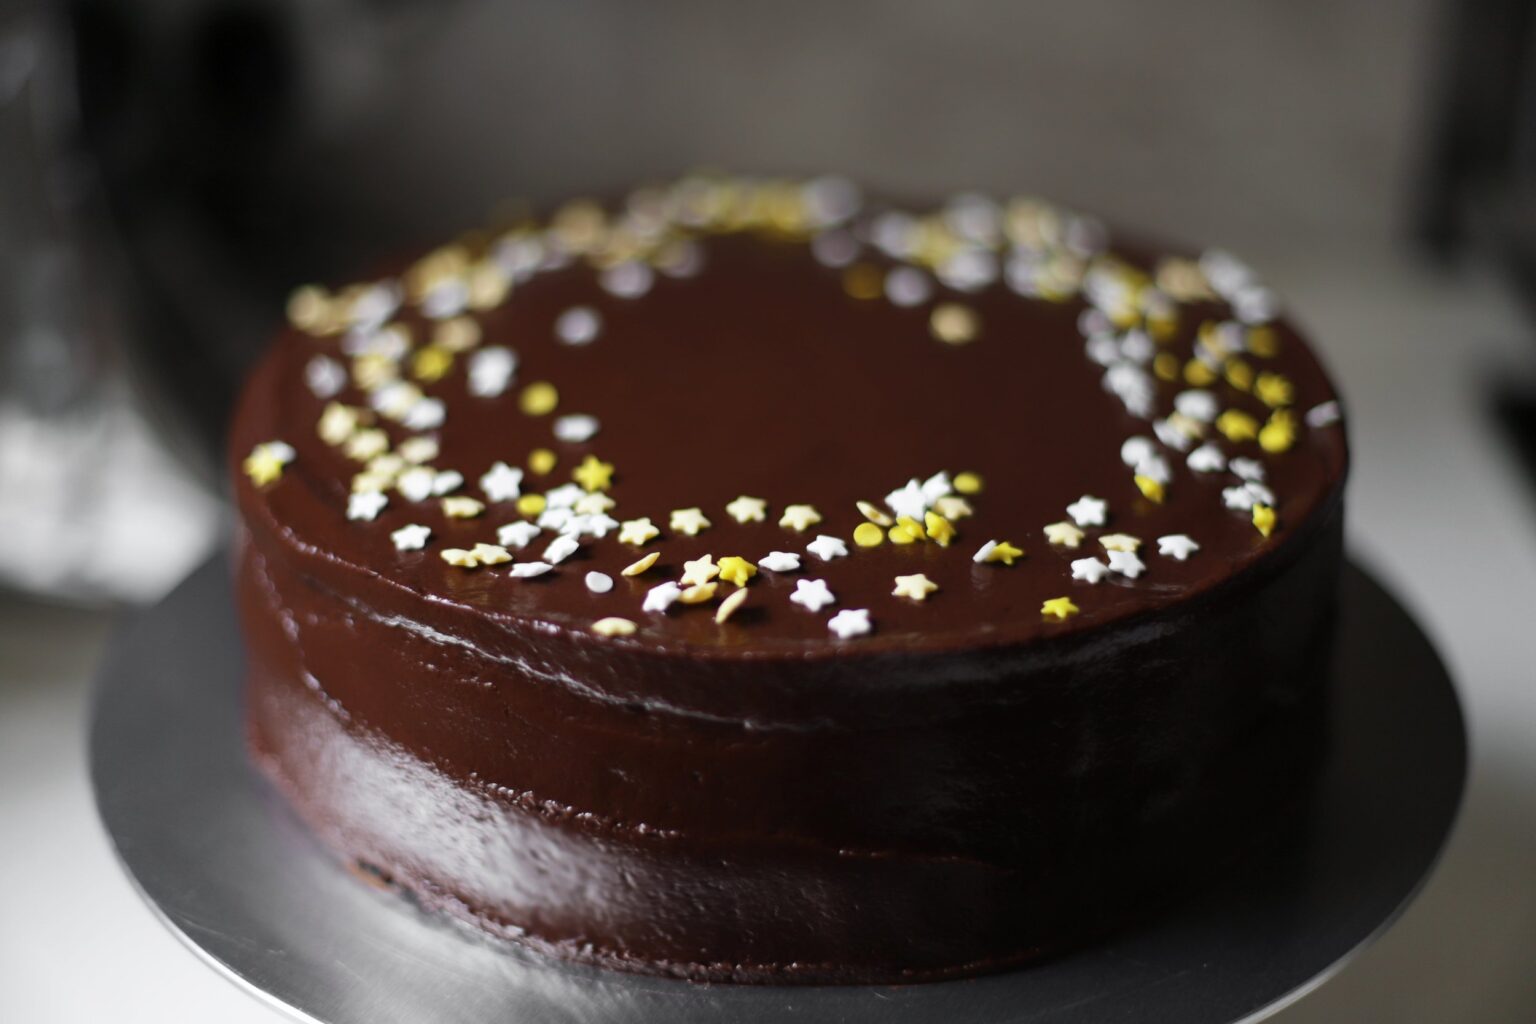
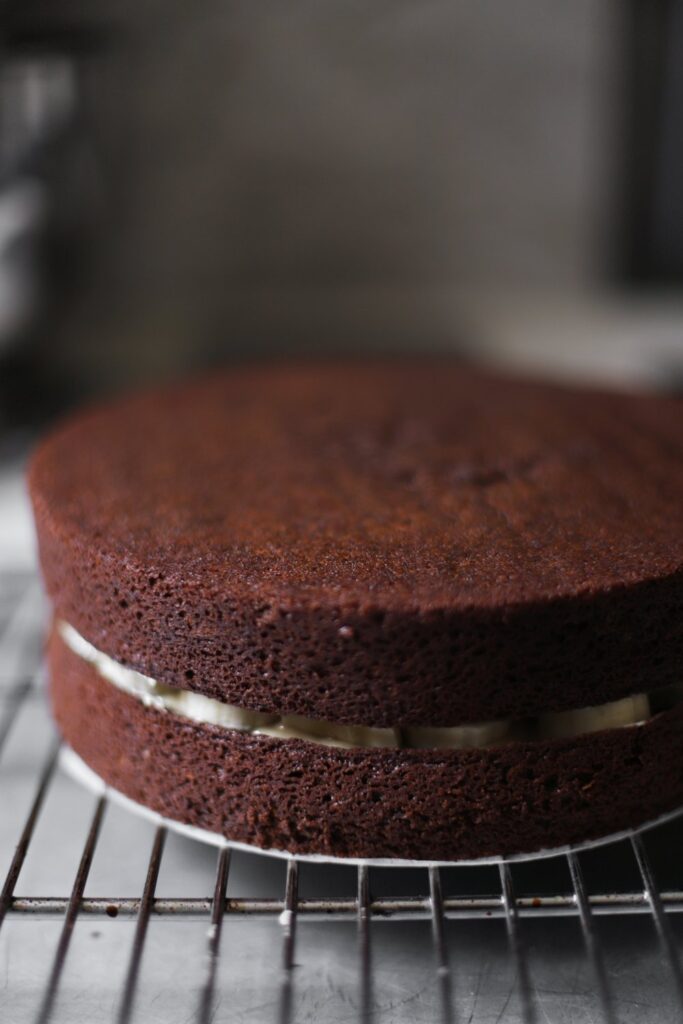
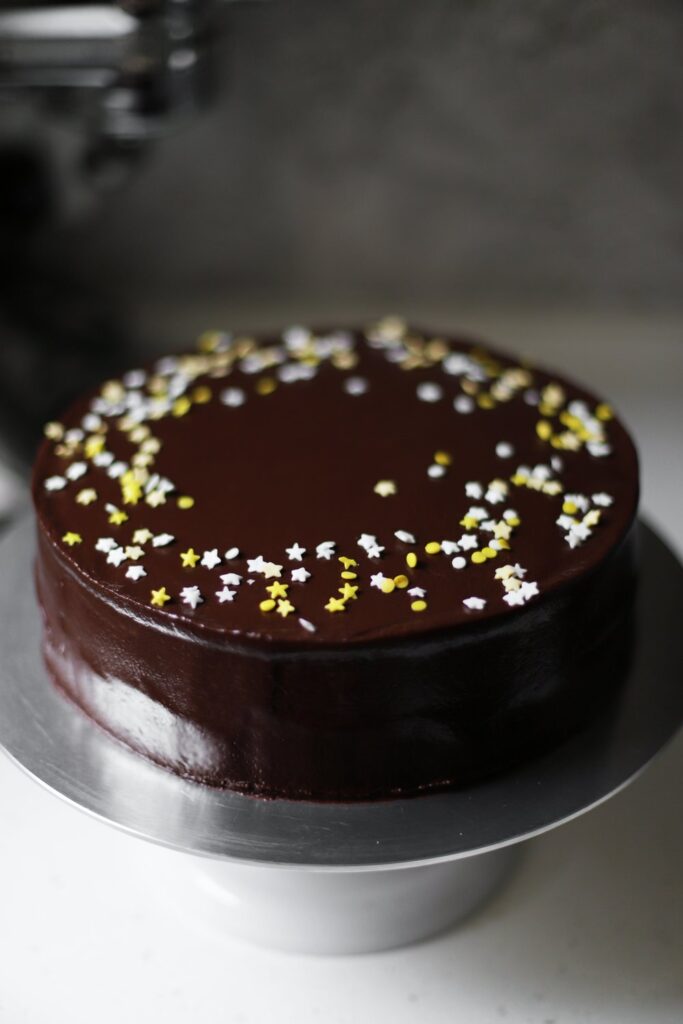
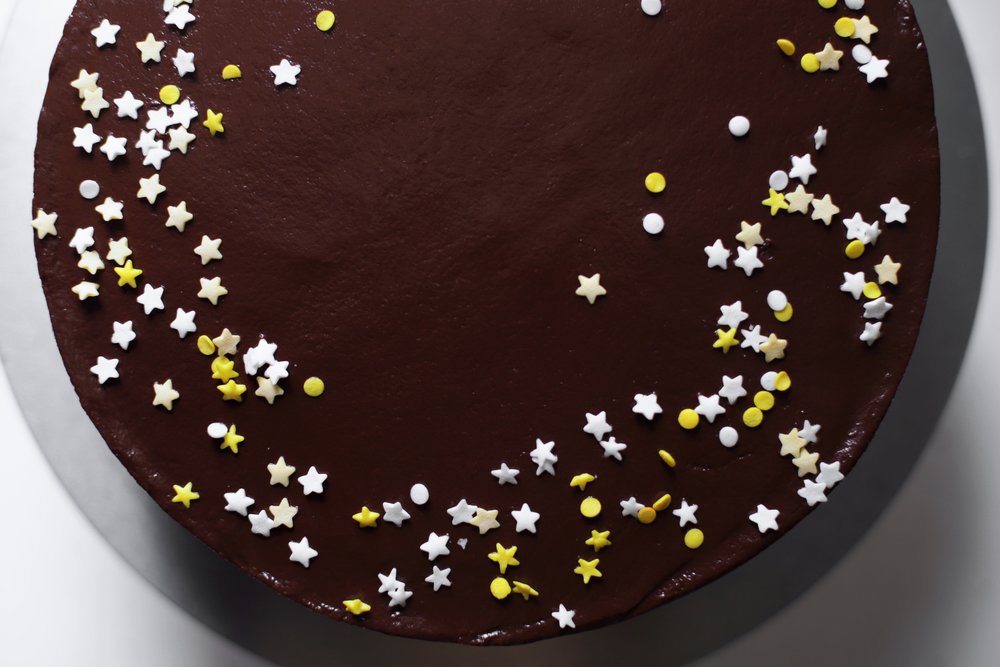
Today I’m celebrating my blog’s third anniversary with this spiced chocolate banana tahini cake. It’s a combination of a whole bunch of my favorite flavor pairings, and I hope you enjoy it too. This one is just a simple two layer cake, but it’s got a lot sandwiched together. Here we’ve got two layers of super moist chocolate cardamom cake, two thin layers of tahini-honey, and a layer of sliced banana.
The whole thing gets covered in your favorite chocolate frosting. In these photos, I’ve used a sour cream ganache that I’m still experimenting with, so there’s no frosting recipe to share, but you can use cocoa cream cheese, buttercream, or another variety of your choosing (this ganache, this American-style buttercream, and this cream cheese frosting would be good starting points, if you’re looking for inspiration).
Tahini-honey always whips together magically. Each ingredient starts out thin and runny, but when you add moisture to tahini, it seizes up and becomes spreadable. If you whip it together with just the right amount of honey, two thin and runny liquids turn into frosting. It’s beautiful to see the process, and even nicer to eat.

If you’re looking for a different recipe with a similar flavor profile to this one, try one of my other favorites:
- Pistachio orange blossom banana bread
- Banana cream pie with halva and cardamom
- Cardamom churros with orange blossom chocolate sauce
- Banana éclairs with orange blossom
spiced chocolate banana tahini cake


- Prep Time: 30 minutes
- Total Time: 90 minutes
- Yield: serves 8 to 12
Ingredients
for the cake:
- 350g granulated sugar (1 3/4 cups)
- 3 large eggs (165g)
- 350g buttermilk (1 1/2 cups)
- 160g neutral oil (3/4 cup) – e.g., canola, vegetable, etc.
- 210g all purpose flour (1 3/4 cups)
- 70g cocoa powder (3/4 cup)
- 1 teaspoon cardamom (2.5g)
- 1 teaspoon baking powder (4g)
- 1 teaspoon baking soda (5g)
- 3/4 teaspoon salt (4.5g)
for the filling:
- 3 small/2 large ripe (not overripe) bananas (300g out of their peels)
- 125g tahini (1/2 cup)
- 85g honey (1/4 cup)
- Pinch of cardamom
for decorating:
- 3–4 cups of your favorite chocolate frosting recipe (whipped ganache, cocoa cream cheese frosting, chocolate buttercream, etc. You can also use poured ganache, but you’ll only need about 2–3 cups)
- Sprinkles for decoration (optional)
Instructions
- Preheat the oven to 350°F (177°C). Butter two 8-inch round cake pans, line them with parchment rounds, and then butter the parchment.
- Combine the sugar and eggs in the bowl of a stand mixer fitted with the whisk attachment. Whisk at high speed for about 4 minutes, until it’s about double in volume, and very thick and pale (the trail of the batter should fall off the beaters and disappear into itself after 1 full second).
- In a separate bowl, whisk together the buttermilk and oil until combined. Add to the whipped egg/sugar mixture, and fold in carefully.
- In a separate bowl, combine the flour, cocoa powder, cardamom, baking powder, baking soda, and salt. Sift half of the dry ingredients over the wet ingredients, and fold together until almost combined (make sure you scrape the bottom and sides several times). Sift the remainder of the dry over the wet ingredients, and fold together until there are no dry pockets (do not over-mix).
- Distribute the batter evenly between the two cake pans. Drop them on the counter from about 1 inch once or twice, to knock out any big air pockets. Bake for about 22 minutes. They are done once you can insert a toothpick into the center and it comes out clean.
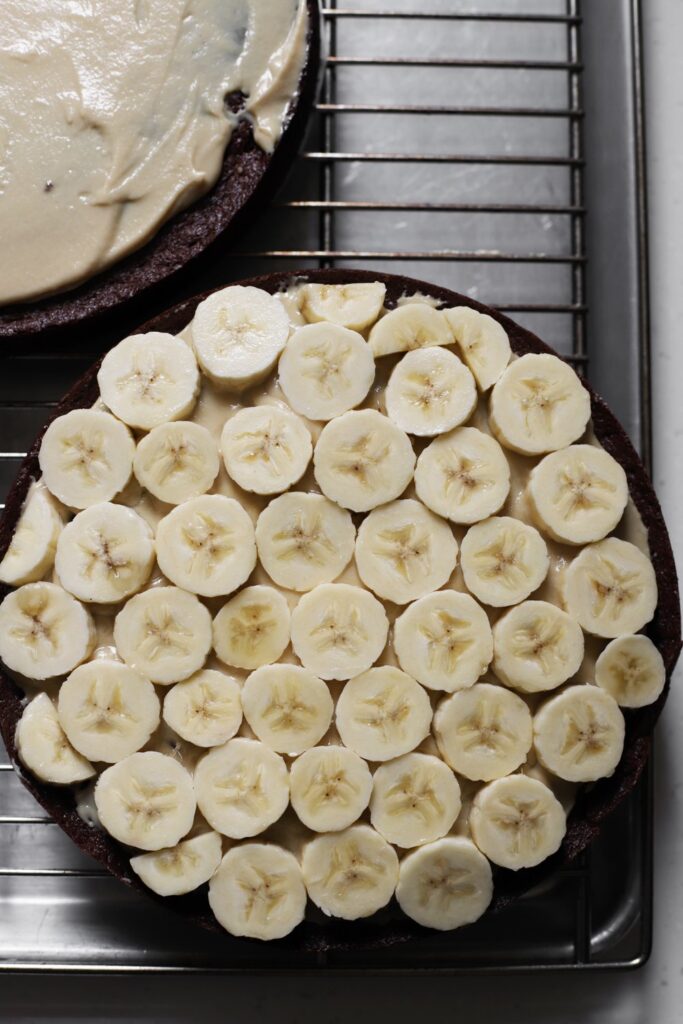
- While the cakes bake, prep the filling. Slice the bananas into 1/2-inch thick pieces. Whisk the tahini and honey together until they thicken.
- Once the cakes are done, trace around them with a paring knife, remove them from their pans, and place on a cooling rack. Let them cool completely. Once they’re cool, shave off any humps if they’ve domed significantly (I’ve never had doming issues with this recipe, but it depends a bit on your oven and pans).
- Spread the tahini mixture on the tops of both of the flat/leveled cakes. Place an even layer of sliced bananas on just one cake, sprinkle with a little pinch of cardamom, and invert the other cake tahini-side-down on top of it to make a sandwich (cake, tahini, banana, tahini, cake). Carefully transfer to a rotating cake display, and place a few strips of wax paper around and under it to keep the display from getting messy.
- Decorate with chocolate frosting, top with sprinkles (optional), and serve.
Notes
A note on making ahead and storing: Cake stales quickly in the refrigerator, although this one does alright for short periods in the fridge, since it’s made with oil instead of butter (still, it will stale more quickly in the fridge than at room temperature). If you’re using the kind of frosting that can be left at room temperature, you can leave this whole cake out for several hours. If your frosting is perishable, and you need to store it for a few hours before serving, feel free to stash it in the fridge for a few hours (but try not to go much longer than 4 or 5). If you want to make it earlier than the day of, wrap and freeze the cake layers individually (after they’ve cooled completely), keep the filling and frosting in the refrigerator, and assemble the day you plan to serve. If you have leftovers after serving, wrap slices individually and freeze them. Microwave each slice for just 20-60 seconds to thaw, as needed.
Note on the pan size: This recipe has never overflowed during testing and it should not overflow on you if you use 2 standard 8 inch pans. But if yours does overflow, something has gone wrong with your ingredient ratios, oven temperature, or pan depth. If you’re making this for the first time and worried it might overflow, you can place a baking sheet on the rack one level down from the rack you’re baking on.