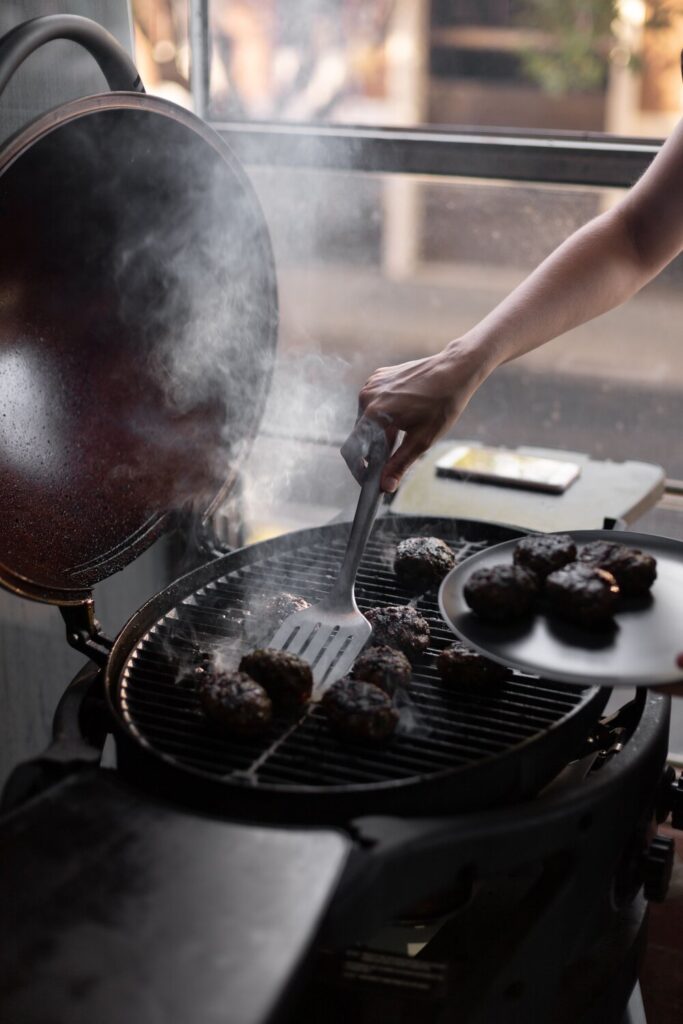
Lula kebab is a staple of Assyrian and Armenian cuisine. It’s my mom’s favorite thing to make for an easy weeknight dinner, and it goes great with riza sh’ariyeh and fattoush. And while they’re traditionally cooked on the grill, you can absolutely make them in the oven. This recipe has you covered in either case. Read along for some delicious serving ideas, or jump to the lula kebab recipe.

Things to serve alongside lula kebab
- Serve lula kebab with really good pot of rice, especially something like riza sh’ariyeh, bulgur pilaf, or West African jollof rice. Or, if you’ve got nothing but time and onions, make a batch of mujadara, and watch your family ignore every single other thing on the table.
- Bake your own samoon, like I did here, or pick some up from your local Middle Eastern market. It’s a really fun activity, and you probably have the ingredients at home. Store them in the freezer if you don’t plan to eat them all in the next 24 hours (never the refrigerator).
- Make a simple slaw with mayo (or yogurt), lemon, olive oil, and whatever you’ve got. I like using a lot of capers and black pepper. Or, while you’re at it, make fattoush.
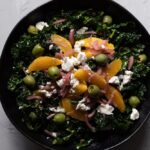
- Make a bean salad! If you’re improvising one, you can simply use a little splash of red wine vinegar, a spoonful of dijon mustard, a generous glug of olive oil, a clove of garlic crushed through a press (or some garlic powder), and all the dried herbs you can find (basil, chives, dill, parsley, and black pepper all work great together). Or mayo, chipotle, lime juice, and fresh cilantro.
make your ingredients last longer
- Immediately freeze however many grilled kebabs you don’t plan to consume in the first couple days. It’s best to freeze things within a day or two of making them, so they’re still good quality after thawing.
- Alternatively, you can freeze them in raw form and grill them one at a time. But I find that it’s much easier and more efficient to just grill them all at once, and enjoy the rest as leftovers.
- Wash your leftover cilantro and green onions really well, dry them really well, and store them as described in this post. They’ll last for at least a few days, if not weeks. Use the extra in salads, guacamole, etc. Watch the video below for more info on washing them well.
(If video does not appear below, please disable ad block)
PrintLula Kebab (grill or oven + skewers or no skewers)

- Prep Time: 15 minutes
- Total Time: 30 minutes
- Yield: 12 kebabs
Ingredients
- 2 lb 3 oz 80/20* ground beef (1 kg)
- 1 cup chopped cilantro (40g)
- 1 1/2 cups chopped green onion (90g)
- 1/2 teaspoon black pepper
- about 1 to 1 1/2 teaspoons salt
To serve:
- the topping from this post (optional)
- samoon (optional)
Instructions
- Combine the ground beef, chopped cilantro, green onion, black pepper, and salt.**
- Once combined, shape into 12 ovals. If you’d like to use skewers, spear each oval and work out into a slightly longer log (like a flat hotdog around the skewer). If not using skewers, just leave it as an oval.
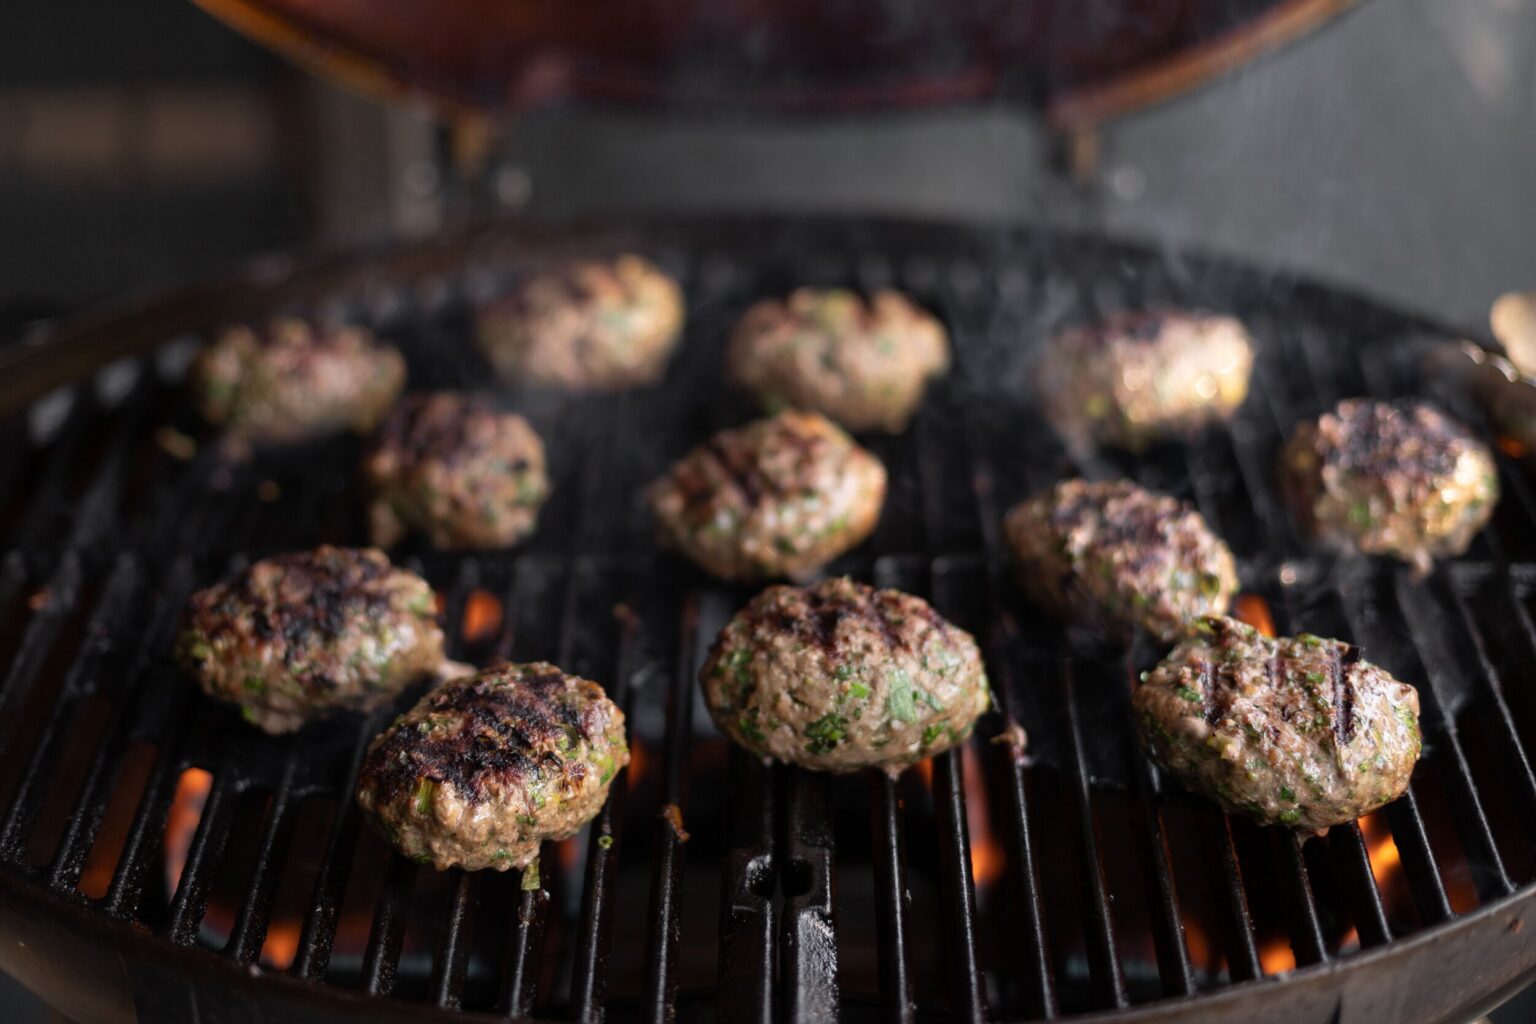
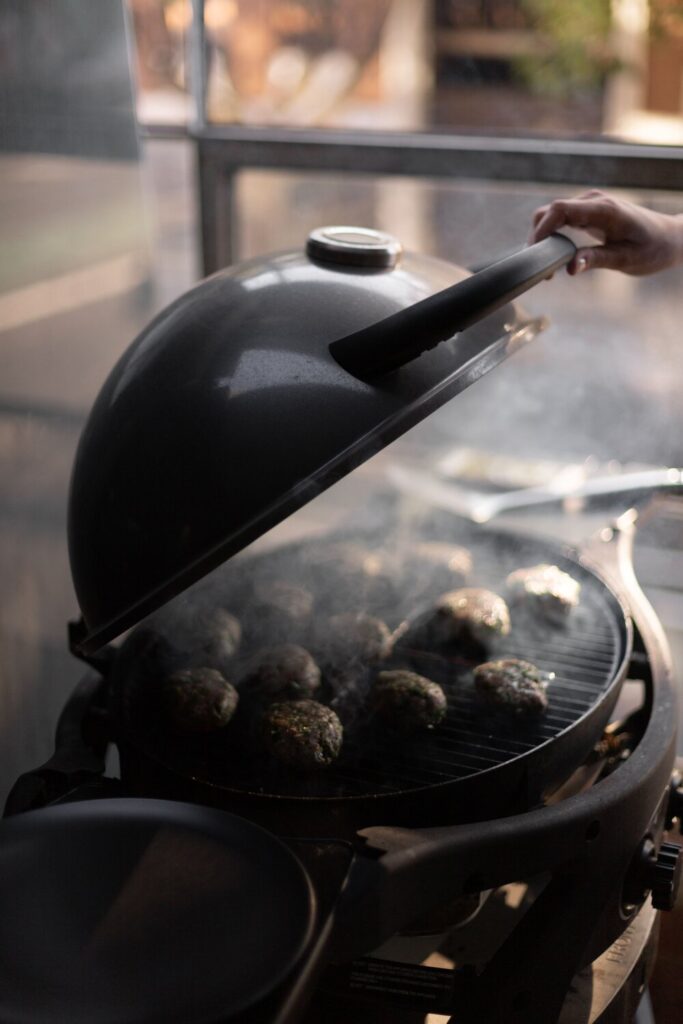
- For outdoor grilling: Heat your grill with the lid down, until its temperature reads about 400°F/205°C. Once it’s hot, place the kebabs on the grates, lower the cover, and let them cook for about 7 minutes per side. Keep an eye on them; if they are browning too quickly, lower the temperature.
- For broiling: If you don’t have an outdoor grill, preheat your broiler to its highest setting. Once it’s heated, place the kebabs on a clean broiler tray and place under the broiler for about 7 minutes per side. Keep an eye on them, and make sure they’re not burning or cooking too quickly.
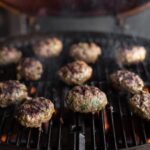
- The kebabs are done once they register 160°F/71°C and are nicely charred in many spots.***
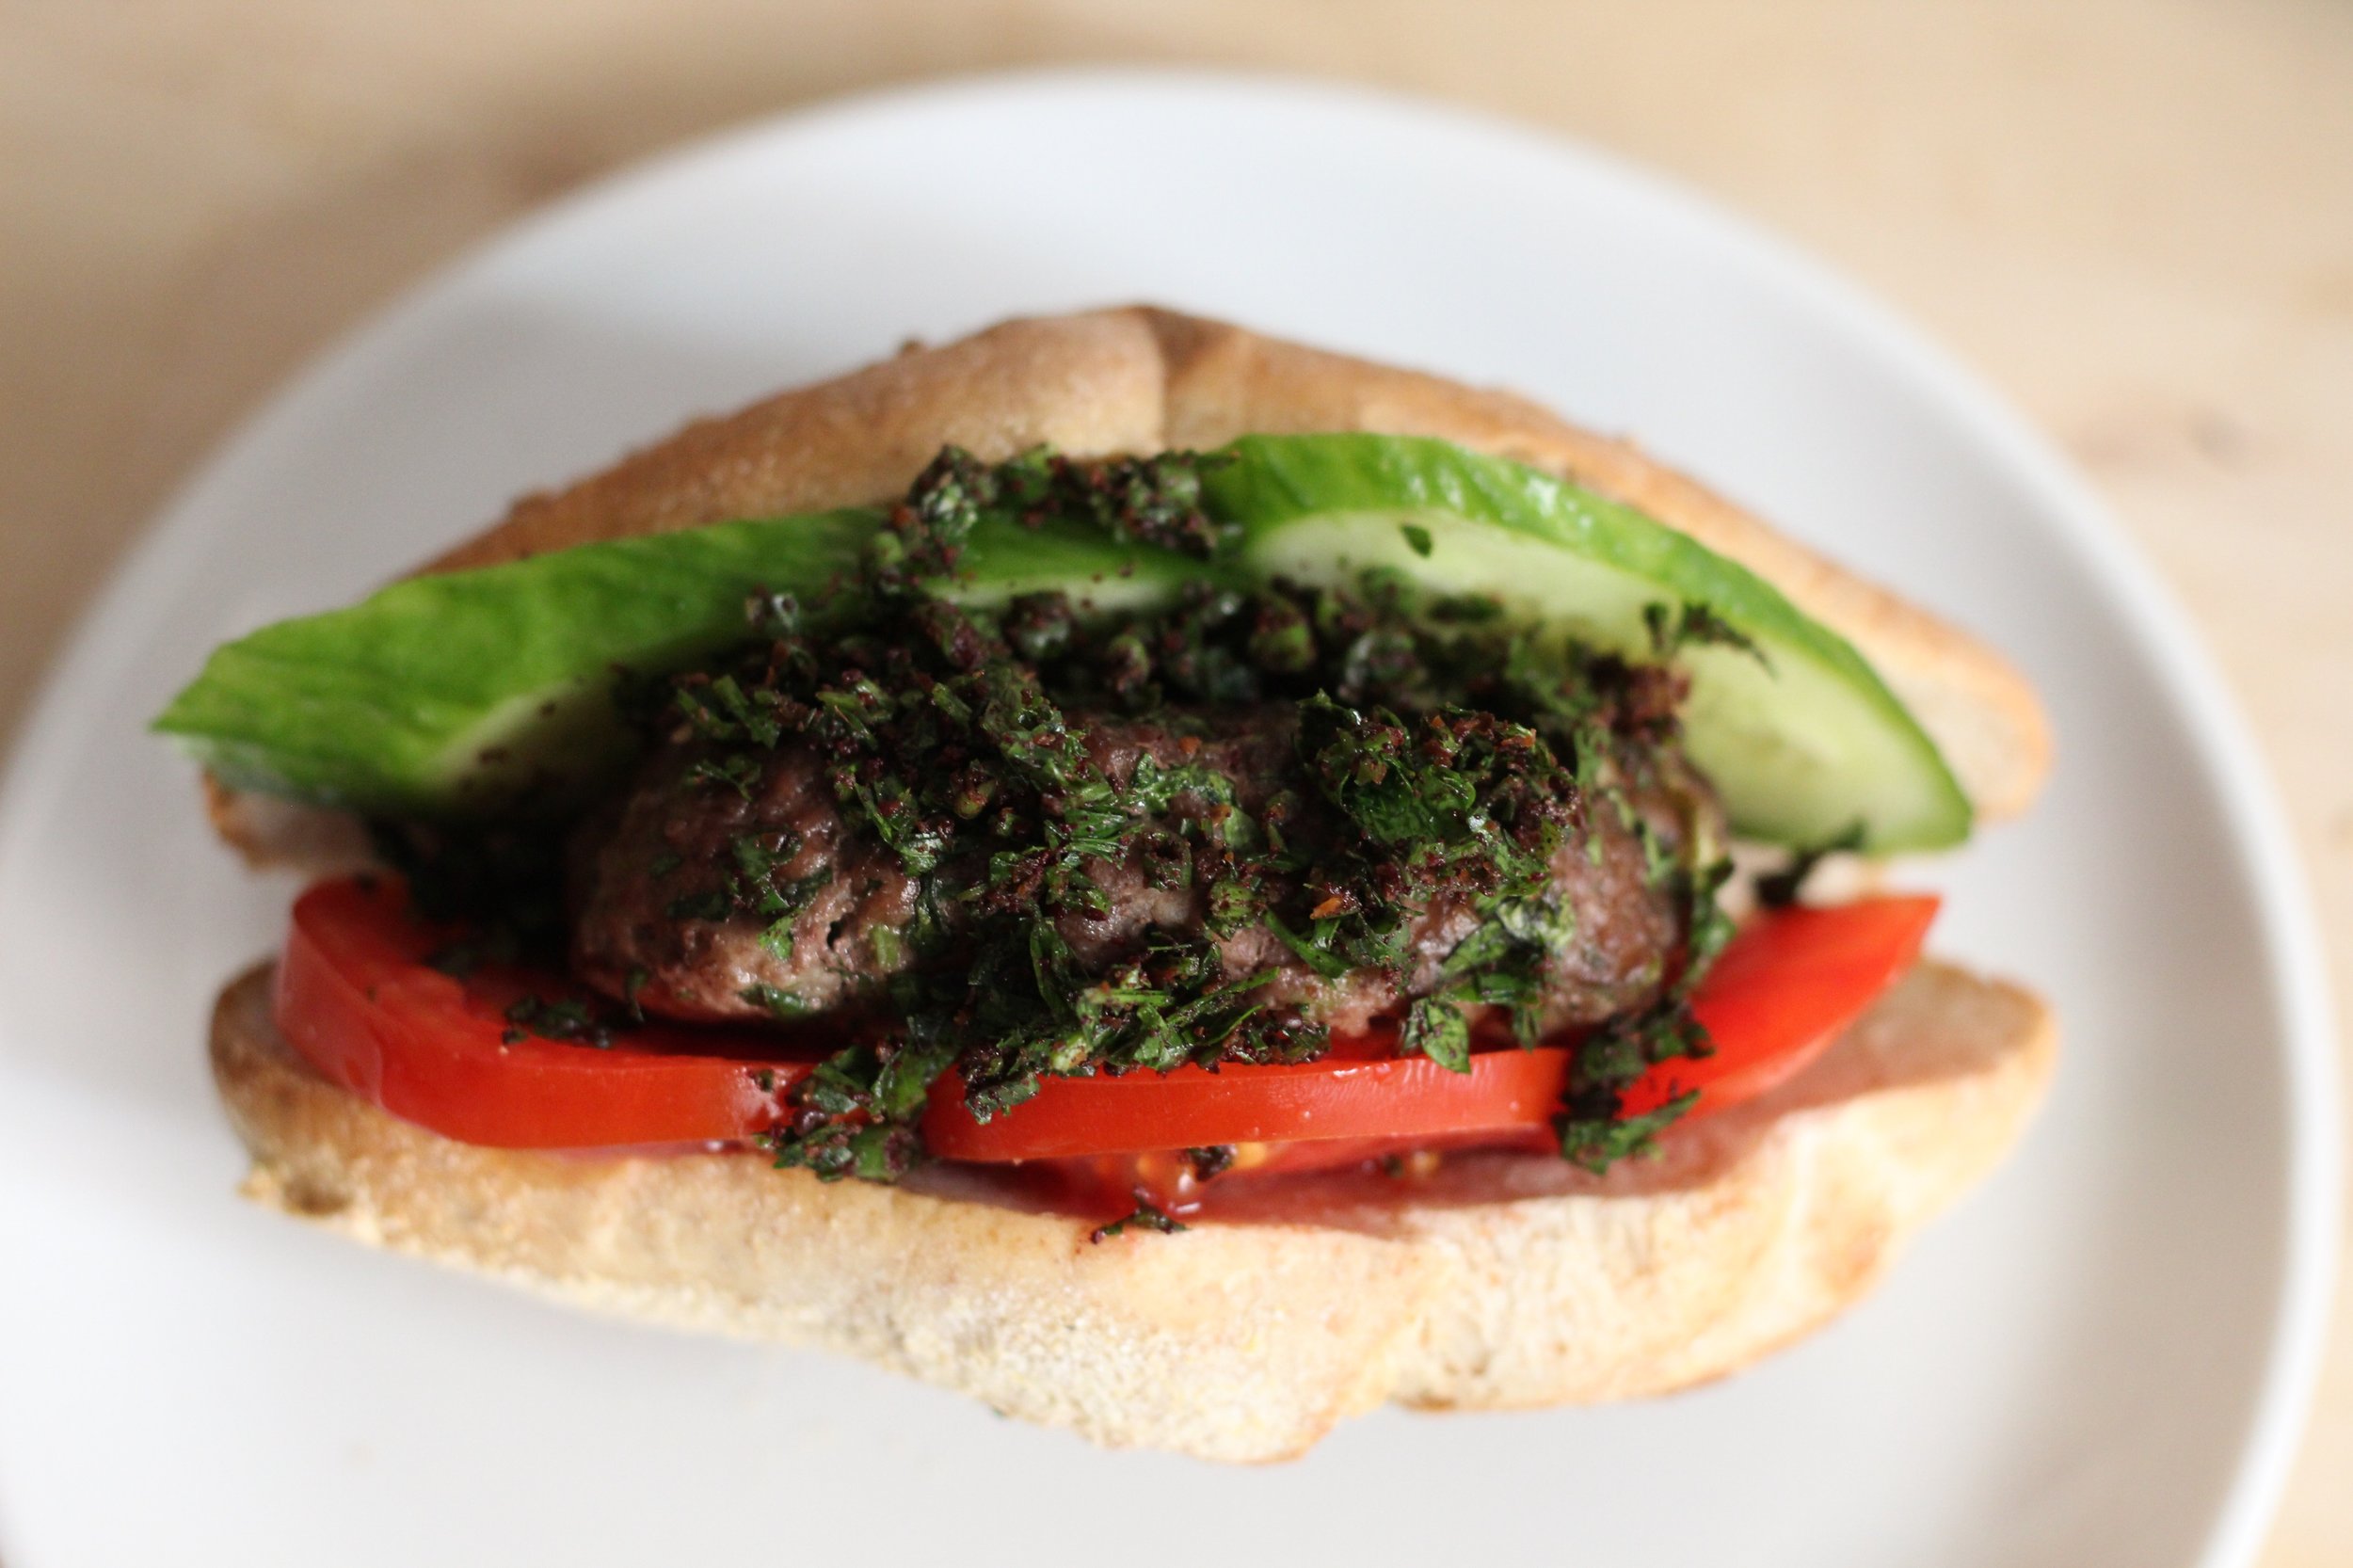
- Serve however you’d like (in samoon or another bread, with a dry salsa on top, or just on their own).
Notes
* This isn’t the kind of recipe where you should use lean beef—definitely go with 80% lean/20% fat.
** If you want them to have a more crumbly burger-like texture, then instead of adding the salt at this stage, you’ll want to season the outside of the shaped kebabs instead. I used to recommend salting the outside, but have since updated the recipe to opt for salting the mixture, since a firmer texture is more traditional (2025 update).
*** Lula kebabs aren’t usually served medium rare, like you’d serve a steak or a pub burger. At least in my experience, Middle Eastern ground beef tends to be either 100% raw or 100% cooked, without a ton of middle ground.
Video note: If you don’t see the video for this post after scrolling up, please disable ad block and try reloading the page.