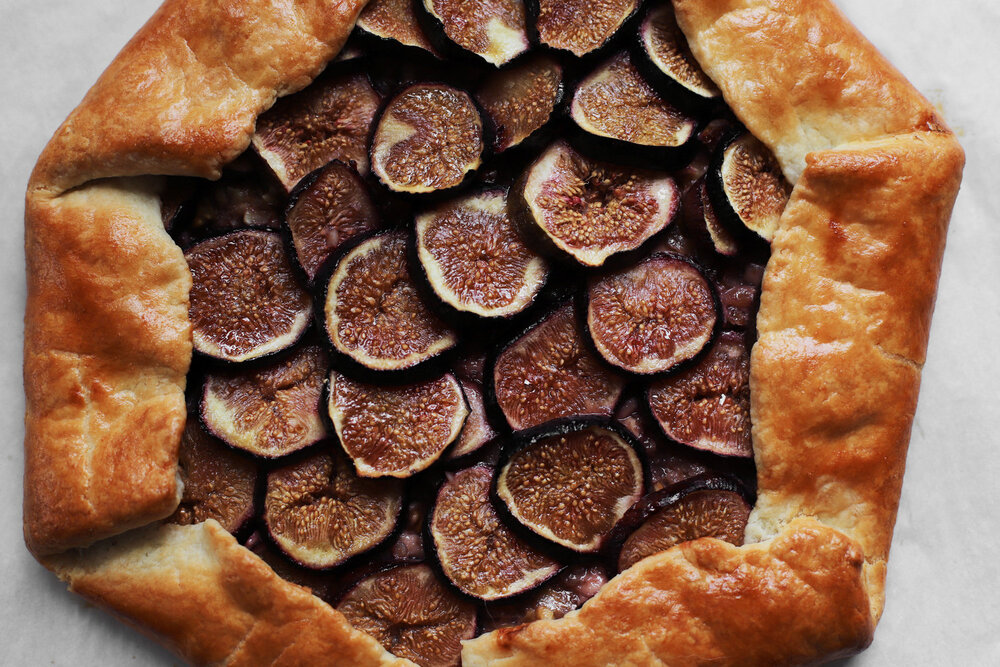
This weekend, I’m posting something a little different from the usual blog post and recipe. If you’re a Cardamom and Tea regular, you might’ve guessed that I’m a little bit of a design nerd, and so I’m super excited to share that Design*Sponge is featuring one of my baking recipes.
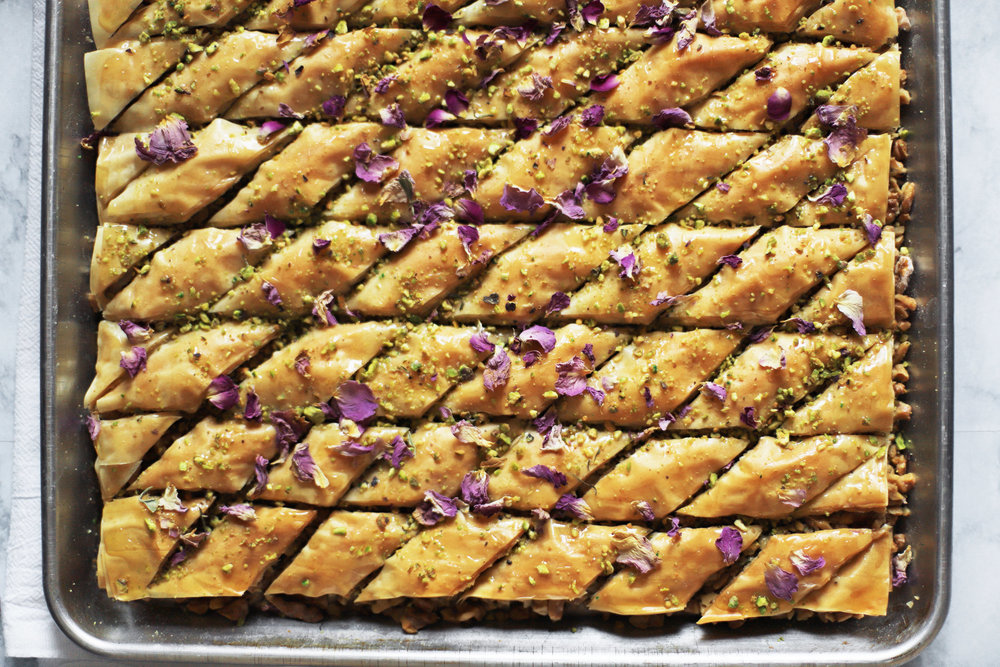
Visit their page to see my recipe for (and more photos of!) cardamom and rosewater gingersnaps, and stick with D*S for lots of gorgeous gift guides, apartment tours, and DIY projects to give your life that little extra bit of loveliness. Also check out my rosewater ingredient highlight, if you want to learn more about where to find it and how to use it. And feel free to check out my desserts page for more cookie recipes.
[edit, August 12, 2019: with the news of Design*Sponge’s closing, I’m posting the recipe here so you’ll still be able to access it. Thanks to Grace, Kristina, and the whole Design*Sponge team for creating such a welcoming, thoughtful, and beautiful space all these years.]
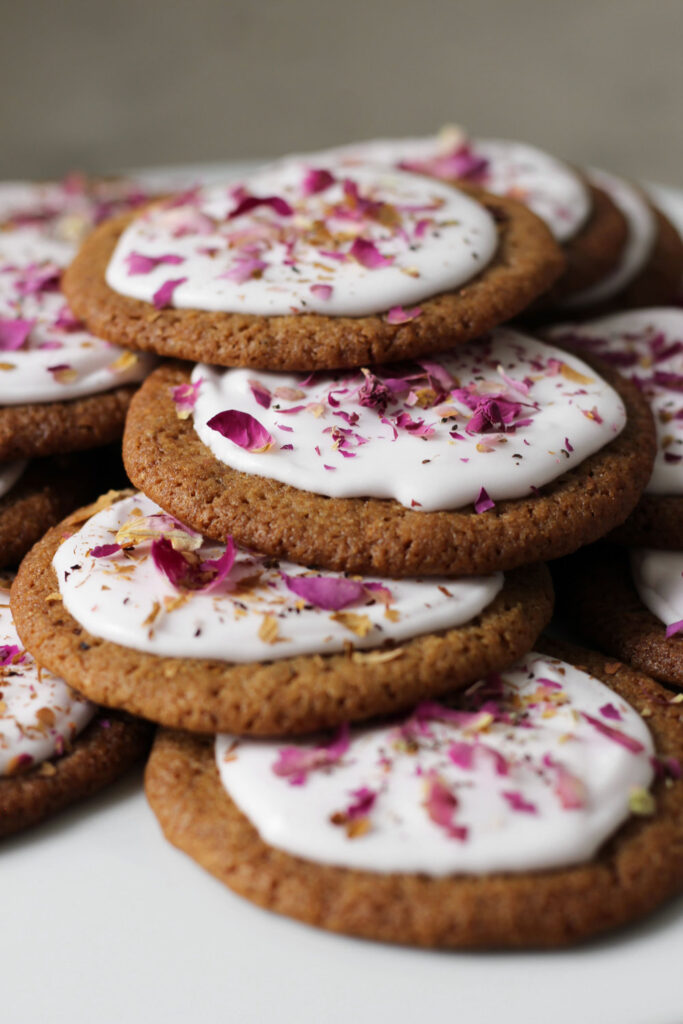
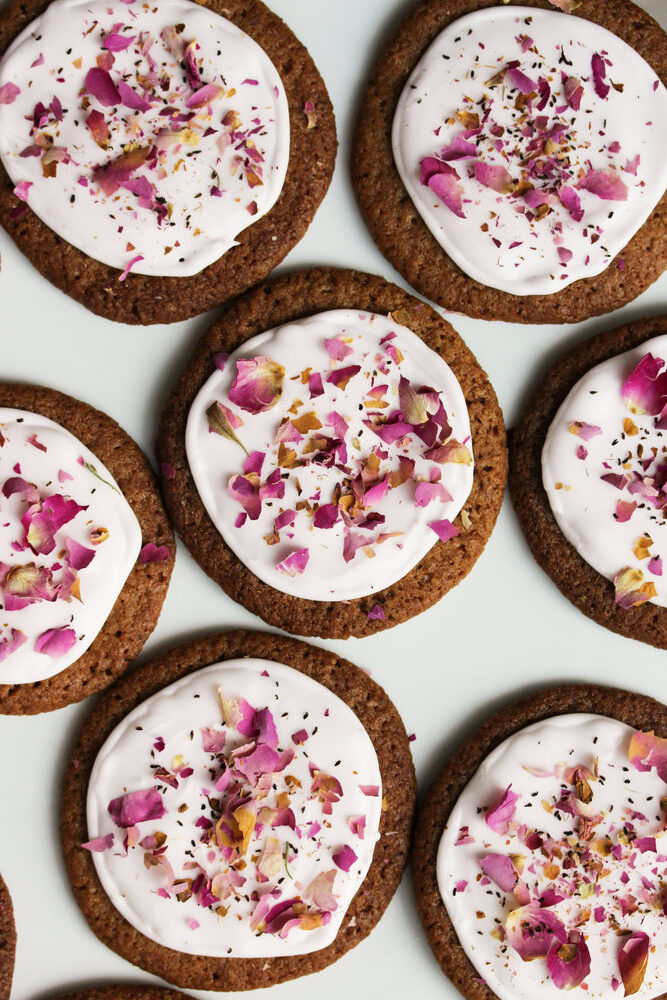
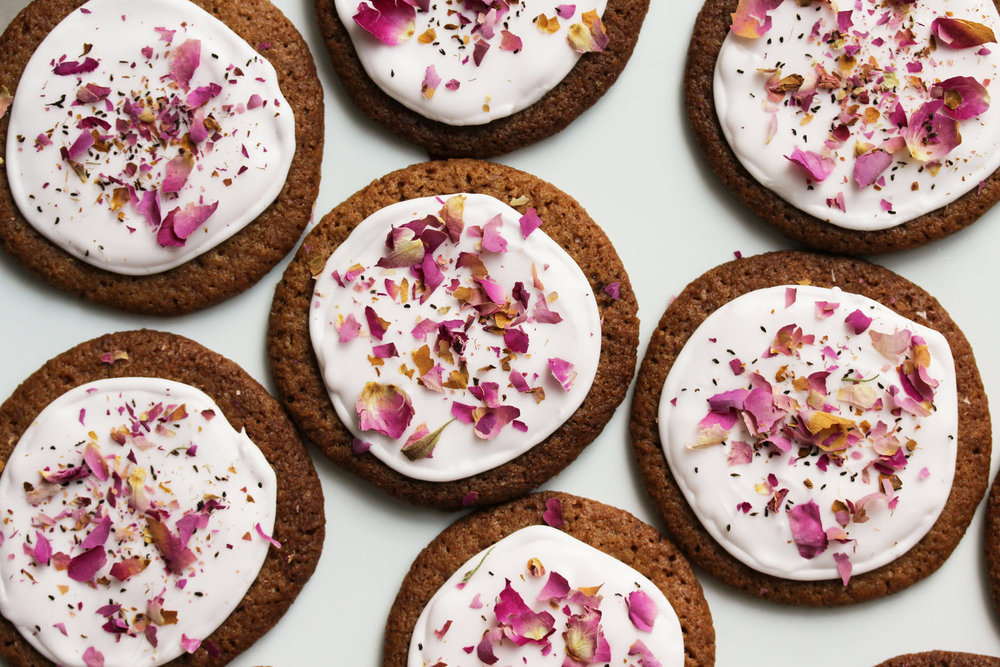
cardamom rose gingersnaps


These rose-cardamom gingersnaps embody the spirit of Middle Eastern dessert: abundance and generosity. To my mind, the best Middle Eastern desserts push the envelope just enough, so that everything is unbelievably fragrant, sweet, and perfect, but not so much that it becomes overwhelming. That’s the spirit of these gingersnaps — they are a wonderful way to express gratitude, hospitality, and warmth.
Ingredients
For the cookies:
- 10 ounces (2 cups) flour
- 1 teaspoon baking soda
- 1 teaspoon cardamom
- 2 tablespoons ground ginger
- 2 sticks butter at room temperature (16 tablespoons)
- 1/2 teaspoon salt
- 1 1/4 cup brown sugar
- 2 egg yolks at room temperature
- 1/4 cup molasses
- 1 teaspoon rosewater
For the icing:
- 2 egg whites *
- 2 tablespoons lemon juice **
- 1 1/2 tablespoons rosewater (or to taste)
- 4 cups powdered sugar (plus more, if necessary)
- A few drops pink food coloring (or a tiny amount of red)
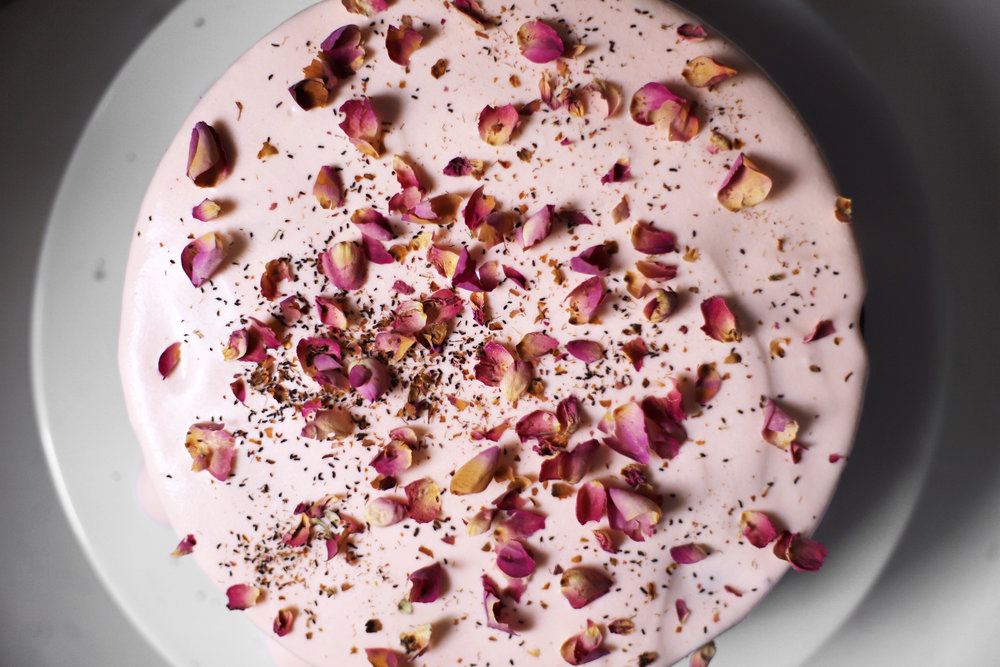
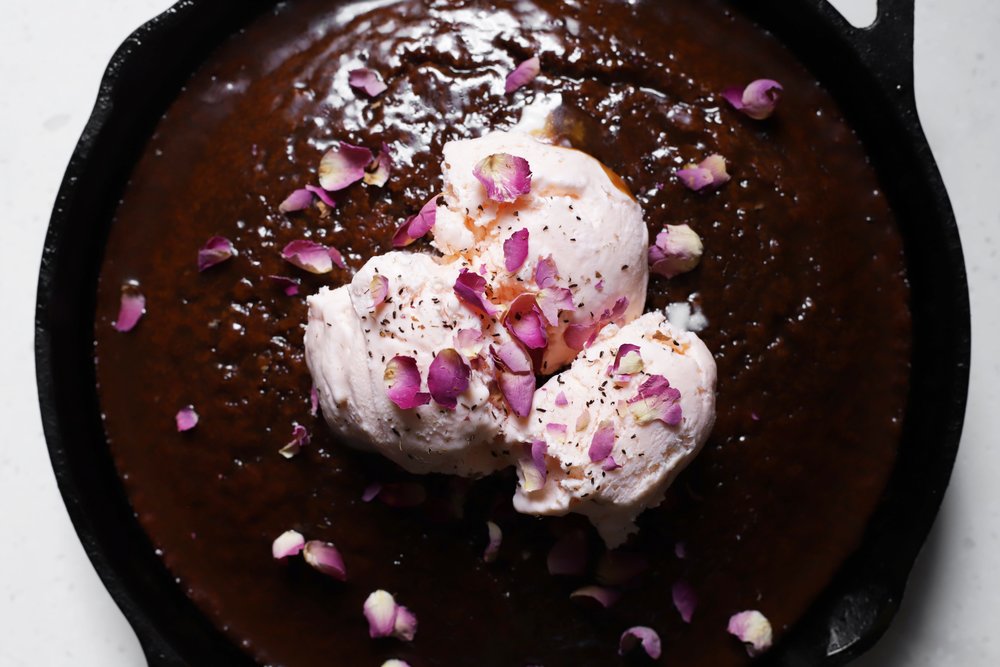
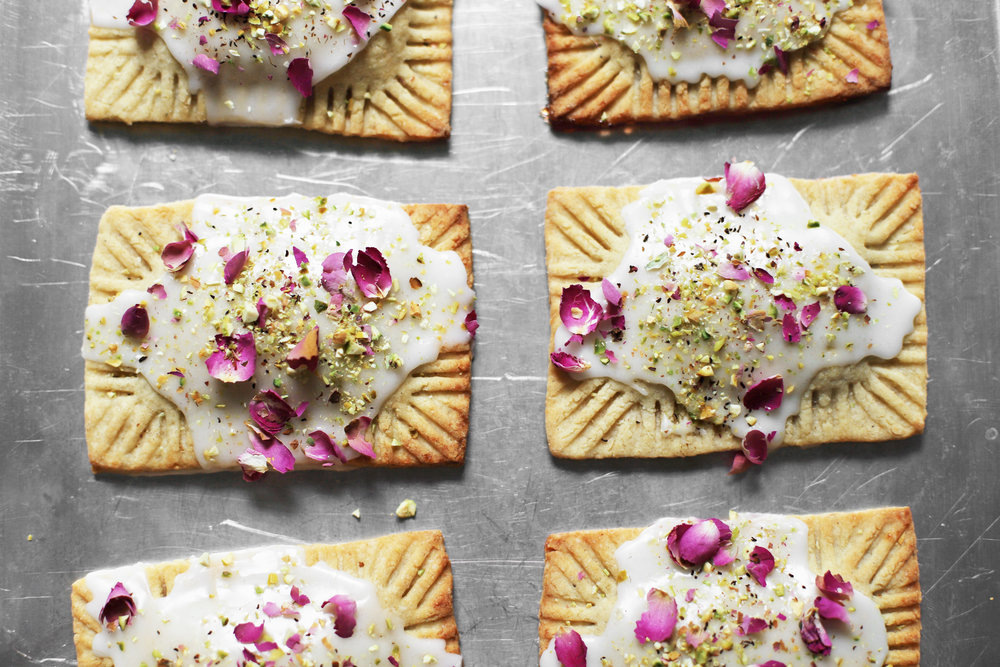
- For decorating: crumbled rose petals and seeds (from about 1/4 cup edible rose buds) ***
Instructions
- Bake the cookies: Preheat the oven to 350° F (convection). If you’re not using a convection oven, you might need to cook them just a minute or two longer, and rotate the sheet pans halfway through baking.
- Sift together the flour, baking soda, cardamom, and ginger, and set aside.
- By hand, with a handheld mixer, or using the paddle attachment of your stand mixer, cream together the butter, salt, and brown sugar, until everything lightens a little in color and becomes a bit fluffy (about 2 minutes).
- Add one yolk, mix it in completely, and repeat with the other yolk. Add the molasses and rosewater, and mix together until everything is incorporated. Scrape down the sides and the bottom of the bowl, and mix together for another 15 seconds.
- Add the flour mixture to the wet ingredients, and carefully combine just until everything comes together, avoiding over-mixing.
- Use 2 spoons or a cookie scoop to drop heaping tablespoons of the cookie dough onto parchment-lined sheet pans. The cookies will spread, so leave a couple inches between them.
- Bake for 12 to 14 minutes. At first, they’ll spread out and puff up, but then they’ll collapse, and you can tell they’re done once they’ve totally flattened out and started to turn a tiny bit darker brown. They’ll still be a little soft right out of the oven, so simply slide the parchment off of the sheet pan and let them cool in place. If you find that they’re undercooked once they’ve cooled, simply slide the parchment back onto the sheet pan and give them another minute or two in the oven. Repeat with the remaining cookie dough.
- Make the icing: While the first batch of cookies are cooling, combine the egg whites, lemon juice, rosewater, and 4 cups powdered sugar, and mix together until there are no more lumps. The icing should fall back on itself in a ribbon, which should disappear after about 15 seconds. If the icing holds distinct patterns that don’t disappear, add ½ teaspoon at a time of lemon juice or water, until it’s the right consistency. If it is too thin and runny, add about ¼ to ½ cup more powdered sugar.
- Once the icing is the consistency you want, add about 2 drops of pink food coloring (or a really tiny amount of red food coloring, using a toothpick). Mix together, and add more to get the color you want. I like to keep it very pale pink so that the rose petals contrast with it.
- Once the cookies have cooled, use a pastry bag, offset spatula, or spoon to ice the first cookie. Immediately sprinkle it with the rose petals and seeds (if you wait after frosting, they won’t stick). Repeat with the remaining cookies. Let them dry for at least 2 hours, or longer if you want to stack them or package them to give as a gift (you can leave them out overnight to really let the icing harden).
Notes
* If you’re baking for someone who is immunocompromised, use pasteurized egg whites.
** Use a reamer, not a squeezer, or they’ll taste too lemony.
*** The rose petals are totally optional, and mostly just for decoration. You can find them at spice shops, tea shops, some well-stocked supermarkets, and online. They also make great tea, and I’ve got a few recipes on my blog that feature them, in case you need more ways to use them.