This baklava recipe isn’t a veganized version of classic baklava—it’s actually a traditional vegan baklava! Lots of Assyrians spend a big chunk of the year fasting from animal products. So during certain months (Lent, advent, and a few other fasting days), we sub out our clarified butter for extra virgin olive oil. So this is exactly how we make our baklava for the vegan times of the year, and how we’ve done so for centuries.
Strangely, extra virgin olive oil tastes more buttery than butter itself. And while clarified butter isn’t quite as high-maintenance as it might seem, there’s nothing easier than opening a bottle of olive oil. So these days, my baklava is vegan more often than not!
[If video does not appear in the introduction, please disable ad block]
what makes this vegan baklava so easy
1) Slice and pour instead of brushing each layer individually.
My grandmother has been making her baklava this way forever, and it turns out perfectly every time. Just stack, slice, and pour. The olive oil seeps into each layer, and it ends up super flaky and rich. See the video above or the recipe below to see this technique in action:
2) Just pop open a bottle of olive oil!
Literally, just open the bottle, measure, and pour! No need to fuss with clarifying butter (or vegan butter substitute).
3) Use a food processor to chop the nuts.
I’m gonna be really embarrassed if my grandmother reads this one (😬), but here’s my secret: Use a food processor to chop everything! Just make sure you stop short of turning the walnuts into walnut butter. Once they’re finely chopped, stop pulverizing them. Do the pistachios first, remove from the food processor and set aside for later, then move onto the walnut mixture without washing it between.
4) Start with the right proportions for a fail-proof syrup.
To make a simple syrup with the perfect consistency, you need to do one of two things: use a candy thermometer, or start with the exact right amount of sugar and water, boil it just until it dissolves, and then continue to let it simmer for a couple minutes with the lid on to prevent crystal formation.
Many recipes have you start with excess water, and then boil it down for a certain number of minutes, but this will result in a wide range of consistencies if you’re not using a thermometer. Depending on how wide your pan is, more or less water will boil off in the amount of time. And it’s very tricky to determine whether it’s the right consistency while it’s simmering (unless you’re already a pro).
This recipe uses the exact right amount of both water and sugar, for a syrup with the perfect consistency no matter what. Just make sure you don’t let it continue to boil uncovered, or it will reduce and turn into hard candy.
Also note that this syrup may crystalize a little as it cools, which is completely fine and won’t affect the final product. This is a side effect of not starting with more water and cooking it down, but a small price to pay if you’re not working with a candy thermometer (which I realize most folks don’t have on hand). If, on the other hand, you get crystallization while the syrup is cooking, it’s because a little bit of sugar stuck to the side of the pot and fell back in, which is just a mistake that can happen when making any syrup. In that case, you should start over, because it probably won’t be very pourable.
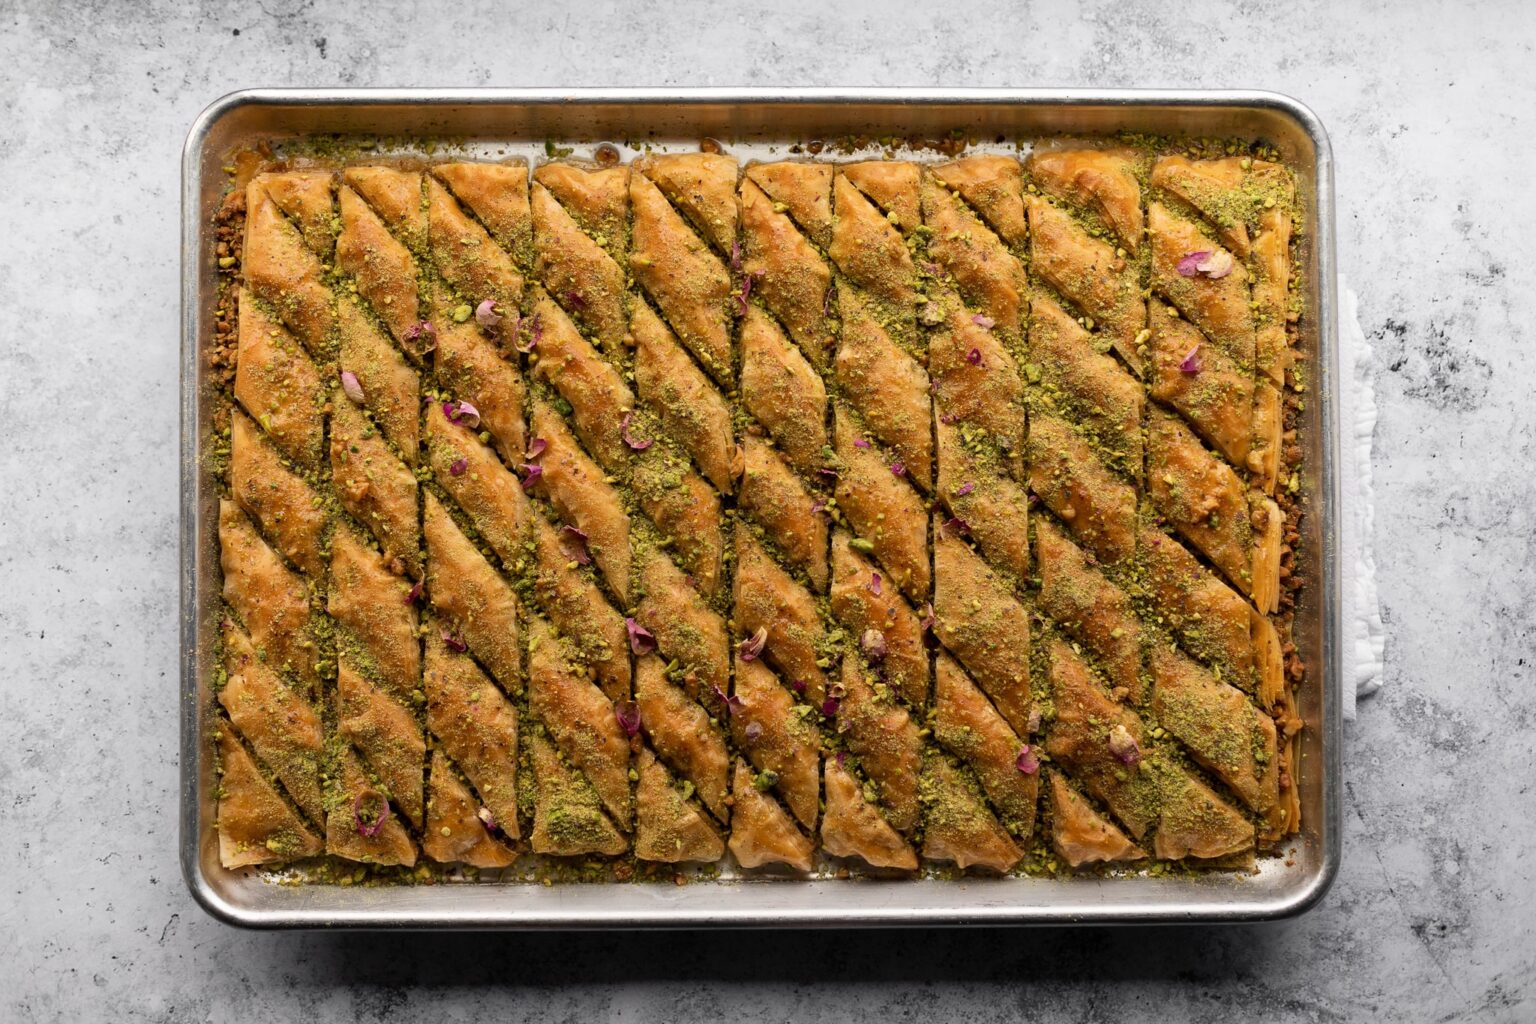
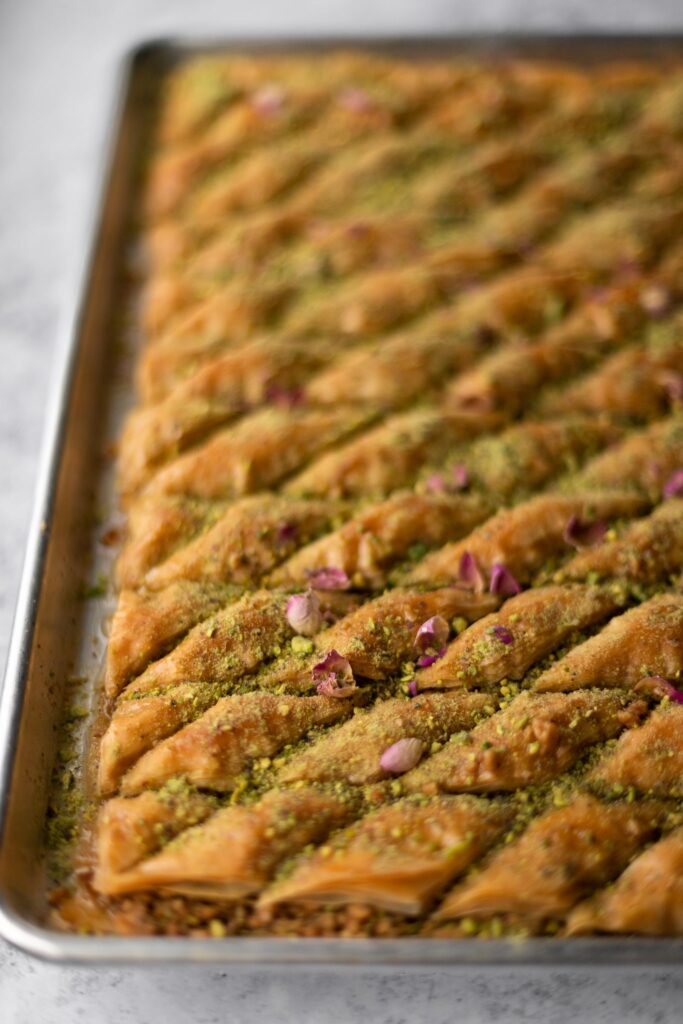
Authentic Vegan Baklava (the easy way)

Ingredients
For the syrup:
- 2½ cups [500 g] granulated sugar
- 1 pinch salt
- 1 cup [235 g] water
- 1 tablespoon [15 g] rosewater
For the baklava:
- 16 oz [455 g] unopened container filo dough sheets
- 16 oz [455 g] walnuts
- 2 teaspoons [4 g] ground cardamom
- 2 teaspoons [4 g] ground cinnamon
- ½ teaspoon [1 g] ground cloves
- 1 cup [210 g] extra virgin olive oil, plus more for greasing
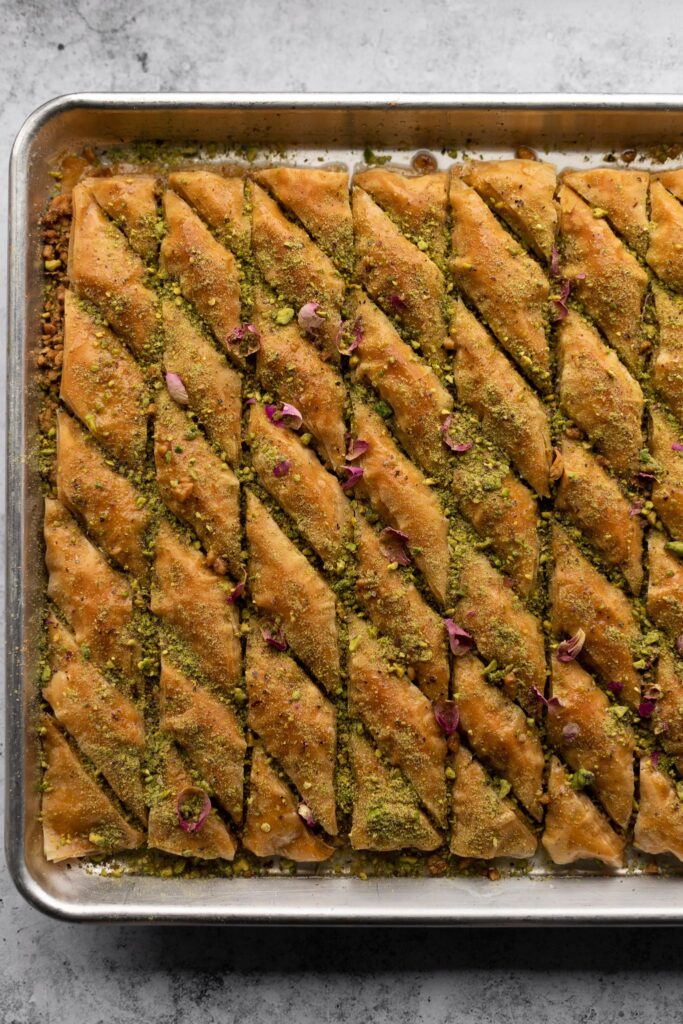
To decorate: Optionally use 1/3 cup [55 g] finely ground pistachios and/or a sprinkling of edible dried rose petals, or just leave it plain.
Instructions
- Make the syrup the night before (or a couple hours before): Place the sugar and salt in a small saucepan. Shake out into an even layer. Pour on the water so the sugar is evenly covered. Make sure there are no sugar granules sticking to the side of the pot.
- Bring to a boil over medium-high heat, uncovered and without stirring. It will simmer around the edges for a few minutes, and then will begin to boil throughout. Once it comes to a boil, let it bubble away for about 1½ minutes without stirring, just until the sugar dissolves completely.
- As soon as the sugar dissolves completely, add the rosewater, cover tightly with a lid, reduce the heat to low, and let it simmer for 2 more minutes (this will prevent crystallization, but won’t change the consistency of the syrup).
- Let it cool down at room temperature for a little while, cover, and chill completely in the refrigerator. Once fully chilled, it should be about the consistency of honey.
- Place your filo in the refrigerator overnight to thaw.
- A few hours before you’re ready to bake, move your filo from the fridge to the counter to let it come to room temperature before opening.
- Once you’re ready to bake, preheat the oven to 350°F [180°C].
- Place the walnuts, cardamom, cinnamon, and cloves in a food processor fitted with the blade attachment. Pulse several times, just until the walnuts are finely chopped (do not over-process, or they will become a paste). Set aside.
- Grease a rimmed sheet pan* with about a teaspoon of olive oil.
- Open your filo dough package, and divide the dough into two stacks. Place the first stack on the sheet pan. Top with the walnut mixture, and spread out into an even layer. Top with the second stack of filo dough.
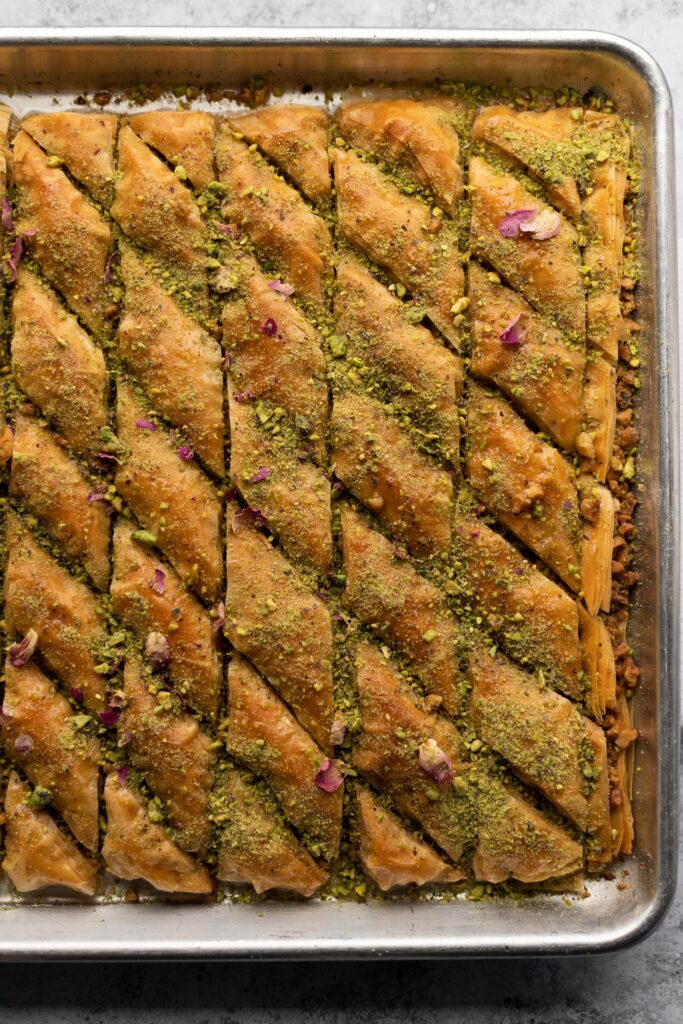
- Slice as in the video below the recipe (slice across in one direction, then diagonally in another direction).
- Evenly drizzle the cup of olive oil over the surface of the filo.
- Bake for about 30 minutes, until very lightly golden brown on top.**
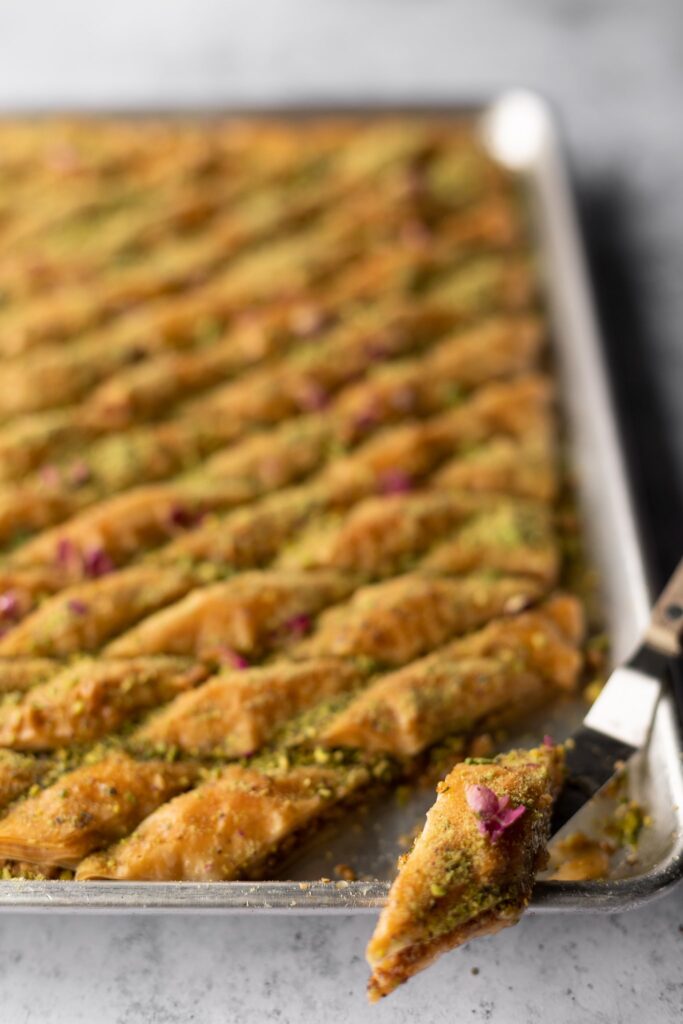
- As soon as it comes out of the oven, pour the cooled syrup slowly and evenly over the surface. If any liquid runs off to the side, spoon it back over the surface until it stops running. Immediately sprinkle with pistachios and rose petals, if using.
- Let it sit*** for at least a few hours, then slice through again, and serve. Store at room temperature for a few days, and freeze whatever you don’t plan to eat in the first few days.
Notes
* I use a standard 8×13 inch, but you can use whatever pan you have that will accommodate the size of your filo dough.
** Note: If your pistachios are not already ground, throw them in the food processor before washing it while your baklava bakes. Pulse them until they’re finely ground, but before they turn into a paste.
*** If the kitchen is a little on the warm side, feel free to place them in the fridge to help them set more firmly.
Video note: You can find the video in the introduction to this blog post. If you don’t see it after scrolling up, please disable ad block and reload the page.