There are so many different ways to fry a chicken. Want to make some chicken parmesan? Simply dredge chicken in flour, then egg, then breadcrumbs, and pan-fry. To make Korean fried chicken, you create an aromatic marinade, dredge the marinated chicken in potato or corn starch, and double fry it. Tempura chicken gets its fluffy-crisp shell from a light and airy batter. And for perfect southern fried chicken, simply marinate chicken pieces in buttermilk, dredge them in seasoned flour, and move them straight into the oil. That’s the technique we’ll be using today for these za’atar chicken and waffles.
If you’ve never tried making the original, I highly recommend trying an excellent classic recipe first. In this recipe, I’ve included za’atar in place of more classic seasonings. And instead of buttermilk, we’ll use Greek yogurt, an ingredient you’ll often find paired with za’atar.
a note on za’atar
Za’atar is often misunderstood. So I highly recommend checking out this post when deciding what kind of za’atar to use for these za’atar chicken and waffles.
The bottom line: za’atar is indeed a blend of wild thyme, sumac, sesame, and a few other ingredients. But “wild thyme” is absolutely not the same thing as French thyme, which is what you’ll usually find in US supermarket spice aisles. So unless you have some za’atar growing in your back yard, I don’t recommend trying to mix your own. If you mix your own za’atar with French thyme and then use it in this recipe, it will have an overpowering flavor and will taste almost perfumey.
A blend of real za’atar should be very mellow and herby, with a lot of zesty flavor and toastiness. You can use it in pretty vast quantities, and not worry about overpowering a dish. For instance, manakish za’atar is coated in a thick slurry of za’atar, and I still find myself licking my finger to pick up any bits that escape onto the plate. It’s hard to have too much of it.
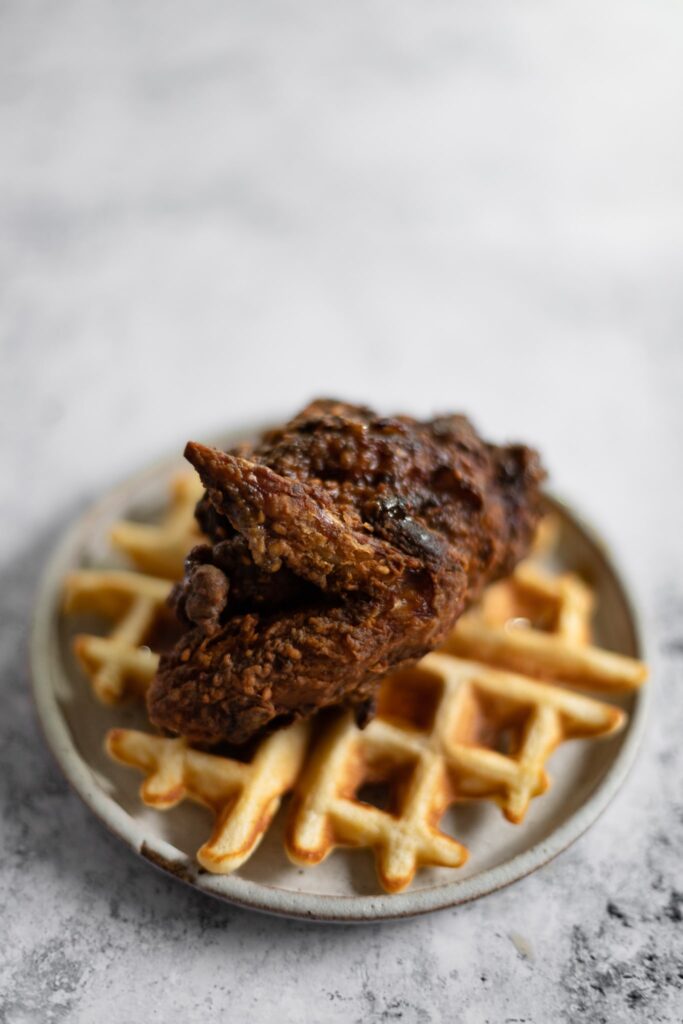
za’atar chicken and waffles

Ingredients
For the za’atar chicken:
- 3 to 4 lb [1.4 to 1.8 kg] whole chicken, cut into pieces
- 1 to 1½ tsp [5.5 to 8 g] salt
- ½ cup [120 g] Greek yogurt
- 1 large egg [50 g]
- ½ cup [45 g] za’atar*
- 1¼ cups [165 g] flour, for dredging
- 10 waffles (see recipe below)
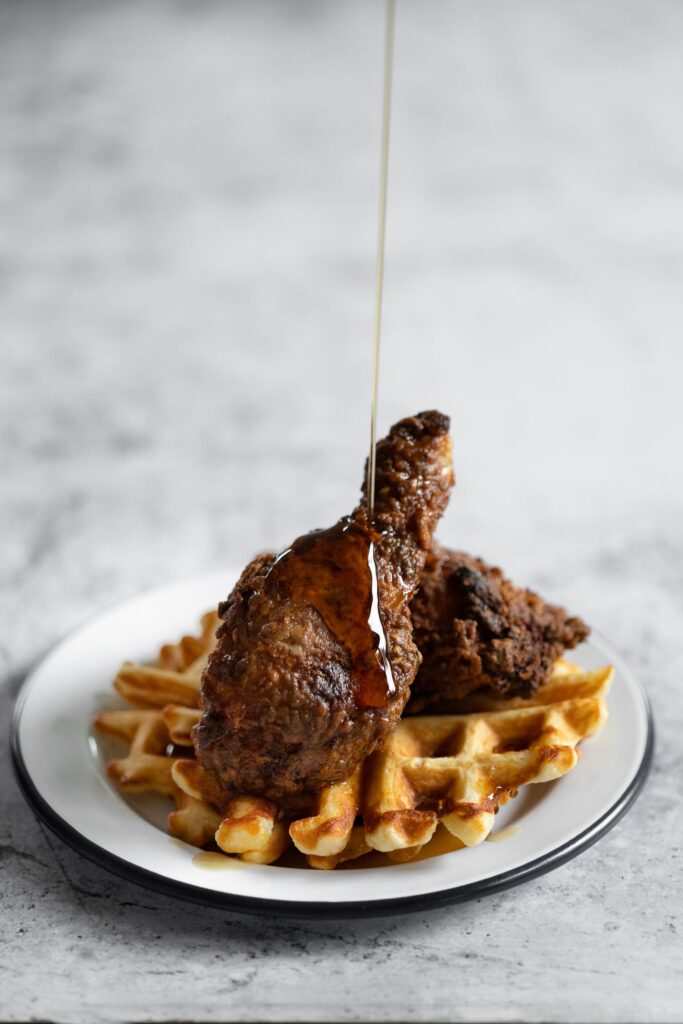
- Maple syrup, for serving
For the waffles:
- 2 cups [260 g] all-purpose flour
- 2 tsp [9 g] baking powder
- 1 tsp [5.5 g] salt
- ⅛ tsp [0.5 g] baking soda
- 1 cup [240 g] milk
- ½ cup [120 g] Greek yogurt
- 2 large eggs [100 g]
- 7 tablespoons [100 g] butter, melted
- ¼ cup [50 g] granulated sugar
- Cooking spray (optional)
Instructions
Make the chicken:
- Cut your chicken into pieces, cutting each breast into two smaller pieces and leaving a wing attached to one half (if it’s not already in separate pieces). Watch this video if you’ve never done it before for a general guide.
- Combine the yogurt, egg, and za’atar in a large mixing bowl. Place your chicken in a bowl and sprinkle evenly with salt. Mix together with your hands until everything is evenly coated. Cover and let it sit in the fridge for at least an hour, up to overnight.
- Make the waffles before you’re ready to fry the chicken, and leave them at room temperature for up to a couple hours. Reheat by popping in the toaster set to medium when you’re ready to serve.**
- Once you’re ready to fry, set up a safe fry station on your stove. Make sure it cannot be knocked over. Place an inch or two of oil in the skillet for shallow frying. Set over medium-low heat so it can heat gradually while you prep the chicken, and set up a deep fry thermometer. Keep a close eye on it, and aim for it to reach 365°F [185°C] by the time you’re ready to fry. If it heats too quickly, reduce the heat to low or turn off for a few moments until you’re ready.
- Place flour on a large plate while you wait for the oil to heat, and set your bowl of chicken next to it.
- Once your oil is hot, remove a piece of chicken from the bowl, do not wipe away any of the marinade, and then dredge it generously in the flour mixture. Set aside until you have a couple pieces ready to fry, then carefully lower each piece into the hot oil. They should be covered about ¾ of the way by the oil. Raise the heat to high for a few minutes to let it climb back up to 330°F [160°C], and adjust to maintain 330°F [160°F]. Let the chicken fry for about 15 to 20 minutes total, flipping once halfway through. Keep an eye on the heat and adjust as necessary. Work in batches. The chicken is done once it reaches 165°F [74°C]
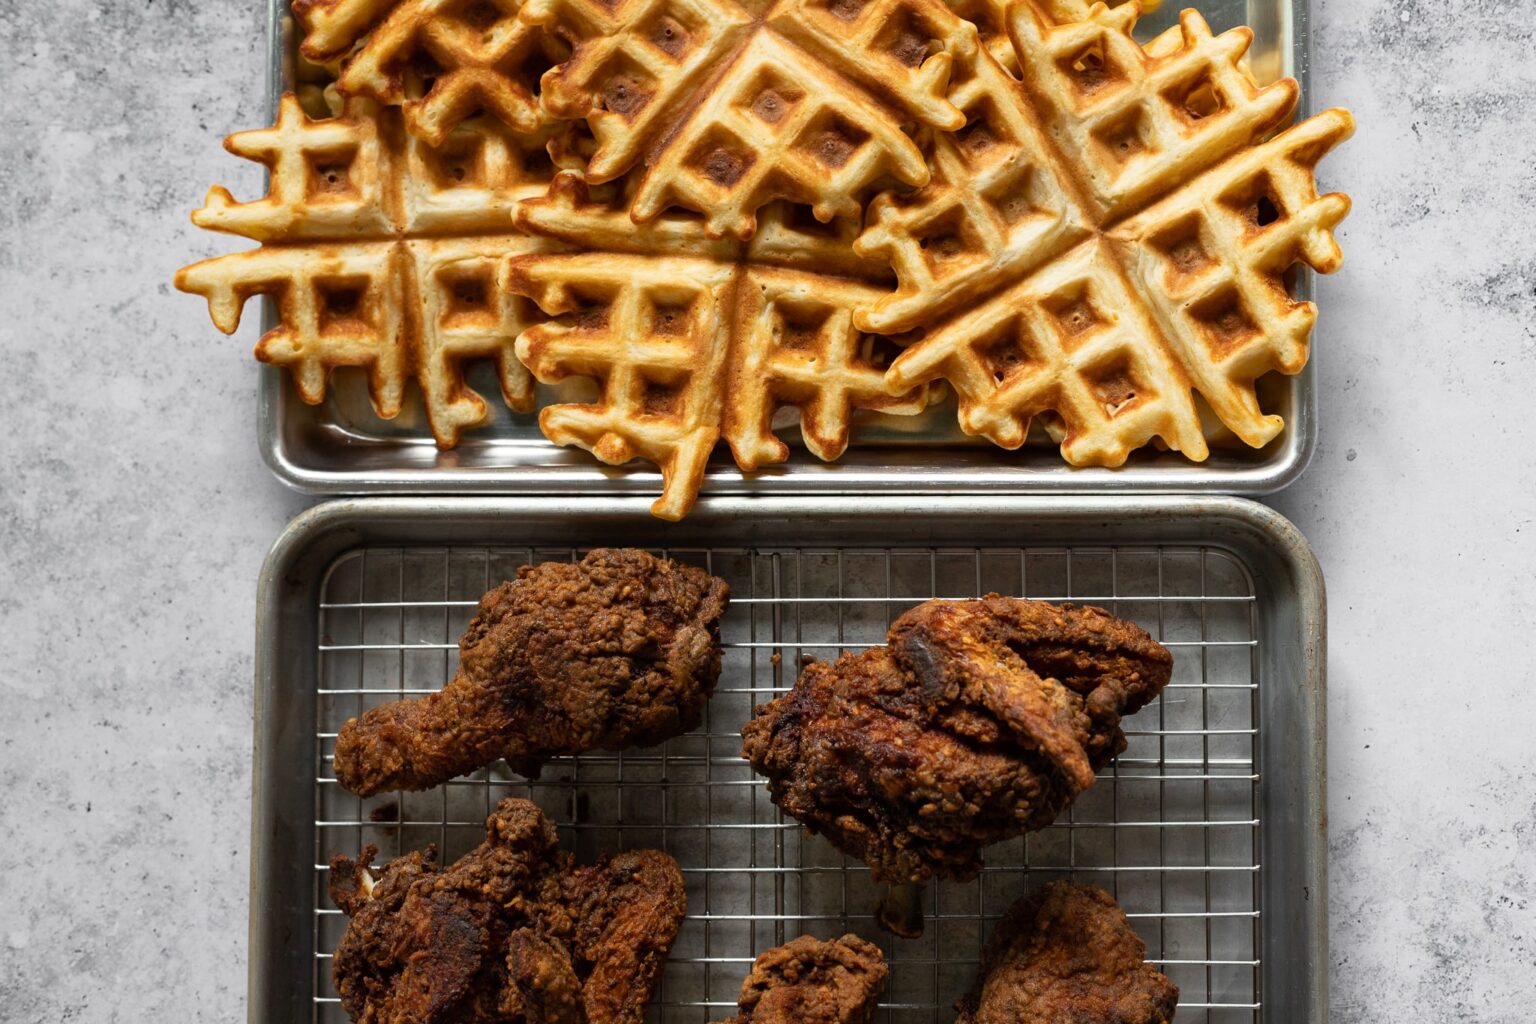
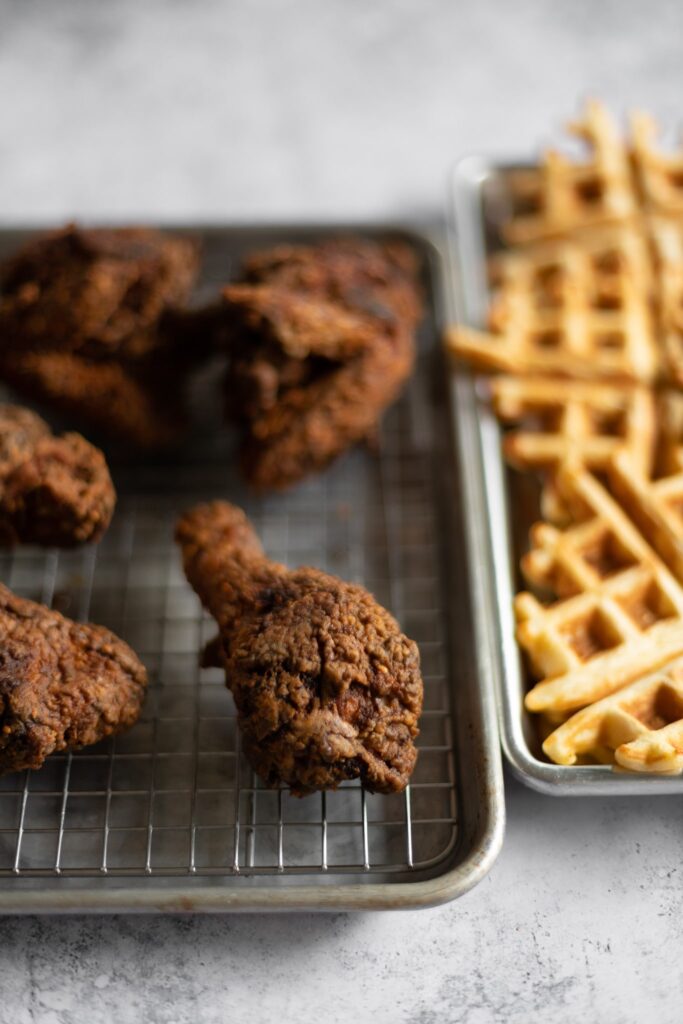
- Remove to a cooling-rack-lined sheet pan or paper-towel-lined plate. Top a waffle or two with a piece of chicken and serve with maple syrup at the table.
Make the waffles:
- Whisk together the flour, baking powder, salt, and baking soda in a medium mixing bowl.
- Whisk together then buttermilk, eggs, butter, and sugar in another medium mixing bowl.
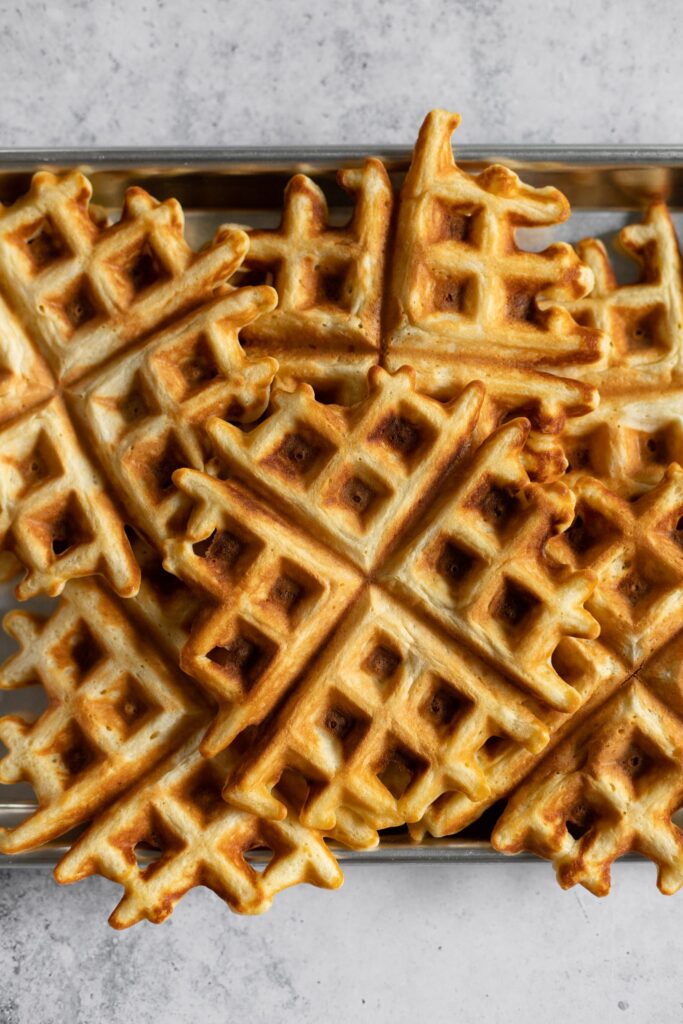
- Preheat your waffle press. Once it’s heated, pour the wet ingredients over the dry, and stir together, being very careful not to overmix. There should be a few little lumps, but as long as you whisked the dry ingredients well initially, the little lumps will not become dry flour pockets.
- Spray your heated waffle press with cooking spray (feel free to skip if it’s nonstick), then pour batter into the center according to your waffle maker’s specs. Different waffle presses have different cook times (mine takes about 6 minutes).
Notes
* For this recipe, absolutely make sure you use real za’atar, and do not make your own blend with French time.
** If you’re a really good multitasker, you can make the waffles at the same time as frying the chicken. Get all your wet and dry ingredients ready, and heat up your waffle iron, and then mix the batter together at the last moment once the chicken goes in the fryer. If you’re not such a great multitasker, just make the waffles before you fry, and it’ll be just fine. They get super crispy in the toaster, and it all works out.