This is the most flexible recipe for chicken kebabs you’ll ever find. Make it your own with whatever you’ve got on hand:
- Use breasts or thighs
- Use a grill or oven (or even a fire pit!)
- Let it marinate or skip right to cooking with 0 wait time
- Use any spices
- Make it dairy free
In this post, I’m going to walk through each of these customizations, or you can jump to the recipe.


How to keep your chicken kebabs juicy (no matter the cut or cooking method)
This recipe for chicken kebabs is super forgiving, and that’s because of the important first step: salting the chicken. Salting it right at the beginning is the key to juicy chicken, whether you’re using breast meat, thigh meat, and whether you’ve got a super hot gas grill or a pretty ho-hum oven broiler. You can even roast them over an open fire.
This salting step is technically called “dry brining,” but it’s as simple as giving your chicken a moment to absorb some salt. With dry brining, even if you go a little bit above the ideal doneness temperature, or even if you don’t have a thermometer in the first place—there’s a lot more wiggle room.

Why you don’t need to let chicken kebabs marinate overnight
Let’s talk about one of the most overrated cooking techniques out there: marinating meat overnight.
Here’s the thing: soaking meat in a zippy marinade? It’s mostly just a surface-level improvement (literally!). Flavors in marinades don’t actually make it past the outer layer of meat. So while your chicken might smell incredible in the bowl, once it hits the grill, most of that marinade drips right off. Whatever’s left behind in the bowl? Lost forever.
That’s why I prefer a different approach. Rather than letting your kebabs sit around in a marinade that may never make it past the surface, go with a punchy, clingy coating—something that sticks around and builds flavor as it cooks.
It’s faster, tasty, and (best of all) it skips the overnight wait.
One caveat: Salt does make a difference, because it can actually chance the texture of the meat. But when your chicken pieces are small (like the ones in this recipe), they don’t need a whole night to get the benefits. Salt early in the cooking process, and you’ll get tender, juicy results without all the waiting around.
All that said, if you want to prep your kebabs the night before, go for it. There’s no harm in letting them rest in the fridge overnight. It just doesn’t need to take that long.
Other ingredient substitutions
You can use pretty much any warm spice blend you have on hand, and you don’t need to use yogurt. If you’re fully omitting the yogurt, you’ll need to scale back on the lemon to make sure the spices don’t get washed away. Add just enough lemon to make a thick paste with the spices.
Step-by-step chicken kebab instructions

Cut the chicken into 1 1/2 inch [4 cm] cubes and place in a medium mixing bowl.

Sprinkle the chicken evenly with 1 1/4 tsp [7 g] salt.*** Let it sit for 5 minutes before proceeding. Salting it first will help it stay juicy. If you plan to cook them right away, preheat your oven’s broiler to its highest setting or your grill to medium-high (brush your grill grates with a thin layer of oil first).

Top the chicken with the yogurt, paprika, spice blend, garlic, and lemon zest and juice. Mix together until coated evenly.

Skewer the chicken, alternating each piece of chicken with a piece of onion. If you’re making them ahead, cover and refrigerate overnight and preheat your broiler or grill the next day. If you’re making them now, proceed.

For grilling: Place on the grill, cover, and cook for about 10-15 minutes for breasts (15-18 minutes for thighs), flipping once halfway through. They’re ready to flip once the first side is caramelized and a little charred. If they caramelize too quickly, turn the heat down.
For broiling: Place on a aluminum foil-lined aluminum sheet pan. Place under your oven’s broiler and cook for about 10-17 minutes for breasts (15-20 minutes for thighs), flipping once halfway through. If they caramelize too quickly, turn the heat down.

The chicken is done once it reaches an internal temperature of 165°F [74°C] for breasts, 185°F [85°C] for thighs.
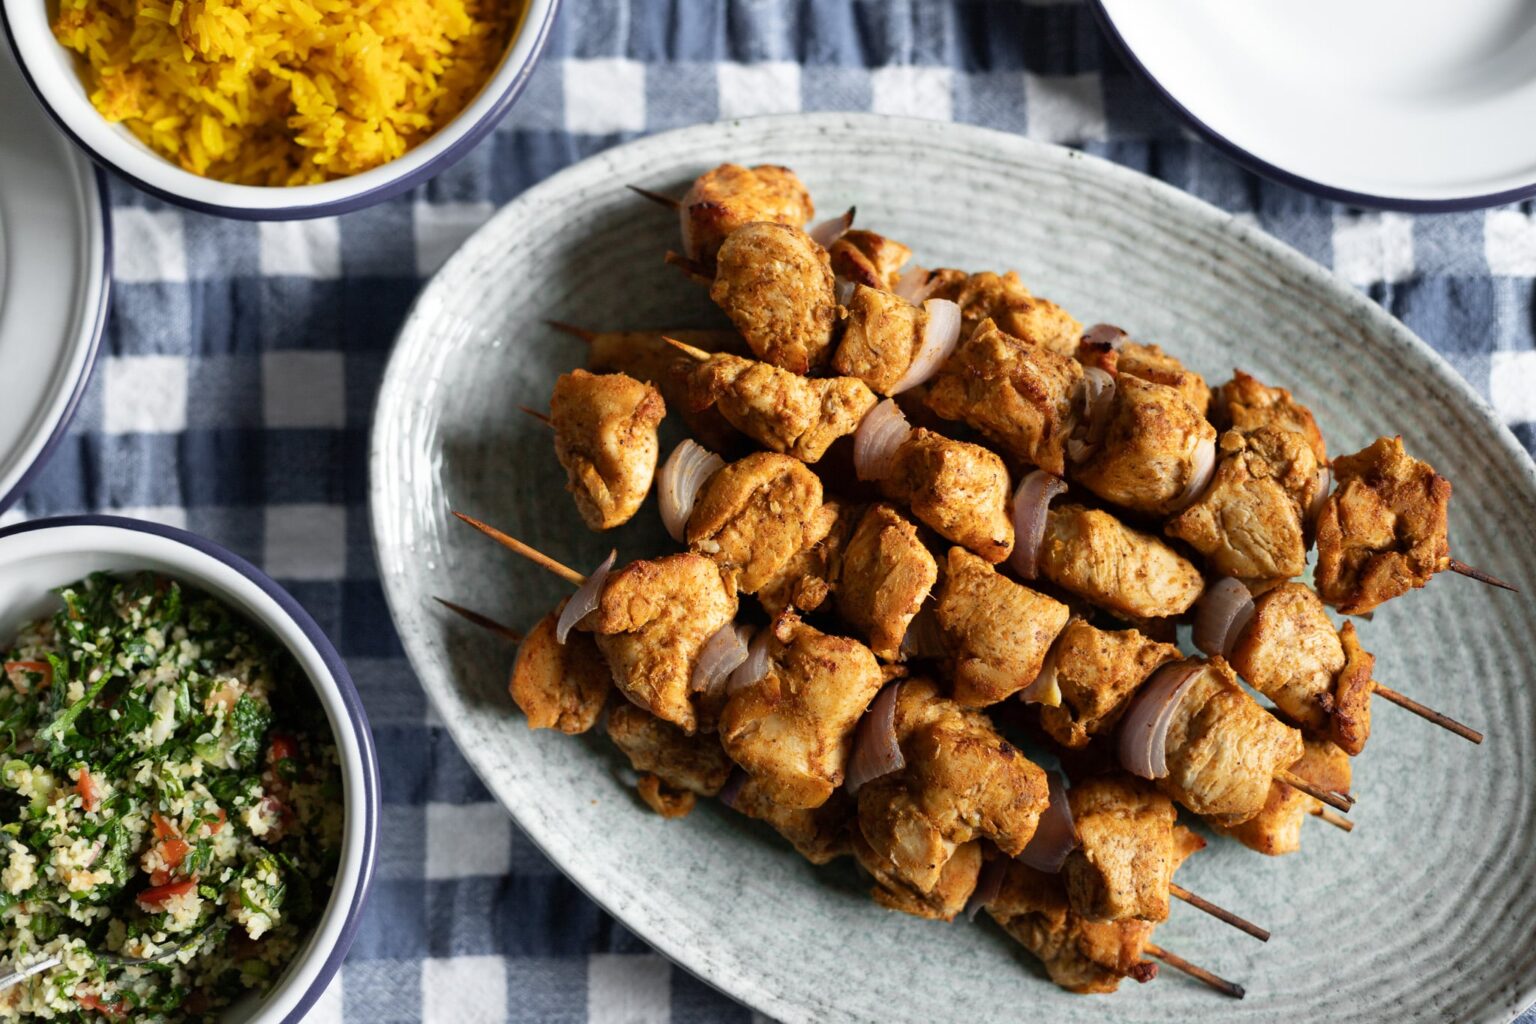
chicken kebabs (easy and flexible)

Ingredients
- 2.5 lb [1.1 kg] boneless chicken breasts, thighs, or tenderloins
- Salt
- 1/3 cup [80g] Greek yogurt*
- 2 Tbsp [12g] sweet paprika
- 2 tsp [4g] baharat, garam masala, or other spice blend**
- 1/2 tsp ground black pepper
- 1/2 tsp garlic powder or 2 crushed garlic cloves
- The zest of 1 lemon
- 1 Tbsp lemon juice
- 1 red onion, diced very coarsely (optional)
Instructions
- Cut the chicken into 1 1/2 inch [4 cm] cubes and place in a medium mixing bowl. Coat the chicken evenly with 1 1/4 tsp [7 g] salt.*** Let it sit for 5 minutes before proceeding. Salting it first will help it stay juicy.
- If you plan to cook them right away, preheat your oven’s broiler to its highest setting or your grill to medium-high (brush your grill grates with a thin layer of oil first).
- Top the chicken with the yogurt, paprika, spice blend, garlic, and lemon zest and juice. Mix together until coated evenly.
- Skewer the chicken, alternating each piece of chicken with a piece of onion.
- If you’re making them ahead, cover and refrigerate overnight and preheat your broiler or grill the next day. If you’re making them now, proceed.
- For grilling: Place on the grill, cover, and cook for about 10-15 minutes for breasts (15-18 minutes for thighs), flipping once halfway through. They’re ready to flip once the first side is caramelized and a little charred. If they caramelize too quickly, turn the heat down.
For broiling: Place on a aluminum foil-lined aluminum sheet pan. Place under your oven’s broiler and cook for about 10-17 minutes for breasts (15-20 minutes for thighs), flipping once halfway through. If they caramelize too quickly, turn the heat down. - The chicken is done once it reaches an internal temperature of 165°F [74°C] for breasts, 185°F [85°C] for thighs.
Notes
* Omit the yogurt if you want to make this dairy free (and add just enough lemon juice to make a paste with the spices that will cling to the chicken without washing off—you may need more or less than is listed in the recipe), or substitute a plain, unsweetened dairy free yogurt.
** You can use any savory spice blend. If you don’t have a spice blend on hand, you can use a combination of cumin, black pepper, and a tiny bit of cardamom or cinnamon.
*** If you need to cut back on salt for health or personal preference, feel free to. Salt helps chicken stay juicy, so you will need to be more careful not to overcook it if you use less.
Video note: You can find the video in the introduction to this blog post. If you don’t see it after scrolling up, please disable ad block and reload the page.


