Back in February, I decided to make my all-time favorite sweet for my birthday: old fashioned unglazed nutmeg donuts. They’re the best thing you can ever pair with a cup of coffee. Since then, I’ve started having fun with other flavors and glazes. And while I’ll always love a plain old fashioned, I’m sharing a few of my other favorites this week, starting with these lemon poppy old fashioned donuts.
So check back soon, because I’ll be posting a new donut recipe every day for the next week. Here’s what to expect:
- I’m posting 6 donut recipes, then a roundup of all 6 so you can find them in one place. I’ll also include a base recipe so you can tinker with your own ideas.
- They’re all old fashioned cake donuts. You know—they’re the kind that have a dense cake crumb instead of that light and airy Krispy Kreme texture.
- Each donut’s dough will be flavored differently and will be decorated differently.
- They’ll be deep fried instead of baked. This gives them that real donut shop flavor, and it also means you don’t need a specialty donut pan (woohoo!).
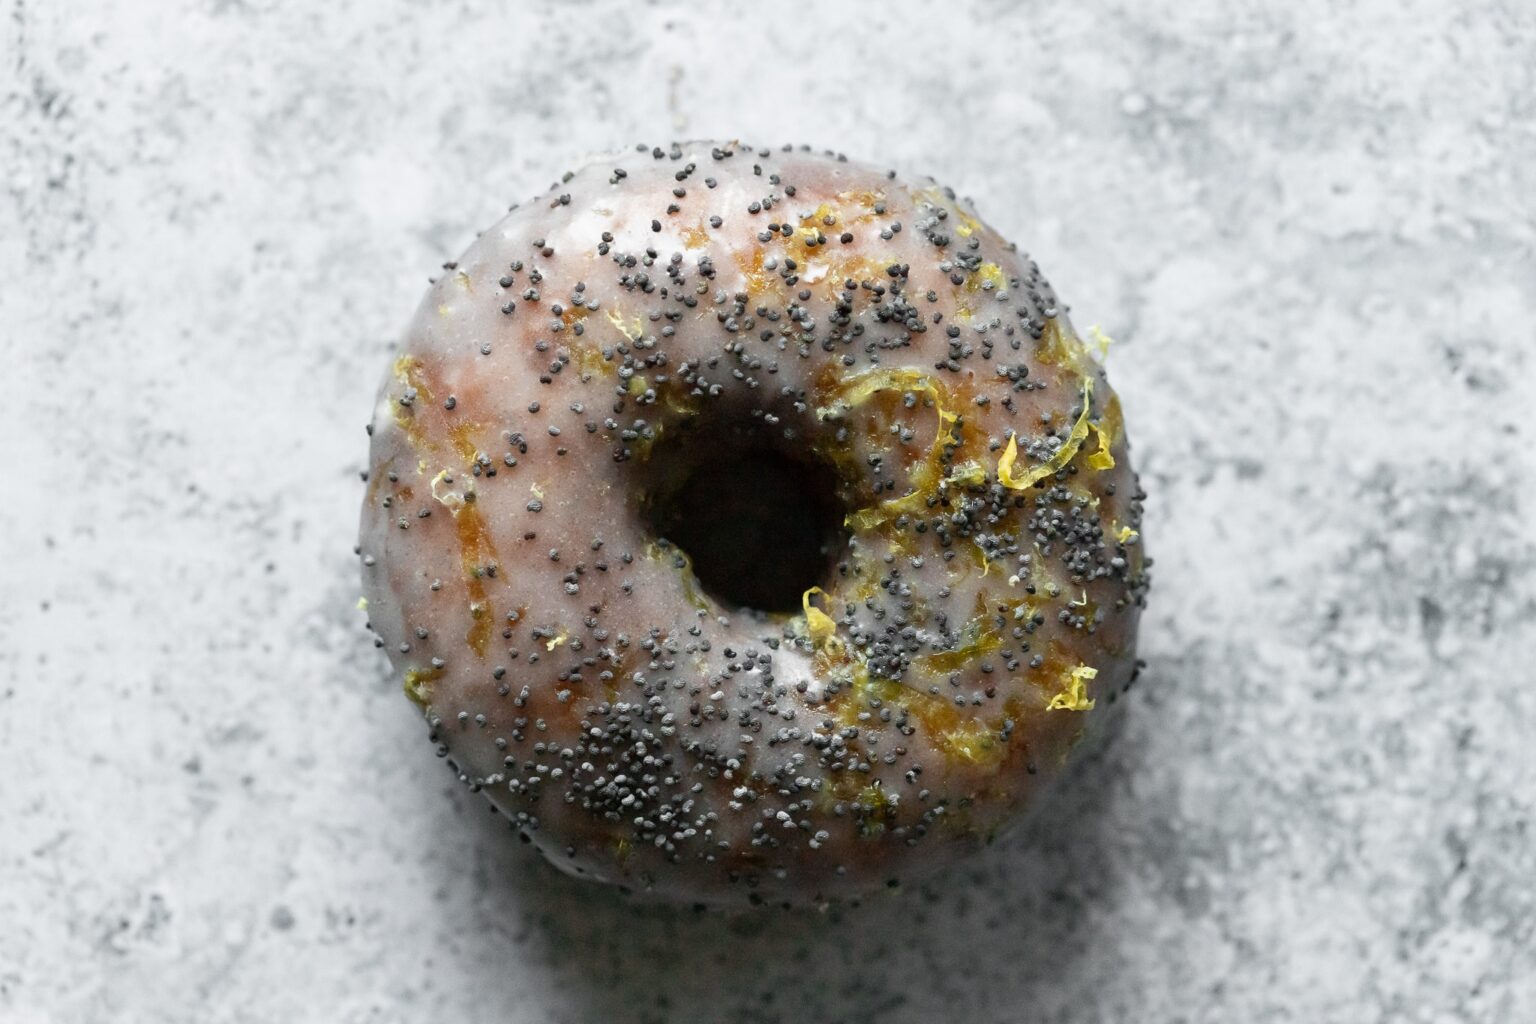
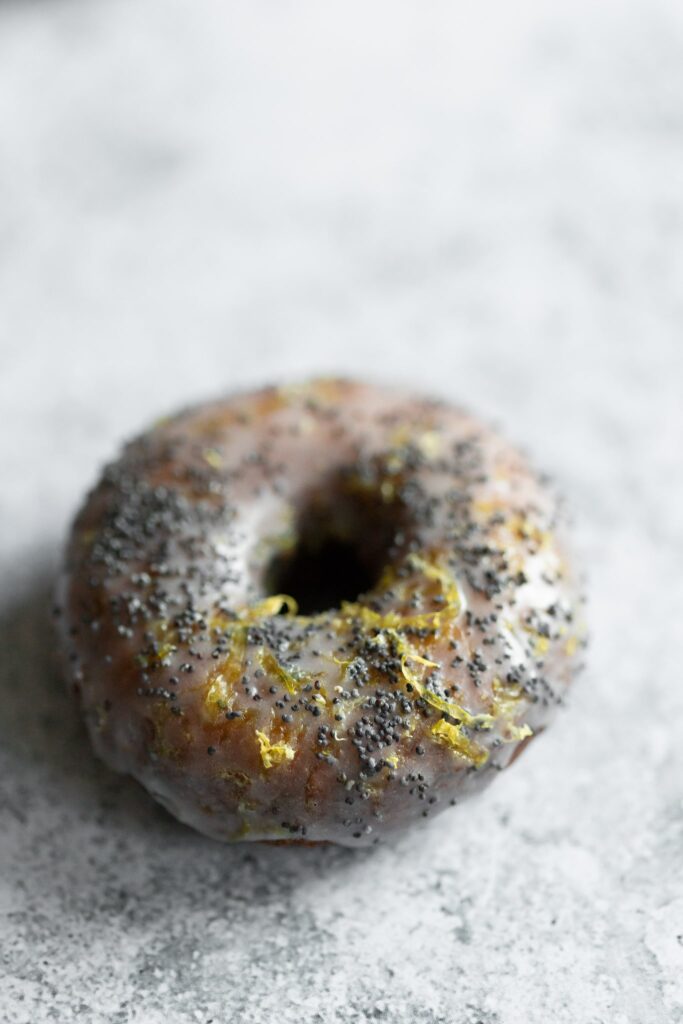
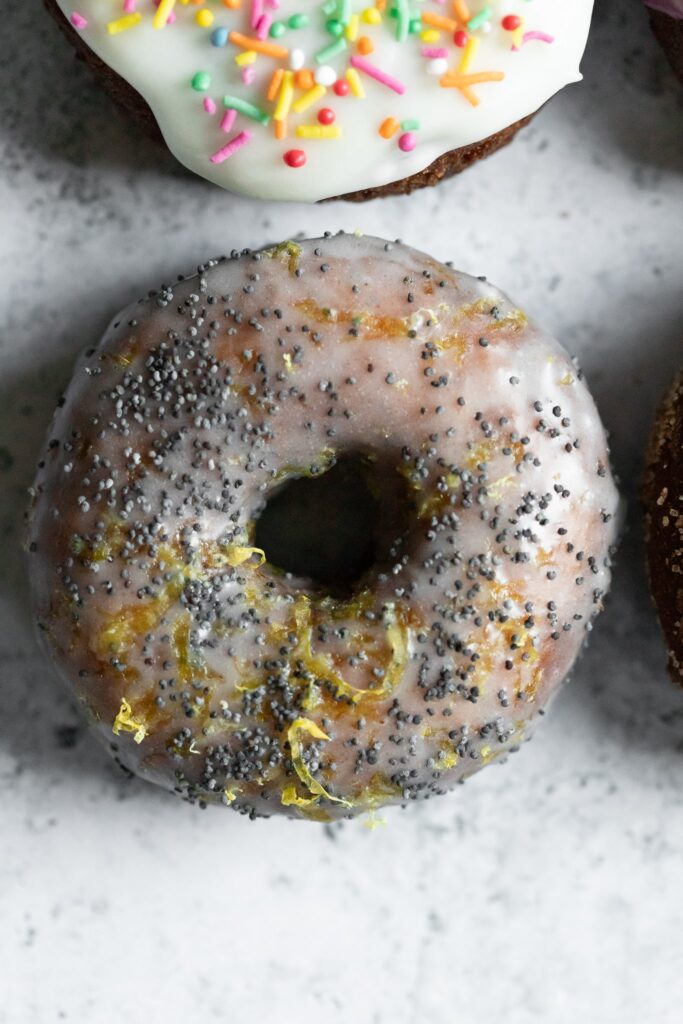
As you can probably tell from the second photo below, we’ve got something sprinkly coming up tomorrow, but for today, we’ve got these lovely lemon donuts. Their dough is flavored with lemon zest and poppy seeds, they’re topped with a yogurt glaze, and decorated with more lemon poppy. Give them a try for breakfast or dessert.
lemon poppy seed donuts


- Yield: about 8 to 10 donuts
Ingredients
For the donuts:
- Neutral high smoke point oil, for deep frying (e.g., canola)
- 250g all purpose flour (2 cups), plus more for dusting
- 10g (1 tablespoon) poppy seeds
- 4g salt (¾ teaspoon)
- 9g baking powder (2 teaspoons)
- 45g melted butter (3 tablespoons), cooled slightly
- 100g sugar (½ cup)
- 50g egg (1 large) at room temperature
- 120g plain unstrained yogurt (½ cup) at room temperature
- 4g (2 teaspoons) lemon zest
For the lemon glaze:
- 30g (2 tablespoons) plain unstrained yogurt
- 85g (shy ¾ cup) powdered sugar
- 1g (½ teaspoon) lemon zest
- More lemon zest and poppy seeds for decoration
Instructions
Make the donuts:
- Set up a safe fry station on your stove or a dedicated deep-fryer. Make sure it cannot be knocked over. Set over medium-low heat so it can heat gradually while you prep the donuts, and set up a deep fry thermometer. Keep a close eye on it, and aim for it to reach 350°F [180°C] by the time you’re ready to fry. If it heats too quickly, reduce the heat to low or turn off for a few moments until you’re ready.
- In a medium mixing bowl, combine the flour, poppy seeds, salt, and baking powder. Whisk together until completely lump free.
- In a separate mixing bowl, combine the melted butter, sugar, egg, yogurt, and lemon zest. Whisk together until completely smooth.
- Scrape the wet ingredients into the dry ingredients, then mix together just until combined (do not overmix).
- Dust a clean counter with more flour, then scrape the dough onto the dusted counter. Sprinkle on a little more flour, then gently pat it into an oval.* Take care to make sure it’s well dusted both underneath and on top. Roll it out to ½-inch [13mm] thick, redusting above and below to keep it from sticking as you work.
- Stamp out as many donuts as you can using a donut stamp or set of pastry rings. Collect the scraps**, re-roll, and stamp out more donuts.
- Once the oil has heated, fry the donuts. They should take about 2 minutes per side at 350°F [180°C], and should be deeply brown (but not burnt) and cooked through. Remove to a paper-towel-lined plate or cooling-rack-lined sheet pan to cool.
Make the glaze and decorate the donuts:
- Whisk together the yogurt, powdered sugar, and lemon zest until completely lump-free. Dip or drizzle over the donuts and then decorate with a little more lemon zest and poppy seeds.
Notes
* Do not knead the dough or incorporate the flour into it, or it will turn out dry—just pat it into shape.
** To get a really good re-roll out of the scraps, try not to let any flour touch the freshly stamped edges, and compress them together so the bare edges mush together with other bare edges. Try not to introduce a lot of new flour. Feel free to fry the donut holes, or re-roll them with the scraps (if you fry them, they will take about 30 seconds less per side).