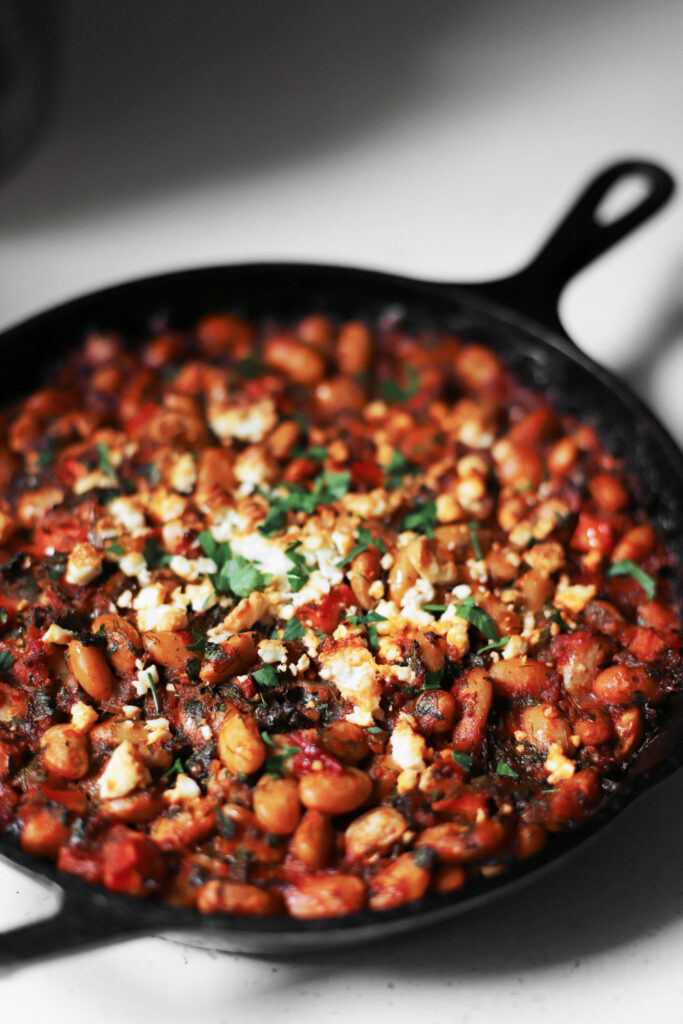
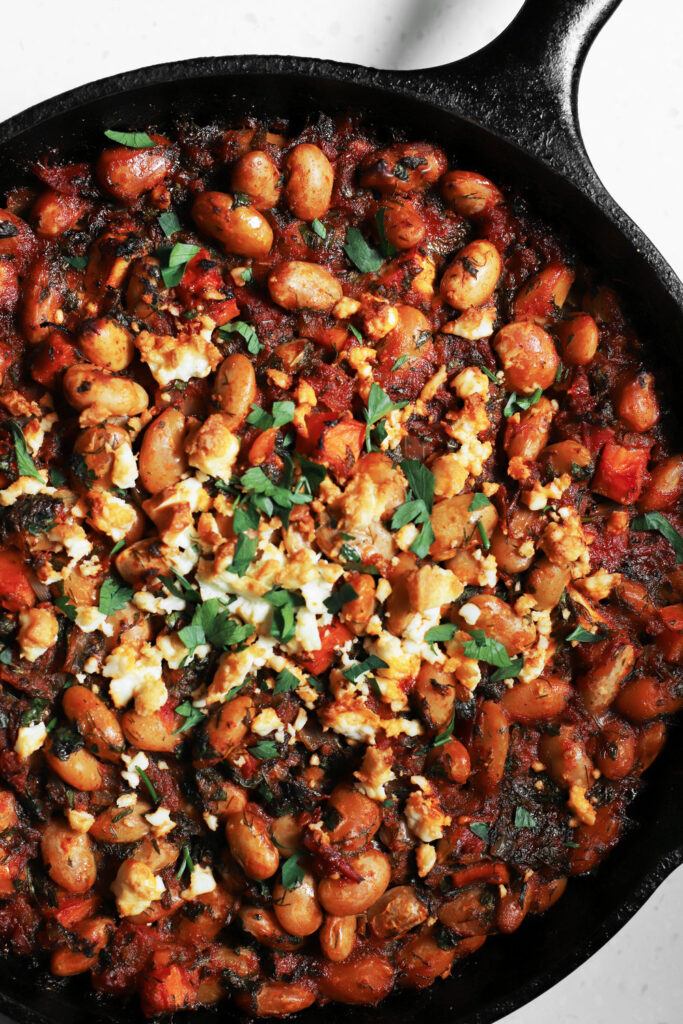
Let’s talk about baked butter beans! (AKA gigantes plaki in Greek). Oddly, they contain no butter whatsoever! This baked bean dish spans the eastern and western Mediterranean. And I have my own particular way of making it, involving nestling chunks of feta in the beans. They bake into melty pockets of cheese, and it’s just such a treat. But I often make it vegan and also have instructions for omitting the feta.
Jump to the recipe or read along for a few handy ingredient notes. Or watch this step-by-step video:
a note on beans for gigantes plaki
If you’re always in a hurry, don’t fret—I use canned butter beans instead of soaking and par-cooking dried ones. They don’t continue to soften once they bake with the tomato sauce, and so I’ve always had good luck using canned. Just make sure you look for a brand that doesn’t overcook them to begin with (you know how some brands are just absolute mush, and perfect for things like hummus? Avoid those here!).
If you can’t find canned butter beans, this recipe is also a wonderful way to cook cannellinis. If you’re starting from dried beans, it’s very important to soak them in lightly salted water overnight, and then cook them all the way through (stopping before they get mushy) before adding them to the tomatoes. Even though they bake for twenty-five more minutes, there is not enough moisture in the dish to cook them the rest of the way if they start out too al dente.
A note on feta (and how to make this recipe vegan)
Feta isn’t a necessary ingredient for delicious gigantes plaki, but it’s one of my favorite things to add. Instead of crumbling and sprinkling the feta, I like to cut it into big chunks and nestle them in with the beans, and then sprinkle a little on top. Just push the feta down, and then nudge the beans back over the tops. In the oven, the feta softens and melts a little with the tomato, turning into delightfully spreadable pockets of cheese.
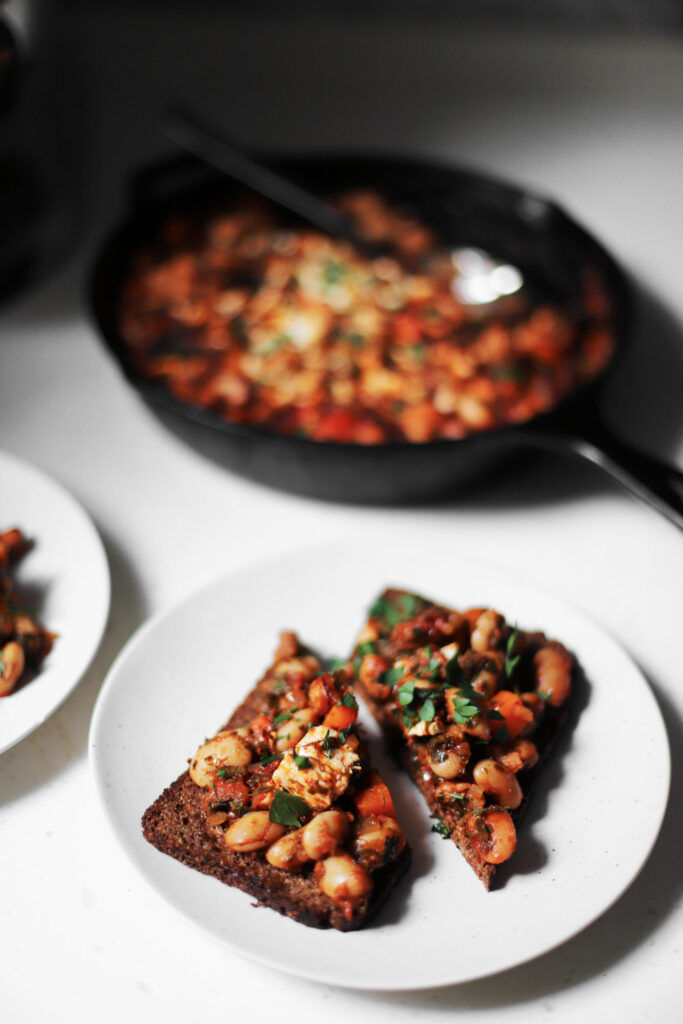
This dish is wonderful served on thin slices of rye toast, but it’s also lovely served simply with basmati rice. Feel free to adjust the flavorings and seasonings to your preference.
It’s easy to veganize it by using vegan feta, or leaving out the feta altogether. If you do leave the feta out, add a good amount of extra olive oil. I make it this way all the time with about 1/4 cup more olive oil, and it’s delicious.

gigantes plaki with pockets of feta

- Prep Time: 20 minutes
- Total Time: 1 hour 15 minutes
- Yield: serves 6 as a main, or more as a side
Ingredients
- 3 tablespoons extra virgin olive oil
- 1 onion (150-175g), chopped
- 2–3 cloves garlic (10-15g), crushed through a press
- 2 carrots (140g), medium diced
- Salt
- 1 teaspoon (1g) dried oregano
- 2 teaspoons (2g) dried thyme
- 1/4 teaspoon (0.5g) crushed red pepper (or more to taste)
- 1/2 teaspoon (1g) black pepper
- Two 14-ounce cans (2 400g cans) diced tomato
- 1 teaspoon (3g) sugar
- Three 14-ounce cans (3 400g cans) of butter beans*, strained and rinsed
- 1/4 cup (12g) minced fresh dill fronds**
- 3/4 cup (40g) minced fresh parsley leaves (reserve some for garnish)
- 7 ounces feta*** (200g), cut into about 10-12 large cubes
Instructions
- Heat a large oven-proof 10 to 12” steep-sided skillet over medium heat for a few minutes, then add the olive oil, followed by the onion, garlic, carrots, and about 1/4 teaspoon salt. Cook, stirring occasionally for 10 to 15 minutes, until the onions and carrots soften quite a bit (reduce to low if they start to caramelize).
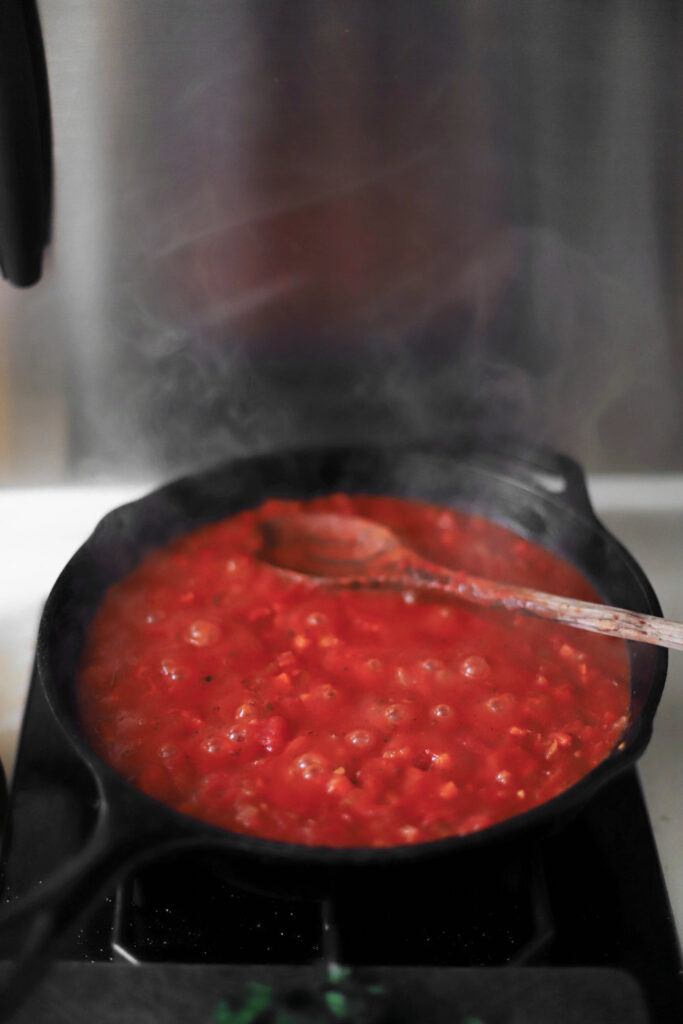
- Add the oregano, thyme, crushed red pepper, black pepper, diced tomatoes, and sugar, and bring up to a simmer. Once simmering, reduce the heat to medium-low and cook, stirring occasionally, for about 20-25 minutes, just until it forms a very thick sauce.
- Preheat the oven to 425° F (218° C) convection while the sauce is simmering.
- Taste the sauce once it’s done. Adjust the seasoning, stir in the butter beans, and remove from heat. Add most of the dill and parsley (reserve a couple pinches for garnish). Distribute all but 1 of the feta cubes evenly over the surface of the beans. Gently push down the feta cubes so that they nestle among the beans. Gently nudge some of the beans back over feta cubes to make sure they’re not showing (it’s like planting tulip bulbs). Crumble the remaining feta on top, and bake for about 25 minutes, just until the exposed feta browns, and the whole thing is heated through. Garnish with the reserved parsley, and serve.
Notes
* If you can’t find butter beans, you can us cannellini instead. They’re much smaller, but they will absolutely work in a pinch.
** Feel free to use a much smaller amount of dried dill (but make sure to use fresh parsley).
*** Feel free to omit the feta and mix in about 1/4 cup of extra olive oil in its place.
To make ahead: 1 or 2 days ahead of time, make the sauce, wash and mince the herbs (dry them very well first), and cut the feta into cubes. You can even strain and rinse the beans and leave them in the fridge, if you’d like to. Once you’re ready to bake, heat the sauce back up in the pan you’re going to bake it in (you might need to add 1-2 tablespoons of water). Once it’s warmed through, add the butter beans, dill, and parsley, stir together, and nestle in the feta cubes. Bake and garnish as usual.
Video note: If you don’t see the video for this post after scrolling up, please disable ad block and try reloading the page.