Exciting news! My cookbook, A Dish for All Seasons is available for preorder wherever books are sold! 🎉 I am so excited to share it with you. Preorders are a huge help to new authors, so if you reserve a copy, please do message me so that I can thank you. 😊
This book flips the script on seasonal cooking. It’s made up of adaptable base recipes, like frittatas, grain bowls, and (you guessed it!) upside-down cakes. You can adapt each base recipe to feature whatever produce you’ve got. And each one comes with four beautiful seasonal variations.
So go to the market without a plan and just see what inspires you. Or choose a recipe and rest assured that you’ll actually be able to find the ingredients. (I mean, ever gone to the store hoping to find persimmons in spring or good tomatoes in late fall? Just me?).
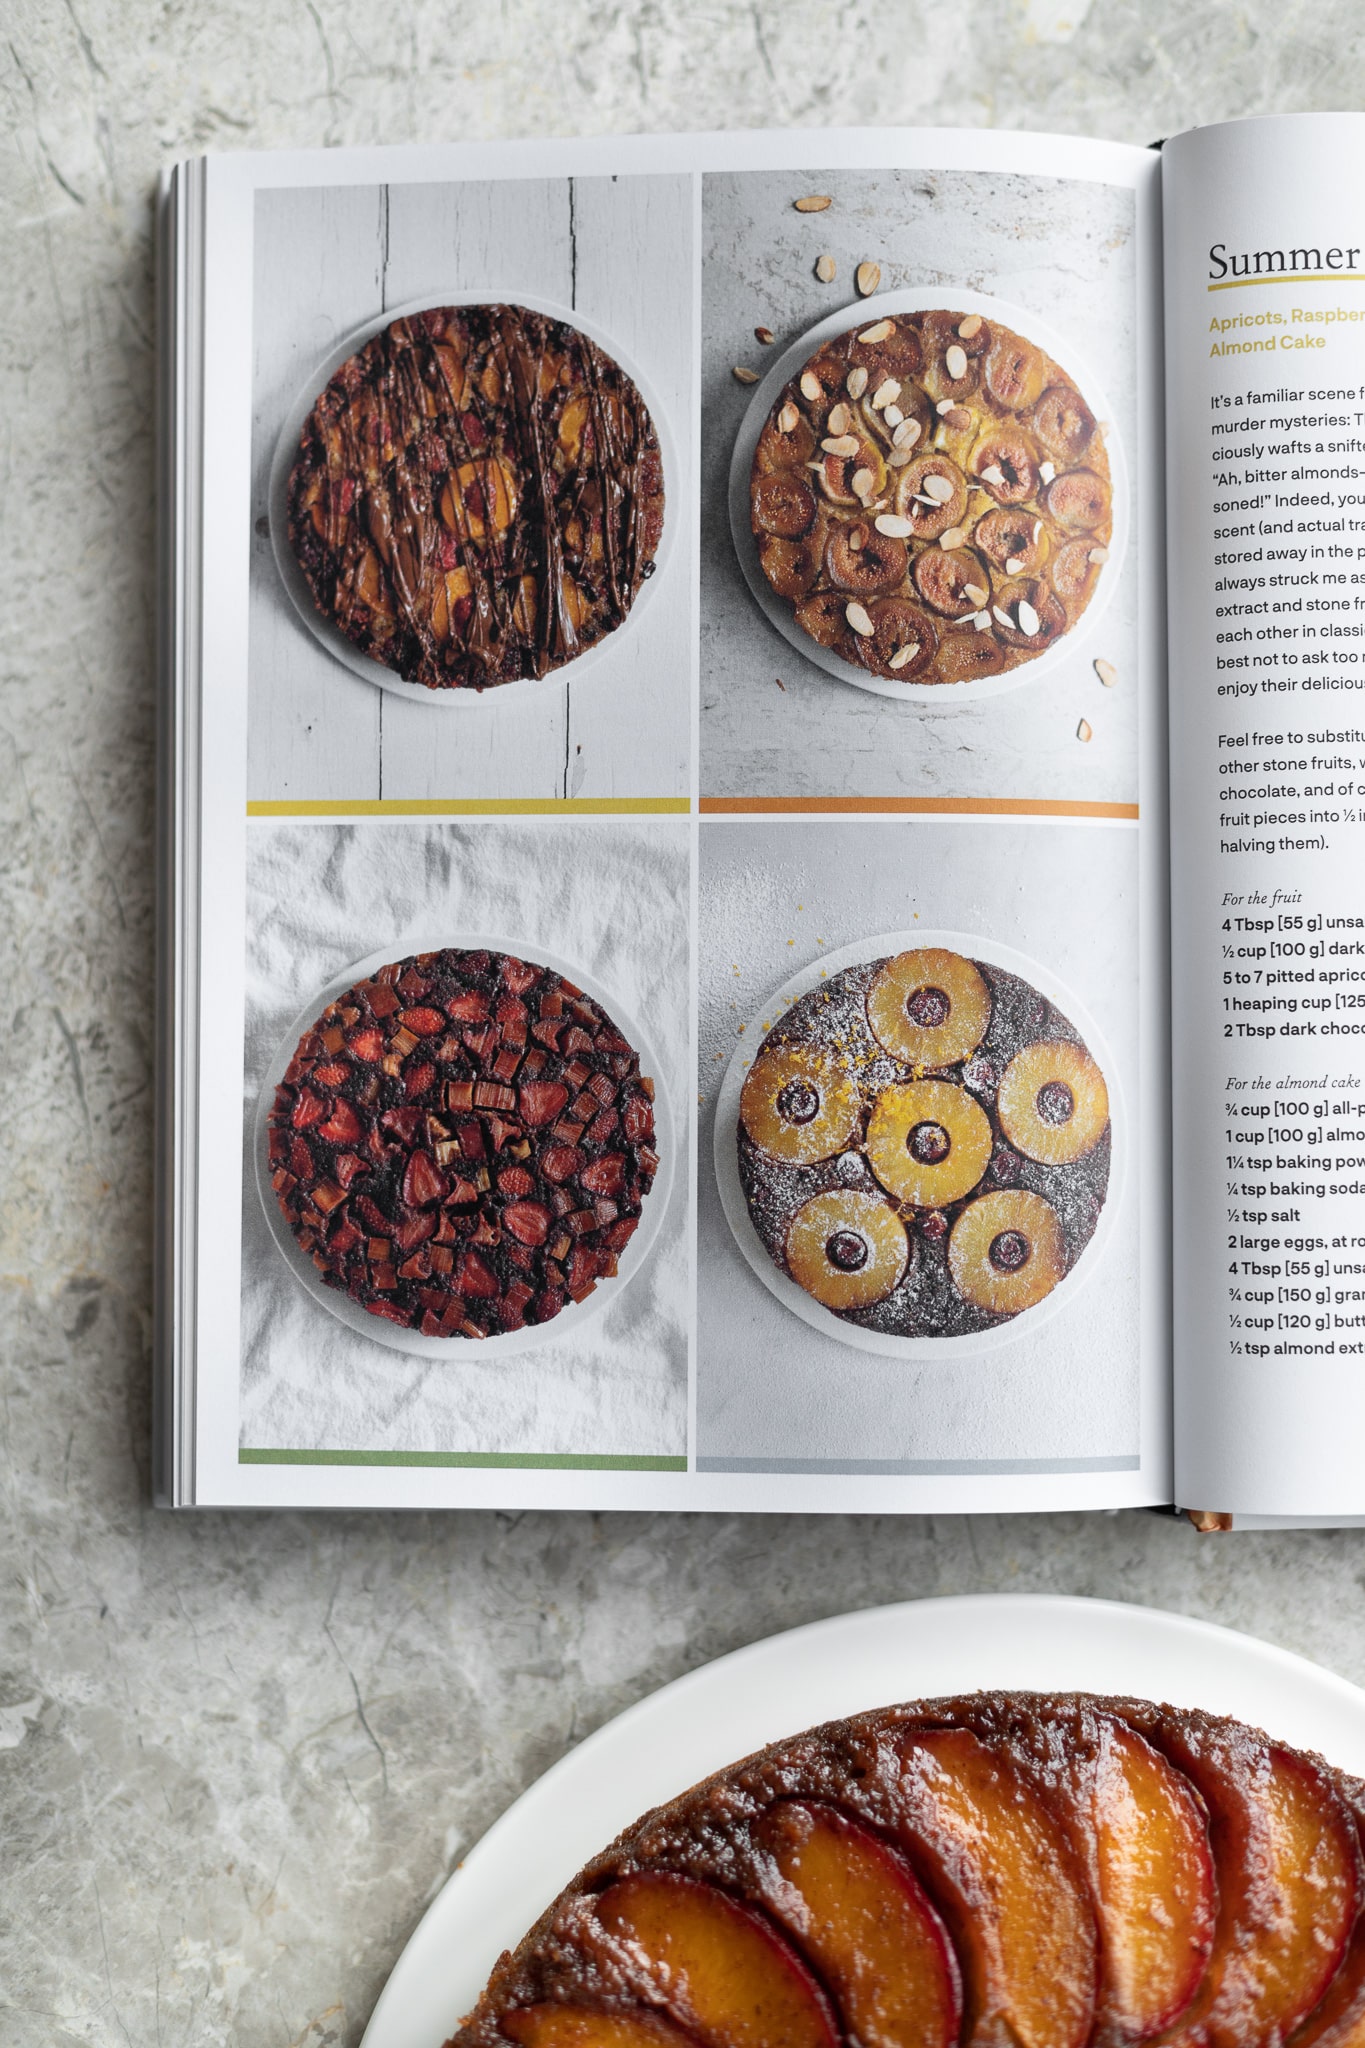
For instance, here are the four seasonal upside-down cake recipes (pictured above):
- chocolate apricot raspberry cake (summer)
- fig semolina honey cake (fall)
- pineapple gingerbread cake (winter)
- strawberry rhubarb chocolate cake (spring)
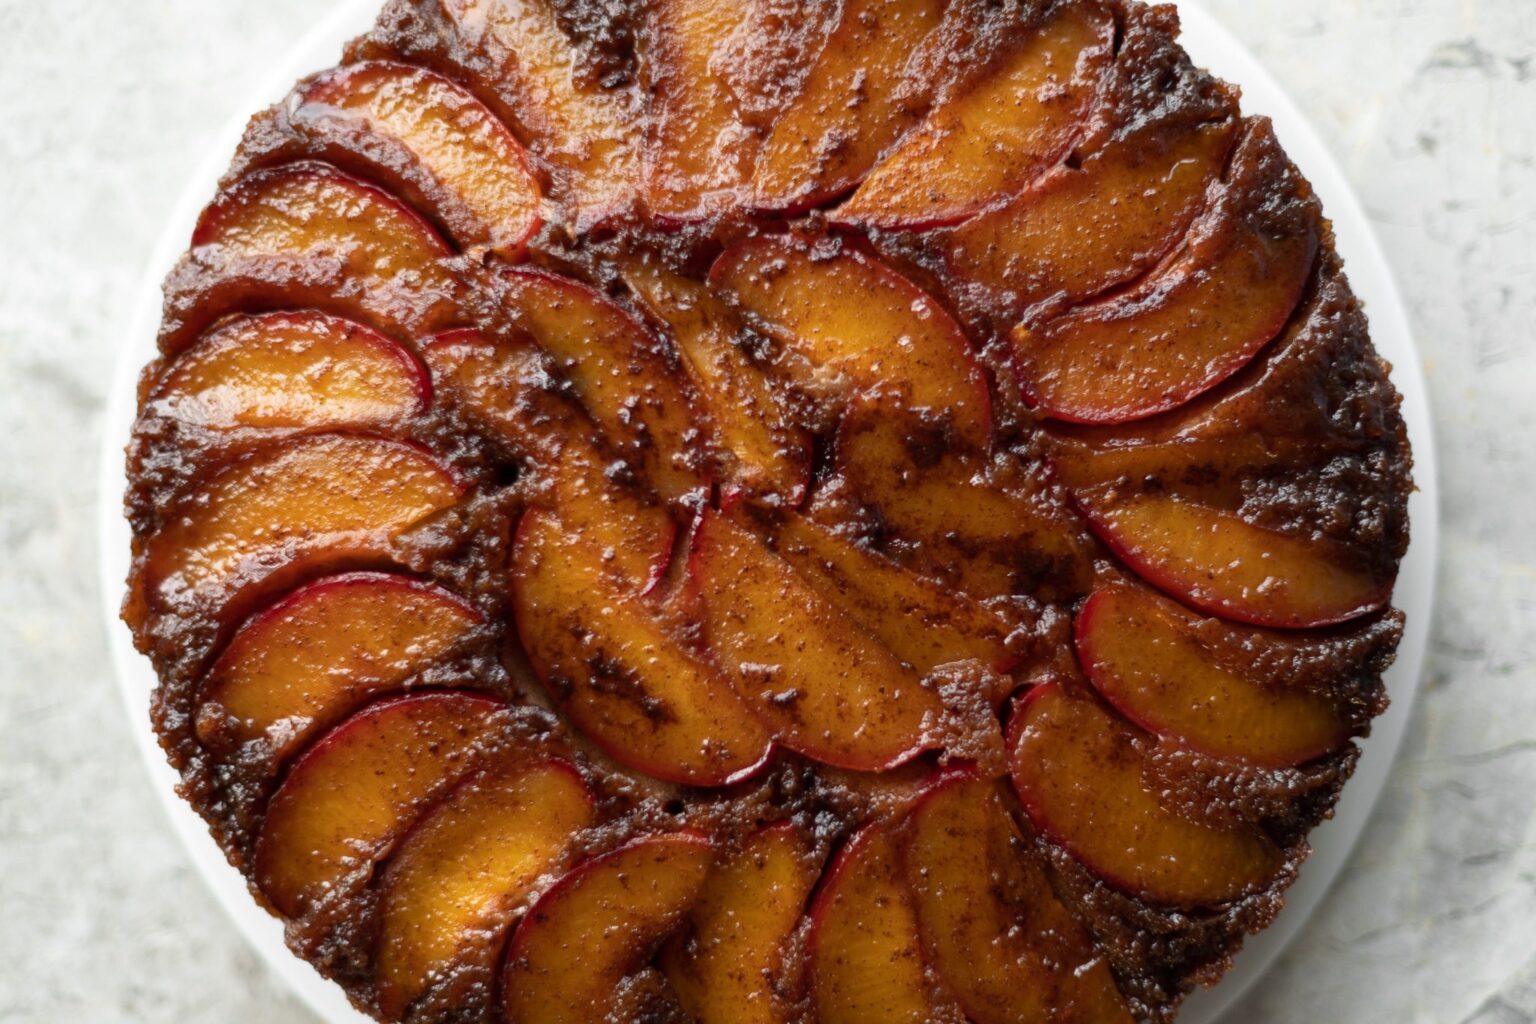
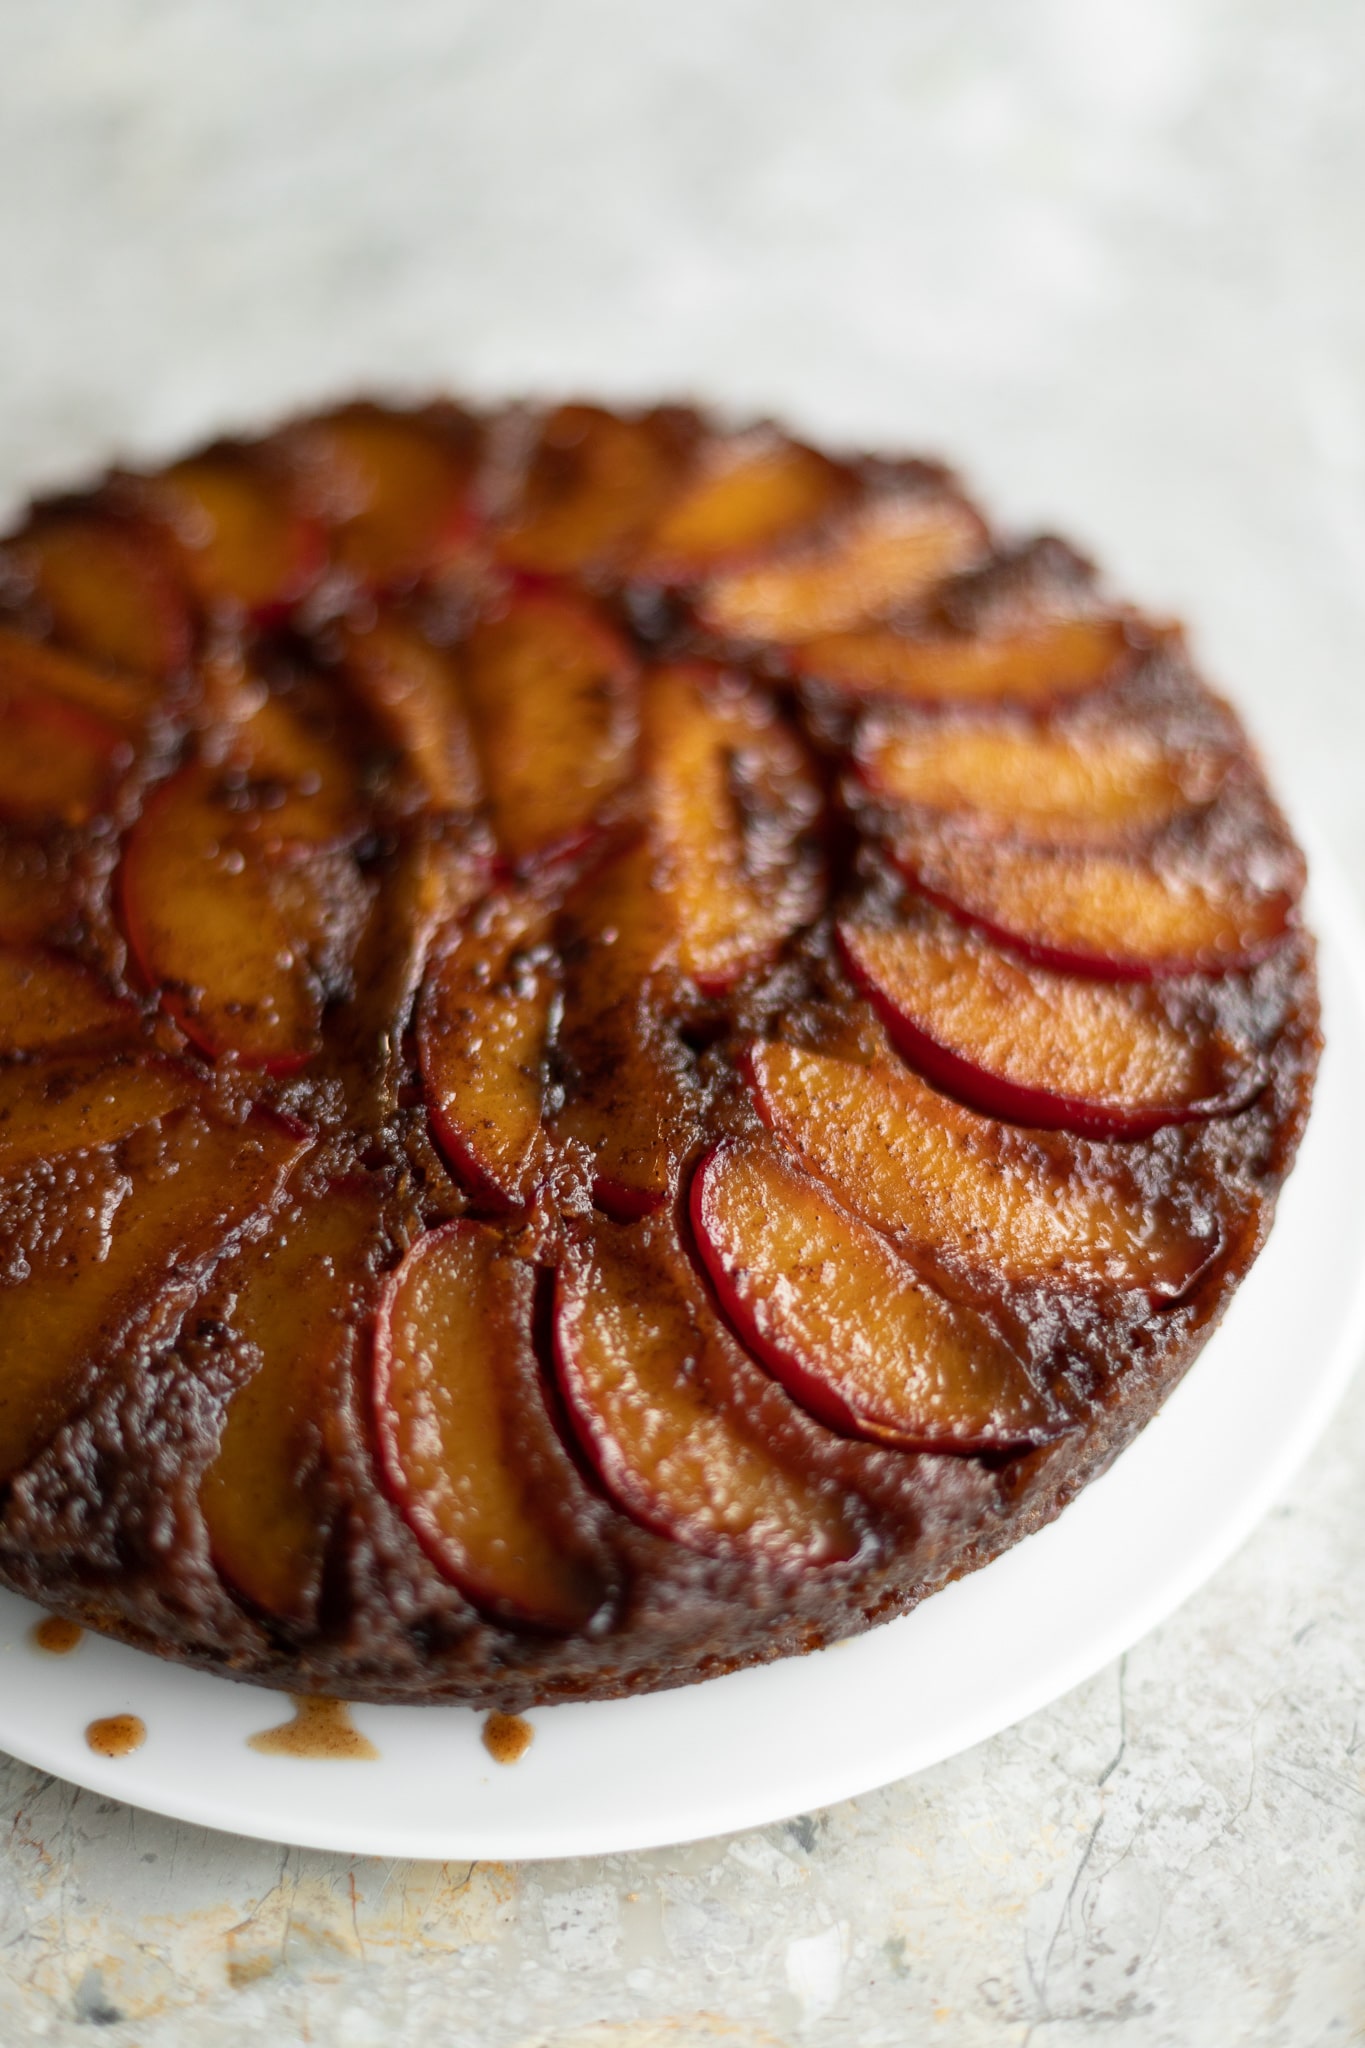
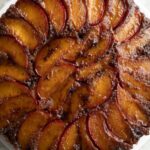
Or if you don’t feel like following a recipe, you could come up with something else entirely. Like this cinnamon plum cake! Or a cherry chocolate cake *or* semolina peach cake *or* vanilla blueberry cake, or really whatever’s on your mind! Just use the seasonal produce charts and base recipe, and you’re all set.
Since I make so many things over and over again while recipe testing, I never like making the same thing more than once when I’m just cooking for fun. So instead of making one of the seasonal variations from the book, I thought I’d have fun using the base recipe to make something totally new.
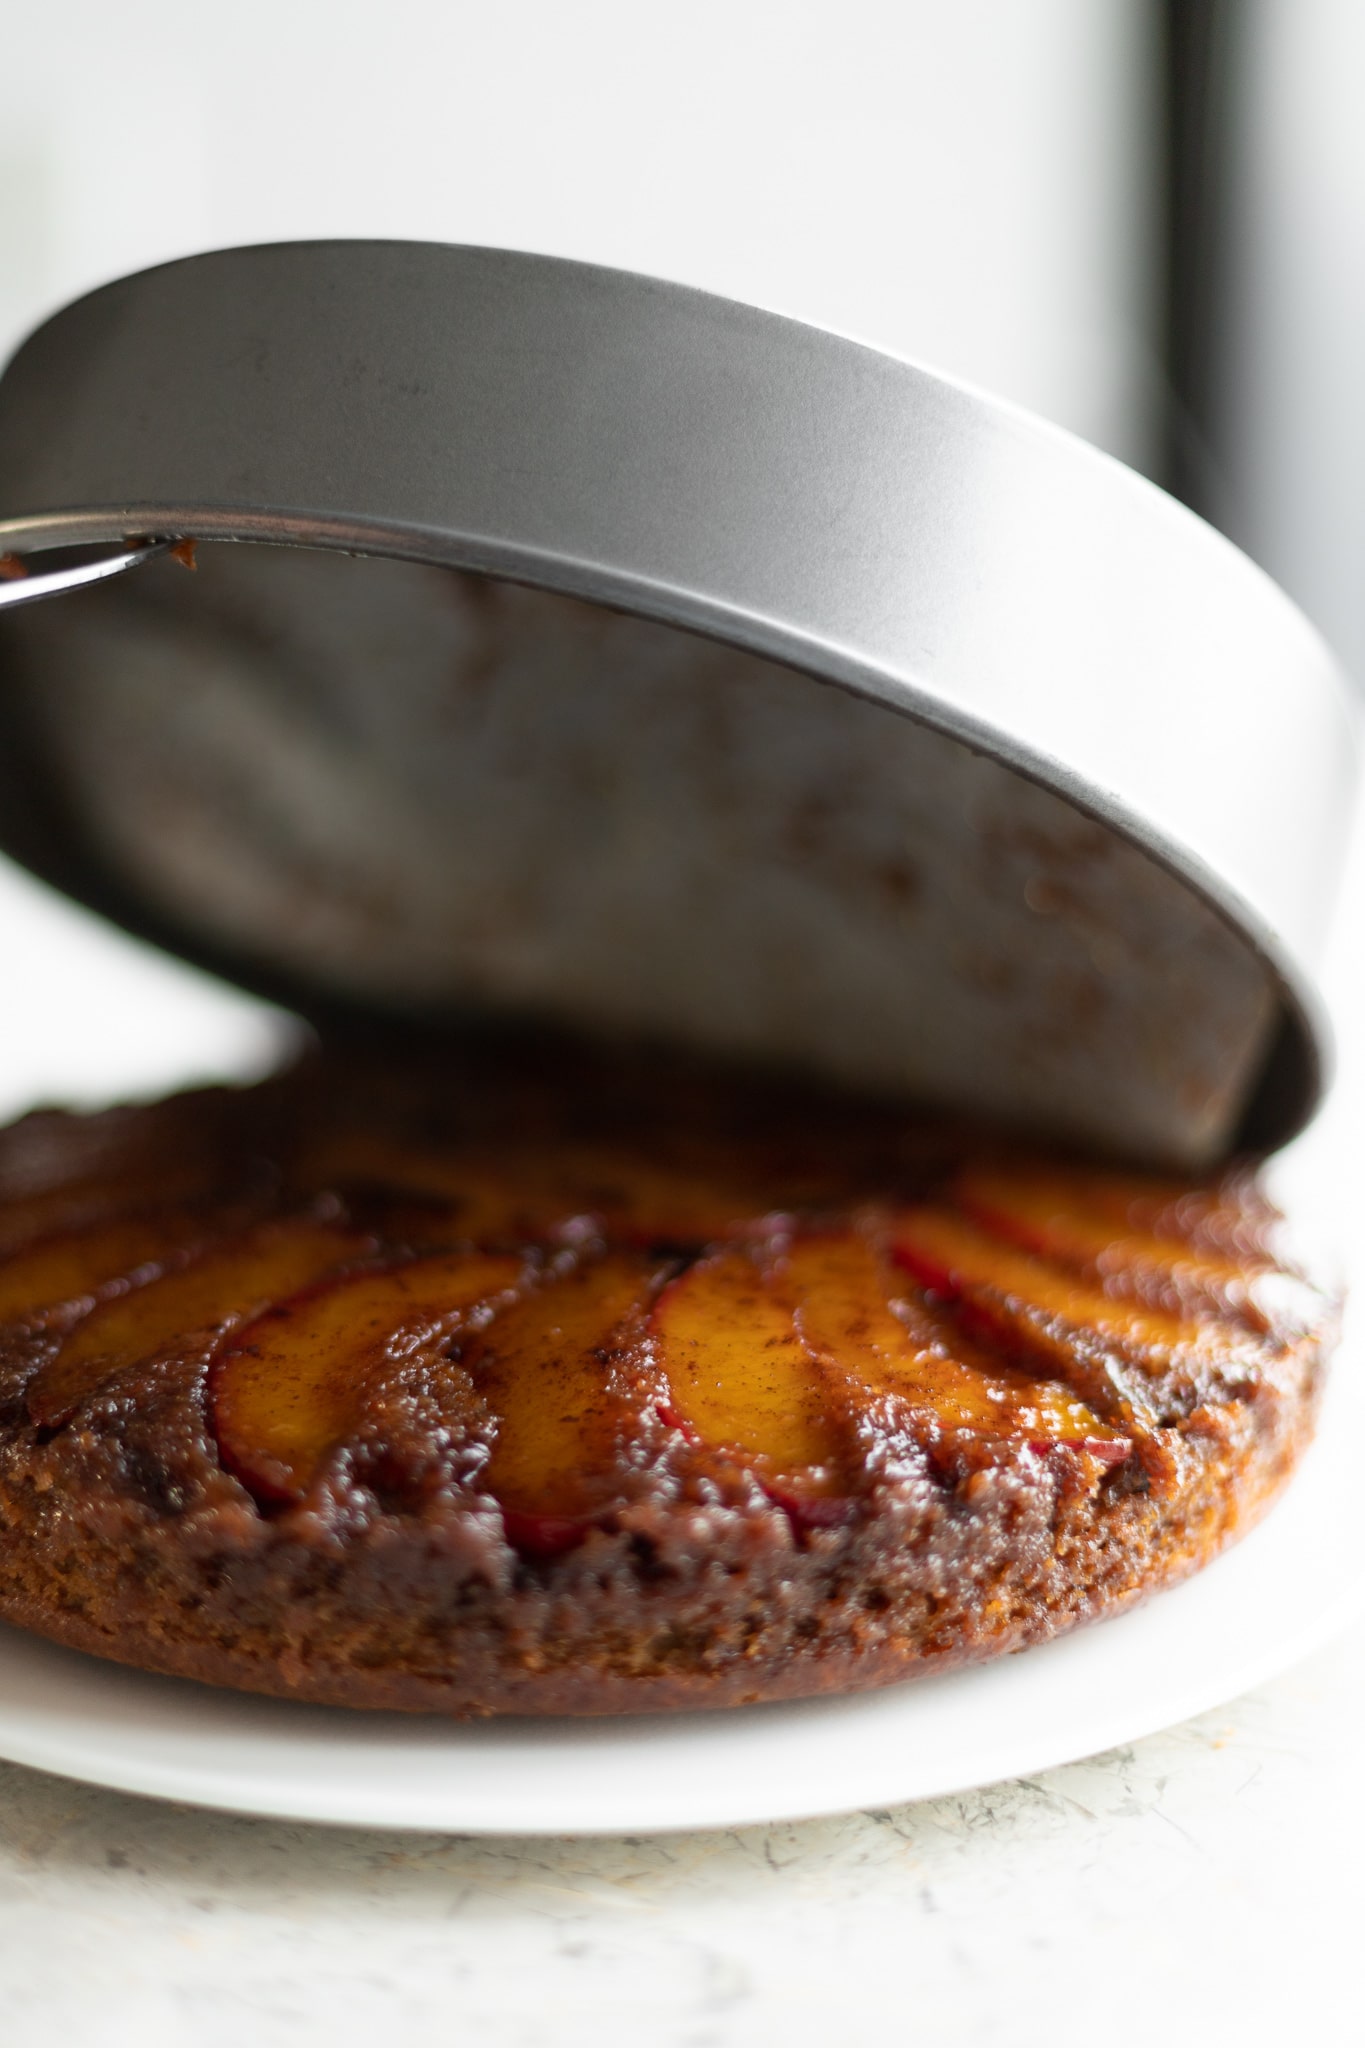
I love the combination of cinnamon and plums, which work beautifully in this upside-down plum cake. I tweaked the cake batter a little to incorporate olive oil instead of butter, and brown sugar instead of granulated. Plums are on their way out of season here in Australia, but you should start seeing them in supermarkets in the northern hemisphere in the next couple weeks. Eek! Very exciting.
Anyway, hope you enjoy this one, or reserve a copy of A Dish for All Seasons and make your own upside-down cake, or your own whatever! And if you do, let me know what you come up with!
upside-down plum cake

adapted from A Dish for All Seasons
Ingredients
For the fruit:
- 3 Tbsp [40 g] extra virgin olive oil
- 1/2 cup [100 g] packed dark brown sugar
- 1 tsp cinnamon
- 3 cups [300 g] 1/2-inch thick plum slices
For the batter:
- 1 1/2 cups [195 g] all purpose flour
- 1 1/4 tsp baking powder
- 1/4 tsp baking soda
- 1/2 tsp salt
- 1 tsp cinnamon
- 2 large eggs
- 3 Tbsp [40 g] extra virgin olive oil
- 3/4 cup [150 g] packed dark brown sugar
- 1/4 cup [60 g] milk
- 1/4 cup [60 g] plain, unstrained yogurt*
Instructions
- Preheat the oven to 350°F [180°C]. Butter a 9 in [23 cm] round cake pan. Cover the bottom with a parchment round.
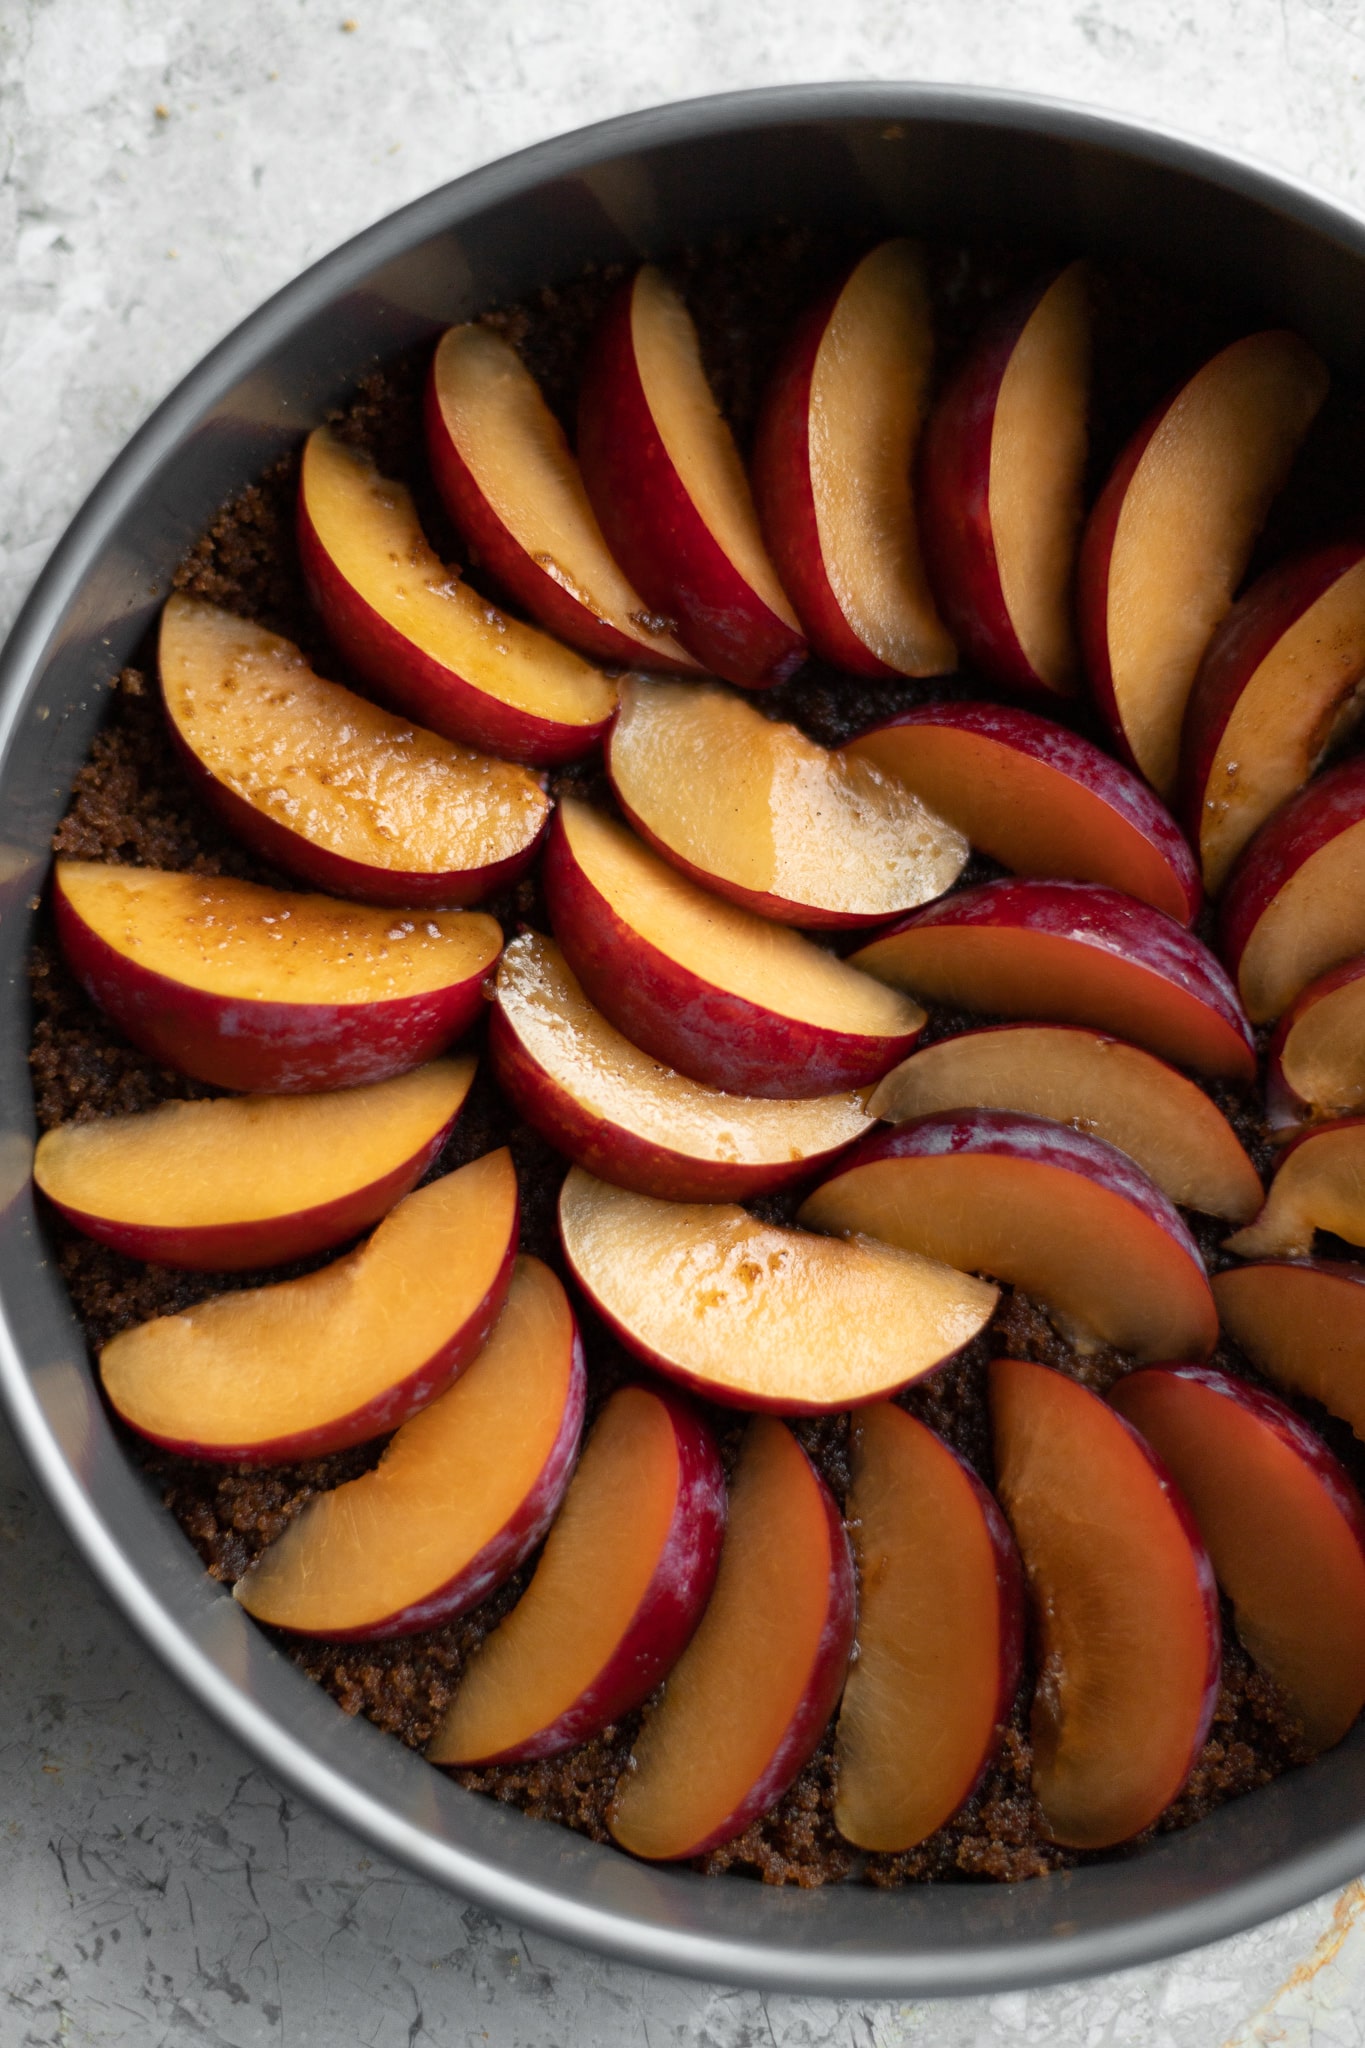
- Prep the fruit: Combine the olive oil, brown sugar, and cinnamon in a small mixing bowl. Stir together until completely combined. Pour into the prepared cake pan. Use an offset spatula to spread everything out evenly until the bottom is covered. Arrange the plums in a single layer over the buttery brown sugar. Set aside.
- In a medium mixing bowl, sift together the flour, baking powder, baking soda, salt, and cinnamon.
- In a large mixing bowl, beat the eggs and olive oil together until very well incorporated. Then add the brown sugar, milk, and yogurt, and beat to combine well.
- Pour the wet mixture over the dry mixture and stir together just until everything is combined. It won’t be completely smooth, and there might be some tiny lumps; this is completely fine. Don’t overmix!
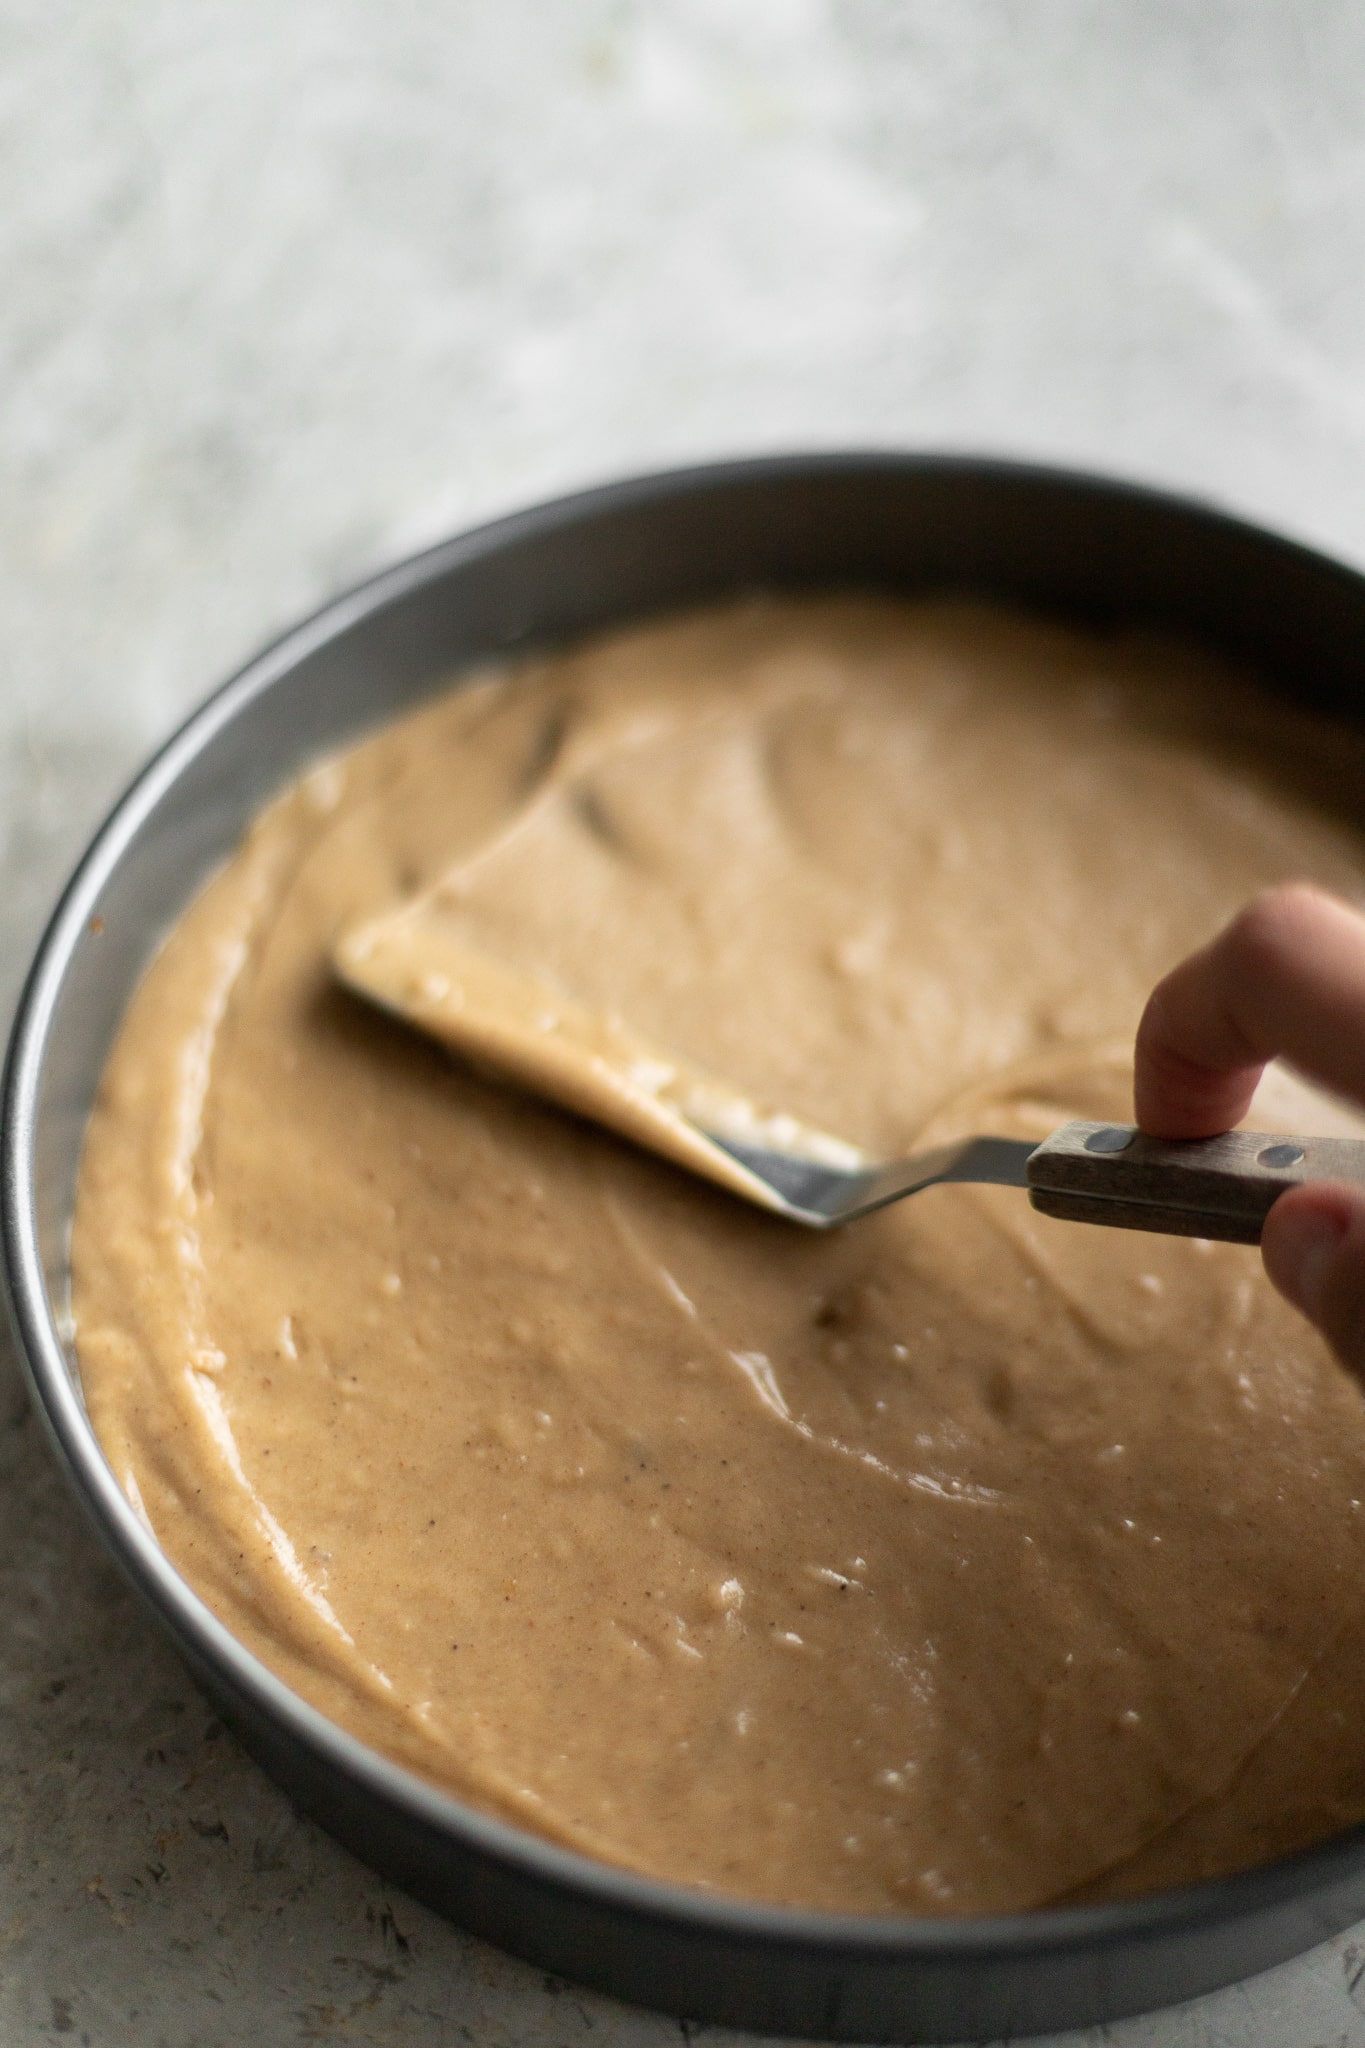
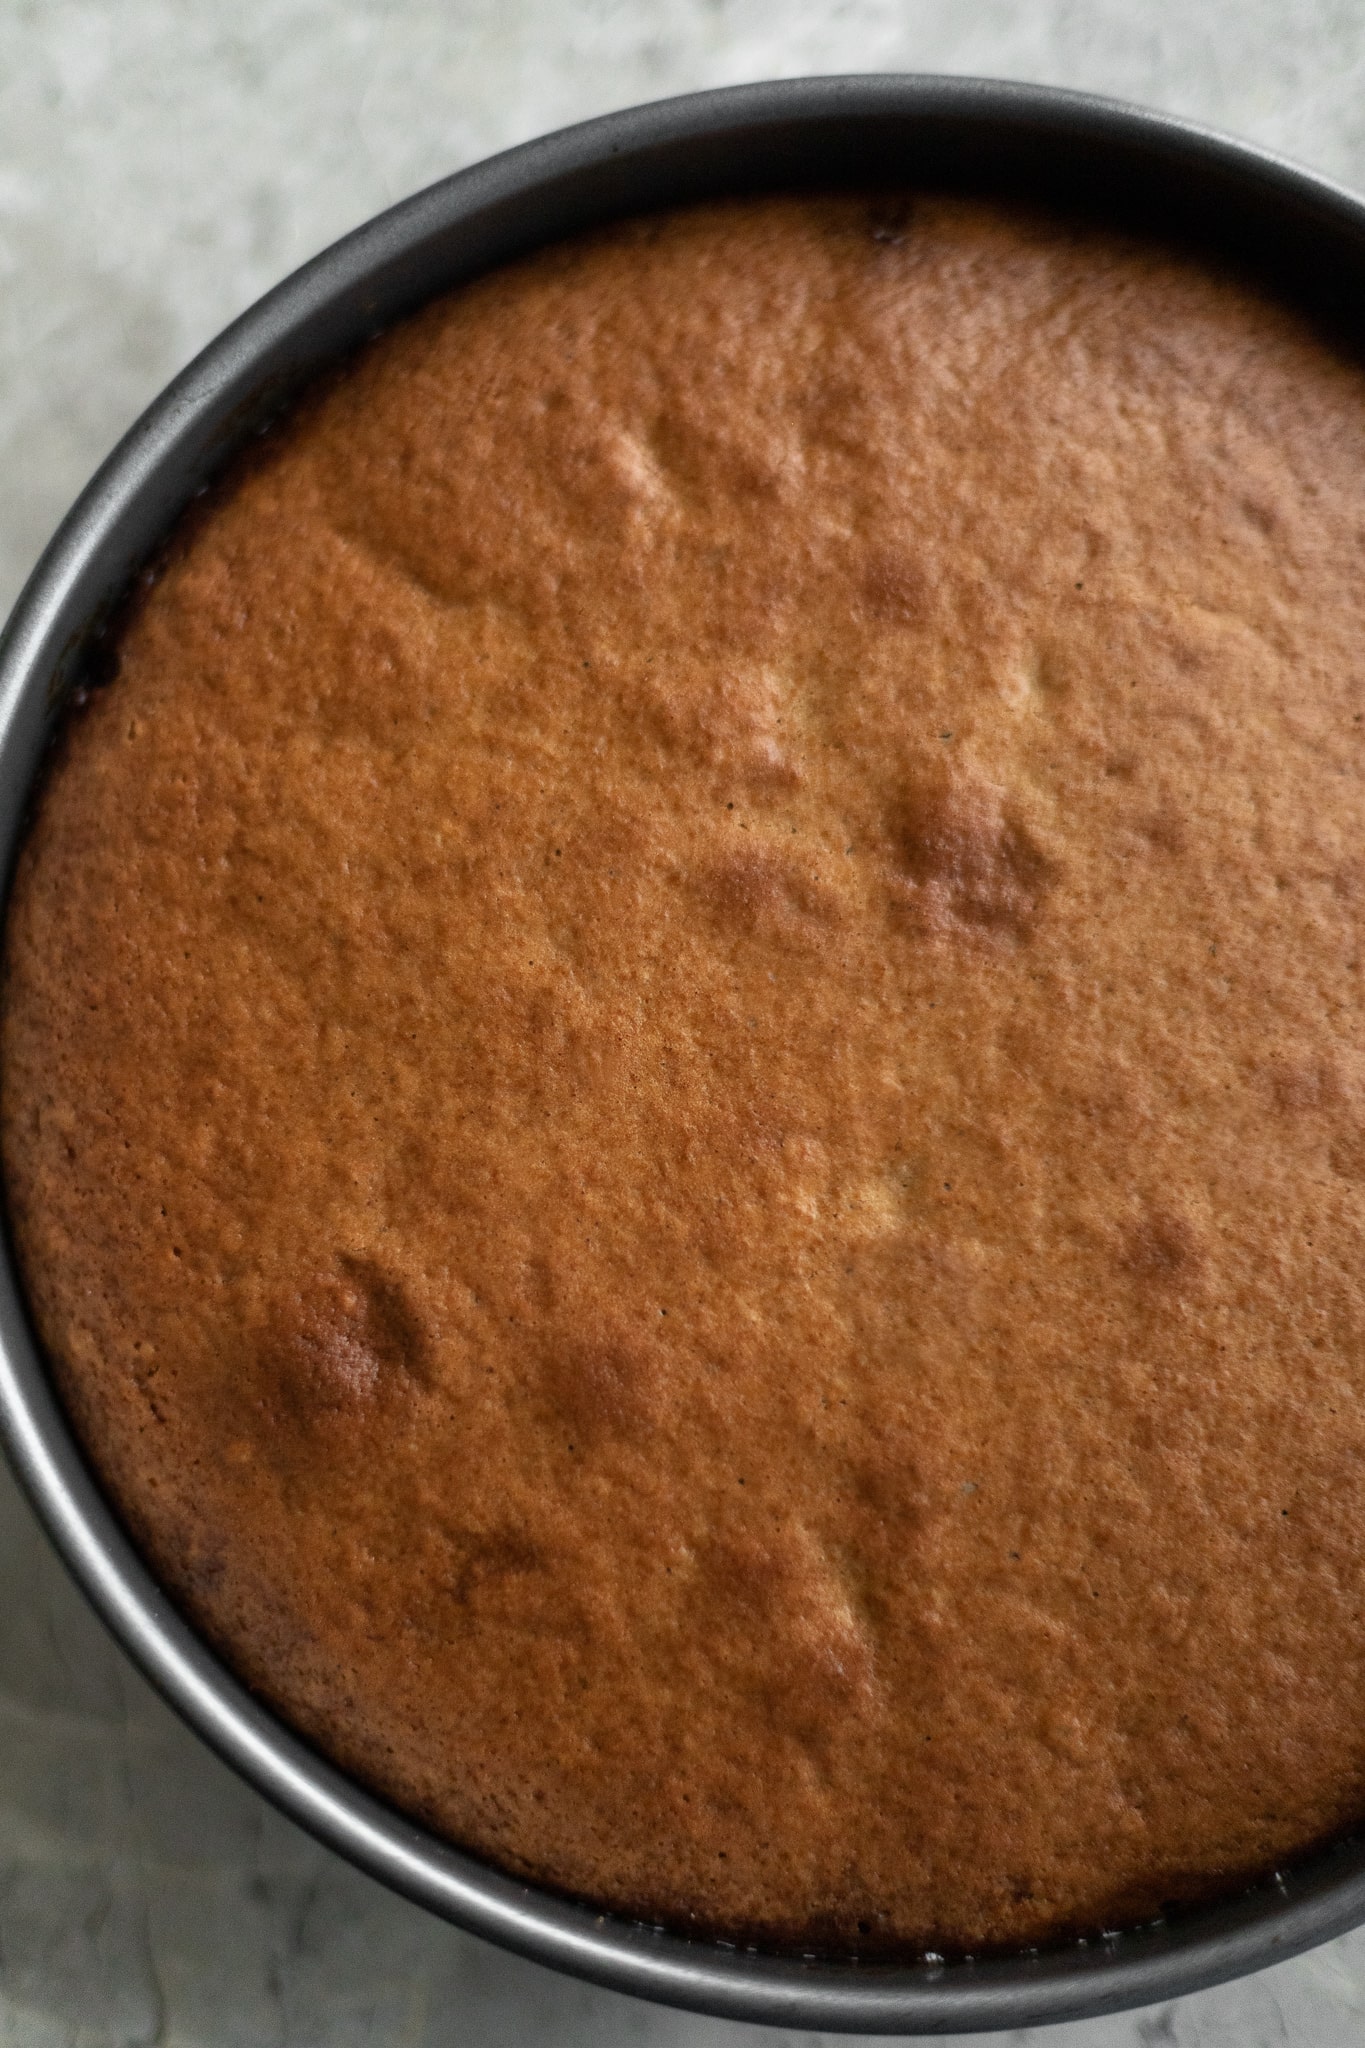
- Carefully pour the batter over the plums, smooth out the top a little bit with a spatula, and bake for about 35 minutes, until a toothpick inserted into the center comes out clean.
- Let cool for 5 to 10 minutes in the cake pan. Then trace around the edge with a butter knife to make sure it’s loosened from the pan. Invert onto a serving plate, let cool for at least 30 minutes more, and serve.
Notes
* In A Dish for All Seasons, I use buttermilk, which you can use here in place of the yogurt and milk (just use 1/2 cup [120 g] buttermilk in place of both).
Note on the pan size: This recipe has never overflowed during testing and it should not overflow on you if you use a standard 9 inch pan. But if yours does overflow, something has gone wrong with your ingredient ratios, oven temperature, or pan depth. If you’re making this for the first time and worried it might overflow, you can place a baking sheet on the rack one level down from the rack you’re baking on.