Most eggless chocolate chip cookies are soft and cakey. But not these—they’re thin, chewy in the center, and crisp around the edges. And the more you know about how cookies work, the odder it seems that most other eggless cookies tend to be puffy and cakey. The thing is, making an eggless cookie cakey is not playing to its strengths. In fact, guess what tends to make a cookie cakier? Adding an extra egg,¹ not adding less egg. So why fight it?
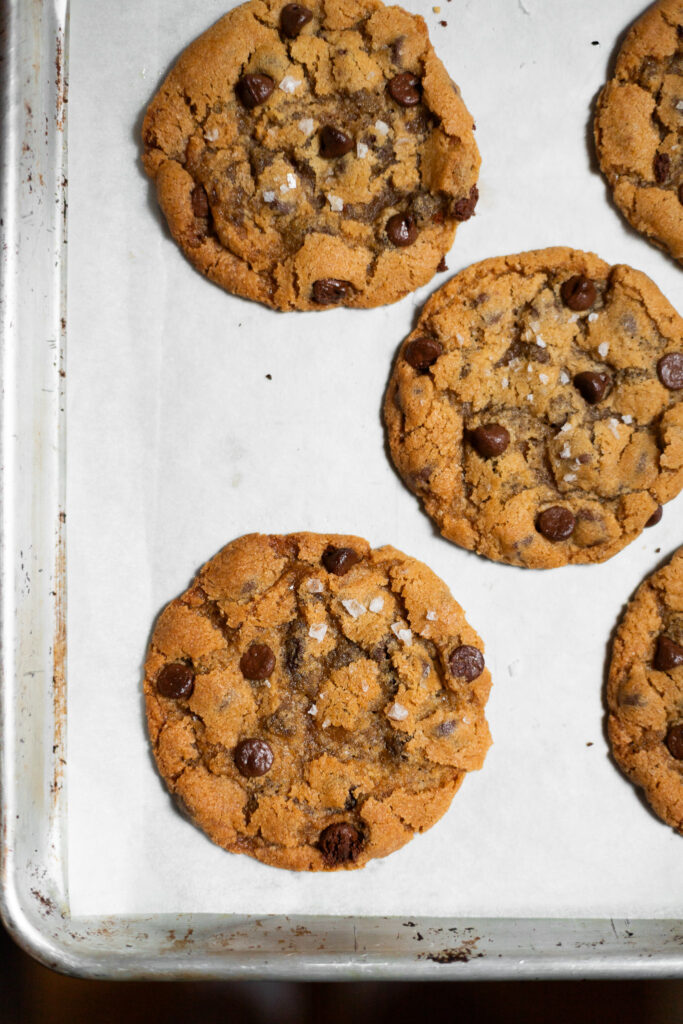
Let’s not treat a missing egg as a problem to be solved. It’s a bug, not a feature! Leaving out the egg actually gives us a whole new set of advantages. Without it, we can achieve a texture that’s delightfully thin (rather than puffy), chewy in the center (rather than tender), and crisp around the edges (rather than cakey). By letting eggless chocolate chip cookies be their authentic self, we end up with something that’s not just good for eggless cookies, but just plain good. So let’s stop trying to make fetch happen, and learn to embrace that lack of egg.
Jump to the recipe to hit the ground running or read on for a few testimonials + an ingredient breakdown.
What people are saying
(…around my apartment and my friends’ apartments)
I tested this recipe more times than was strictly necessary, so I brought batches of cookies with me wherever I went for a couple weeks.
- A friend told me these were the best cookies she has ever had (😳💕)
- My neighbor told me they were better than cookies from most bakeries (🥰)
- I served these at my monthly art hangout, and people were surprised to learn that they were egg-free.
Ingredient breakdown: eggless chocolate chip cookies
Here are my tips for tweaking this recipe:
The chocolate chips:
I am partial to milk chocolate chips, but I understand that semi-sweet is standard and what most people prefer. You do you! If you prefer dark chocolate, that would be great here too. As long as you choose a chocolate chip that you want to eat little handfuls of, you can’t go wrong.
Just don’t forget to have a few extra on hand to add to the outside of your dough balls. This ensures that every cookie winds up visibly chocolatey.
The dairy (milk and butter):
While I haven’t tried it, you can likely substitute unsweetened soy milk in place of whole milk without the recipe changing much. However, I would not try to substitute another milk (almond and oat are too structurally different from whole milk, and cookie recipes require precision).
I’m less confident about the butter and do not recommend substituting a vegan version. In general, I don’t recommend trying to make these cookies dairy-free, and instead recommend making a vegan cookie recipe, like these (which sound fantastic).
Brown sugar:
You can use either light or dark brown sugar. If you use dark brown sugar, the cookies will be slightly chewier and will have a more caramelly taste.
Sea salt:
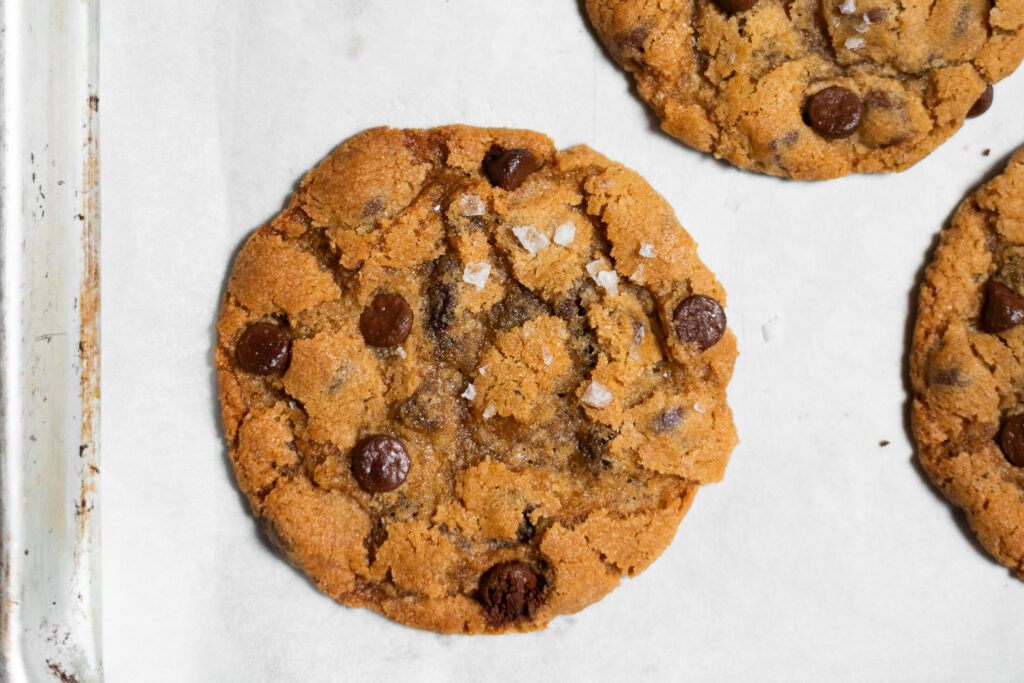
Maldon is the GOAT for sprinkling on cookies. But you can use whatever sea salt you’d like. Finer ones will dissolve a bit during baking. Coarser ones should be used in moderation (it’s easy to over-season with chunkier salts).
I like to salt cookies right before they go in the oven, so that the salt really sticks to them. But you do you. You don’t absolutely need to top them with salt, but it will make them taste like they are from a bakery. If you skip the topping, you may want to add a tiny bit more salt to the dough to make sure it is not bland—when I know I’m going to be sprinkling on loads of sea salt, I don’t add quite as much to the dough as I would otherwise.
PrintEggless Chocolate Chip Cookies (chewy-crisp)


- Yield: 27 large cookies
Ingredients
- 2 sticks [225g] cool room temperature butter
- 1 cup [200g] packed brown sugar
- 1 cup [200g] granulated sugar
- 1 tsp [5g] table salt
- 1/4 cup [60g] whole milk
- 2 tsp [10g] vanilla extract
- 3 cups [390g] all purpose flour
- 3/4 tsp [4g] baking soda
- 1 1/4 tsp [5g] baking powder
- 1 1/2 cups [250 g] chocolate chips
- Sea salt for sprinkling (optional)
- Extra chocolate chips for decorating
Instructions
- Place the butter, brown sugar, granulated sugar, and salt in the bowl of a stand mixer fitted with the paddle attachment.* Beat together at medium-high speed until very light and fluffy, about 2 minutes.
- Add half the milk to the butter/sugar mixer and beat at medium speed for about 15 seconds, just until incorporated. Add the other half of the milk and continue mixing until very light and fluffy, about 30 more seconds. Scrape down the sides and bottom of the bowl with a flexible spatula. Add the vanilla extract and beat for another 10 seconds, just to combine.
- Add the flour, baking soda, and baking powder to the bowl and mix everything together at low speed, just until it forms a uniform dough (about 15 to 30 seconds). Scrape the bottom of the bowl to make sure it is fully incorporated, but do not over-mix.
- Let the dough rest** in the fridge for 30 minutes, up to 48 hours.
- Preheat the oven to 350°F [180°C] while your dough chills, and line a few sheet pans with parchment.
- Roll the dough into 50g balls (a scant 1/4 cup, or a size 1.75 oz/size 24 disher).
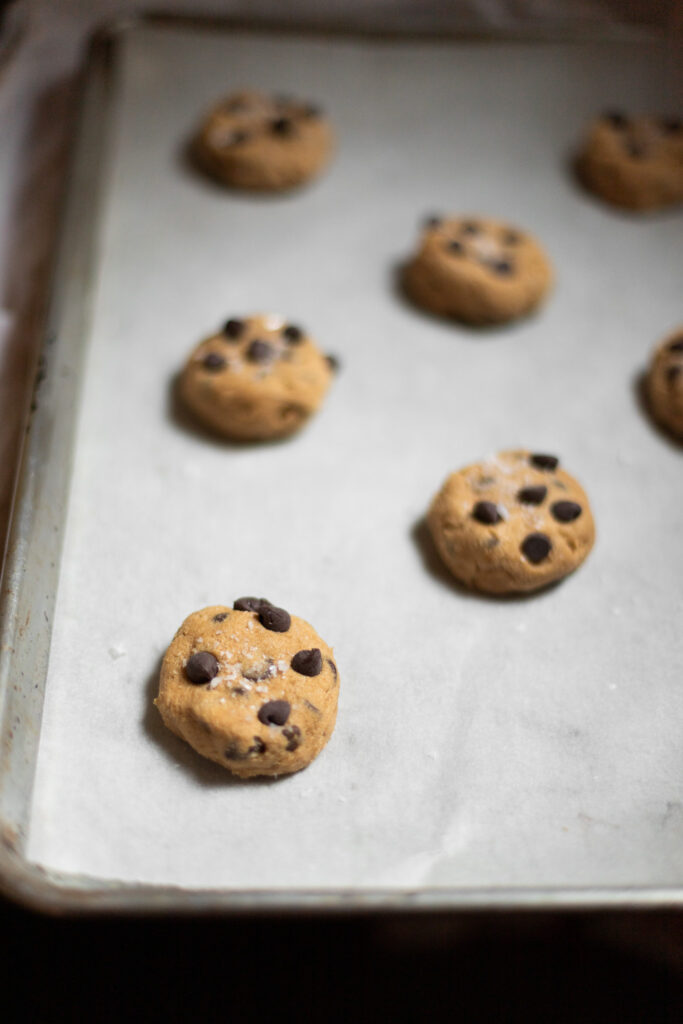
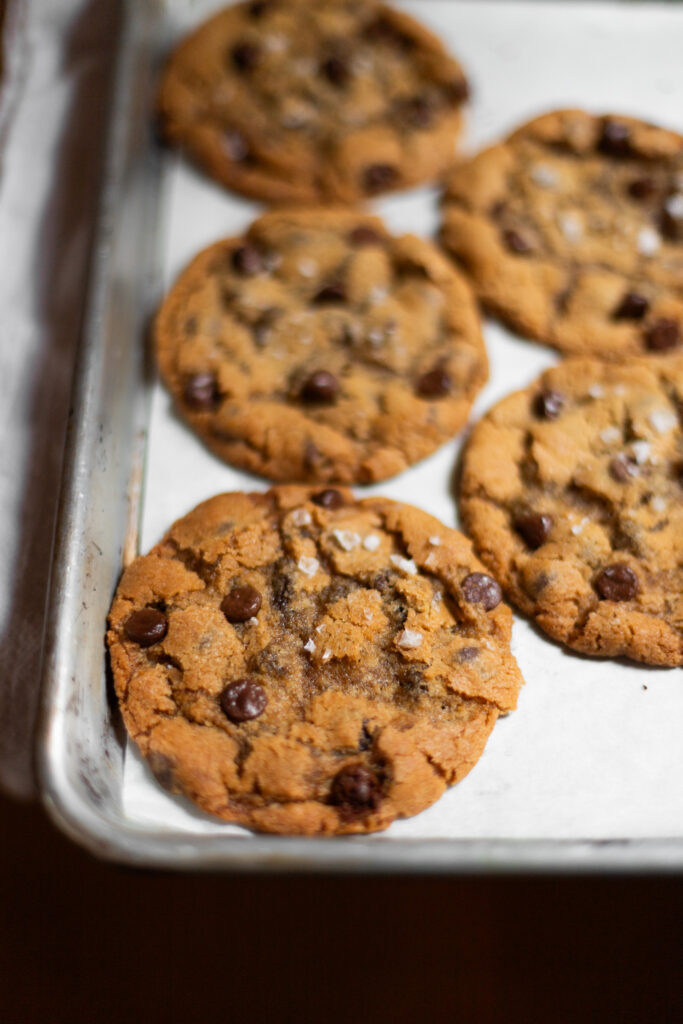
- Space the balls evenly on the prepared sheet pans. Smash them slightly with the heel of your hand, just so toppings will not roll off. Add a few extra chocolate chips to the outside to make sure some are visible. Sprinkle with sea salt.
- Bake for about 12 to 13 minutes***, working in batches. They’re done when the edges are set and the centers are still very soft but not liquid. Slide the parchment onto the counter to cool.
Notes
*: If you do not have a stand mixer, you can use a hand mixer with the egg beaters attached.
**: It doesn’t matter whether they actually chill through—the key here is resting time. Thirty minutes makes a difference, but longer is even better. During resting, the flour and sugars hydrate, which results in cookies with a bakery-quality texture. If you skip this step, your cookies will turn out fine, but they won’t quite live up to their potential.
***: 14 minutes will yield cookies that are crisp at the edges and chewy in the center after cooling. If you like your cookies well-done (crisp throughout with a snap), let them go for another minute or two. If you do not measure your dough balls carefully or if your oven is not well-calibrated, your bake time might be different, so keep an eye on the first batch.
Video note: If you don’t see the video for this post after scrolling up, please disable ad block and try reloading the page.
Notes:
1. When I say that adding an extra egg will make a cookie cake-ier, I am not suggesting you just go adding extra egg to a cookie recipe willy-nilly. It requires a few other careful adjustments and testing. It’s just that most cakey cookie recipes will include a higher ratio of egg than a thin and chewy cookie recipe.