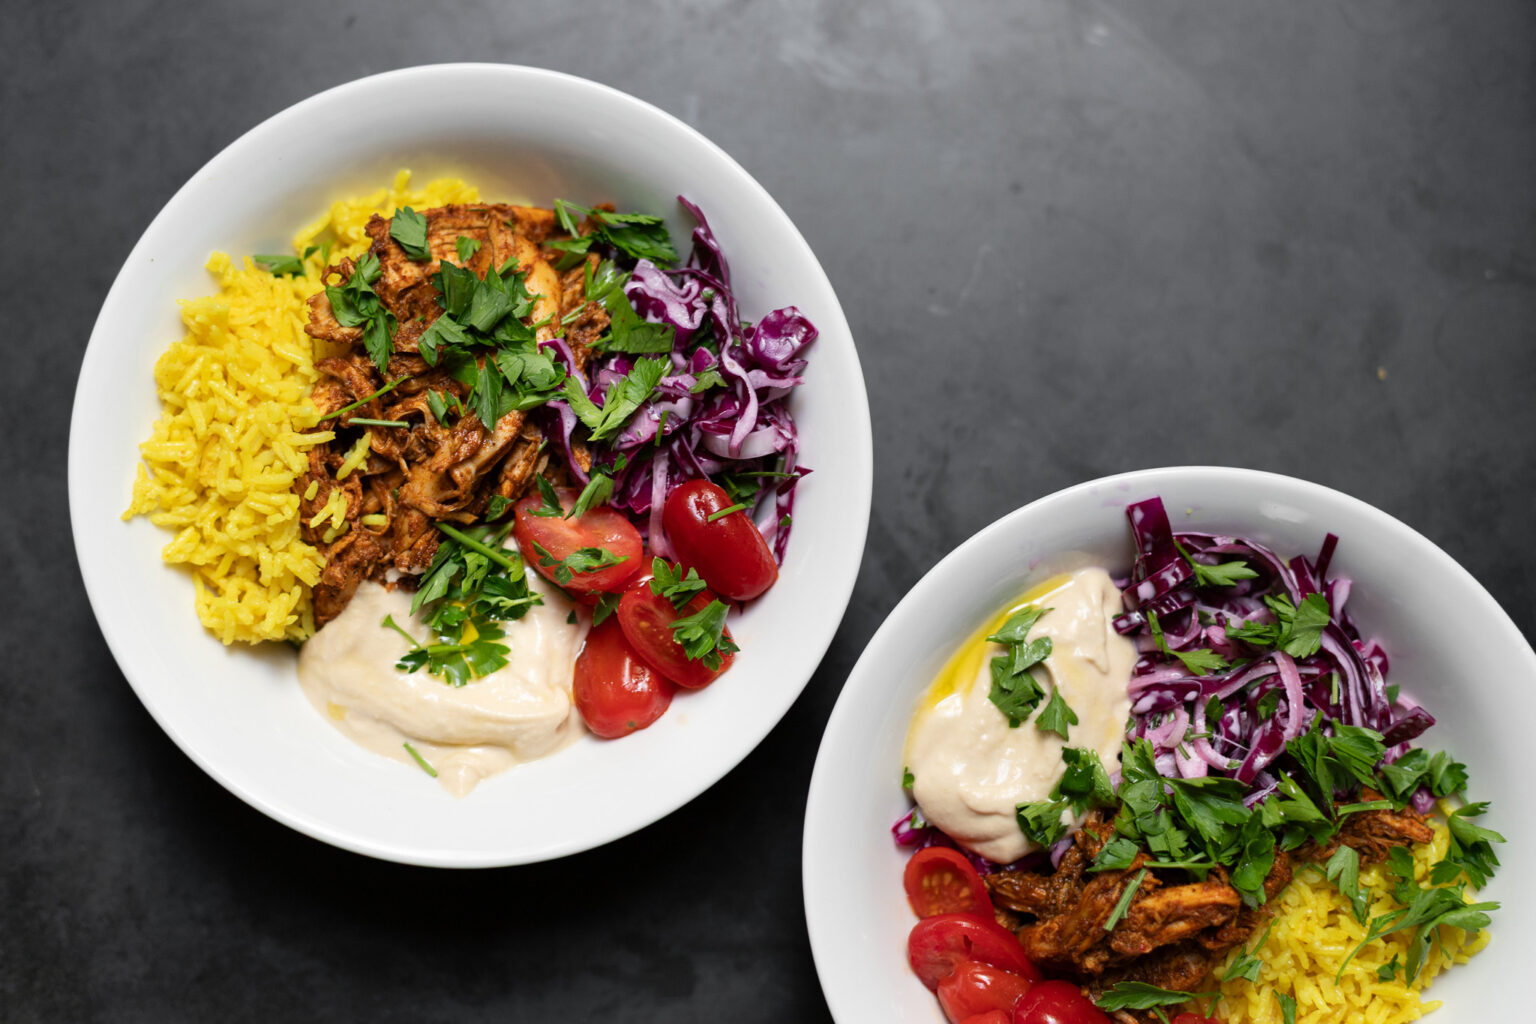
This is the easiest recipe for hummus bowls you will ever find. I’ve taken every shortcut possible (short of throwing in the towel and ordering delivery), and it takes about 30 minutes to throw together (especially if you get a pre-shredded rotisserie chicken).
I developed this recipe while staying in an Airbnb, which goes to show how ridiculously easy it is. I mean, if you’re gonna make a recipe in a kitchen equipped with 1 scratched tefflon pan, 8 mismatched lids, and the world’s smallest cutting board, it’s got to involve more assembly than actual cooking. But even when you’re in the comfort of your own home, sometimes you just need an easy option. In either case, this recipe is for you.
Of course, you can make every component from scratch if you are in the mood for a project. But if you clicked this particular recipe (which, yes, has “easiest” in the title), I’m going to assume it’s because you’re not looking for the extra credit option.
Jump to the recipe or continue on if you want to figure out whether these are the hummus bowls for you.

What’s In These Hummus Bowls:
Here’s everything involved in making this “recipe,” from most to least time consuming. The only ingredients you have to chop/shred are the tomatoes, cabbage, onions, herbs, and rotisserie chicken (unless you buy one pre-shredded, which I recommend). The rest basically makes itself!
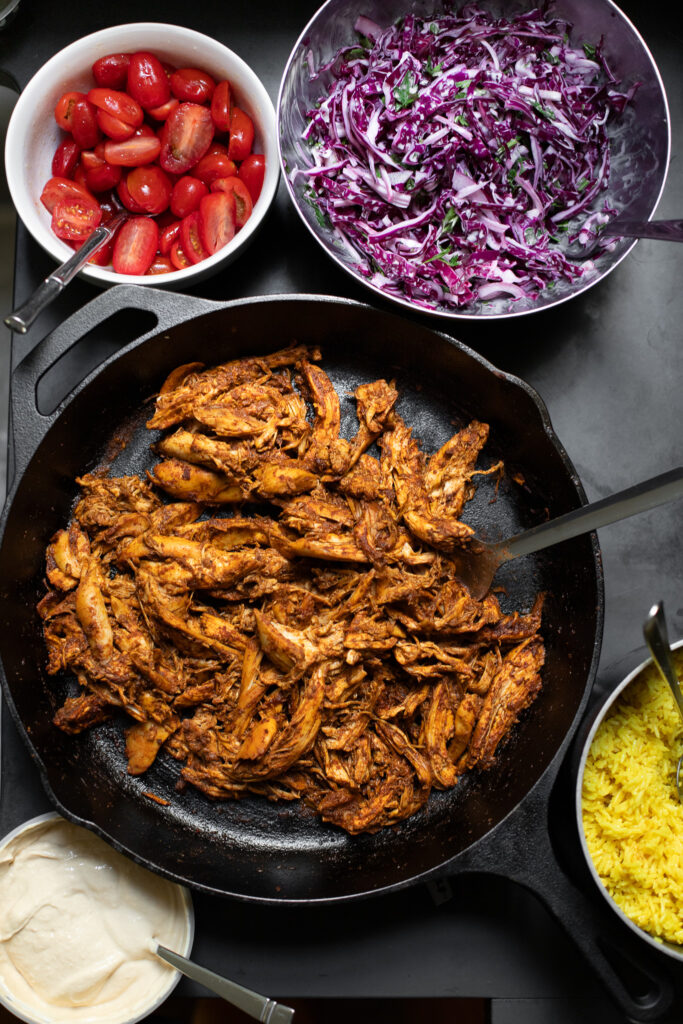
1. The slaw
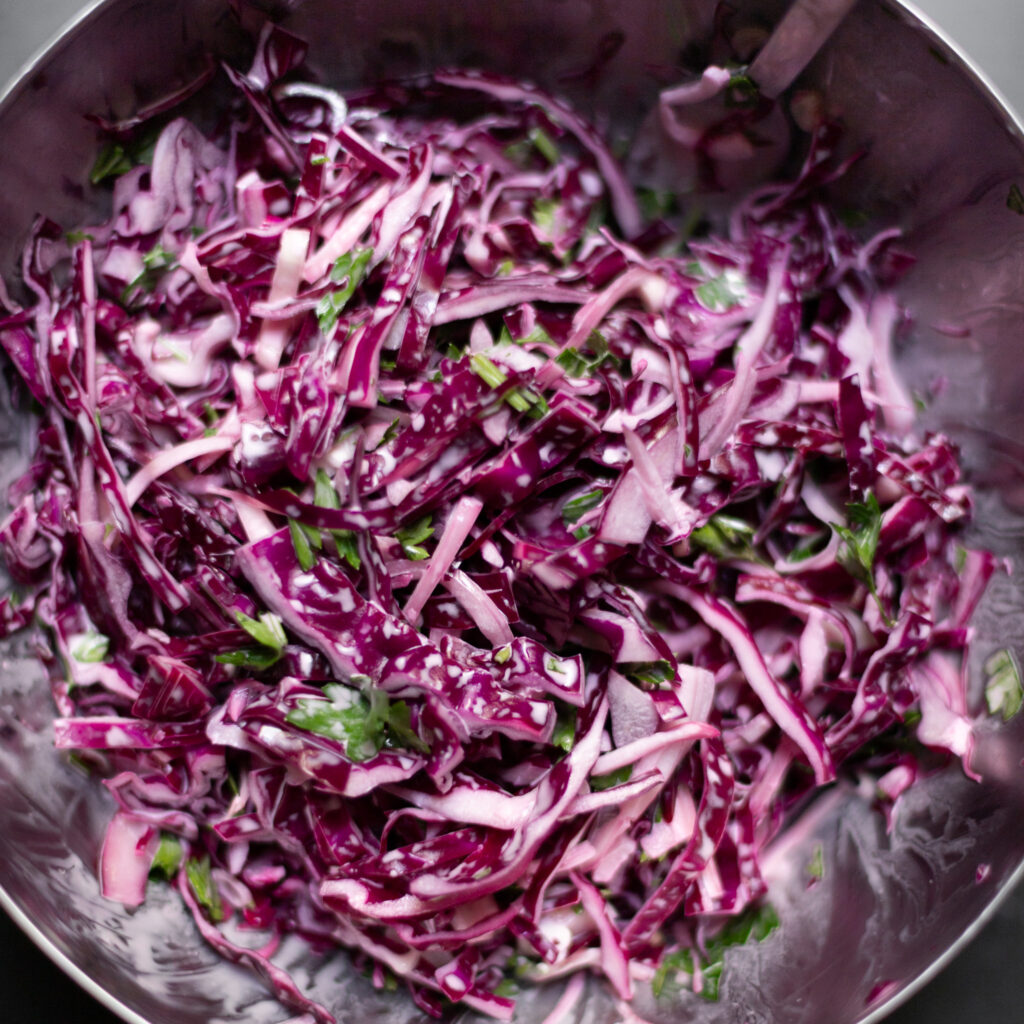
The slaw is easily the most time-consuming component, but even it doesn’t take long. We just thinly slice some cabbage and onion/shallot (you can use the food processor with the slicer attachment to save time). Chop up some herbs, add a few ingredients from the fridge door, and toss together.
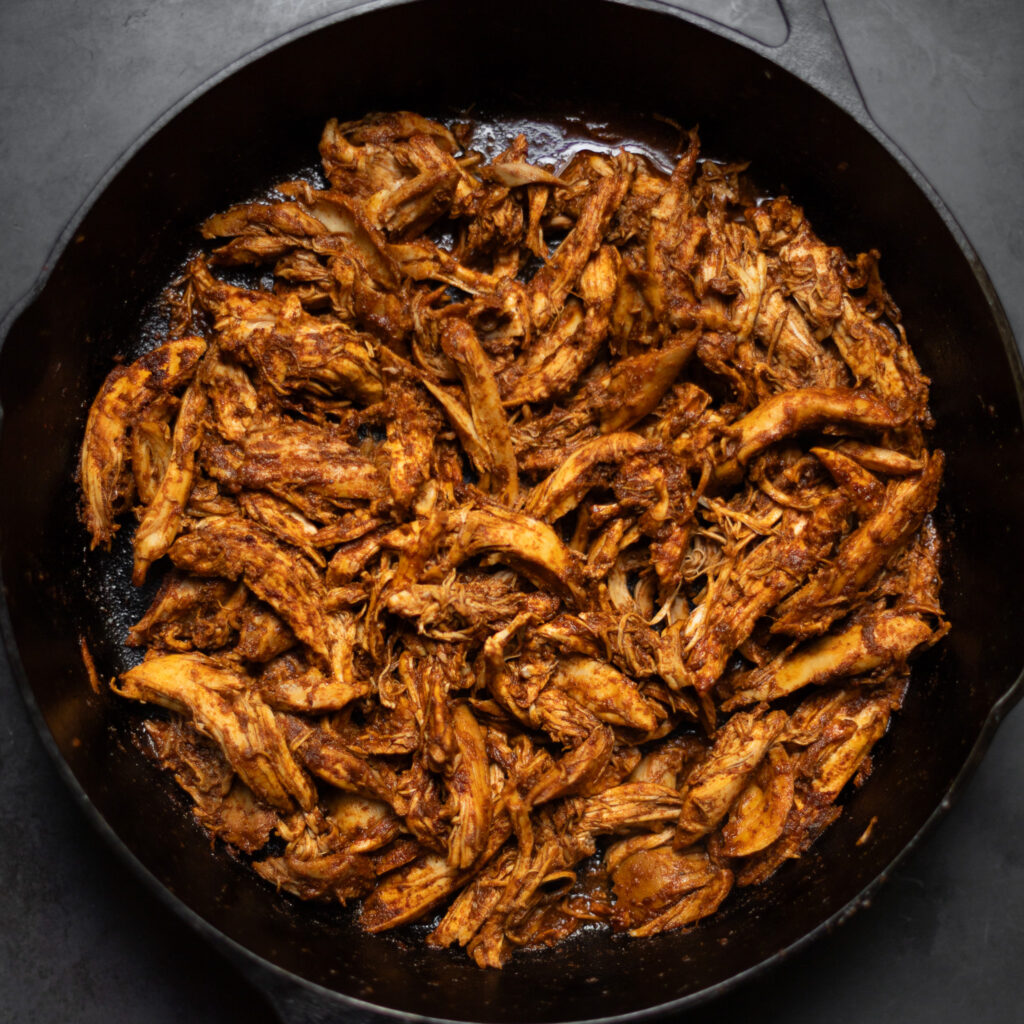
2. Chicken “shawarma”
It’s almost impossible to make real shawarma at home, so in this recipe, we’re not even going to bother trying. Instead, we start by shredding a rotisserie chicken. Then we take some oil and spices, temper them on the stove until fragrant, and add the shredded chicken to the pan, tossing together just to warm it and infuse it with flavor.
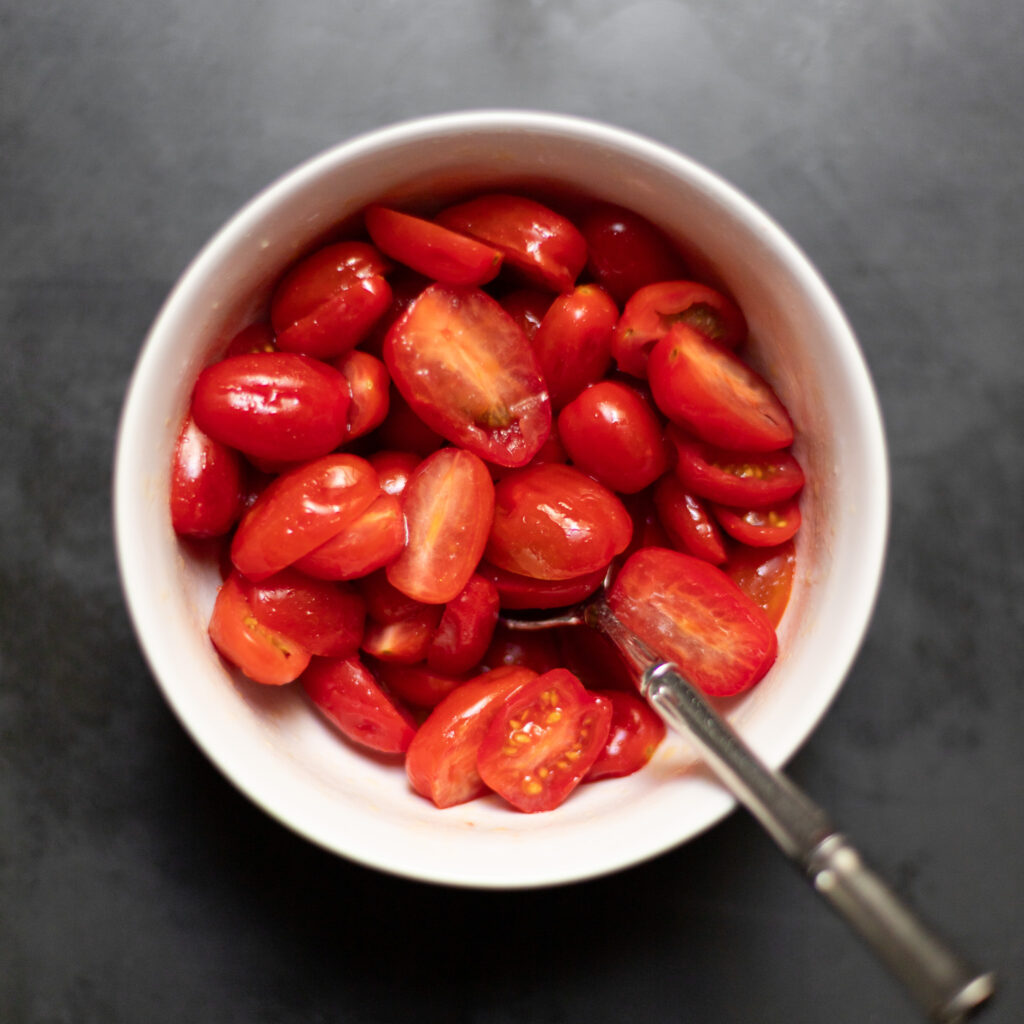
3. Marinated tomatoes
It sounds fancy, but it’s just cherry tomatoes sliced in half, dressed with a few more fridge door ingredients.
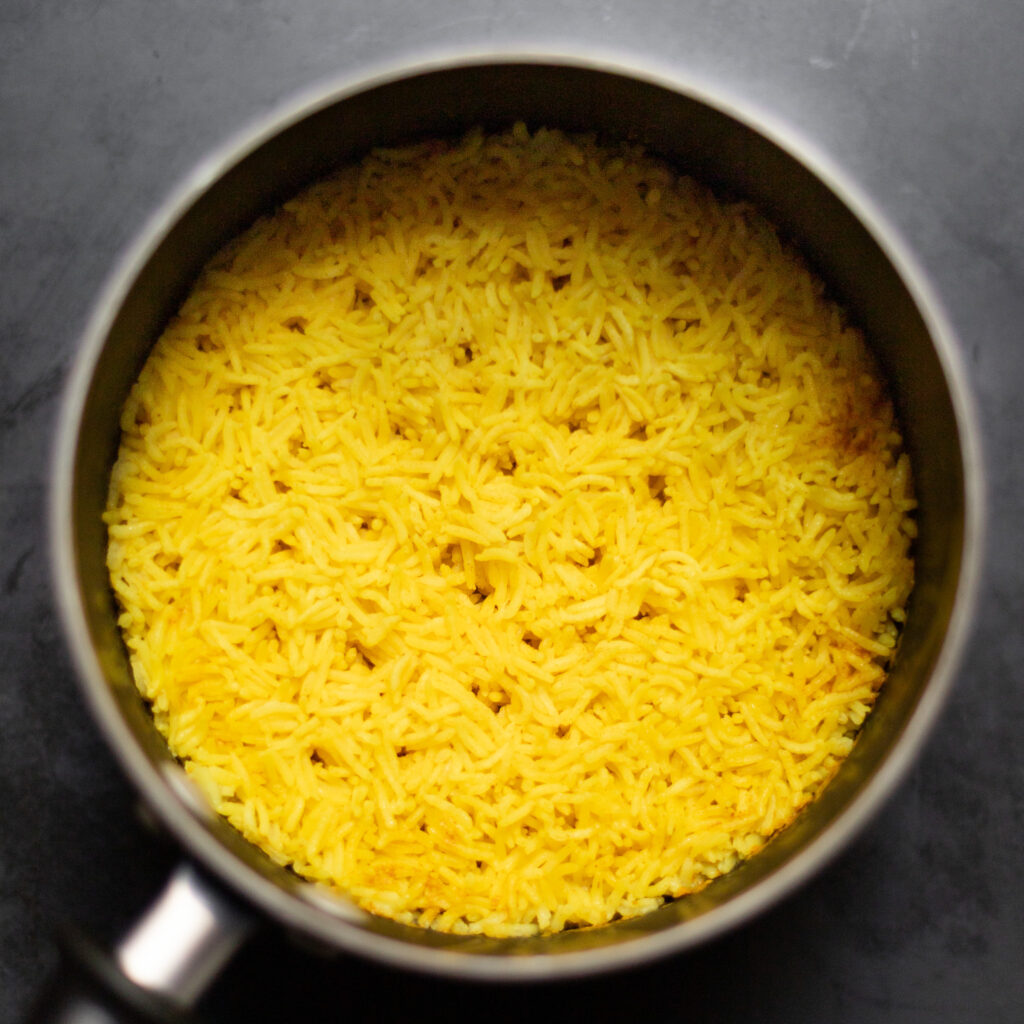
4. Yellow rice
Throw some ingredients in a pot, slam on the lid, and let it simmer.
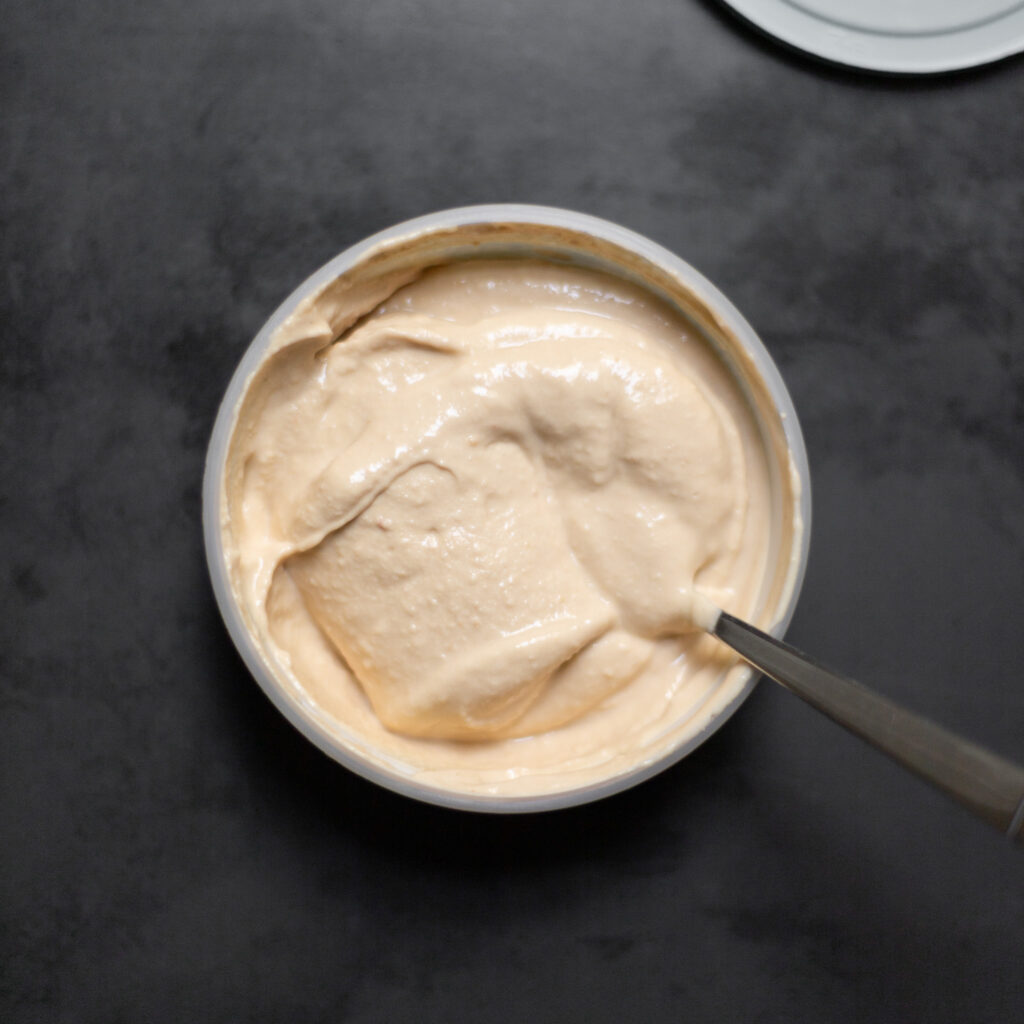
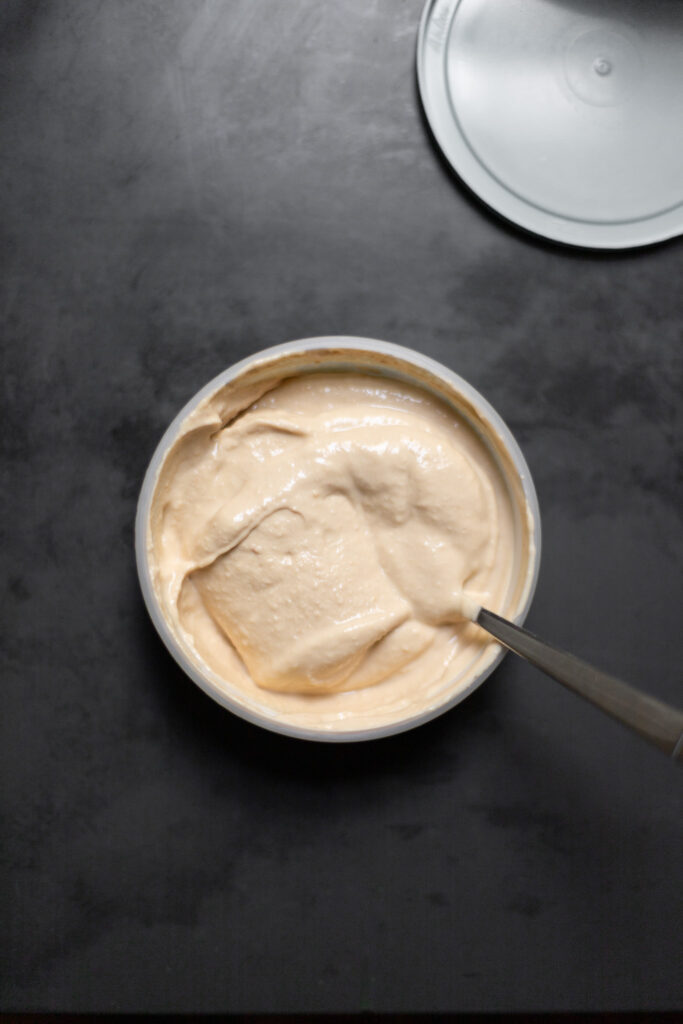
5. Hummus
Two words: Store. Bought. Find a brand you love, and you can’t go wrong. My favorite is Little Sesame (not sponsored).
If that all sounds doable, then this recipe is for you. If it doesn’t, then you should probably find something simpler than hummus bowls, because you’re not going to find a hummus bowl recipe that’s any easier than this one.
A From-Scratch Alternative:
Who am I to stop you? Here are links to my favorite from-scratch, slightly more complex versions of all of the above:
- Slaw: This slaw is a little more complicated than the one in this recipe, but if I already happened to have it in my fridge, I would absolutely throw it in a hummus bowl.
- Chicken shawarma: I spent a long time developing this technique for making shawarma at home, which I think gets kinda close to the real deal. Unless you have a grill with a spit, it’ll never be quite the same as the kind you get at a shawarma shop, but this gets close.
- Marinated tomatoes: For the best marinated tomatoes, it’s not so much about using a different recipe—you’ll just want to leave them in the fridge overnight.
- Yellow rice: This yellow rice is only slightly more complex than the one in this recipe.
- Hummus: The absolute best hummus is made from dried chickpeas, but if you’re in a hurry, red lentils are also a good option for an alternative to hummus that weirdly tastes like the real thing.
Easiest-possible Hummus Bowls

Ingredients
- (You’ll need salt for all components)
For the marinated tomatoes:
- 1 pint cherry tomatoes
- 1 Tbsp red wine vinegar
- 1 Tbsp extra virgin olive oil
- 1 clove garlic, crushed through a press (or 1/2 tsp garlic powder)
For the yellow rice:
- 1 cup [200g] long grain rice (e.g, basmati)
- 1 1/2 cups [350g] chicken or vegetable broth*
- 1 Tbsp extra virgin olive oil
- 1/2 tsp turmeric
For the slaw:
- 1/2 of a head of red cabbage (290g)
- 1/4 of a red onion (or 1 shallot)
- 2 Tbsp mayo*
- 1 Tbsp red wine vinegar or lemon juice
- 1/4 cup chopped fresh herbs (parsley, cilantro, dill, or basil—just 1 or any combination)
For the chicken “shawarma“:
- 1 rotisserie chicken (whole or pre-shredded)
- 2 Tbsp extra virgin olive oil
- 2 Tbsp ground cumin
- 2 Tbsp sweet paprika
- 1 tsp cinnamon
- 1/4 tsp black pepper
- 1/3 cup [80g] chicken broth
Plus:
- Two 8 oz [225 g] containers store-bought hummus
- Extra herbs and/or paprika (optional)
- Additional extra virgin olive oil (optional)
Instructions
- Marinate the tomatoes: Slice the cherry tomatoes in half. Toss with the vinegar, oil, garlic, and salt (I used 1/4 tsp).
- Make the yellow rice: Place the rice, broth, olive oil, and turmeric in a stockpot. Place over medium-high heat and keep an eye on it so it does not bubble over or boil off.
- As soon as it comes to a rapid simmer, cover and reduce heat to low. There should be a wisp of steam sneaking out from under the lid, but it should not be rapidly boiling. Adjust the heat as necessary.
- Set a timer for 15 minutes and let it cook covered without peeking or stirring. Once 15 minutes have passed, remove from heat and do not lift the lid. Let it rest off the heat for 15 more minutes, covered.
- Once it has rested, fluff with a fork, taste, and fold in more salt as needed.
- Make the slaw: Thinly slice the cabbage and onion/shallot and place in a medium mixing bowl. Top with mayo, vinegar, herbs, and salt to taste (I used 1/2 tsp). Toss together and refrigerate.
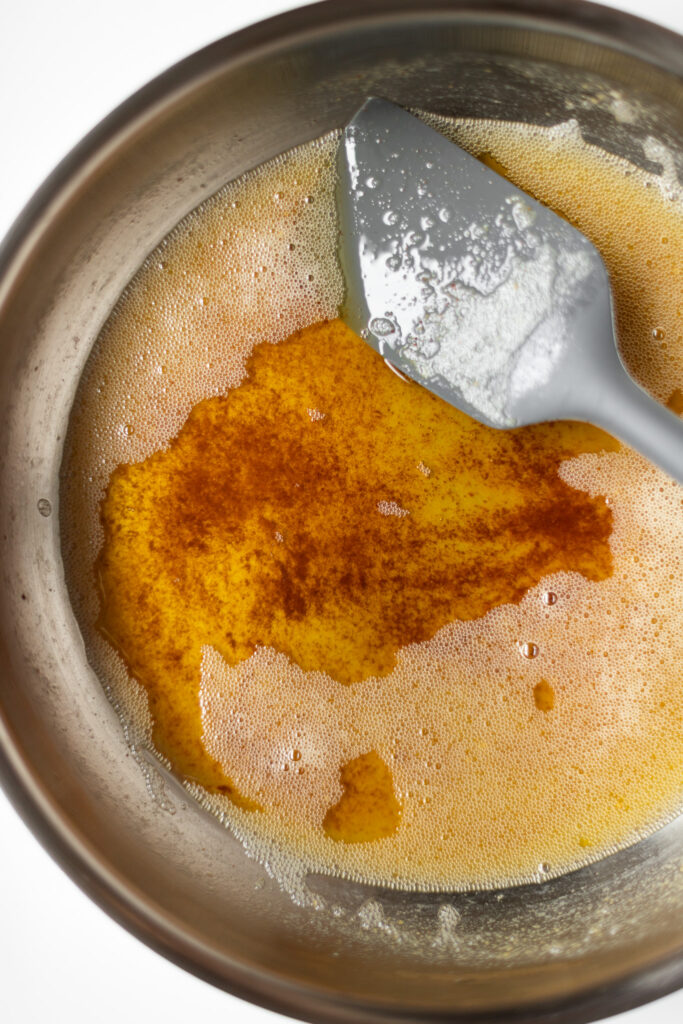
- Make the “shawarma”: Shred the chicken (if it’s not shredded already) and discard the bones and skin. Place the oil in a skillet along with the cumin, paprika, cinnamon, and black pepper. Place over medium heat and stir constantly until the spices start to sizzle and smell fragrant. Let them sizzle for about 1 minute. Then immediately add the chicken and toss together. Stir in the chicken broth, cover, and heat through. If it looks a little dry, add a little more broth. If it looks too soupy, let it simmer uncovered for another couple minutes to cook off some moisture.
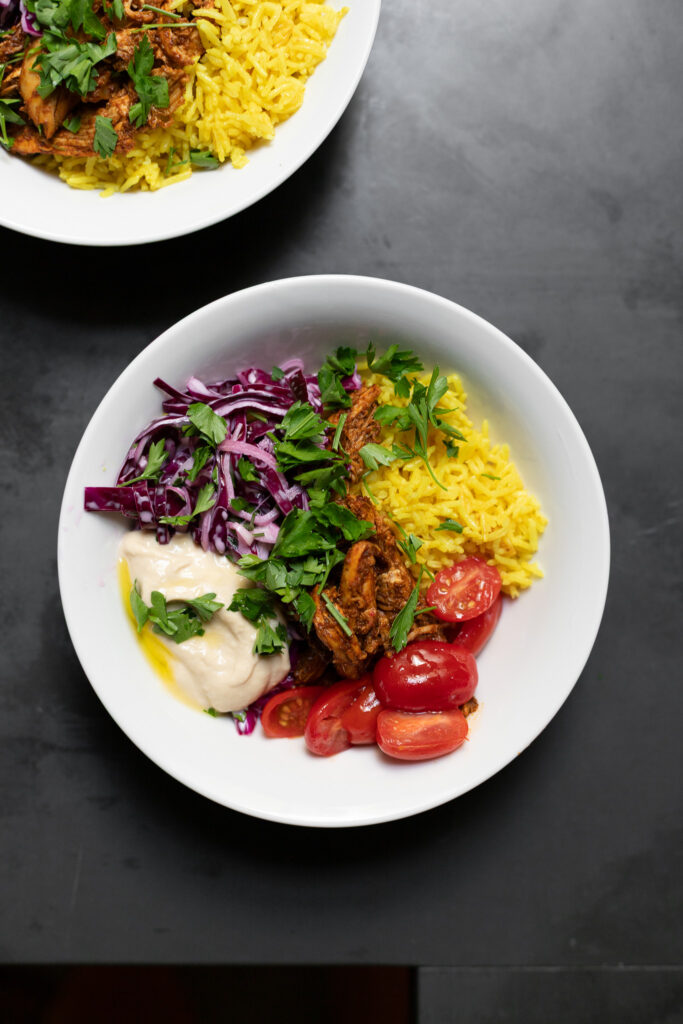
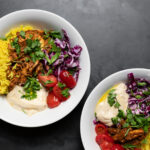
- Assemble: Place a scoop of rice in each bowl. Top with the chicken shawarma. Add some slaw and marinated tomatoes to the side. Add a generous dollop of hummus to the side. Top with extra herbs and/or paprika (if using) and a drizzle of extra virgin olive oil (if using).
Notes
* If you don’t like mayo, you can instead use 3 Tbsp of your favorite salad dressing in place of the mayo and vinegar/lemon juice. Creamy dressings work particularly well, and you should choose one whose flavors go with the rest of the ingredients in the hummus bowls.
Video note: If you don’t see the video for this post after scrolling up, please disable ad block and try reloading the page.