If you’re used to the dairy-free option always being the sadder option, then I hope this recipe surprises you! My dairy-free banana bread recipe is not just dairy-free for dietary reasons. All of the dairy-free adjustments actually make it an even better loaf of banana bread than one that’s made with dairy.
So you can let all your dairy-eating friends know that if they’re not making their banana bread dairy-free, they are gonna wanna start.
Jump to the recipe to hit the ground running, or read on for a list of reasons this dairy-free banana bread is better than a conventional loaf.
What makes this banana bread dairy-free AND very good:
1) Milk, sour cream, and/or yogurt all make for a less flavorful banana bread
One of the biggest mistakes in developing a banana bread recipe is adding anything other than bananas and eggs as the water-containing ingredients. Or at least, that’s my banana bread hot take.
Why? We can only add a certain amount of moisture to the batter. If you add sour cream, yogurt, or milk, then you have to add less banana to achieve the right balance. Since we want a robust banana flavor, this results in a less flavorful loaf.
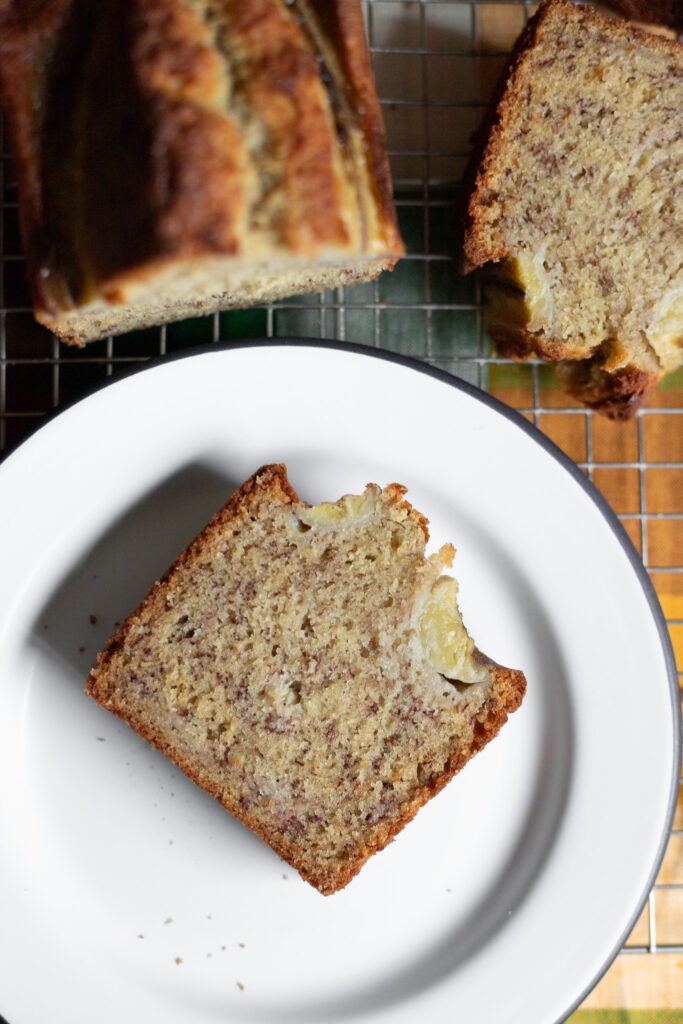
By skipping the dairy altogether, we can max out our banana budget. This is true even if you like an extra-moist almost pudding-like loaf. If you want maximum banana flavor, don’t water it down with dairy.
2) Butter is good, but oil is better for texture
The other dairy-based ingredient in banana bread is butter. Loaves of banana bread made with butter are good, but I actually prefer loaves made with oil. The flavor of butter is wonderful, but oil gives banana bread a moister texture. I still sometimes swipe some butter on after toasting a slice (all the flavor, none of the texture), but I like to leave butter out of the recipe itself.
This recipe calls for any neutral oil—use whatever you prefer. I used canola to develop it.
3) Dairy-free chocolate is easy-to-find (and delicious!)
If you’re a fan of dark chocolate, then having to use a dairy-free chocolate is not a bug—it’s a feature. Find a vegan chocolate that is just cocoa beans, cocoa butter, and sugar, and you’re good to go.
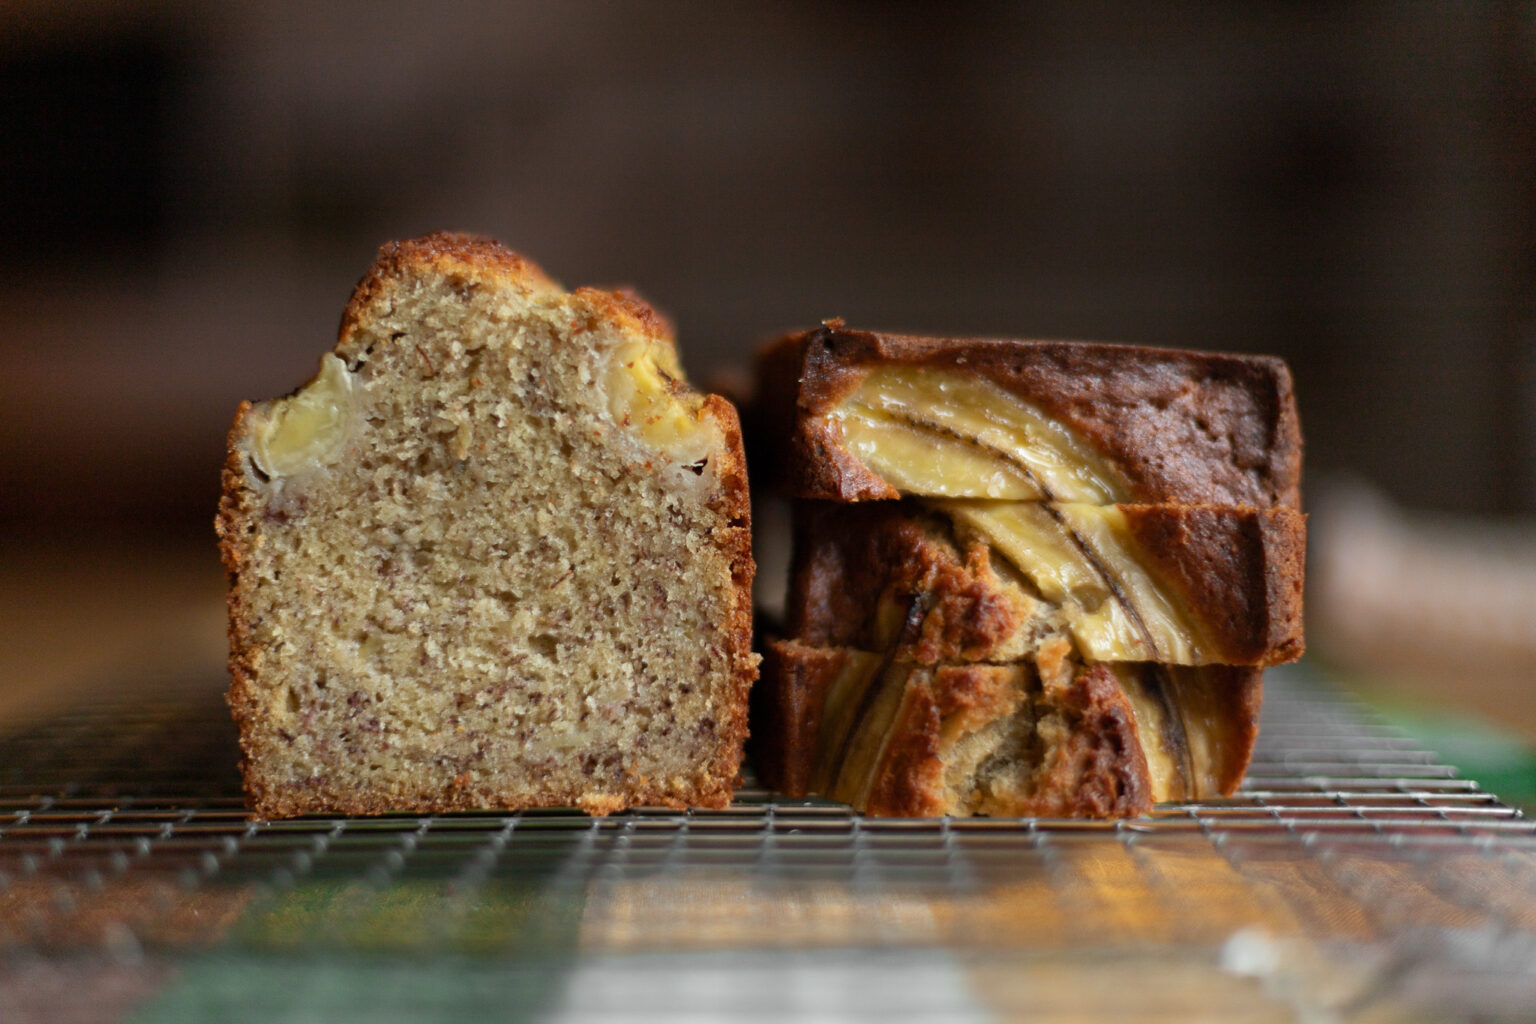
Or skip the chocolate altogether—it’s totally optional, and this loaf is great with or without it. I photographed it and shot the video without chocolate chips, mostly because I didn’t feel like adding them. But I’ve added them many times before. It can really go either way.
A couple helpful notes:
A silly little note about eggs
If you’re dairy-free, you certainly already know this, but for everyone else: Please note that eggs do not count as dairy. Dairy is very specifically milk and products made from milk like cream, cheese, whey protein, butter, and so on. Thus, this recipe does contain eggs.
If you’re looking for a recipe for dairy-free and egg-free banana bread, I’ve got you covered with my eggless banana bread recipe, which uses 0 additional ingredients in place of the missing eggs (just some extra banana and a tad more flour). There is no need to make a chia egg or buy a vegan egg substitute. Just be really careful not to over-mix that one.
Speaking of over-mixing, that’s my number 1 suggestion here too
With any quick bread recipe, the biggest risk is over-mixing. Mix the wet ingredients together thoroughly, then sift the dry ingredients together thoroughly, but once you bring them together, try to use as few swipes as possible. Stir efficiently, and stop once there are no longer dry pockets of flour.
You’ll find a video for this banana bread recipe at the end of the recipe card below. But before I leave you with the recipe, here’s a quick video that’s specifically about over-mixing. If it doesn’t load, disable ad block and reload the page:
Dairy-Free Banana Bread

Ingredients
- 1 cup [240 g] mashed banana from about 3 very overripe bananas
- 1/2 cup [105 g] neutral oil*
- 2 large eggs**
- 2/3 cup [130 g] sugar
- 1/2 teaspoon fine sea salt or table salt
- 1 1/2 cups [200 g] all purpose flour
- 1/2 teaspoon baking soda
- 1/2 teaspoon baking powder
- 1/3 cup [85 g] vegan chocolate chips (optional)
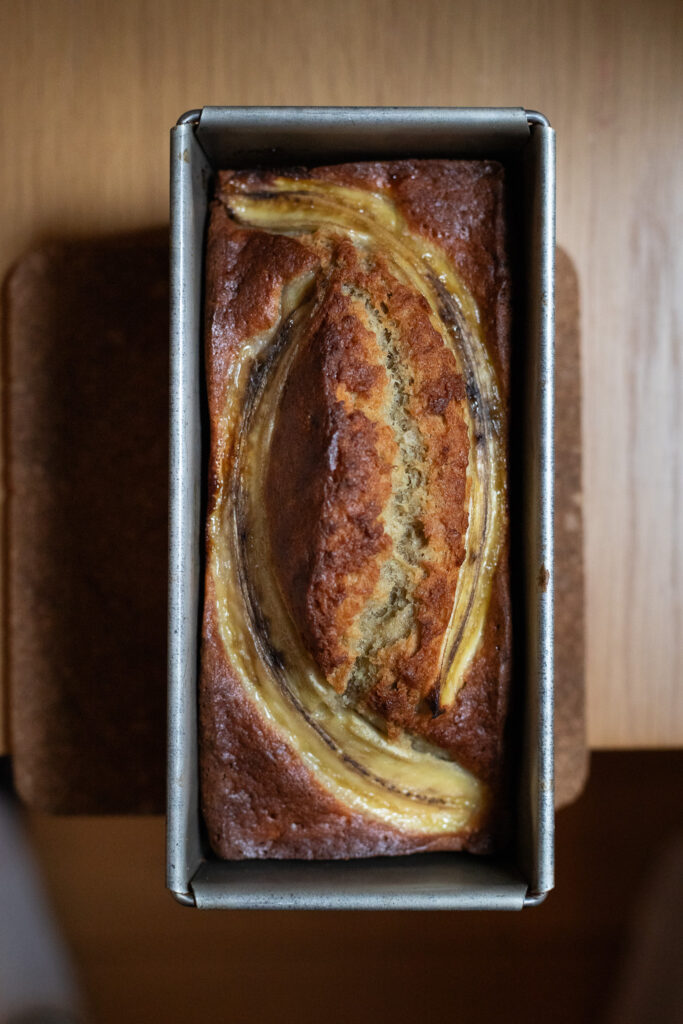
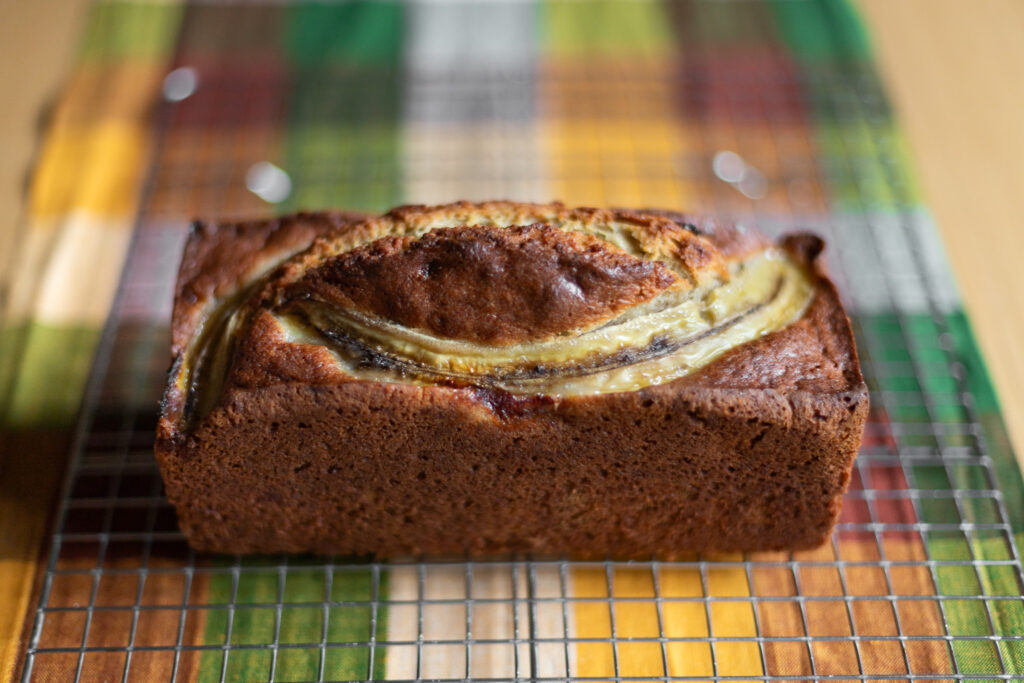
- 1 ripe banana, split lengthwise (optional)
Instructions
- Preheat the oven to 350° F [180° C].
- Grease an 8 x 4 inch [20 x 10 cm] loaf pan.***
- In a medium mixing bowl, whisk the mashed bananas together with the oil until very well combined. Add the eggs, sugar, and salt, and whisk together until completely incorporated.
- In a large mixing bowl, whisk or sift together the flour, baking soda, and baking powder.****
- Add the wet mixture to the flour mixture, sprinkle on the chocolate chips, and stir to combine. Do not over-mix (stop mixing as soon as there are no dry pockets of flour).
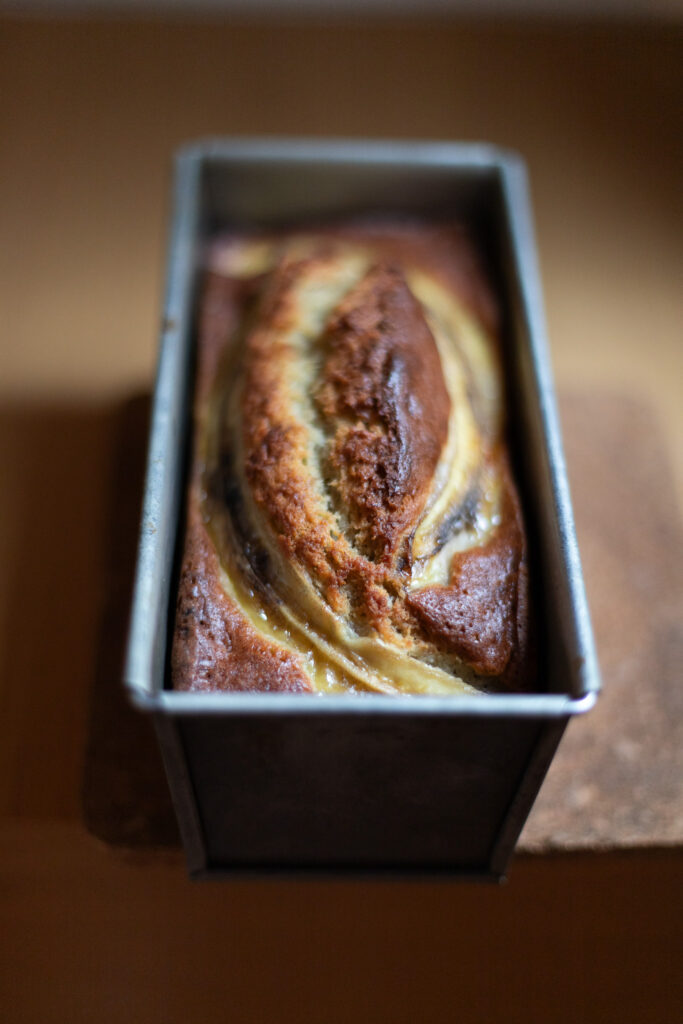
- Spoon the mixture into the loaf pan.
- Place the banana halves cut-side-up on top of the loaf (if using).
- Bake for about 1 hour. Check for doneness by inserting a toothpick or wooden skewer into the center of the loaf. If it comes out with batter, it needs more time, but if it comes out with just some crumbs, it’s ready to take out.
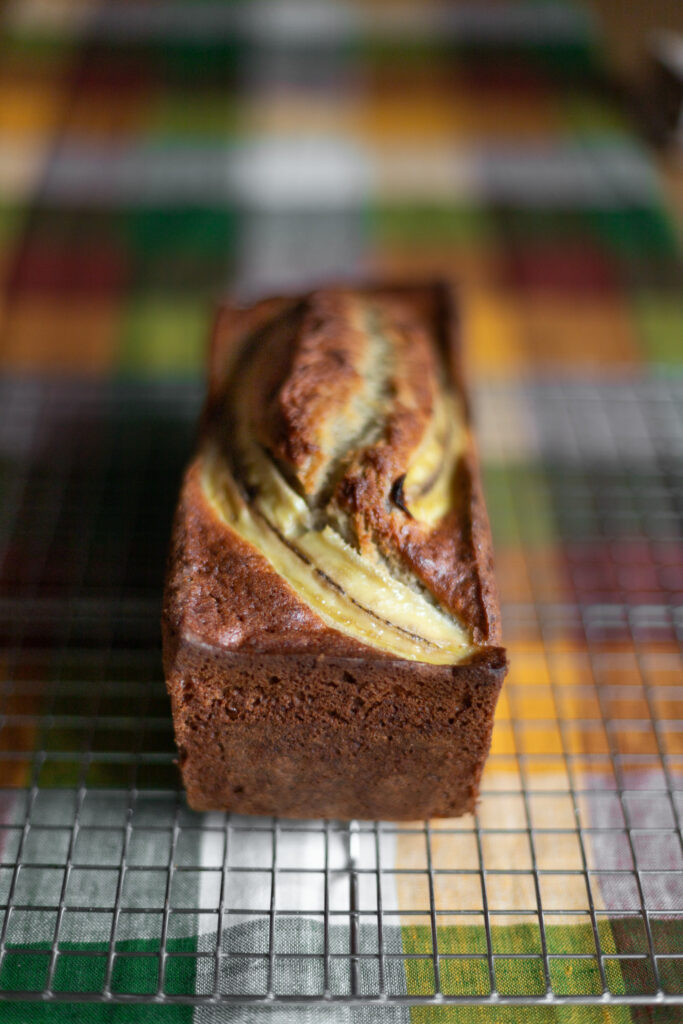
- Remove from the pan and cool on a rack for at least 30 minutes before cutting and serving.
Notes
* I used canola oil to develop this recipe, but you can use any neutral oil you’d like. Light olive oil even works well (extra virgin even works with banana bread if you want the flavor).
** See my eggless banana bread for a version that is both dairy-free and egg-free.
*** To make this into muffins instead of a banana bread loaf, place 9 muffin liners in a muffin tin (homemade parchment liners or store bought paper ones). If using parchment ones, drizzle them lightly with oil. Evenly distribute the batter between the 9 liners, then top each with a 1/2 in [13mm] banana slice. Bake for about 25 minutes, until a toothpick inserted in the center comes out clean.
**** If you want to save on dishes, place a fine mesh sieve over a paper towel and add the flour, baking soda, and baking powder to the sieve. Sift the dry ingredients directly onto the wet ingredients (and don’t forget the dust that filtered onto the paper towel too).
Video note: If you don’t see the video for this post after scrolling up, please disable ad block and try reloading the page.
Note on the pan size: This recipe has never overflowed during testing and it should not overflow on you if you use an 8×4 inch pan. If yours does overflow, something has gone wrong with your ingredient ratios, oven temperature, or pan depth. If you’re making this for the first time and worried it might overflow, you can place a baking sheet on the rack one level down from the rack you’re baking on.