Let’s talk about labneh! Because I’ve got some opinions, and I haven’t posted about my favorite way to make labneh since way back when I first started blogging. Labneh is essentially just strained yogurt. It’s delicious spread on a plate and topped with za’atar and olive oil, and it’s a lovely addition to a number of recipes (check out the archives for some inspiration). You can buy it ready-made in Middle Eastern markets, and you can also make your own, with different strategies requiring varying degrees of industriousness.
Back when I first posted about it, I tried a few of the most popular labneh-making techniques, and then gave a little blind taste-test to my friends to see which one they enjoyed the most: the one made from homemade yogurt was far and away the winner of the bunch (why are so many of the best things in life labor-intensive??), but the one made from plain-old yogurt was a very close second, and the one made from Greek yogurt was the least favorite of the bunch.
It’s absolutely nothing against Greek yogurt as it is (a staple of my—and probably also your—fridge!), but commercially strained yogurts don’t generally want to be strained further. Most have been spun with a mechanical centrifuge, and if you try to continue to strain them in your kitchen, the whey that comes out will be super cloudy and white, when it’s supposed to be clear and yellowish. This results in a somewhat chalky labneh, and while it’s still delicious (I mean, I’ll just say that there was no labneh of any kind left over at the end of the taste test), it just doesn’t taste quite the same as the real deal. And at the end of the day, whether you use Greek vs. plain yogurt doesn’t make a different in time, cost, or convenience. So if you ask me, there’s no question which is your best bet.
So here’s my official labneh recommendation:
If you make your own yogurt or have always wanted to, that’s your best bet for the most wonderful labneh ever. But! If you don’t make your own yogurt (I meannnn—understandable!), you can still make an extremely delicious labneh by starting with plain old store-bought unstrained yogurt. Just make sure you stay away from already strained Greek yogurt.
I recommend using an Indian or Arabic brand of plain yogurt, if you can easily find one (they tend to have very few additives and stabilizers, which helps a ton), or starting with another plain unstrained yogurt whose taste you really love, because the actual flavor won’t change much after straining. Try to stay away from any brands that you would never use in a savory recipe… I’m thinking of one in particular, which has a really specific live culture flavor that really only works well with berries, even though it’s technically unsweetened and unflavored.
For specific labneh straining instructions, you can visit my original labneh post, and check out this post to learn how to make your own yogurt.
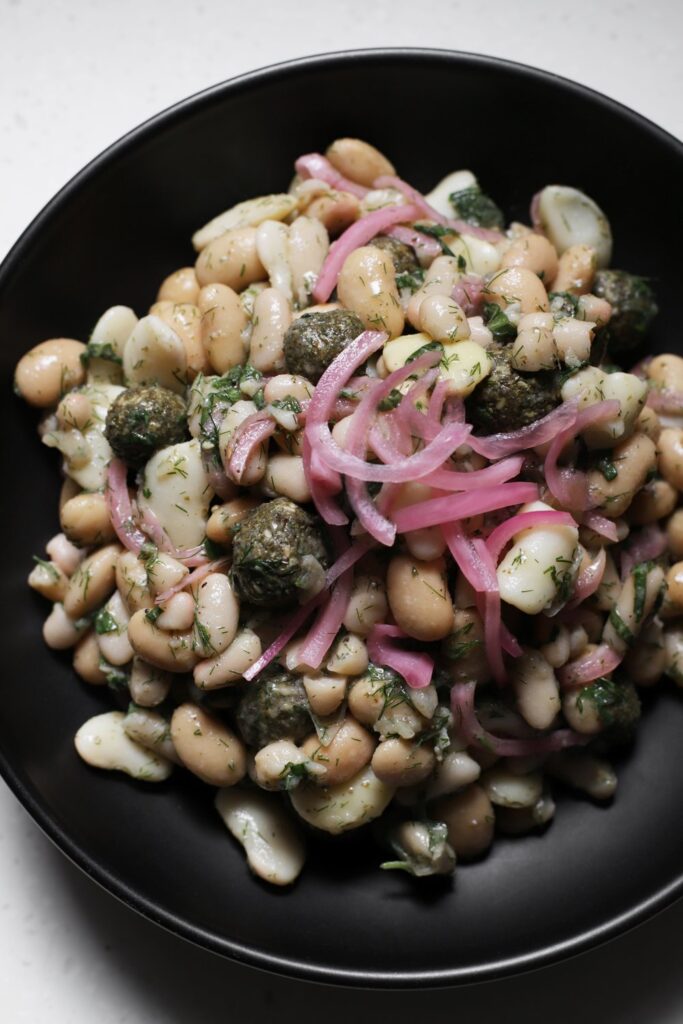
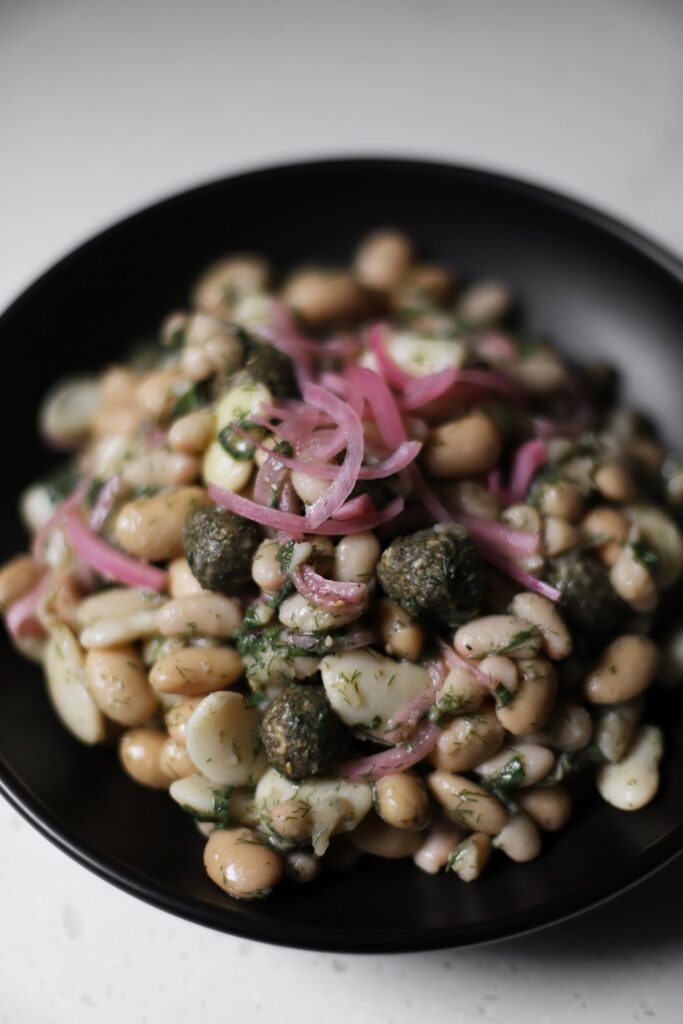
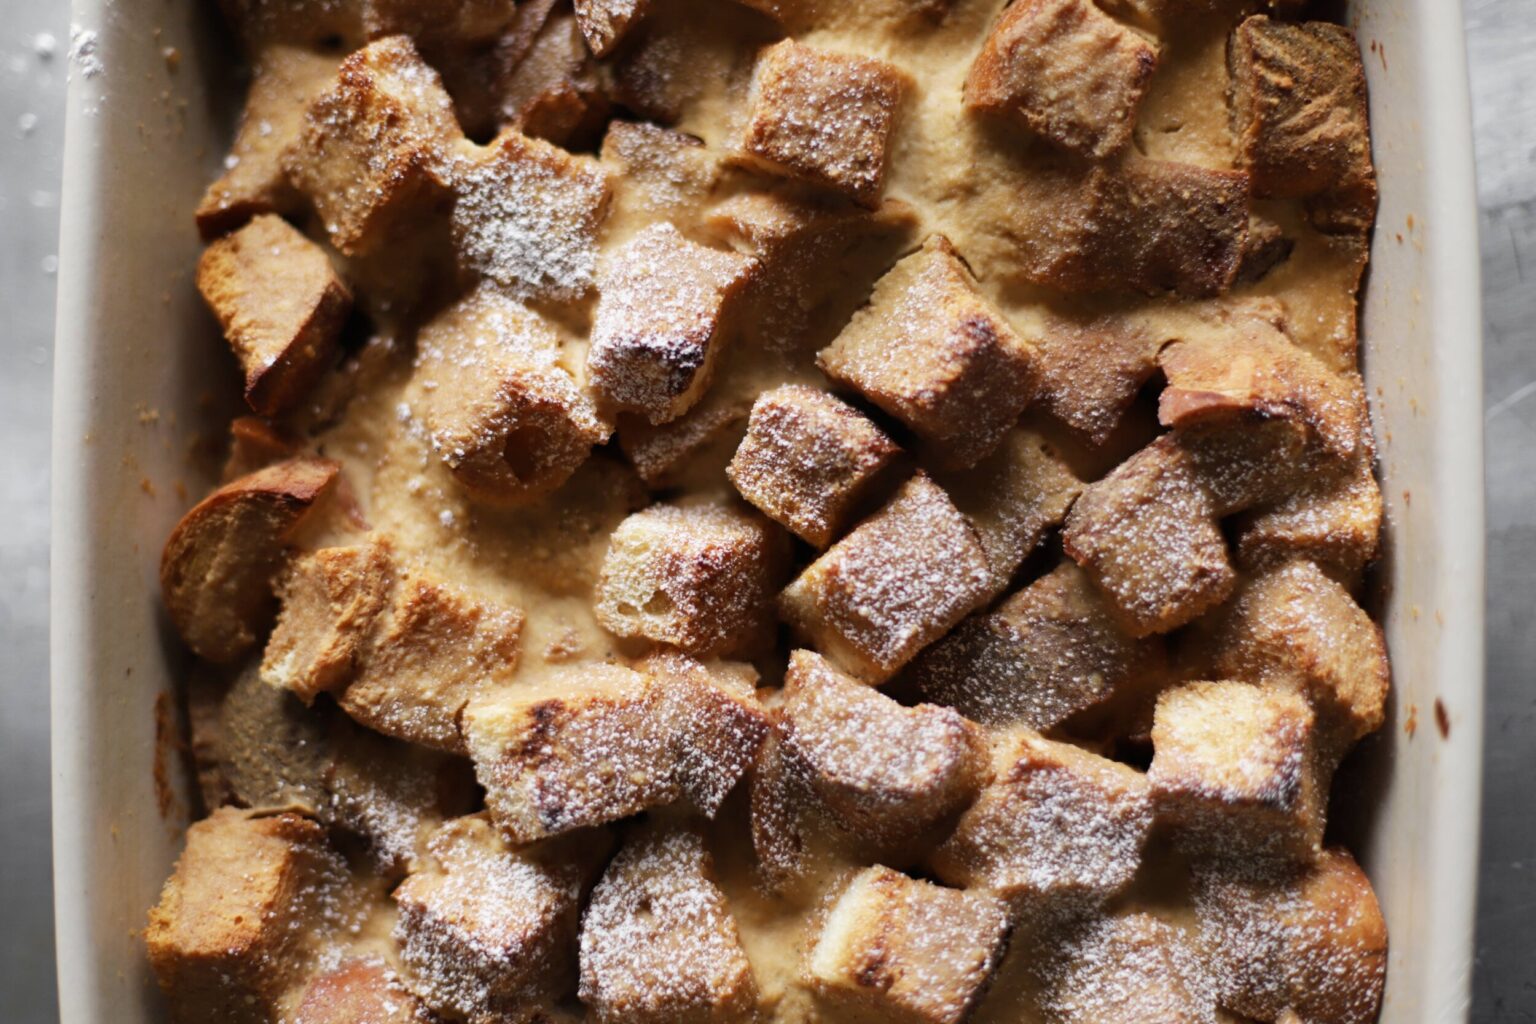
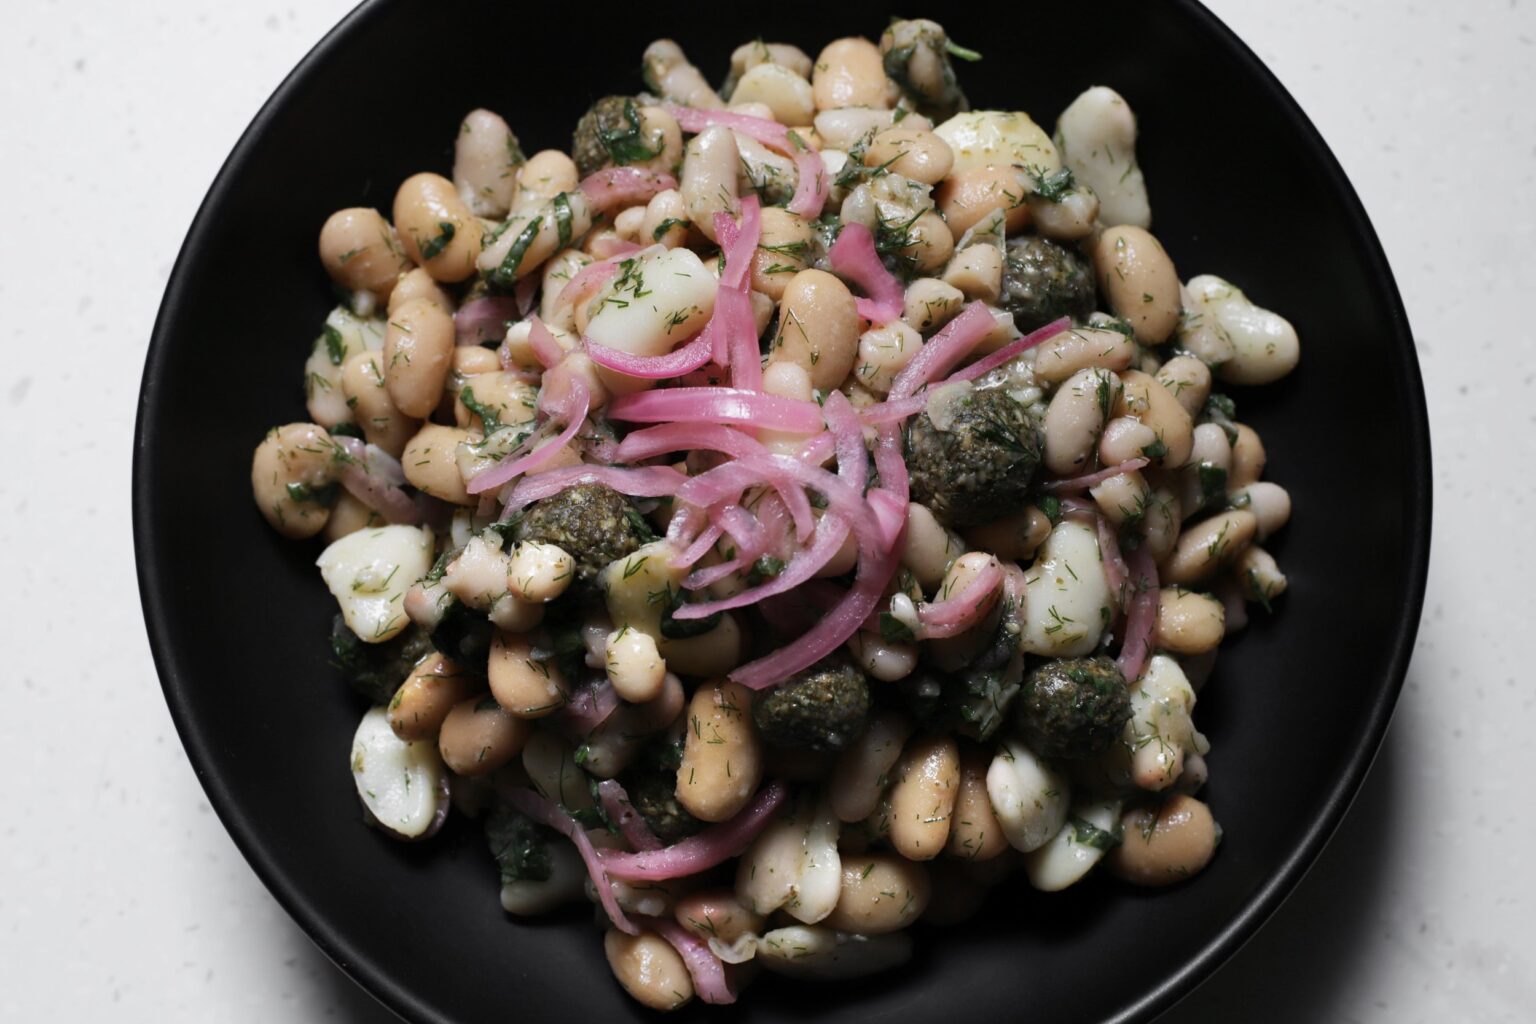
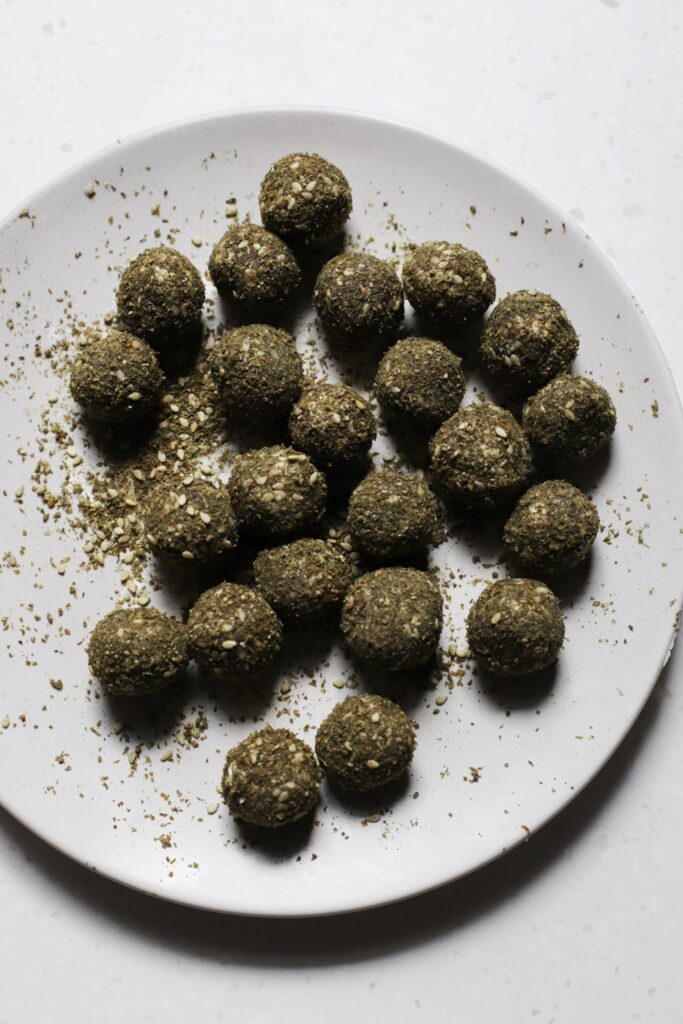
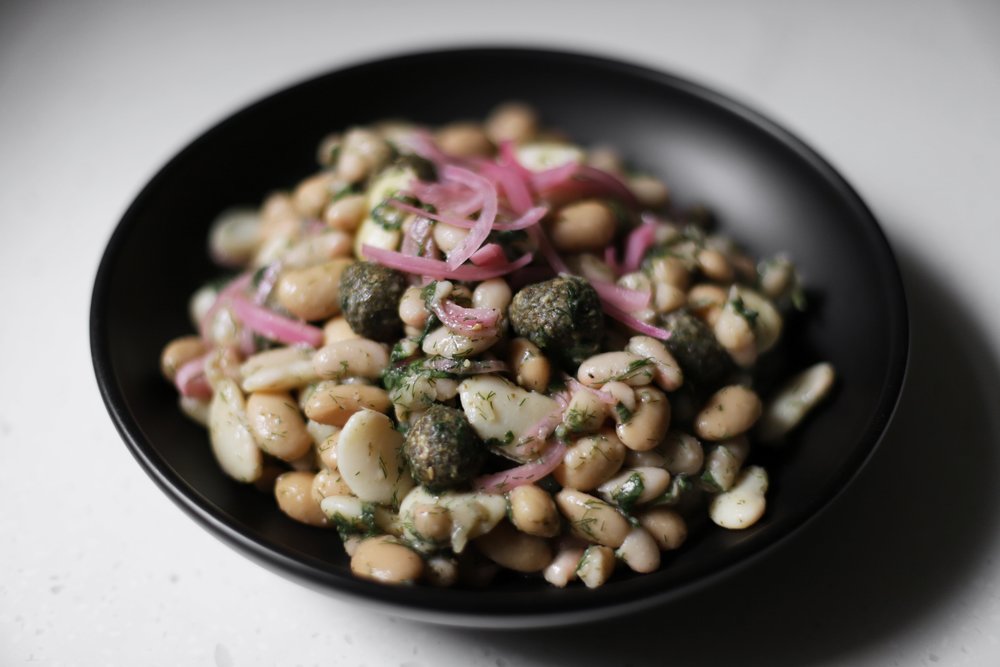
That pretty much sums up my labneh thoughts, so let’s dive into this delicious salad, which features everyone’s favorite—labneh balls! When you strain labneh for an extra-long time, it eventually becomes the texture of cream cheese, which you roll up into little balls and cover with all your favorite spices. Saima Khan has a lovely labneh ball recipe for Cook for Syria, if you’re looking for more ideas. I love serving labneh balls with crackers as an appetizer, but I also love throwing them into a salad. The key here is to make them a little smaller than you might think, so you don’t get too much labneh in one bite, and so they have enough surface area to get a lot of flavor out of the spices they’re rolled in.
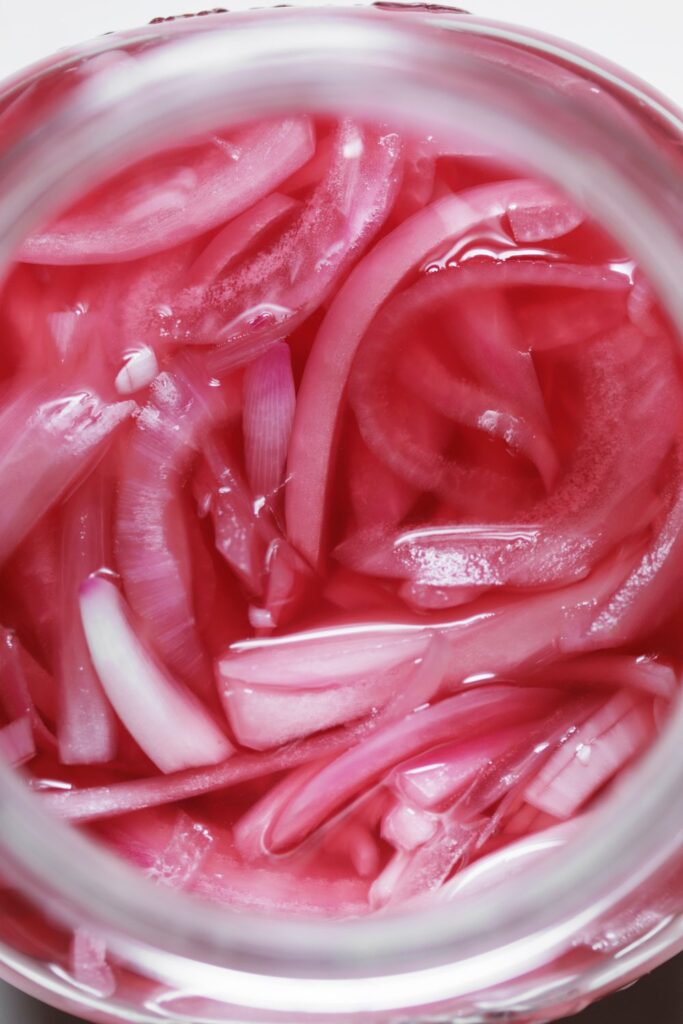
Here, I’ve coated them in za’atar and tossed them with a white bean salad, adapted from the always classic Moosewood Cookbook’s “Just White Beans.” It’s been one of my favorites for literally decades, and I love the way it’s just perfect on its own, while inviting adaptation. Everyone’s favorite part is always the pickled pink red onions, but they’ve got some serious competition here with the addition of za’atar labneh balls.
If you don’t feel like straining labneh, you can totally feel free to use chèvre (fresh goat cheese) here. It’ll give it a completely different flavor, but it’s also delicious. I’ve also included instructions below the recipe if you don’t have time to make the red onions ahead, and need them to be ready, like, now.
white bean salad with za’atar labneh balls

adapted from the Moosewood Cookbook
- Prep Time: 20 minutes
- Total Time: 1 day*
- Yield: serves 4 as a main, 6 as a side
Ingredients
for the pickled red onions:
- 1 red onion, sliced thinly (240g)
- 1/2 cup water (115g)
- 1/2 cup red wine vinegar (115g)
- 1 1/2 teaspoons salt (9g)
- 1 teaspoon sugar (5g)
for the salad:
- 3 14-oz cans white beans (1200g total, any combination of black eyed peas, navy, cannellini, or butter beans)
- 3 tablespoons extra virgin olive oil (40g)
- 2 tablespoons red wine vinegar (30g)
- 1 clove garlic, crushed through a press (5g)
- 1/4 teaspoon ground black pepper (1g)
- 1/4 cup basil, chiffonade (10g)
- 2 tablespoons dill, coarsely chopped (5g)
- Salt to taste
- 4.5oz (about 1/2 cup) extra-thick strained labneh (125g)**
- 2 tablespoons za’atar (15g)
- 1/4 cup strained pickled red onions (35g)
Instructions
- Pickle the onions:* Place the thinly sliced red onion in a clean jar. Combine the water, 1/2 cup vinegar, salt, and sugar in a small saucepan, and bring to a simmer. Once the salt and sugar dissolve, remove from heat and pour over the onions. Tamp them down a bit with a fork, cover loosely with a lid, let them come to room temperature, screw the lid on, and stash in the refrigerator for at least a few hours (they’ll last for weeks, and are best after 24 hours).
- Make the salad: Strain and rinse the white beans, and place in a mixing bowl. Add the olive oil, 2 tablespoons red wine vinegar, garlic, black pepper, basil, dill, and salt to taste. Toss together and set aside.
- Roll the labneh into about 20-25 small balls, and roll each ball in za’atar to coat it completely. Chill them for a few minutes so they don’t fall apart. Add the labneh balls and pickled red onions (reserve some for garnish) to the white beans, and gently fold them in.
- Garnish with the red onions you set aside, and serve.
Notes
* If you don’t have time to let the onions pickle, make a quickle: simply top a heaping 1/4 cup of thinly sliced red onions with vinegar, salt them to taste, let them sit for 30 minutes, and then strain and use in the salad. They’ll be crunchier and a bit harsher, so use them sparingly. These will only last a couple days in the fridge.
** Feel free to use chèvre instead, for a different flavor. If you’re using store-bought labneh, you will probably need to strain it further for a couple hours. If you’re making homemade labneh, let it strain until it’s the consistency of cream cheese (at least 16 hours). And again, if you’re making it from scratch, make sure you start with plain unstrained yogurt (preferably an Indian or Arabic brand), and not Greek yogurt. Chèvre works great in this recipe, as it has a similar consistency to extra-thick labneh, but obviously a completely different flavor. Delicious either way!
To make this ahead and store it: The white beans can marinate with the dressing and herbs in the refrigerator for a day or two, but the pickled red onions should be added to the salad at the last minute before serving, or their color will start to fade. The onions are best pickled overnight, so I like to make both components the day before, store them separately, and then throw them both together when it’s serving time. But leftovers are super delicious and keep well in the fridge for a few days. You will have extra pickled red onions leftover after throwing some on the salad, but they last for a couple weeks in the refrigerator, and you’ll want to start putting them on absolutely everything.