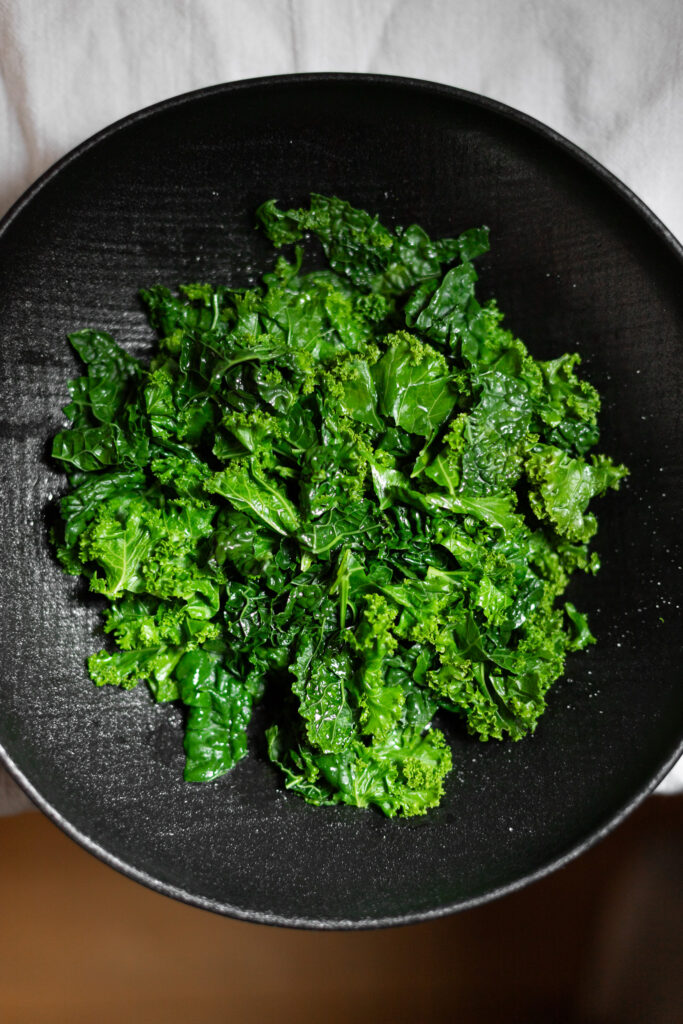
I like to think of steamed kale as a much tastier version of raw kale. Anywhere you might use raw, steamed is probably a better bet. It blends more easily into green smoothies, it’s great alongside crunchier greens in a salad, and it’s perfect on its own when you just want some plain, well-prepared greens.
If you don’t own a steamer basket (and/or don’t feel like doing dishes!), don’t sweat it. I’ve got a tip for steaming kale without any special equipment. All you need to do is save those stems after stripping away the leaves. We’ll use them to cover the bottom of the bowl or saucepan, thereby lifting our leaves out of the water and keeping them from getting soggy.
Jump to the recipe to hit the ground running, or read on for a few important tips.

Steamed kale tips
1) Use enough salt and olive oil
Sure, steamed kale is plain. But it is not flavorless! Or at least, it shouldn’t be. Using enough salt is essential. Since the kale shrinks down, I like to salt after steaming. Just make sure you don’t hold back!
It’s also nice to drizzle on a bit of olive oil, but that depends on what you’re steaming it for. If it’s going into something super rich (like, a cheesy lasagna, for instance), you can hold off. But if you’re serving it as a veggie side, a drizzle goes a long way.
2) Do not overcook it
If we were making sautéed or roasted kale, we would be aiming for some browning and caramelization. With sautéed or roasted, we can sacrifice some green freshness for a bit of crunch and browning.
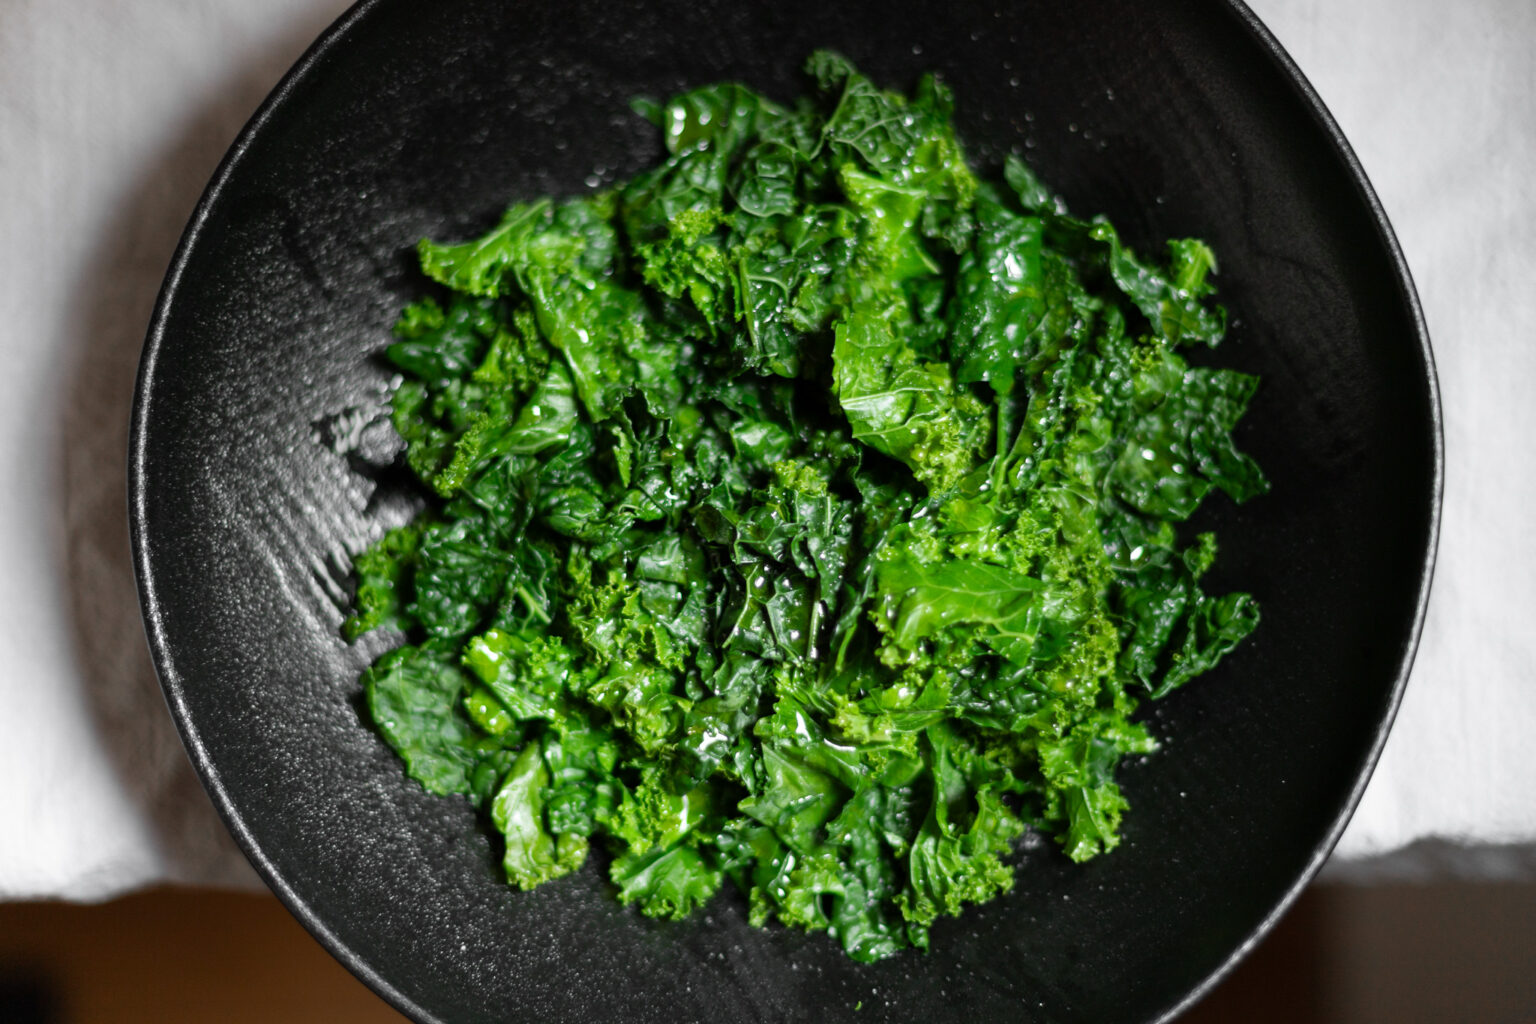
But the whole point of steamed kale is that it looks green and tastes fresh. It’s absolutely imperative that you don’t overcook it. Keep it bright green, and be sure not to veer into dull brownish-yellow territory.
3) If you add lemon, do so at the very last second.
It’s funny: with some ingredients, lemon prevents browning, and with other ingredients it speeds it up. Kale is unfortunately one of those ingredients that turns olive green from lemon juice. If you want that super bright green look, either avoid lemon altogether or add it at the table.
Again, with sautéed kale or roasted, I don’t really worry about this. Bright green isn’t really the goal there.
You’re welcome to add lemon to your kale at any point in any recipe. It’s just true that it will make it turn brown after a few minutes. You can use that information however you’d like.

Steamed Kale (without a steamer)

Ingredients
- 1 medium bunch kale
- Salt
- Olive oil
- Optional garlic powder and/or lemon
Instructions
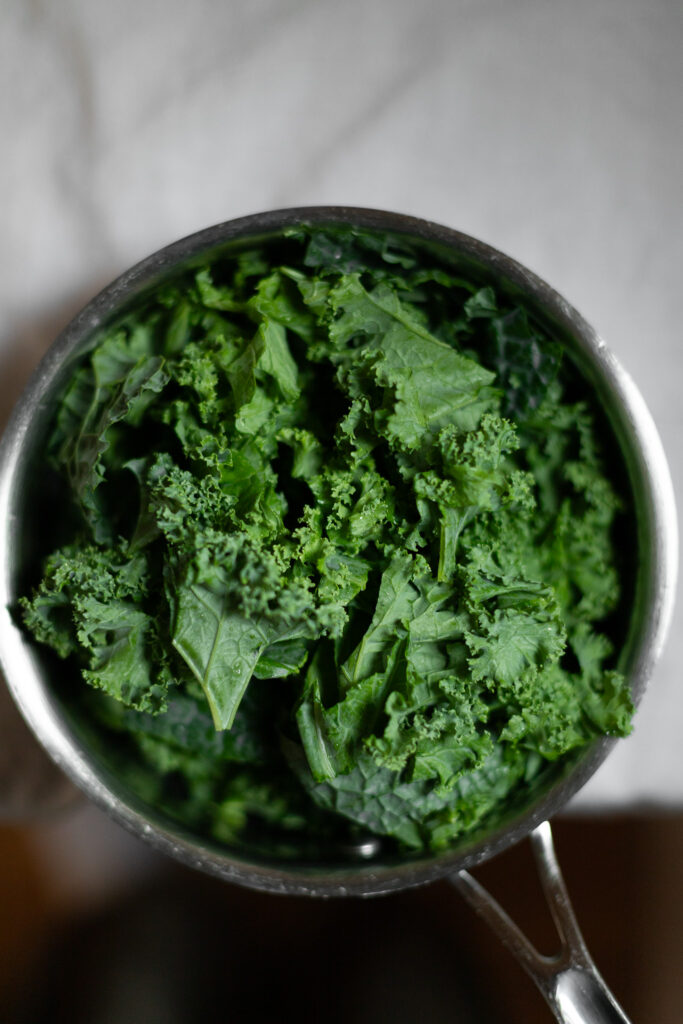
- Stem your kale (see video). Do not discard the stems. Chop the leaves.
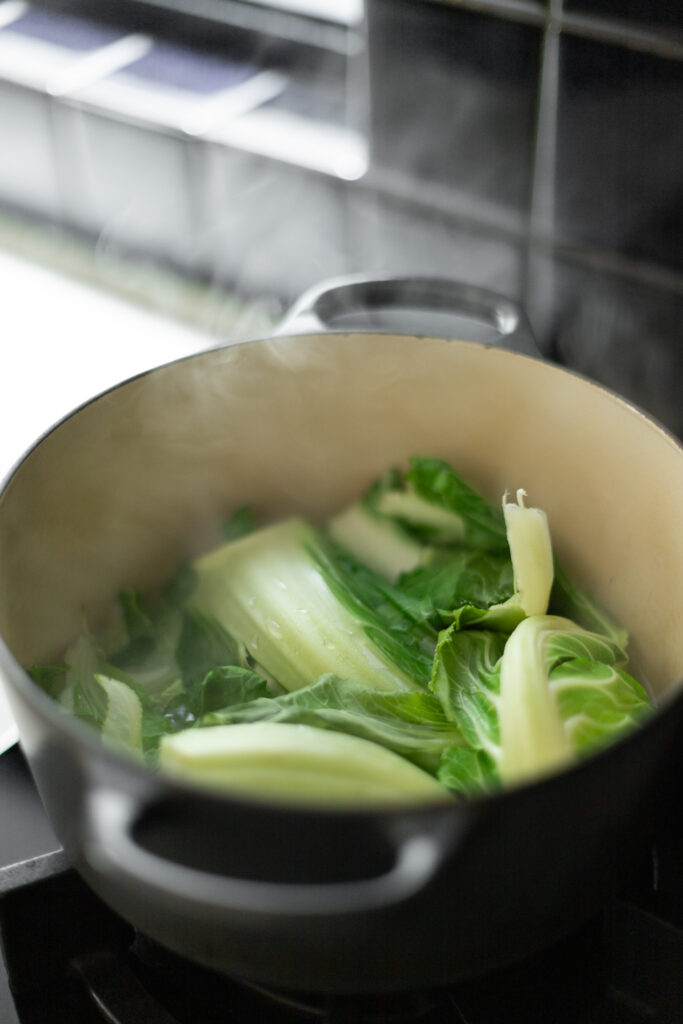
- Find a pot or pan just wide enough to hold your kale stems in an even layer. Cut the stems in half if they are too long. Pour water into the pot so it comes almost to the tops of the kale stems.
- Place the kale stems and water over medium-high heat and bring to a simmer.
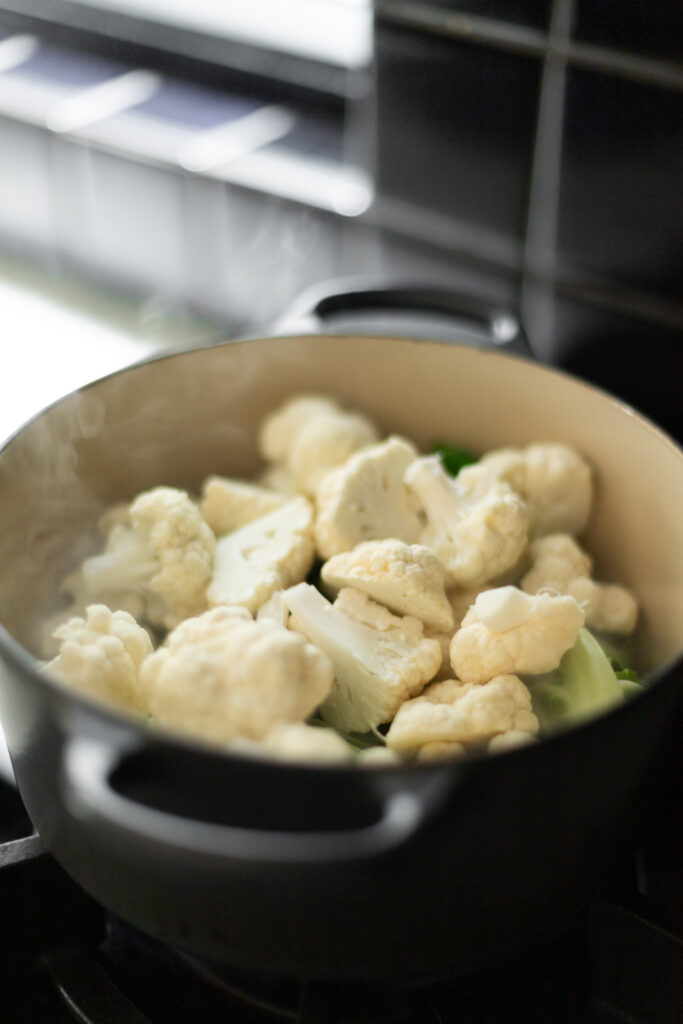
- Once simmering, add the leaves on top of the stems, cover*, and steam for about 3 minutes. The kale is done once it is bright green and tender. Move the leaves to a serving bowl. Discard the stems.**
- Top with salt, a drizzle of olive oil, and a light dusting of garlic powder or lemon juice (if using).
Notes
* Don’t sweat it if it’s a tight fit. As long as you’re not super-compressing your kale to get the lid to fit, it will shrink down quite a bit after the first minute.
** Could you save them? Sure! I personally do not enjoy the way kale stems taste, so I will not be saving mine, but please feel free to save yours for smoothies, salads, etc. if you enjoy them.
Video note: If you don’t see the video for this post after scrolling up, please disable ad block and try reloading the page.