• Skip to primary navigation
  • Skip to main content
  • Skip to primary sidebar
  • Skip to footer
Cardamom and Tea
  • Blog
  • Recipes
  • About
  • Cookbooks
    • Piecemeal
    • A Dish for All Seasons (my first cookbook)

perfect stovetop rice

January 15, 2018 by Kathryn Pauline 12 Comments

stovetop rice

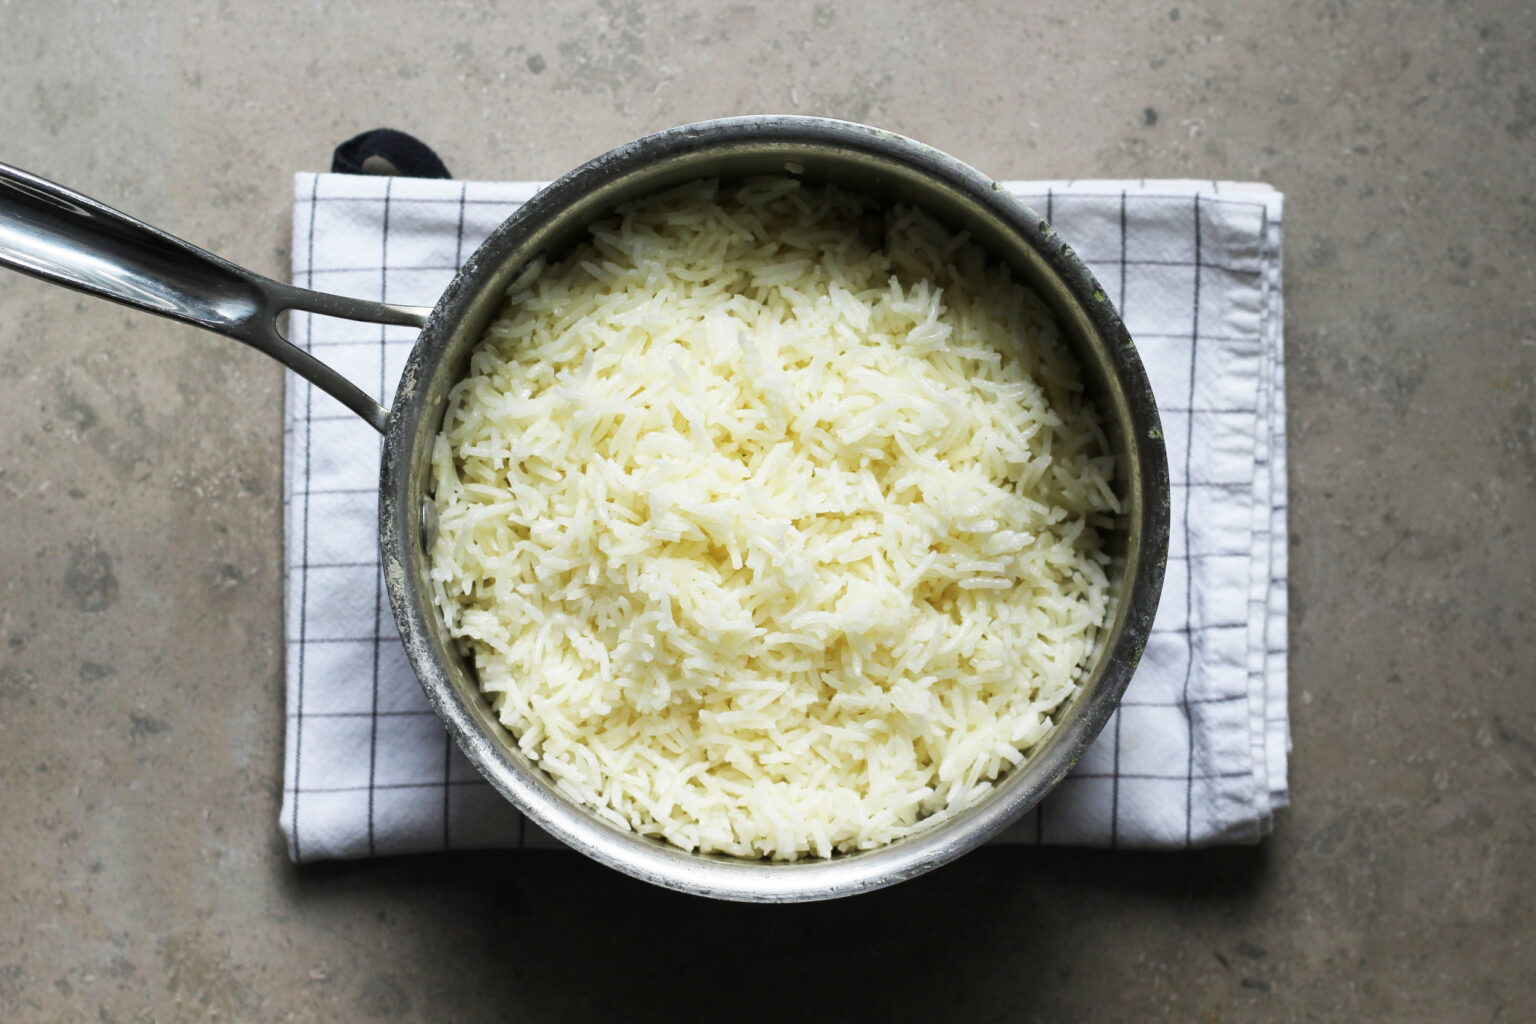
The simplest things are sometimes the scariest to cook. Take a plain pot of stovetop rice. There’s no hiding behind fancy ingredients or a pretty presentation. It’s just rice and water. And when it goes wrong, it really shows.

Are your grains undercooked in the center and mealy on the outside? Is your pot one big, sticky clump? Did it look perfect when you first opened the pot, but proceeded to break up into millions of tiny mushy grains upon fluffing? Are the grains dry and impossible to eat without drinking big gulps of water between bites? We’re going to fix all that.

Sure, you could buy a rice cooker. But you don’t need to! All of these problems are actually very easy to avoid if you know what you’re doing. Or even if you don’t know what you’re doing, if you simply follow my stovetop rice recipe, you’ll be just fine.

After lots of testing, I’ve landed on my favorite rice:water ratio. And I’ve included two sets of measurements: one for a small pot and one for a medium pot, so you don’t have to scale anything. Whether you’re making a little or a lot, you’ll find exactly what you need.

Jump to the recipe if you’re ready to get cooking, or read on for a few best practices.

How to make perfect stovetop rice:

Everything you need is in the recipe below, but here are a few key principles for making stovetop rice:

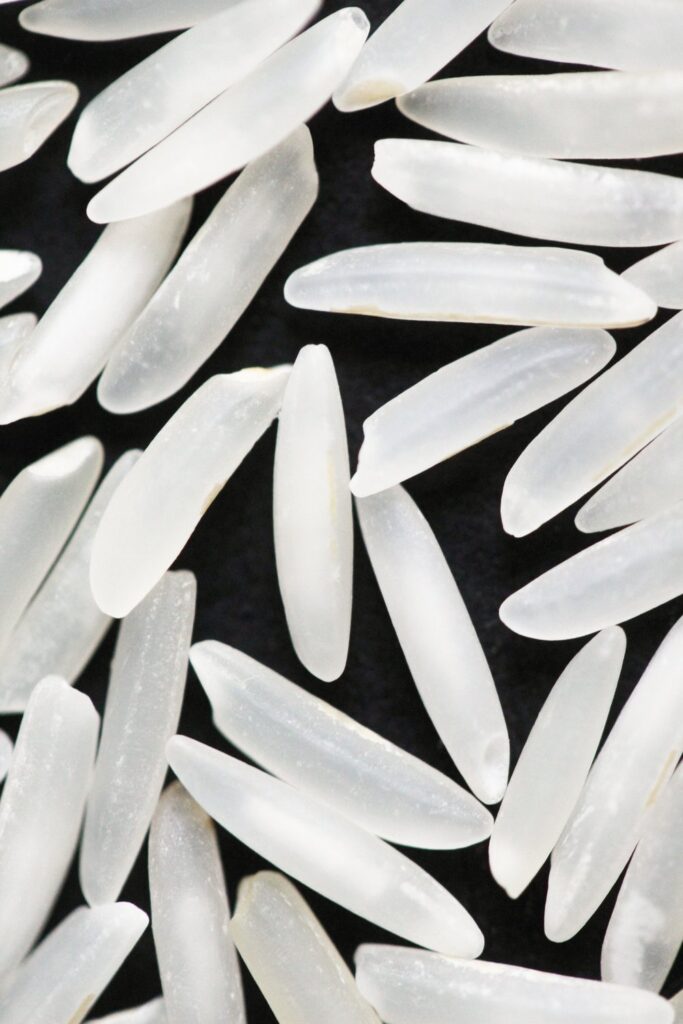
1. Know what rice you’re working with.

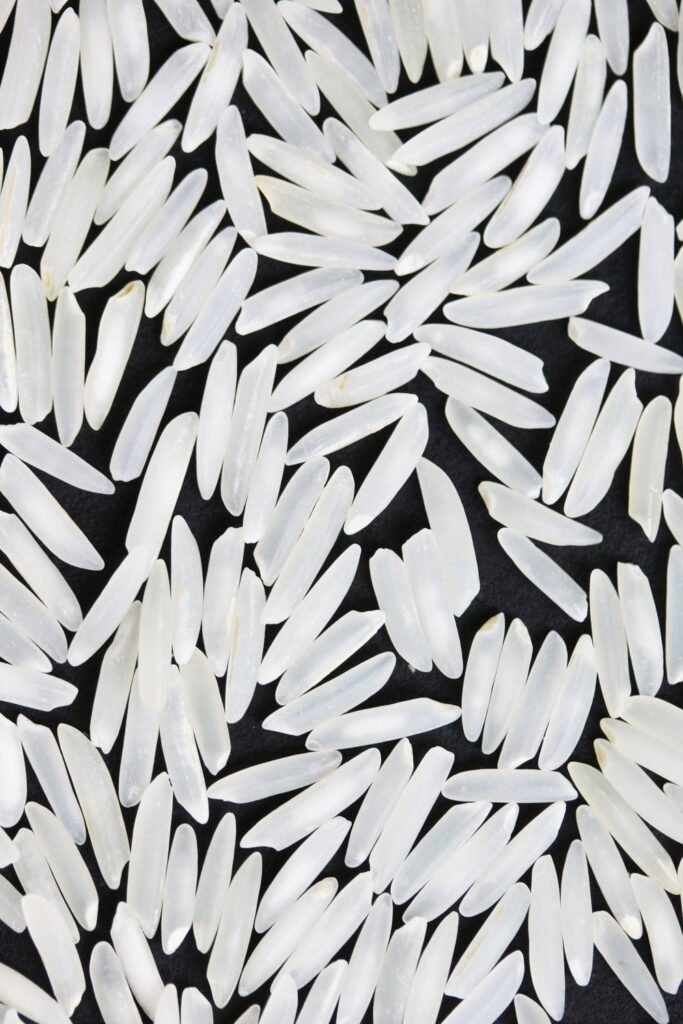
Know whether you want rice that cooks up sticky and starchy or separate and distinct. Short-grain rice is best for sticky results, while long-grain rice is best for fluffy, distinct grains. Many of these principles apply to both short and long grain (although arborio/risotto is completely different), but the recipe in this post is specially formulated for long-grain varieties, like jasmine or basmati.

2. Use the right ratio.

When you use the right ratio of water to rice, you don’t have to mess with straining it afterwards. Use a recipe with solid ratios (like the one in this post).

3. Rinse your rice until the water runs clear.

Rinsing prevents the distinct grains from sticking together and getting gummy. If you don’t like running the tap, you can give it a short 2-minute soak, agitate, and then change the water once or twice afterwards.

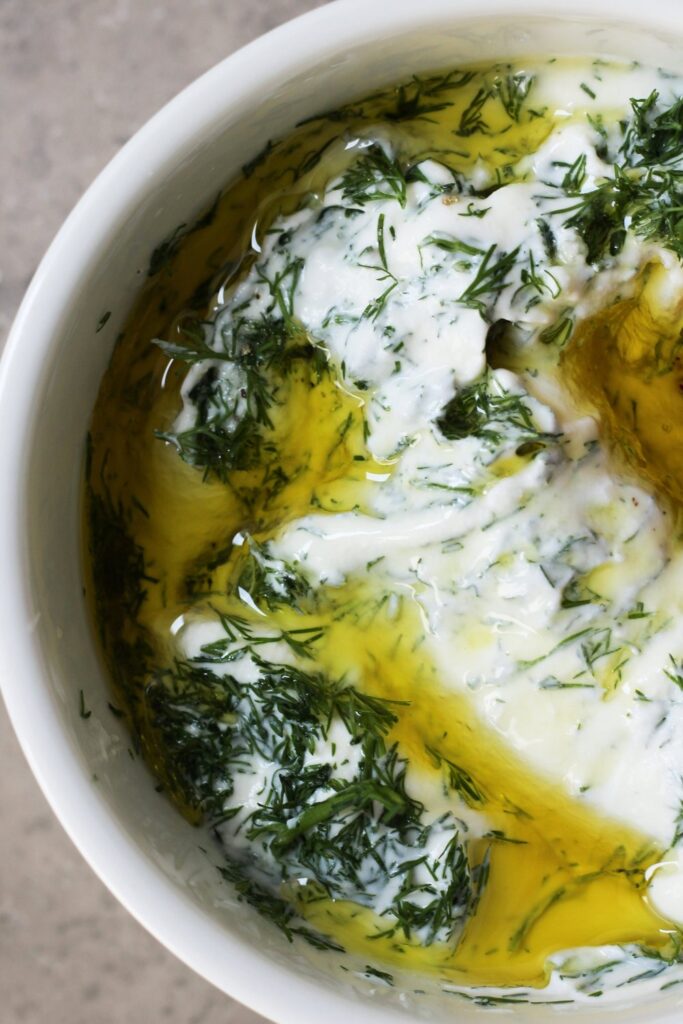
4. Add fat and salt.

A little salt and fat go a long way. Butter or olive oil both work, but use less olive oil and more butter. Butter has less fat per tablespoon.

5. Cook stovetop rice over low heat.

Once the water comes to a boil, drop the heat to low. You’re looking for a quiet simmer with just the faintest wisp of steam sneaking out of the side of the pot. The lid shouldn’t be rattling or bubbling over. But on the other hand, it shouldn’t be totally silent and steamless.

6. Keep that lid on!

This is the hardest part. Once the lid goes on, don’t lift it. Not during cooking, but especially not right after turning off the heat.

If you must lift the lid while it cooks (to check on whether it’s simmering, e.g.), do so as quickly as possible. If you leave the lid off while it cooks, too much water will evaporate. Adding more water back in will disrupt the grain structure and the cooking process.

But once it stops cooking, do not lift the lid under any circumstances until it is done resting. The rice needs to coast and finish cooking with its own steam. If you lift the lid while it’s supposed to be resting, it’ll never be the same afterwards.

7. Hands off that spoon!

You can give it a stir right at the beginning. But once the rice has started cooking, do not stir it for any reason. If you stir it, it will get mushy, gummy, and undercooked. That’s because stirring it mashes everything together and then the steam has trouble reaching the mid and top layers of rice. By not stirring, you maintain a light, airy stricture with lots of space between the grains. And lots of space means there’s plenty of room for the steam to move around. Think of it like a house of cards that you don’t want to mess up.

More rice options!

Here are a bunch of my favorite recipes featuring rice! If you want an easy way to elevate a simple pot of rice, check out my rice with vermicelli recipe.

If you’re looking for a great recipe for a simple pot of medium or short grain rice, Just One Cookbook has a bunch of great guides. Here is her instant pot rice recipe, her rice cooker recipe, and her stovetop recipe.
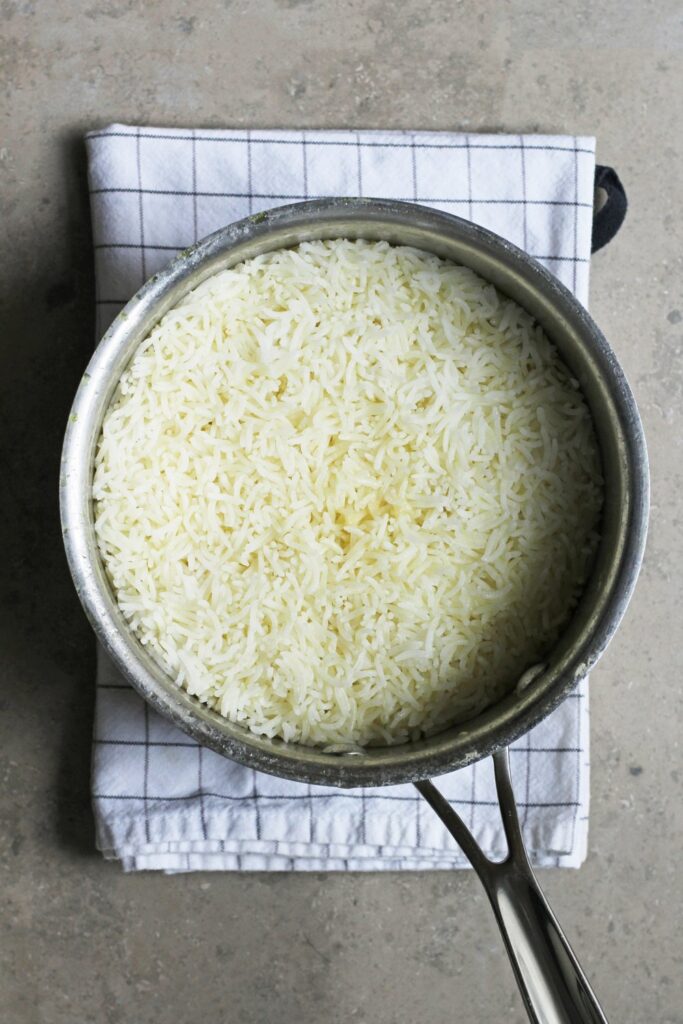
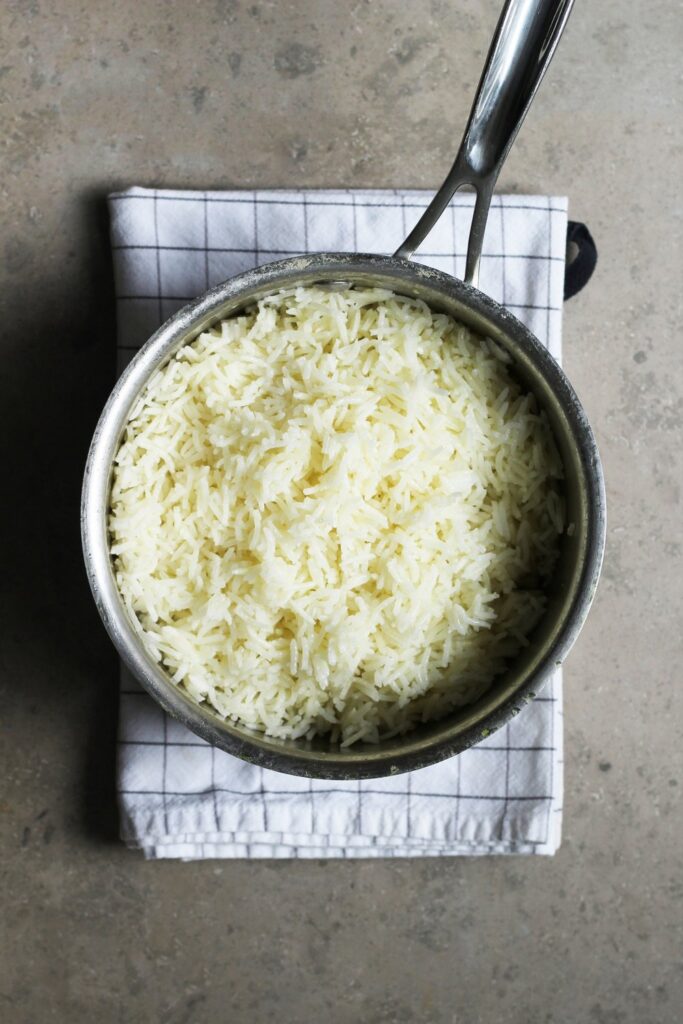
Print

perfect stovetop rice

stovetop rice
Print Recipe

5 Stars 4 Stars 3 Stars 2 Stars 1 Star

5 from 1 review

  • Prep Time: 5 minutes
  • Total Time: 40 minutes
  • Yield: 3 cups (about 4 servings)

Ingredients

  • 1 cup basmati rice, or another long-grain rice (6 1/4 ounces)
  • Water for soaking and rinsing
  • 1 1/2 to 2 tablespoons butter or 1 to 1 1/2 tablespoons olive oil
  • 3/4 teaspoon salt
  • 1 1/3 cups water

Instructions

  1. Soak the rice for 5 minutes, covered by about an inch of water. Swish it around, strain it, and then rinse it with new water for about 15 seconds. Let the excess water drain away. If the water that drains away isn’t clear, soak it for 2 more minutes and repeat.
  2. Place the rice, butter/oil, salt, and measured water in a saucepan. Bring everything to a boil over medium-high heat. Once it comes to a boil, cover and immediately reduce heat to low. Set a timer for 14 minutes.
  3. While the rice is cooking, do not peek, do not stir, and do not mess with the heat.
  4. As soon as the timer goes off, remove from heat and keep the pot covered. Do not lift the lid. Let the rice rest for 10 to 30 minutes.
  5. Once the rice has rested, remove the lid, fluff it with a fork, and serve immediately.

Notes

for a medium pot (yield: 6 cups, or about 8 servings):

2 cups basmati rice (12 1/2 ounces)
Water for soaking and rinsing
3 to 4 tablespoons butter or 2 to 3 tablespoons olive oil
1 1/2 teaspoons salt
2 2/3 cups water for cooking

(Use the above instructions)

find us on instagram and let us know what you made!

Filed Under: dairy free, dinner, every recipe, family recipes, gluten free, side dishes, vegan, vegetarian, weeknight Tagged With: cooking guides, middle eastern, rice

jajik chicken with za’atar potatoes

January 7, 2018 by Kathryn Pauline 10 Comments

Jajik is an important part of cuisines of the Middle East, Caucasus, North Africa, Mediterranean, and South Asia, but it doesn’t always go by the same name. On the Indian subcontinent, there’s raita, in Egypt, there’s salatet zabadee, in Greece tzatziki, in Turkey cacik, and in Iraq jajik/jajeek. Most recipes I’ve found for Iraqi jajik include grated cucumber, which is certainly very traditional, but making jajik without cucumber is actually another conventional way to make it in the Middle East. My family’s Assyrian jajik is 100% cucumberless, and flavored entirely by fresh dill. Instead of yogurt, we use cottage cheese, but the Iraqi yogurt version can be made without cucumber too.

While each variety is delicious on a toasted English muffin, I particularly love cooking with the kind flavored only with dill, black pepper, and garlic. It’s not quite that cucumbers can’t be cooked—they’re actually delicious grilled. And just like grilled watermelon, the goal with grilling cucumbers is to give them some nice caramelized flavor on the outside, while leaving the insides totally raw. The worst is when the grilled cucumbers get that floppy stewed flavor inside. And I think that’s why I’ve never really been a big fan of marinating chicken in cucumber jajik and then roasting it.

Instead, I love roasting chicken with a jajik more like the one I grew up with. Just like with any yogurt or buttermilk marinaded chicken, the moisture cooks off in the oven, the proteins concentrate, and you end up with nothing but tender chicken with the most delicious caramelized crust. I also like to dollop on a little extra reserved jajik right before serving. It brings back some of the fresh flavors lost to the magic of the oven.

The za’atar potatoes are just a bonus here, and you can certainly make these two dishes separately, but I don’t know why you ever would, since they can go into the same oven, and then *presto* dinner! If you’re looking for something to flesh out this meal, a simple green salad goes perfectly on the side (simply dress your favorite salad greens in olive oil with a little vinegar, and sprinkle with some parmesan). And if you’re looking for something similar but vegetarian, jajik is also delicious over chickpeas and rice.

Print

jajik chicken with za’atar potatoes

Print Recipe

5 Stars 4 Stars 3 Stars 2 Stars 1 Star

5 from 1 review

  • Prep Time: 10 minutes
  • Total Time: 45 minutes
  • Yield: 3 to 4 servings

Ingredients

For the jajik chicken:
1 cup strained yogurt (i.e., Greek yogurt)
2 cloves garlic, crushed through a press or finely minced
1/8 teaspoon black pepper
1/4 cup chopped dill
1 tablespoon extra virgin olive oil
1/2 teaspoon salt (or to taste)
6 boneless chicken thighs *
For garnish: 2 to 3 tablespoons chopped dill

For the za’atar potatoes:
1 pound russet potatoes
1 tablespoon olive oil
1 to 2 teaspoons za’atar,** to taste
1/4 to 1/2 teaspoon salt, to taste

Instructions

  1. Make the jajik: Combine the yogurt, garlic, black pepper, dill, extra virgin olive oil, and 1/2 teaspoon salt (or salt to taste). Taste it and adjust the seasoning to your preference.
  2. Divide the jajik in half, and put one half in the refrigerator, away from the raw chicken.
  3. Marinate the chicken: Cover the chicken thighs with the other half of the jajik, and let them marinate for 30 minutes.
  4. Prep the potatoes while you wait: slice the potatoes into large wedges, coat them in the olive oil, place them in a skillet or sheet pan, and sprinkle them with za’atar and salt. Set aside.
  5. Preheat the oven to 425° F so that it will be hot by the time the chicken is done marinating.
  6. Roast the chicken and potatoes: Place the marinated chicken on a sheet pan or skillet, being careful not to wipe off the jajik marinade. Roast the chicken for 35 to 40 minutes, until the outside is golden brown and charred in some spots. Roast the potatoes at the same time as the chicken, taking them out after about 30 minutes, once they’re golden brown, blistered, and cooked all the way through (about 5 to 10 minutes before the chicken is done). Cooking may take longer, depending on how thick you slice them.

Notes

* You can use small chicken breasts, but you will need to cook them a shorter amount of time (25 to 35 minutes), and the exteriors won’t get quite as brown. Remove the chicken breasts as soon as their internal temperature reaches 165° F. Buy about 1 pound of chicken breast.

** If you don’t have za’atar on hand, feel free to just use 1/4 teaspoon black pepper. It’s not the same, but also delicious!

find us on instagram and let us know what you made!

Filed Under: dinner, every recipe, gluten free, lunch, main courses, side dishes Tagged With: chicken, dill, herbs, potatoes, yogurt, za'atar

  • « Go to Previous Page
  • Page 1
  • Interim pages omitted …
  • Page 137
  • Page 138
  • Page 139
  • Page 140
  • Page 141
  • Interim pages omitted …
  • Page 183
  • Go to Next Page »

Primary Sidebar

Kathryn Pauline smiling

Welcome! I’m Kathryn Pauline, cookbook author, recipe developer, and photographer.

Footer

read our privacy policy

© 2017 - 2026 Kathryn Pauline