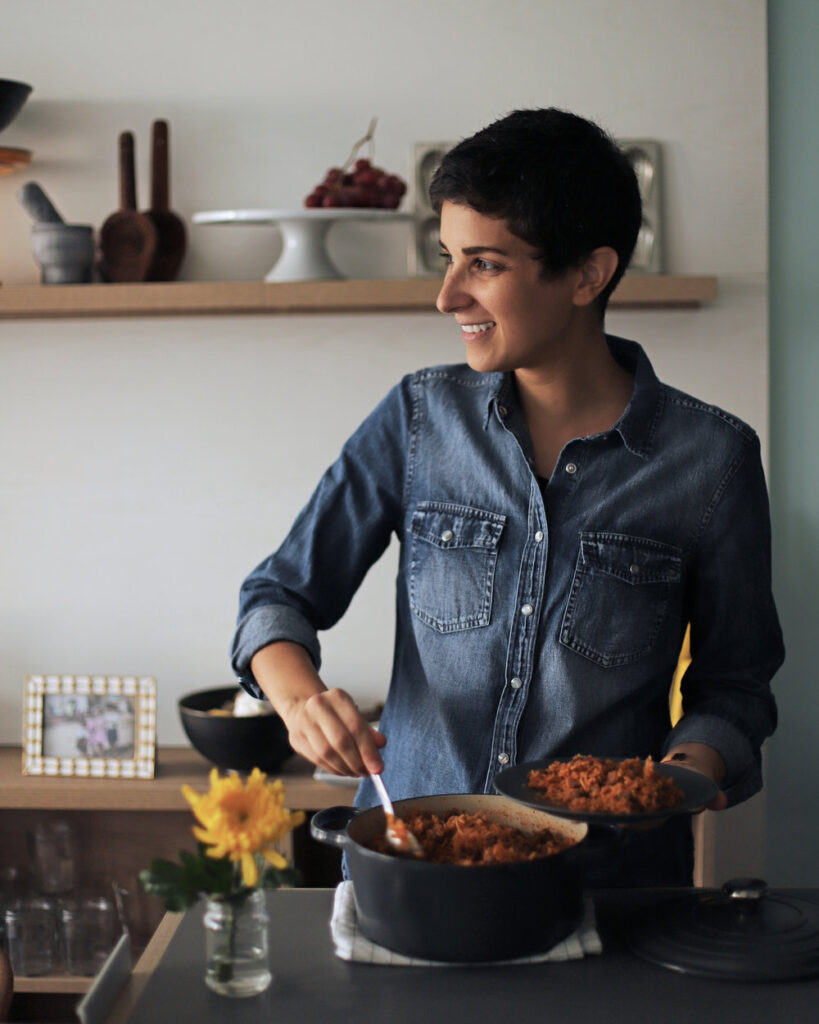
Last year, when I first started blogging, I learned how to make riza smookah by watching my cousins Kris and Krissy in the kitchen. The two of them, their sister Sourma, and their mom (you might know her as Aunt Masy) are some of the best cooks in our family, and I always feel very lucky when I get to learn from them. So I don’t know why it took me a whole year to develop and post this one, because it was always destined to be delicious.
I guess there’s something just a little melancholy about finally posting a recipe. After all those test batches, I do one final run, put my finishing touches on the recipe, hit publish, and then move on to the next thing. But sometimes I don’t want to move onto the next thing, and just want to keep making the same thing over and over again—riza smookah is one of those dishes I’d like to keep cooking again and again (… and I just might!).
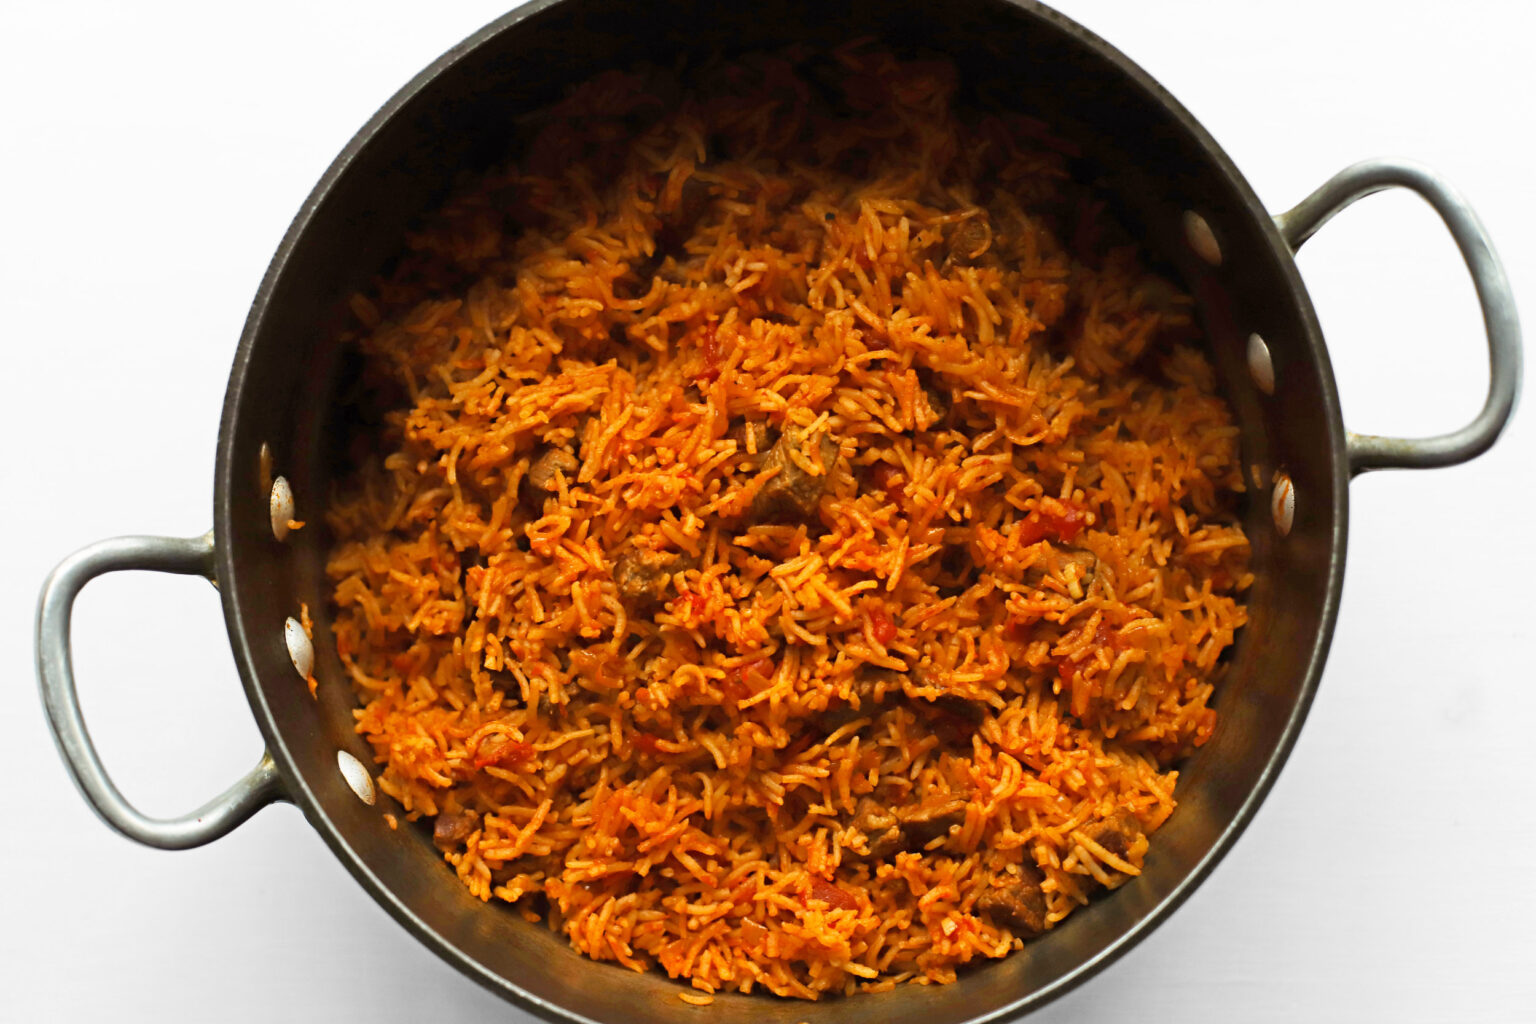
The recipe in this post is the way I learned to make it, with lots of saffron, tomato, and other deliciously savory flavors, but there are a ton of other wonderful varieties out there. The intense tomatoey redness is the one thing that all riza smookah has in common, because (as you might’ve guessed!), “riza smookah” means red rice in Assyrian. And in addition to all the different Assyrian versions, you’ll also find a huge variety of red rice dishes the world over. There’s West African jollof rice, South Indian thakkali sadam, Portuguese arroz de tomate, and Mexican arroz rojo, just to name a few. Every region’s red rice offers something a little different from all the others, and one can only hope to get to try as many as possible.
red rice | riza smookah

- Prep Time: 20 minutes
- Total Time: 50 minutes
- Yield: 6 servings
Ingredients
1 1/2 pounds bone-in lamb leg or shoulder chops or 1 pound lean beef*
1 teaspoon olive oil (not extra virgin)
Salt to taste (I use 2 teaspoons total for the whole dish)
3 tablespoons butter (or substitute 2 tablespoons olive oil)
1 medium onion, finely diced
2 cloves garlic, crushed through a press or finely minced
3 tablespoons tomato paste
14 ounce can diced tomatoes
1 big pinch saffron
1/2 teaspoon pepper
2 cups water**
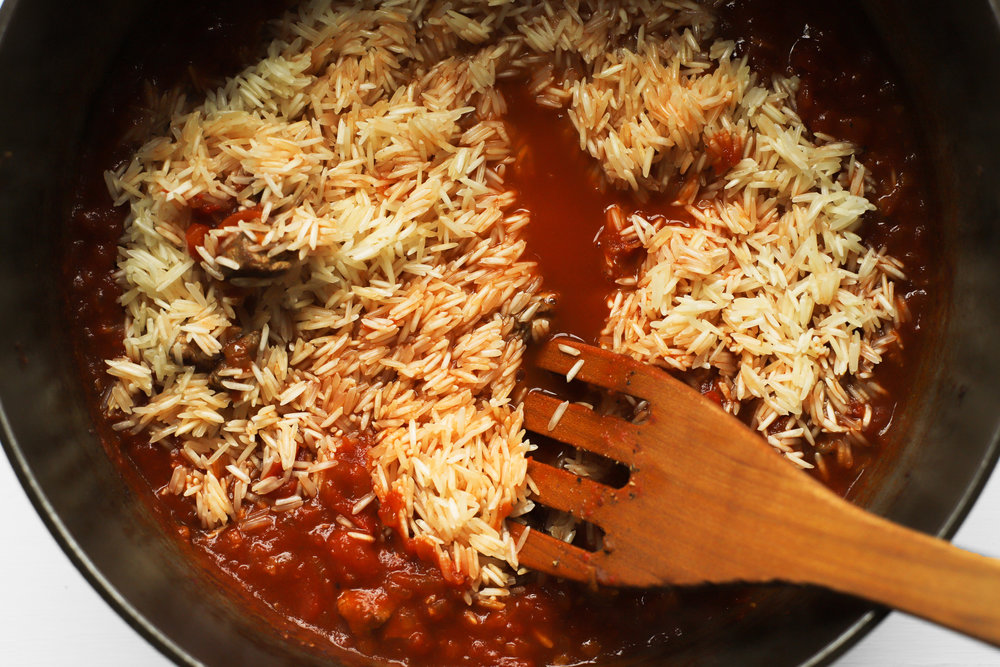
2 cups basmati rice, rinsed
Instructions
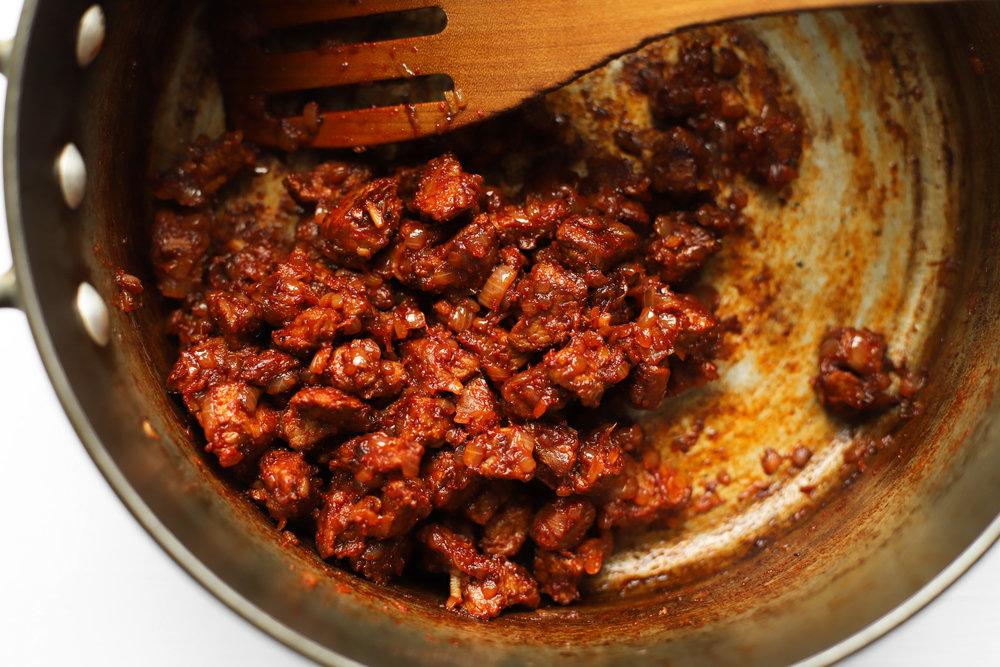
- Trim the lamb of its fat and bone and cut the meat into very small pieces (about 1/4 to 1/2 inch). Discard any fat and bone (you’ll be left with about 1 to 1 1/4 pounds of meat).
- Turn on the exhaust or open an window, and set a dutch oven or stock pot over high heat for 3 to 4 minutes.
- Once the pan is very hot, add the 1 teaspoon of oil, swirl it to coat, and immediately add the lamb (salt to taste), stirring it occasionally until juices start to seep. Once you see juices, stir the lamb constantly until they evaporate, and keep stirring until the lamb is nicely seared (and add 1 tablespoon of water to deglaze if the pan bottom looks like it’s browning too quickly).
- Once the lamb is seared, turn the heat to medium and stir in the butter, onions, and garlic (salt to taste), scraping up the brown bits stuck to the bottom of the pan as you stir. Feel free to deglaze with 1 tablespoon of water if the bits aren’t coming up. Cook for about 5 minutes, stirring every couple minutes, until the onions soften a bit.
- Add the tomato paste and cook for 1 minute, scraping the bottom of the pan and stirring constantly.
- Add the diced tomatoes, saffron, salt, pepper, water, rice, and salt to taste, and raise the heat to medium-high. Once it comes to a boil, cover tightly, reduce heat to low, and cook for 14 minutes. Do not open the lid to see how it’s doing or stir it at any time.
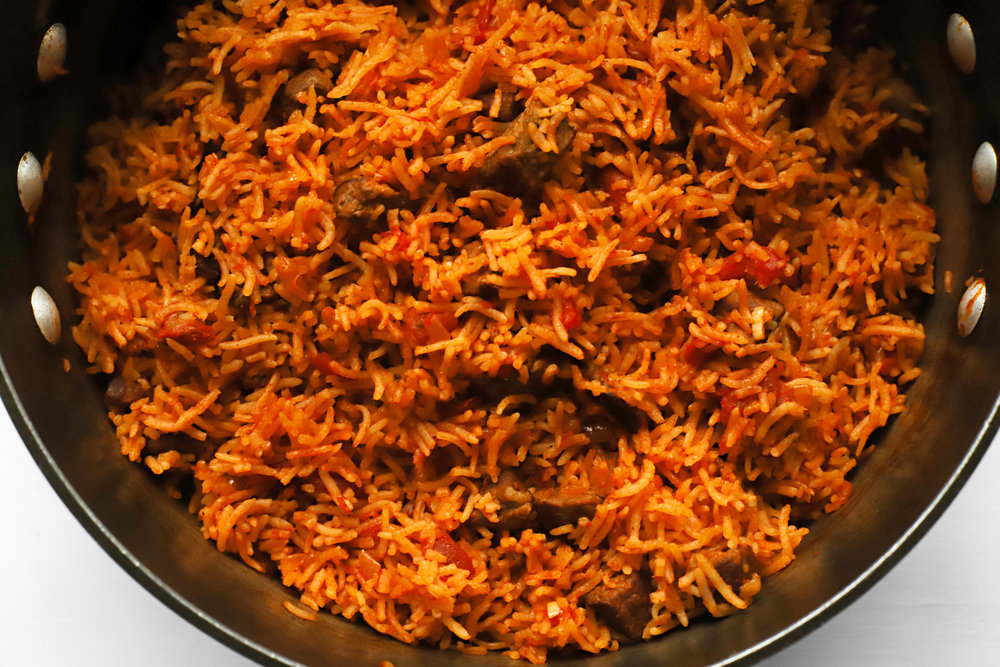
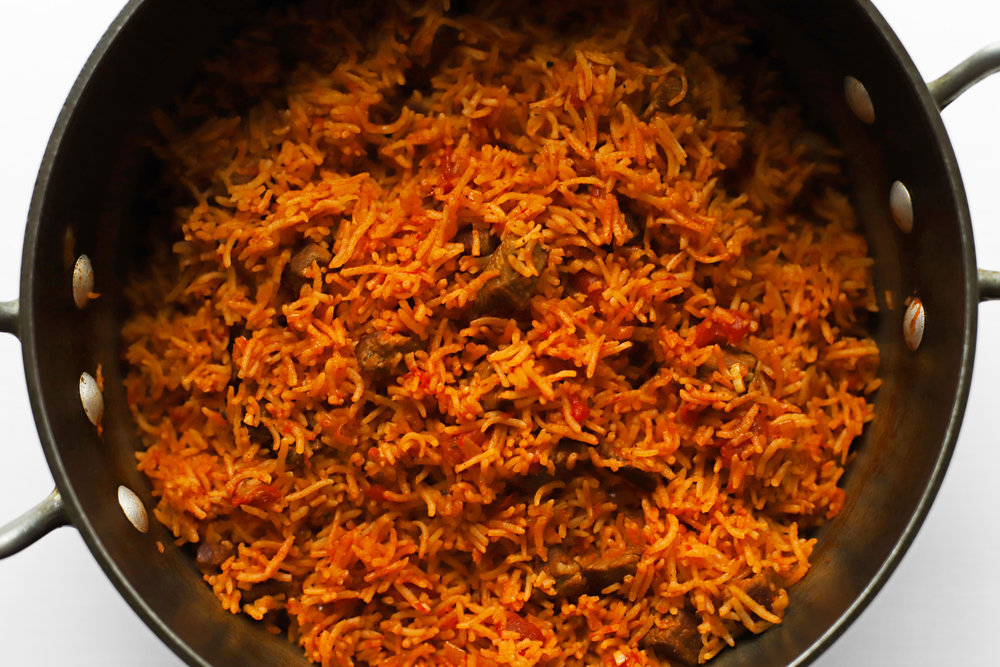
- Once 14 minutes have passed, remove from heat, do not remove the lid, and let the rice rest for 15 minutes to coast the rest of the way.
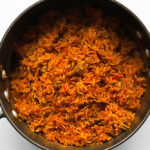
- Fluff the rice with a fork and serve.
Notes
* Riza smookah is usually a side dish, so it’s not supposed to have a ton of meat in it. If you want to turn this into a main dish, feel free to increase to 2 1/2 pounds of bone-in lamb shoulder or 2 pounds lean beef. If you’re doubling the meat, sear the meat in 2 batches (using an extra tablespoon of oil), and don’t crowd the pan. Also be sure to add some extra salt (about 3/4 teaspoon total), 1 extra tablespoon tomato paste, and a little extra saffron and pepper.
** I’ve made this dish with a couple different brands of diced tomatoes, and the moisture levels vary significantly, which makes recipe-developing a little tricky. Luckily, this recipe relies in part on tomato paste, which controls this variable a little—so while extra-watery cans of diced tomato will lead to softer rice, it will at least be within the realm of acceptable, and will still be delicious. But if you want to make sure your rice is absolutely perfect, pay attention to the can of diced tomatoes before you add them. Does it look like a whole lot of tomato juice with not enough diced tomato floating around? Then leave out 1/4 to 1/3 cup of water. Does it have a pretty normal-looking amount of tomato juice with a healthy amount of diced tomatoes? Add the full amount of water.