• Skip to primary navigation
  • Skip to main content
  • Skip to primary sidebar
  • Skip to footer
Cardamom and Tea
  • Blog
  • Recipes
  • About
  • Cookbooks
    • Piecemeal
    • A Dish for All Seasons (my first cookbook)

okra stew | bamya

September 20, 2018 by Kathryn Pauline 2 Comments

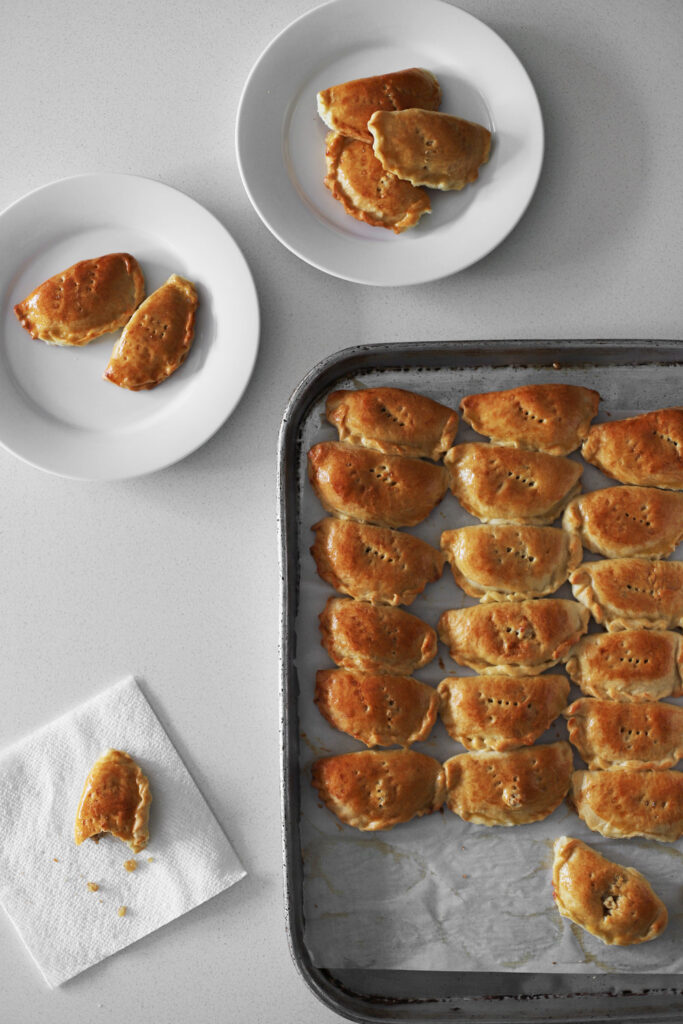
This bamya (okra stew) post isn’t here to convince the okra haters that really they should give it another chance. It’s for the okra lovers, the ones who can’t get enough “slime,” who don’t care if it is stewed, grilled, or pickled, as long as it’s piled high. If you read the blog posts and articles with headlines like “how to cook okra so it’s not slimy” (I even wrote one once!), it might seem like we’re on a mission to convince the world to eat more okra, but the truth is, we love it so much that we don’t care whether you do too. More for us!

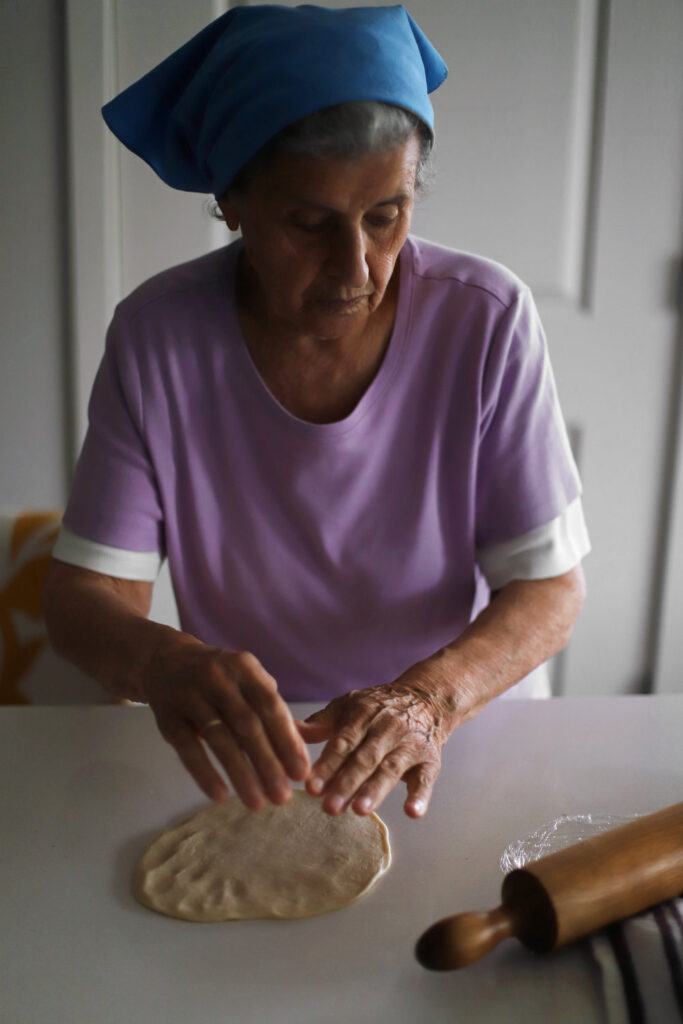
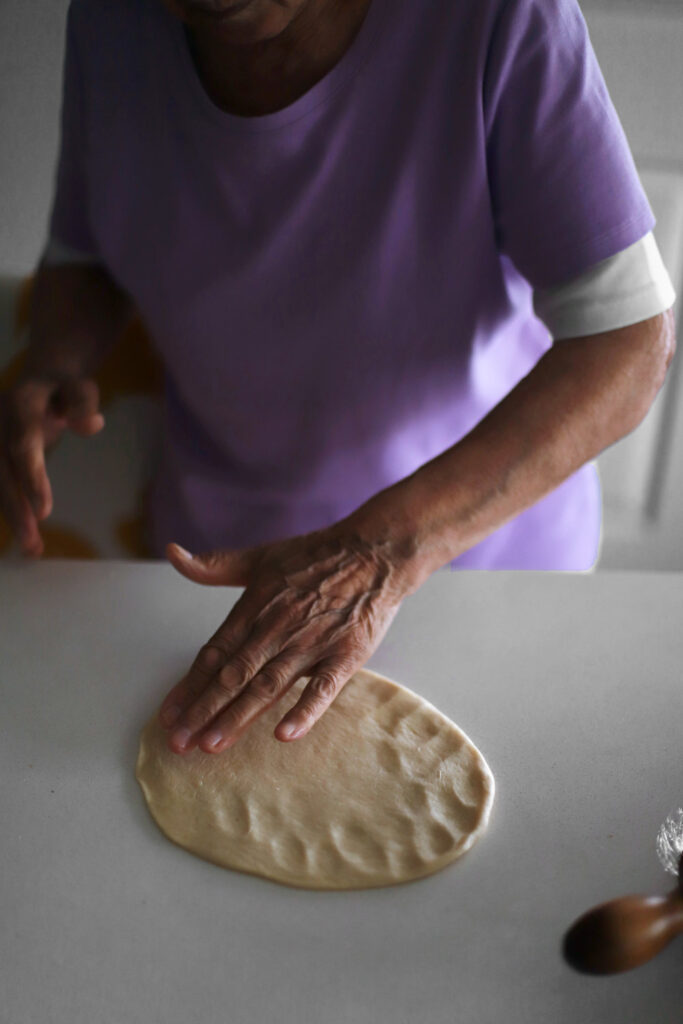
This summer, my grandmother taught me how to make her okra stew (also sometimes spelled bamiyeh, bamieh, bamia or bamya). And I’m so happy to be sharing it! We’re right at the beginning of okra season, so it’s the perfect thing to make right now. But that shouldn’t stop you if you’re catching this post another time of the year, because we most often make it with frozen okra and canned tomatoes anyway. My grandmother is on a constant mission to hunt down certain frozen veggies to use in her stews, like flat beans for her riza shirw’it fasouliyeh, and (in this case) baby okra for her bamya stew.

You might ask, why baby okra? Because when you simmer whole okra, instead of cutting it into bite-sized pieces, they get this wonderful chewy almost “Q” texture, which okra lovers will appreciate. There are plenty of incredible stews made with chopped okra, like gumbo for instance. Chopping first thickens the broth and adds a ton of body and flavor to the finished dish. But this method is just another wonderful technique, which results in a slightly thinner broth and pleasantly chewy okra.

If you can’t find baby okra, feel free to cook fully grown okra and serve with a knife and fork. It’s great on a plate over basmati rice. Either way, no one will complain. (I mean, yes, the okra haters will complain, but they’re going to complain no matter what). If you’re using fresh instead of frozen, make sure you prep them as listed in the recipe. It takes a few extra minutes, but is important for ending up with the right consistency. You can find frozen baby okra in most Middle Eastern markets, and lucky for us they’re already prepped that way.

Print

okra stew | bamya

Print Recipe

5 Stars 4 Stars 3 Stars 2 Stars 1 Star

5 from 1 review

  • Prep Time: 20 minutes
  • Total Time: 1 hour 30 minutes
  • Yield: 6 to 8 servings

Ingredients

  • 2 pounds stew meat, in large chunks
  • 3 cups water
  • Salt
  • 2 tablespoons butter or olive oil
  • 1 medium onion, chopped
  • 6 cloves garlic, crushed through a press
  • 26 ounce container diced tomatoes
  • 1 teaspoon black pepper
  • 1 red bell pepper, medium diced
  • 2 jalapeños, seeded and pith removed, small diced
  • 28 ounces frozen baby okra, rinsed under cold water to melt away any frost *
  • 1/3 cup + 1 tablespoon lemon juice
  • Cooked basmati rice, for serving

Instructions

  1. Rinse the meat (or skip the rinsing if you prefer). Place the meat in the bottom of a large saucepan, and cover it with the water and 3/4 teaspoon of salt (or to taste). Bring to a simmer over high heat, then cover and reduce to medium-low. Adjust the heat to maintain a gentle boil. Wipe down the sides of the pot once or twice while it cooks, and/or skim any scum that forms on the surface. Cook for about 1 hour and 15 minutes, until the meat is very tender.
  2. While you’re waiting on the beef, place a large dutch oven or stockpot over medium-high heat and add the butter. Once the butter melts, add the onions, and cook, stirring occasionally, for about 5 to 7 minutes, just until the onion softens and takes on a little golden color around the edges. Add the garlic and cook for about 1 minute, just to take the raw edge off the garlic.
  3. Immediately add the diced tomatoes, black pepper, and salt to taste (my diced tomatoes didn’t have much sodium, so I added 1 1/2 teaspoons of salt). Bring to a simmer, cover, and reduce heat to low. Cook for about 10 minutes, just to allow the flavors to meld.
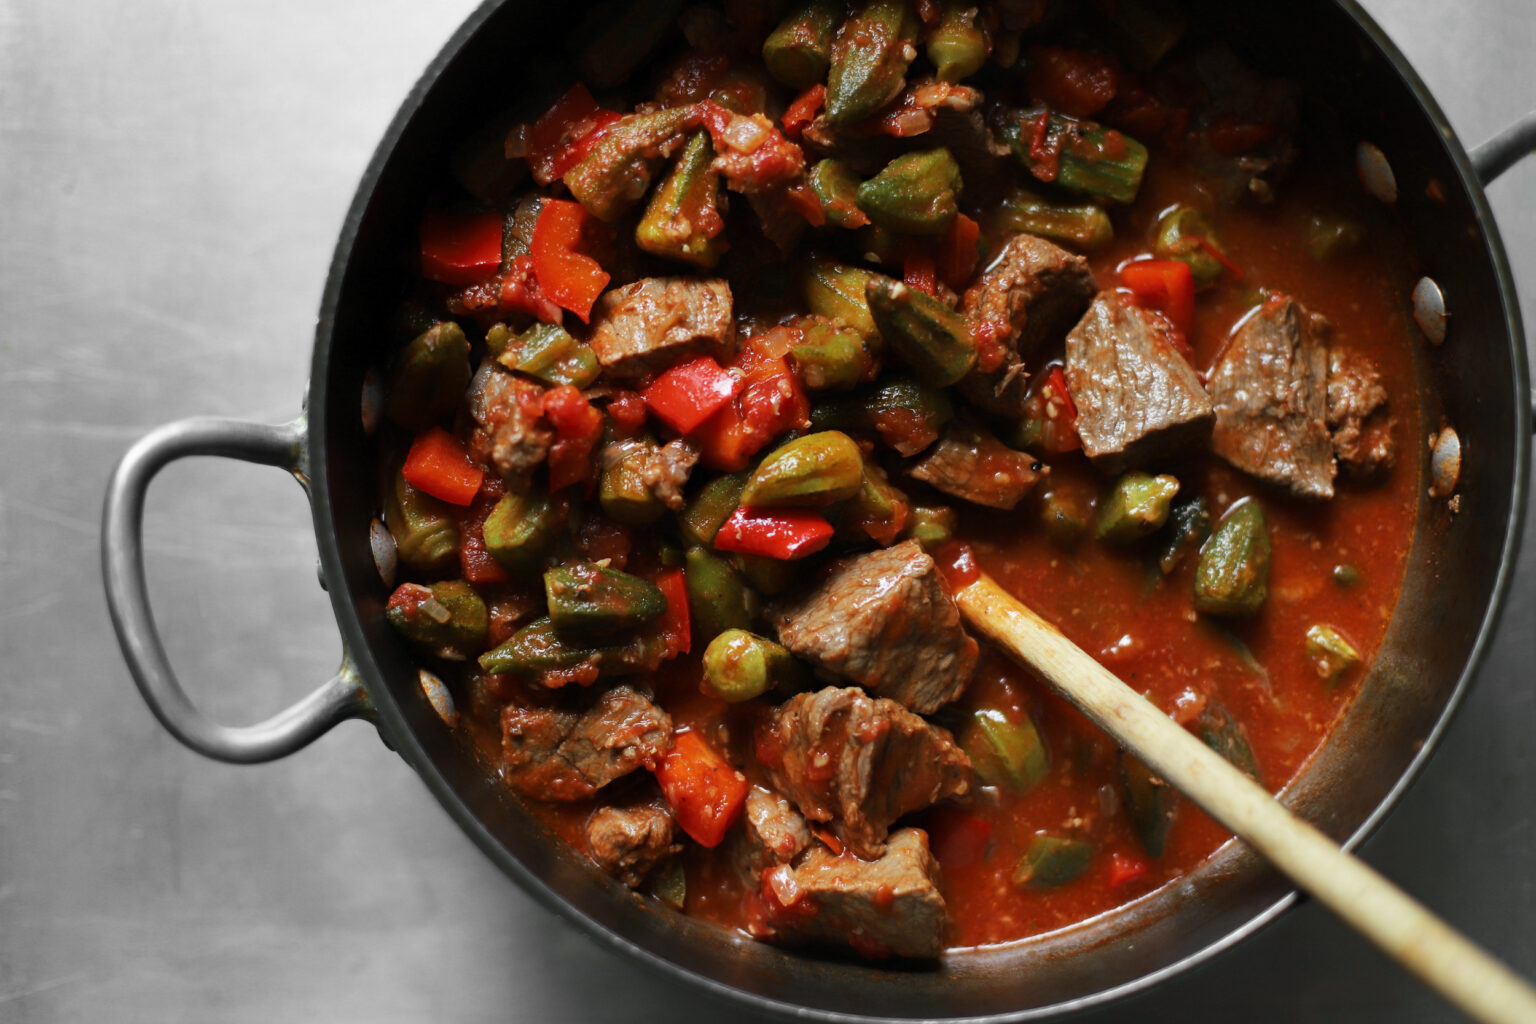
  4. Add the red pepper, jalapeños, okra, and the braised beef with the braising liquid. Increase the heat to medium-high, stir everything together and wait for it to come to a simmer. Once bubbles break the surface, cover, reduce heat to low, and cook for about 5 to 15 minutes, just until everything softens to your desired consistency. I like the veggies a little al dente, and not totally soft, so I usually do just 5 minutes, but my grandmother likes to cook them for the full 15. It’s a preference thing, and you can even cook them longer if you want them really falling apart.
  5. Once the stew is done to your liking, add the lemon juice, and carefully fold everything together without mashing the okra.

Notes

* Baby okra is hard to find fresh, but you can find it frozen in some Middle Eastern markets. If you can’t find baby okra, you can use regular-sized okra, but read the notes above the recipe if you want to know why you should leave them whole instead of cutting them into smaller pieces. If you’re using frozen baby okra, it should already be prepped, but if you’re using fresh, you’ll need to stem and pare them. Here’s how: cut the tough part of the stem off, but leave the tender part of the stem intact (you should definitely not see the inside of the okra). Then use a paring knife to shave away the bumpy ridge where the stem meets the body.

find us on instagram and let us know what you made!

Filed Under: dairy free, dinner, every recipe, family recipes, gluten free, main courses, soups and stews Tagged With: beef, bell pepper, fall, middle eastern, okra, summer, tomato

walnut kleicha

September 12, 2018 by Kathryn Pauline 9 Comments

While writing this post, I’ve realized that I have no idea how to define kleicha. It’s one of those foods that shows up in a lot of forms, with a few different stuffings, and even in a variety of doughs. You might find a kleicha that’s been made with date paste, rolled up in shortcrust pastry, and sliced to reveal beautiful spirals before baking. Or you might find something like my aunt Masy‘s walnut kleicha, made with a buttery yeast-risen dough, which is stuffed with cardamom-spiced walnuts, and expertly crimped shut.

Some are made with ornate presses similarly to ma’amoul, some are shaped into unpretentious little circles, some look exactly like fig newtons, some are even sprinkled with nigella or sesame seeds. They’re not eaten for any particular holiday, and can be found at Christmas, Eid, and Easter. They’re the national cookie of Iraq and have roots in ancient Assyria, but they’re made nowadays by just about everyone, and they’re popular in neighboring countries too. But while I can’t figure out the essential feature uniting all of these cookies, all I know is that I want to eat every single one of them, especially the ones my Aunt Masy bakes.

While Masy is technically my grandmother’s older sister, the two of them are always switching off who acts like the bossy big sister, depending on the situation. But when they bake together, you can always see them revert back to the natural order of things, with Masy as the older sister and Romy as the younger, because baking is Masy’s turf, and we’re all just doing our best to keep up with her. This summer, Masy taught me how to make kleicha, and I captured some classic Masy and Romy moments.

Masy: No, no, hold on, let me see.
Masy: Ahah! Alright!
Romy: Ok inspector, what do you think?
Masy: Ok!
Masy: Your grandmother, if she were working in my kitchen, she would be fired. You know why?
You can’t cook with jewelry and nail polish!

Learning to make kleicha from the expert was a humbling experience. I never quite got the crimping right, and I suspect it takes a lifetime of practice to make them as pretty as Masy’s (none of mine are pictured here, thanks to my auntie food stylist. The only other person I know who rivals Masy’s kleicha crimping is Amina from Hungry Paprikas).

But it was also humbling as a recipe developer. I’m always trying to find ways to make labor-intensive traditional recipes a little easier, but this summer, I’ve become more comfortable with the fact that an involved, high-maintenance cooking project sometimes just needs to be itself. So while the second coat of egg-wash halfway through baking might seem a little excessive, trust me that it’s necessary to give the cookies the deep golden lacquer they (/you!) deserve. I mean, if we’re willing to bang a pan every 2 minutes to get perfectly wrinkly cookies, brushing on a second coat of egg wash doesn’t seem so crazy, right?

A few other things that make Masy’s recipe perfect: Not to harp on the egg wash, but I love that she uses straight-up beaten eggs, instead of watering them down a little. The cookies turn out so miraculously deeply golden. For this to work, it’s important that the eggs are at room temperature, otherwise they’ll be too gloopy to brush on. Also, I love that Masy bakes them pretty much shoulder to shoulder. They puff up a little and end up growing into each other slightly, and I like the casual look of the resulting squared-off squished shapes. Plus, you can bake so many more at one time, and don’t have to worry about crowding the pan.

One or two things I changed from Masy’s recipe: I like to dock them after the egg wash goes on, because the holes don’t get as stopped up, which means that you’re less likely to have to dock them a second time halfway through baking (but again, seriously don’t forget to brush them with egg wash a second time). Oh and I made sure this recipe has just enough stuffing for the amount of dough, and I standardized the size stamp and amount of filling—but no matter what you’re stamping them with, just pace yourself as you go and they’ll turn out great.

Print

walnut kleicha

Print Recipe

5 Stars 4 Stars 3 Stars 2 Stars 1 Star

No reviews

  • Prep Time: 1 hour
  • Total Time: 3 hours
  • Yield: about 4 dozen cookies, depending on how big you make them

Ingredients

for the dough:

  • 1 tablespoon instant or active dry yeast
  • 1 teaspoon sugar
  • 1 tablespoon vegetable oil
  • 1/2 cup 115° F water
  • 30 ounces all purpose flour (about 6 1/2 cups)
  • 1 1/2 teaspoons salt
  • 1 cup sugar
  • 2 1/4 sticks butter (9 ounces), just melted (not hot)
  • 1 cup 115° F whole milk

filling and baking

  • 2 cups coarsely ground/finely chopped walnuts (from 6 3/4 ounces)
  • 1/2 cup sugar (4 ounces)
  • 1/2 teaspoon cardamom
  • 1/4 teaspoon salt
  • 2 large room temperature eggs, beaten (for the egg wash)
  • (optional: sesame seeds for sprinkling)

Instructions

  1. Make the dough: Combine the yeast, sugar, vegetable oil, and water in a large bowl. Stir together until the yeast dissolves, cover with plastic wrap and a kitchen towel, and leave at room temperature for about 15 minutes.
  2. Once the starter is very foamy, add the flour, salt, sugar, melted butter, and whole milk, and stir together with your hand. The dough will start to form a shaggy blob, which will come together into a dough after a minute of kneading in the bowl. Continue kneading in the bowl for a couple more minutes, until it smooths out quite a bit more, but don’t worry about getting a perfectly smooth ball of dough.
  3. Cover the bowl with plastic wrap, wrap the bowl in a towel, and leave it in a warm room temperature and/or insulated place to proof for 1 hour (e.g., on top of the refrigerator, over an unlit gas stove, or in an off oven).
  4. Make the filling: Stir together the walnuts, sugar, cardamom, and salt. Set this filling aside.
  5. Move the dough to the counter and divide into 2 pieces. Roll one piece out to about 1/8-inch thickness. Work on a non-porous, smooth surface, so you won’t need flour to keep the dough from sticking. Once the dough is rolled out thinly (about 1/8 inch), let it rest for a few minutes until it no longer quickly shrinks when you lift it off the counter.
  6. Once the dough has rested, use an approximately 3 1/2 inch round cookie cutter to stamp circles out of the dough. Once the rounds are stamped out, collect the scraps into a ball, and let them rest while you fill the rounds. Fill like so: hold a round in the palm of your hand, and make sure it hasn’t shrunk back up (flatten it with your fingertips if you need to). Spoon almost 1 tablespoon of filling onto one side of the dough, leaving a border around the edges. Fold the other side over, and crimp it shut (fold one corner over while pinching the edge you’re creating, then fold the next little bit over and pinch it, continuing down the edge until it’s done).
  7. Once you’re done filling the first batch, preheat the oven to 375° F while you let them rise on a parchment-lined sheet pan for about 15 minutes (they should pretty much be shoulder to shoulder, like in the photos above, and they won’t rise very noticeably in the 15 minutes). Brush with egg wash (save the extra), dock each with a fork about 2 or 3 times, and then bake for about 25 minutes total. Halfway through baking, pull them out of the oven, brush with egg wash again (and dock them again if they’re too puffy), and let them bake the rest of the way, until they’re deeply golden brown.
  8. While the first batch is in the oven, repeat with the remaining dough and filling, until you run out (pace yourself while you work). Store at room temperature for up to 12 hours, or the freezer for up to 3 months.

find us on instagram and let us know what you made!

Filed Under: every recipe, family recipes, sweets Tagged With: cardamom, cookies and bars, middle eastern, nuts, walnut

  • « Go to Previous Page
  • Page 1
  • Interim pages omitted …
  • Page 110
  • Page 111
  • Page 112
  • Page 113
  • Page 114
  • Interim pages omitted …
  • Page 183
  • Go to Next Page »

Primary Sidebar

Kathryn Pauline smiling

Welcome! I’m Kathryn Pauline, cookbook author, recipe developer, and photographer.

Footer

read our privacy policy

© 2017 - 2026 Kathryn Pauline