Dried mint is an important ingredient in many Middle Eastern dishes, and it shows up in many of my recipes. While dried mint can be hard to find in the supermarket, the good news is that it’s really easy to make at home, and fresh mint is pretty easy to come by. It may be tempting to use fresh mint when dried is called for, but they each have an entirely distinct flavor.


where to find it
You can find dried mint in most Middle Eastern markets, online, or in grocery stores with large imported foods sections. Occasionally, it’ll be in the spice section with all the baking stuff, but more often you’ll find it in the ethnic food aisles. In Chicago, I’ve had the most luck finding it at Fresh Farms. While store-bought is great in a pinch, I prefer the flavor of mint that I dry myself.

how to make dried mint
There are two different ways to make dried mint at home: the fast way and the slow way. If you happen to have a food dehydrator, then there’s a third medium option, but for the sake of this post, I’m going to assume that you, like me, don’t have one.
The fast way will get you dried mint that doesn’t have quite as much flavor as the slow way, but it works great. In either case, just remember to use more fresh mint than you think you’ll need for the recipe because the leaves will shrink down significantly. You can store whatever you have leftover for future use.
The fast way: in the oven
- Wash and towel-dry fresh mint sprigs and remove them from their stems. Make sure they don’t have any water clinging to them.
- Place the mint leaves in a single layer on a parchment-lined sheet pan and dehydrate in the oven at it’s coolest possible setting (often 180° F) for about an hour, or until the leaves are crunchy and dry (check on them after 30 minutes). Use the convection setting to speed this up. Do not cook them past crunchy-and-dry or they will lose flavor.
The slow way: in the refrigerator
- For this, you need a refrigerator that does not get humid (AKA a frost-free refrigerator). If you’re unsure, try experimenting with a really small batch of mint first, to make sure your refrigerator is low-humidity.
- Wash and dry fresh mint sprigs. Make sure you dry them very well so that no water is clinging to them (I shake them off really well and then blot the leaves with a towel).
- Cut the leaves from the stems and discard all stems.
- Loosely bundle the mint leaves up in one or two layers of dry paper towel. Make sure they’re very loosely packed, and not tightly wadded up. The leaves need to be able to breathe, or they will get moldy before they dehydrate.
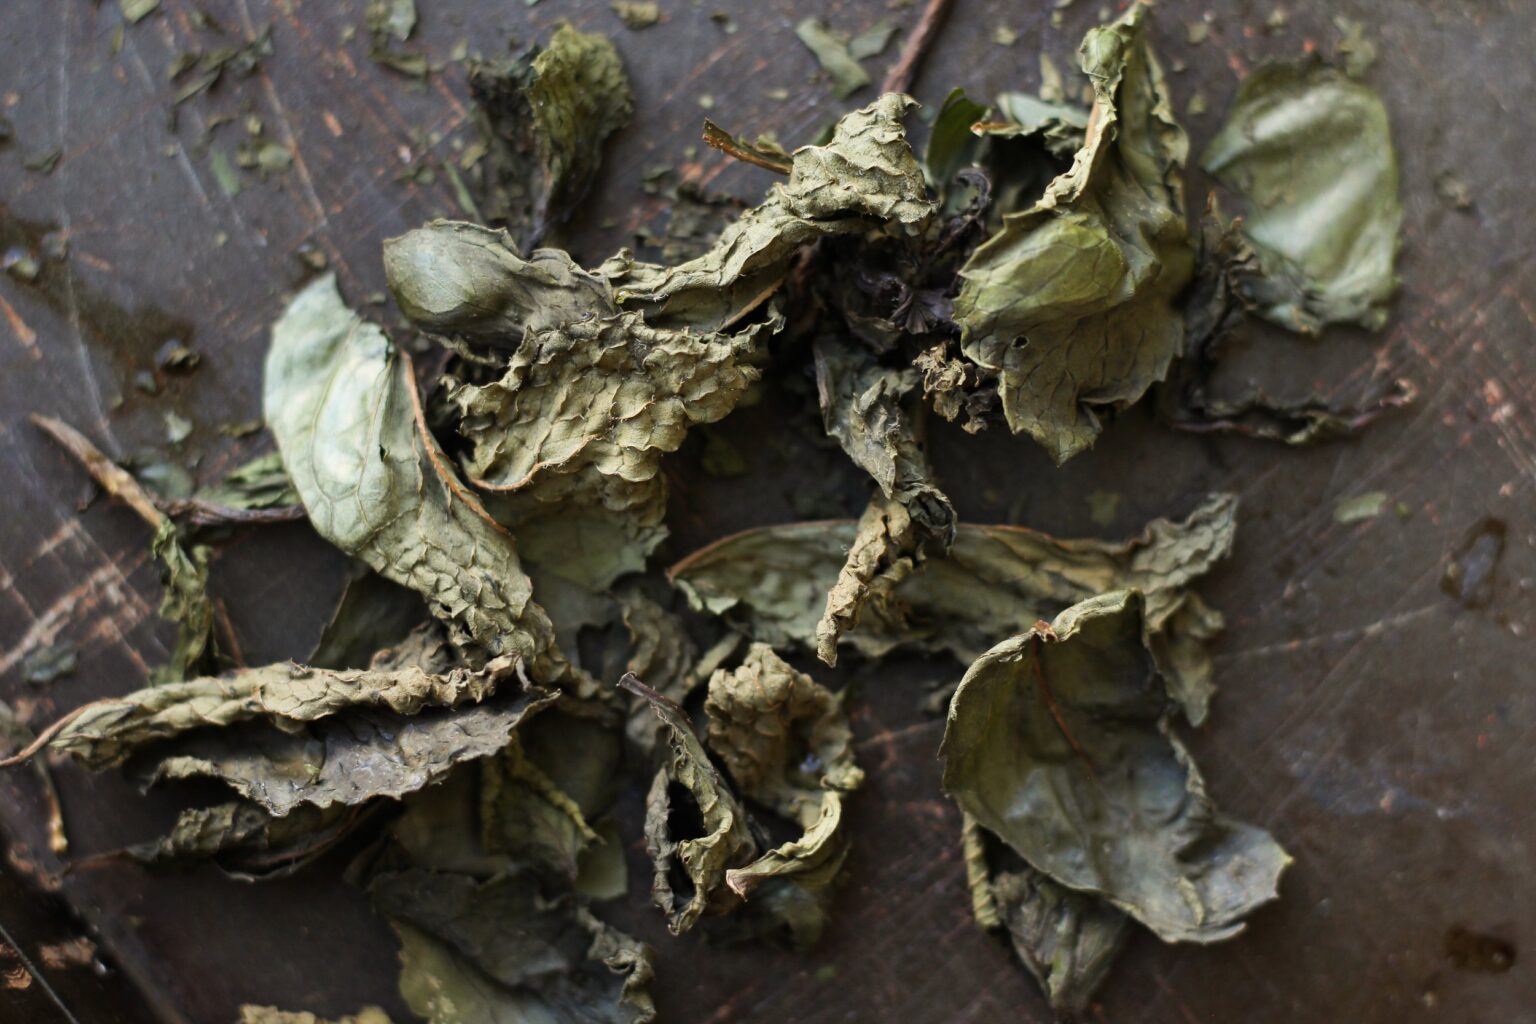
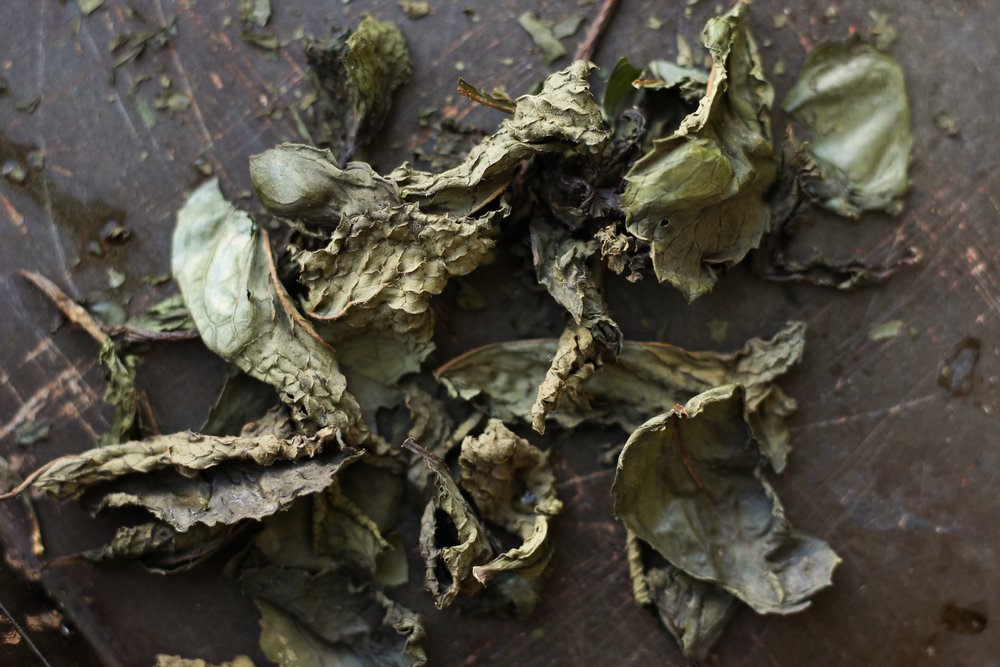
- Place the paper towel bundle on a clean shelf or low-humidity crisper drawer and check on it every couple days. If the mint starts to mold, discard it. It should wilt, become darker, and become crumbly after about 1 to 2 weeks (depending on the humidity of your refrigerator).
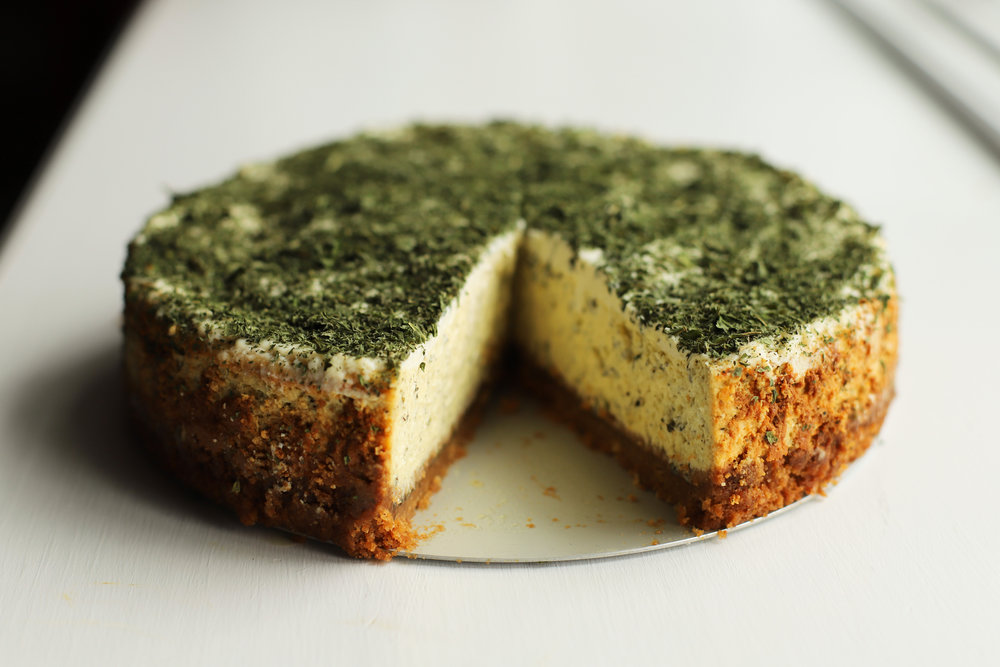
how to use dried mint
Check out my dried mint archives for a full list of recipes featuring dried mint, or try one of my favorites below: